Pom Pom Crafts: 12 Easy Yarn Projects
Quick summary
- The knot holding the middle is the only step where failure is permanent, so pull it far tighter than feels reasonable.
- Thin, droopy results come from too few wraps rather than from poor yarn, and the fix costs nothing but minutes.
- Trimming works rather like cutting hair: rotate constantly, take a little at a time, and stop sooner than you want to.
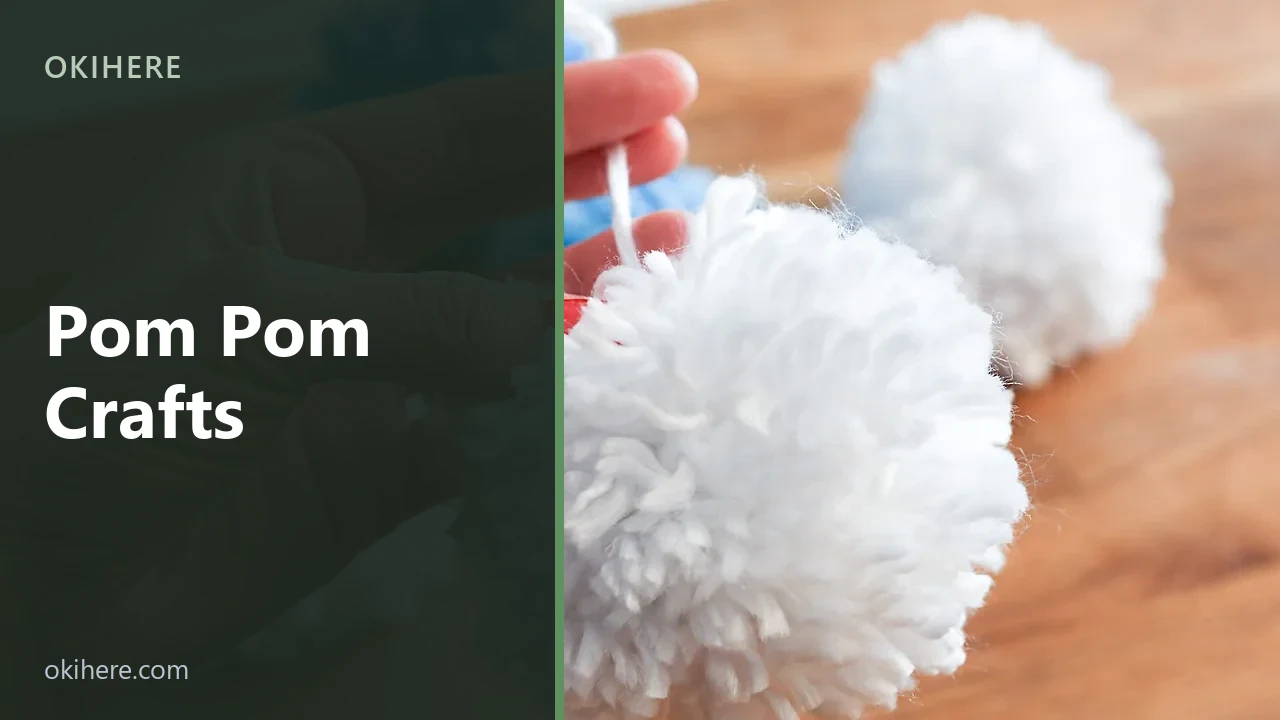
Quick answer: Cut two matching cardboard rings, hold them together, and wind yarn around them until the middle hole has almost closed. Snip around the outer edge, slide a length of yarn between the two rings, and knot it as hard as you can. Remove the cardboard, trim the ball round, and that is a pom pom. It takes about ten minutes and needs no skill at all.
Have you ever looked at a shelf of nineteen macrame tutorials and wondered where the actual starting line is? You are not alone. Every yarn craft on this site asks you to learn a knot, a stitch or a tension first. This one asks for nothing.
These twelve projects run from a five-minute practice piece upward. Each lists what it takes, how long it needs, and the detail that decides whether it holds together.
What You Need
Three items, and two of them are already in the house.
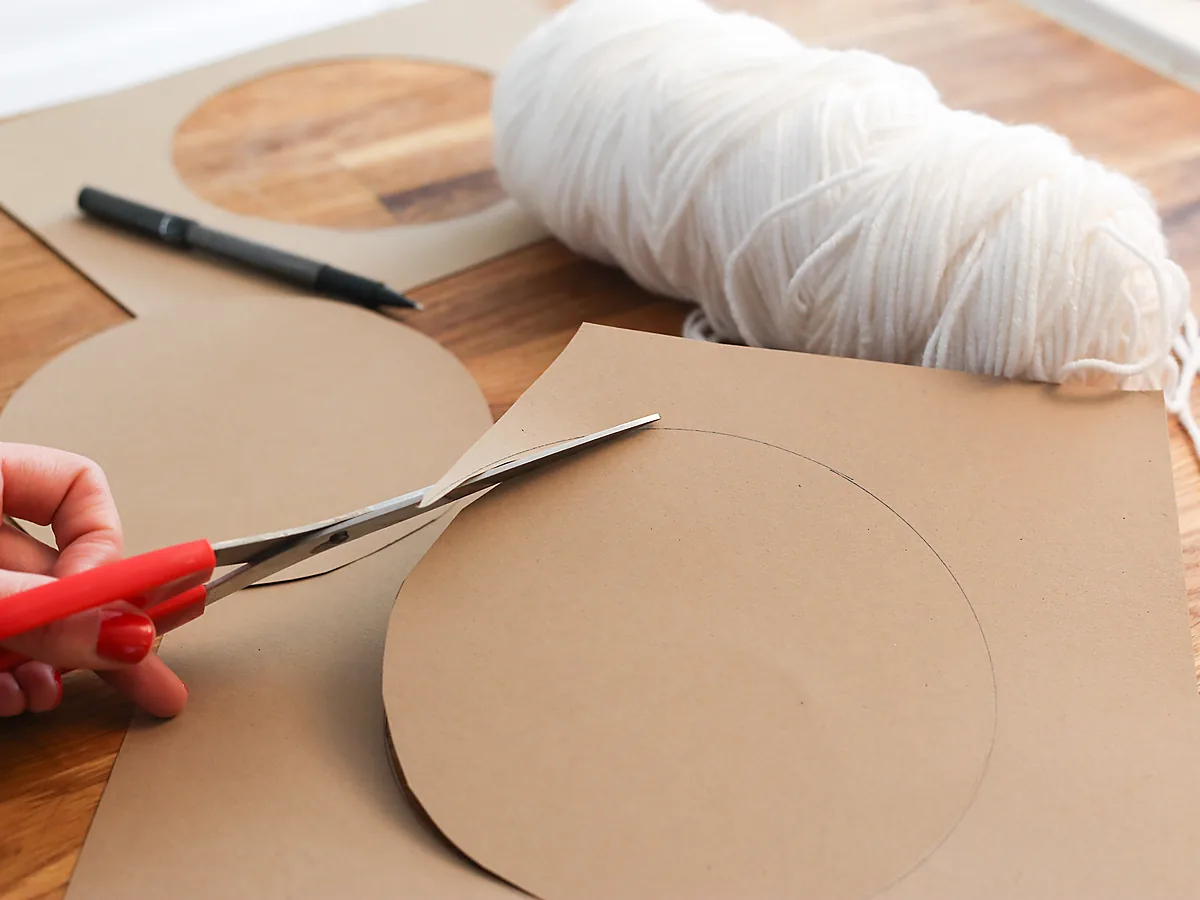
- Yarn. Acrylic worsted weight is the cheapest and fluffs up well, which is exactly what this craft needs. Leftovers from other projects are ideal, since nothing here requires a full ball of one colour.
- Cardboard. A cereal box is the right thickness. Heavier board is harder to cut cleanly; thinner card bends while you wrap and the shape goes with it.
- Sharp scissors. The one item worth being fussy about. Blunt scissors chew through the loops instead of cutting them, and the ends fray rather than fluff.
A bought pom pom maker speeds things up and gives consistent sizes, but it does nothing cardboard cannot. Buy one after you know you like this, not before. The wider question of what to buy first is in the best craft supplies for beginners.
How to Make a Pom Pom
Five steps. Read them once and you will not need them again.
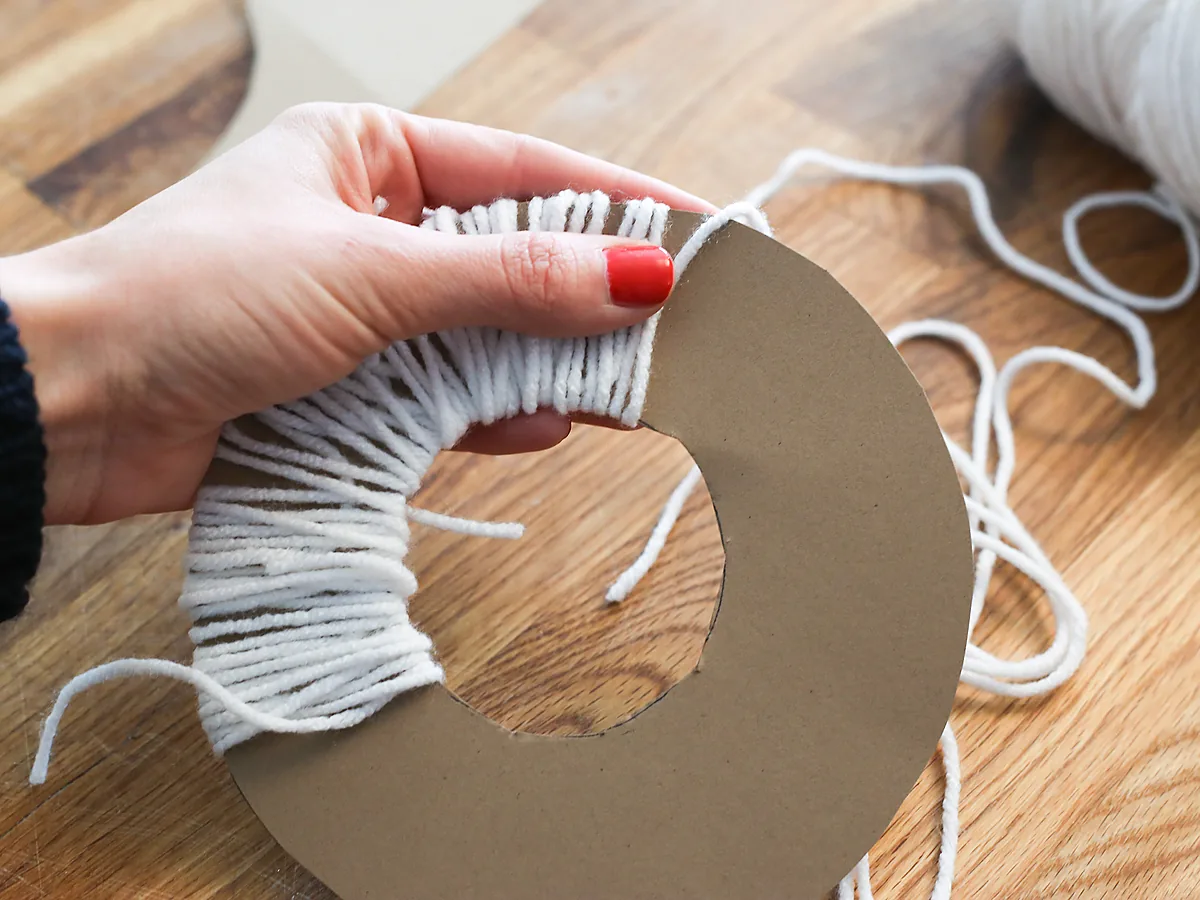
- Cut two identical rings. Trace a mug for the outside and a bottle cap for the hole. The two must match, or the finished ball comes out lopsided.
- Wrap. Hold both rings together and wind yarn through the middle and around the outside, over and over, until the hole has nearly closed. This is the step people cut short.
- Cut the edge. Push the scissor tip between the two layers of cardboard at the outer rim and snip all the way round, keeping the blades between the rings.
- Tie. Slide a long piece of yarn into the gap between the two rings, pull it as tight as you physically can, and knot it twice. Everything depends on this.
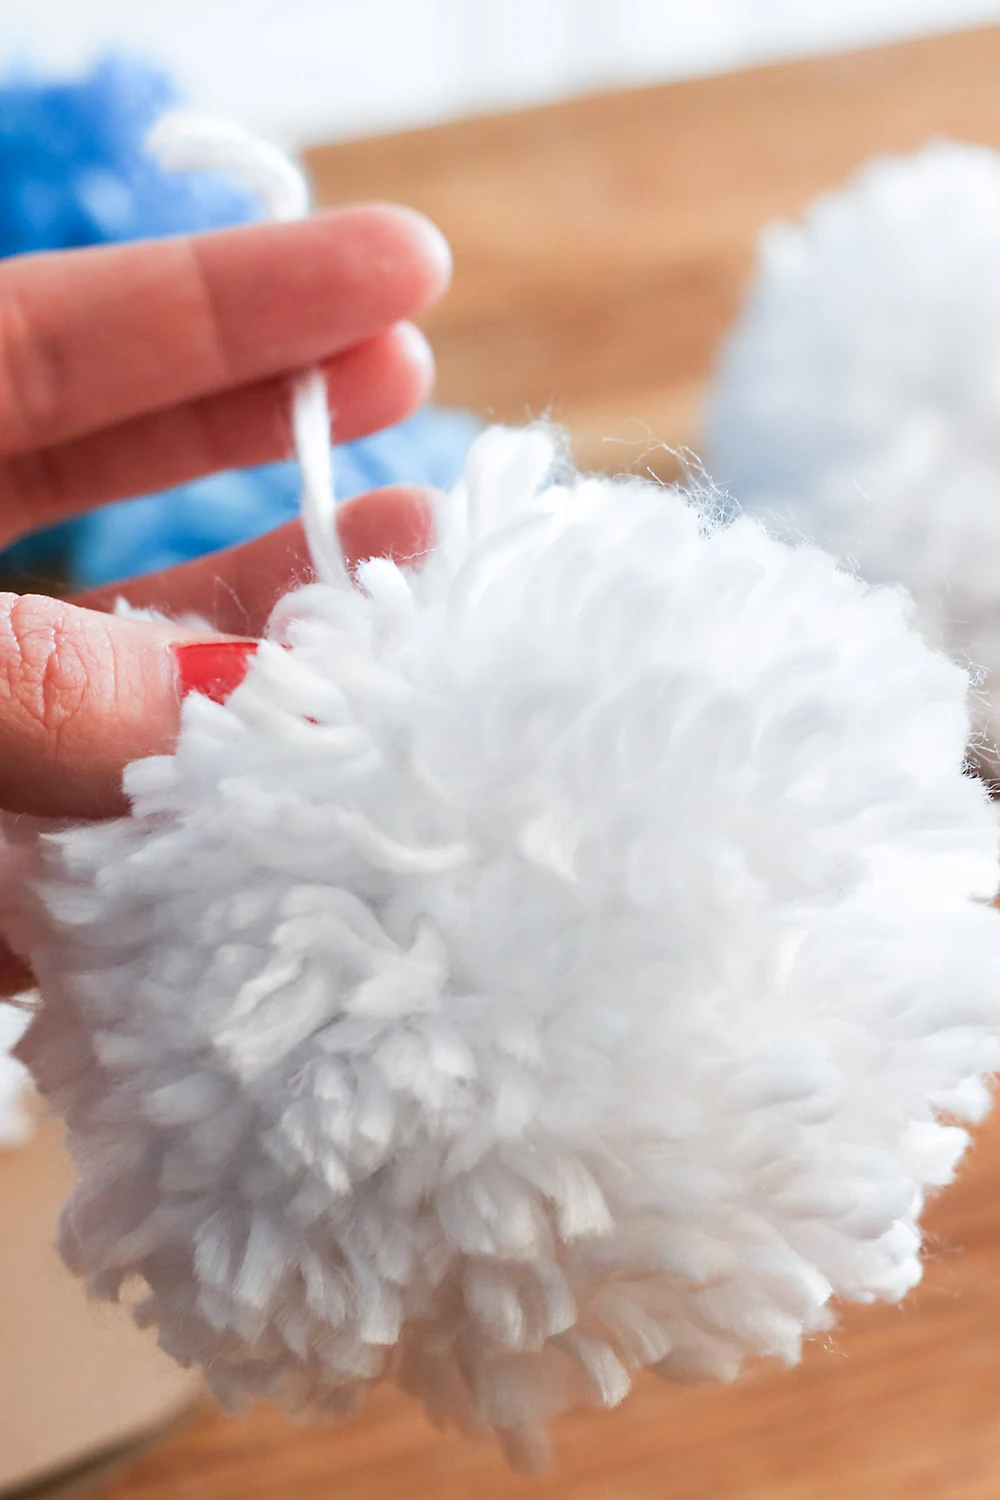
- Release and trim. Tear the cardboard away, shake the ball out, and trim the stray ends until it is round.
Size changes the method more than it looks. The outer ring sets the diameter, and the hole sets how dense the result can get: a wide hole takes more yarn but allows a fuller ball, while a narrow hole closes early and leaves you with something sparse. For anything above about 8cm, wrap in two halves and tie each side before releasing the cardboard, because a large pom pom carries enough weight to drag itself loose while you are still trimming.
12 Pom Pom Projects
1. Fork Pom Poms
Needs: a dinner fork, scraps. Time: five minutes.
Wind yarn around the tines, tie through the middle gap, snip both sides. The result is about 3cm across and the method takes one attempt to learn.
Watch out for: nothing much. This is the practice run, and the point is to feel how tight the knot has to be before it matters.
2. Gift Topper
Needs: one pom pom, ribbon. Time: ten minutes.
Tie it on in place of a bow, leaving the knot tails long enough to tuck under the ribbon. It survives the post in a way a paper bow never does.
It pairs naturally with the approaches in these gift wrapping ideas.
3. Keyring Charm
Needs: one dense pom pom, a split ring. Time: fifteen minutes.
Thread the knot tails through the ring and knot again. Use more wraps than usual, because this is the one project that gets handled daily and a loose pom pom sheds in a pocket.
4. Pom Pom Garland
Needs: eight to twelve pom poms, strong twine. Time: an afternoon.
Thread them onto twine with a darning needle, spacing them by eye rather than by ruler. Slight irregularity reads as handmade; perfect spacing reads as shop-bought and somehow worse.
Watch out for: making them all the same size. Two or three sizes mixed together looks considered.
5. Christmas Ornaments
Needs: pom poms, thread, small beads. Time: an evening.
Hang them singly, or stack two sizes into a snowman. They weigh almost nothing, which matters on the thin branches near the top of a tree.
More shapes to borrow are in these Christmas ornaments to make.
6. Hat Topper
Needs: one large pom pom, a plain beanie. Time: fifteen minutes.
Sew the knot tails through the crown from outside to in, then knot them hard against the lining. Do not glue it, because glue fails in the wash and takes a patch of the hat with it.
7. Curtain Tieback
Needs: two pom poms, braided cord. Time: half an hour.
One at each end of a length of cord, long enough to loop the curtain and knot. It is the fastest soft-furnishing change in this list and it costs almost nothing. Match the yarn to something already in the room rather than to the curtain itself, which keeps it from looking like an attempt that missed.
8. Cushion Trim
Needs: eight small pom poms, needle and thread. Time: an evening.
Stitch them along two opposite edges of a plain cushion cover. Attach each one through its knot tails and into the seam, not into the fabric face, so the stitching stays invisible.
9. Pom Pom Wreath
Needs: thirty to forty pom poms, a ring base. Time: a weekend.
The big one. Pack them tightly enough that no base shows through, which always takes more than you estimated. Three tones of one colour looks better than three different colours.
The construction principles carry over from these simple seasonal wreaths.
10. Lampshade Trim
Needs: small pom poms, fabric glue. Time: an hour.
Along the lower rim only. Keep them clear of the bulb and use LED, since yarn near a hot filament bulb is a genuinely bad idea rather than a cautious one.
11. Nursery Mobile
Needs: pom poms, embroidery hoop, thread. Time: a weekend.
Hang them at staggered heights from a hoop. Fix it well out of reach: a pom pom is a bundle of short loose yarn pieces, and that is not something a baby should be able to pull apart.
12. Pom Pom Mat
Needs: fifty or more pom poms, a non-slip base. Time: several evenings.
Tie each one through the mesh of a rubber mat base, packed shoulder to shoulder. It is a long job rather than a hard one, and it is the best use for a decade of yarn leftovers.
What Goes Wrong, and Why
Four failures cover almost everything, and three of them happen at the same step.
- It falls apart in your hands. The middle tie was not tight enough. Use a doubled strand, brace the ring against the table, and pull until the yarn bites into your finger. Then knot it a second time.
- It looks thin and droopy. Too few wraps. The hole should be almost closed before you stop, and chunky yarn needs just as many passes as fine yarn, not fewer.
- It will not sit round. One side got trimmed flat. Rotate it continuously as you cut and take tiny amounts, because a pom pom only ever gets smaller.
- It sheds constantly. Some strands were never caught by the tie. Shake it hard over a bin when it is finished and the loose ones leave then, rather than on the carpet later.
The broader pattern behind these is covered in beginner crafting mistakes and how to avoid them.
Common Questions
What yarn makes the best pom poms?
Acrylic worsted weight is the usual answer: inexpensive, holds a round shape, and survives trimming without going limp. Wool feels nicer and sheds less. Avoid anything slippery or heavily textured, since those strands slide out of the tie.
How much yarn does one pom pom use?
Far more than expected. A 10cm pom pom can swallow 20 metres or more, because density is the whole point. This is why leftovers suit the craft so well, and why buying yarn specially for it feels expensive.
Do you need a pom pom maker?
No. A bought maker is faster and gives repeatable sizes, which starts to matter once you are making forty for a wreath. For a garland or a hat topper, cardboard does the same job for nothing.
Can pom poms be washed?
Gently, by hand, if the tie is secure. Squeeze rather than wring, let them dry fully, then fluff and retrim. Anything sewn to a washable item should be attached by its tails so it can be removed first.
How do you make them all the same size?
Use the same template every time and count the wraps. Counting sounds excessive and is the only thing that actually works, because judging density by eye drifts over an afternoon.
Where to Start Tonight
Make a fork pom pom. It takes five minutes, uses a scrap, and teaches the one thing that matters, which is how brutally tight that middle knot has to be.
After that, a garland is the natural second project, since it is the same move repeated with no new skill attached. When you want a craft that does ask for a technique, macrame for beginners, knitting for beginners and crochet for beginners all start from the same ball of yarn.
Featured image: Personal Creations / Wikimedia Commons, CC BY 2.0, title text added by OKI HERE.