12 DIY Gift Wrapping Ideas That Look Expensive
Quick summary
- Printed novelty paper rarely looks as good as plain paper finished with one small natural touch.
- Crisp folds matter more than the paper itself, which is why pre-cutting beats wrestling a roll.
- Cloth wrapping is reusable, and it ends up faster than paper once the knot becomes familiar.
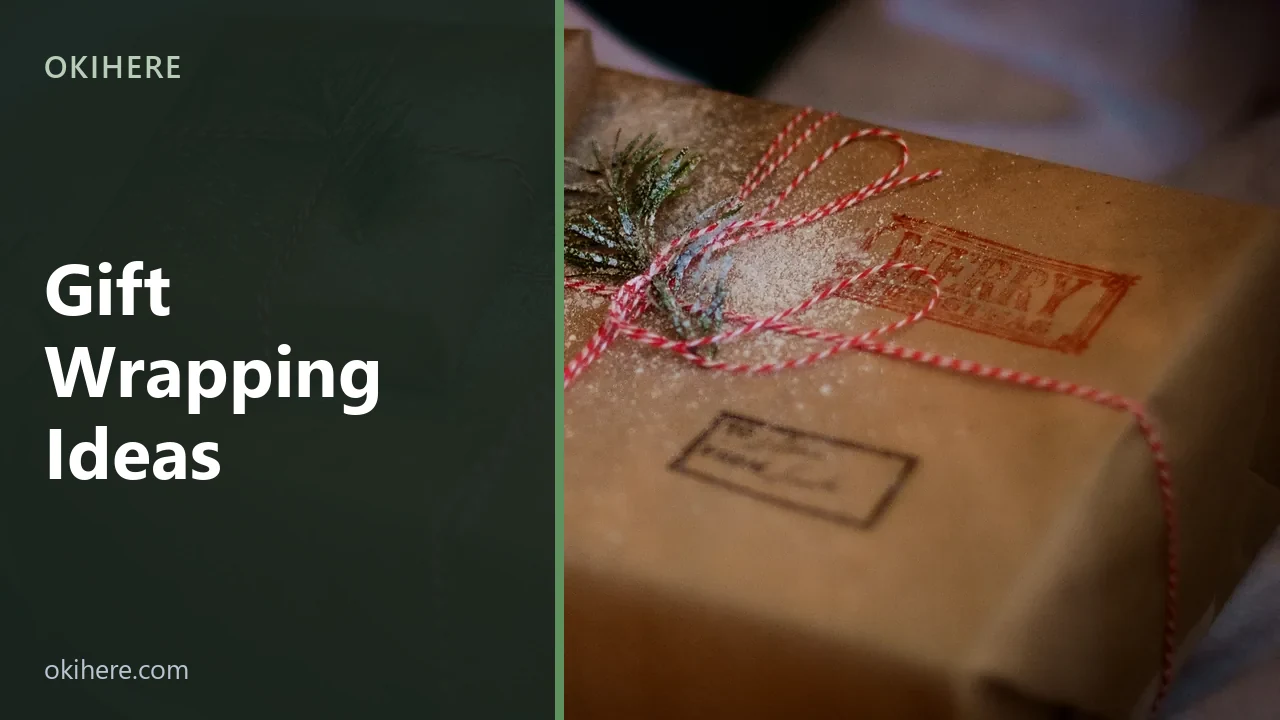
Quick answer: Start with plain kraft paper, cut it to size rather than folding a long sheet, and finish with one natural detail such as twine, a fir sprig or a dried orange slice. That combination costs less than printed paper and looks considerably better. For something reusable, wrap in cloth instead.
Have you ever spent weeks making a present and then wrapped it, ten minutes before handing it over, in whatever paper was left in the drawer? You are not alone. The wrapping is the first thing anyone sees and usually the last thing anyone plans, which is a strange way round for something that takes fifteen minutes to get right.
These twelve approaches all start from plain paper or cloth rather than printed rolls. Each lists what it takes, roughly how long it needs, and the detail that decides whether a parcel looks considered or looks hurried.
What to Have on Hand
None of this is specialist, and buying plain rather than printed is what makes the whole list cheaper than a seasonal roll from a supermarket.
- Plain kraft paper. A roll lasts years, suits every occasion, and takes stamps, string and paint in a way printed paper cannot.
- Baker’s twine or garden string. The single cheapest thing that makes a parcel look finished. Buy more colours than seem necessary.
- Double-sided tape. The real difference between a neat parcel and a messy one, because no tape shows on the outside at all.
- A bone folder, or the back of a spoon. For pressing folds flat. Creases that are pressed stay sharp; creases that are only folded relax open.
- Scissors that cut paper cleanly. A blunt blade tears rather than cuts, and a ragged edge shows on every seam.
Everything else on this list is foraged, reused, or already in a drawer.
12 DIY Gift Wrapping Ideas
1. Kraft Paper and Baker’s Twine
Needs: kraft paper, red and white twine. Time: 5 minutes.
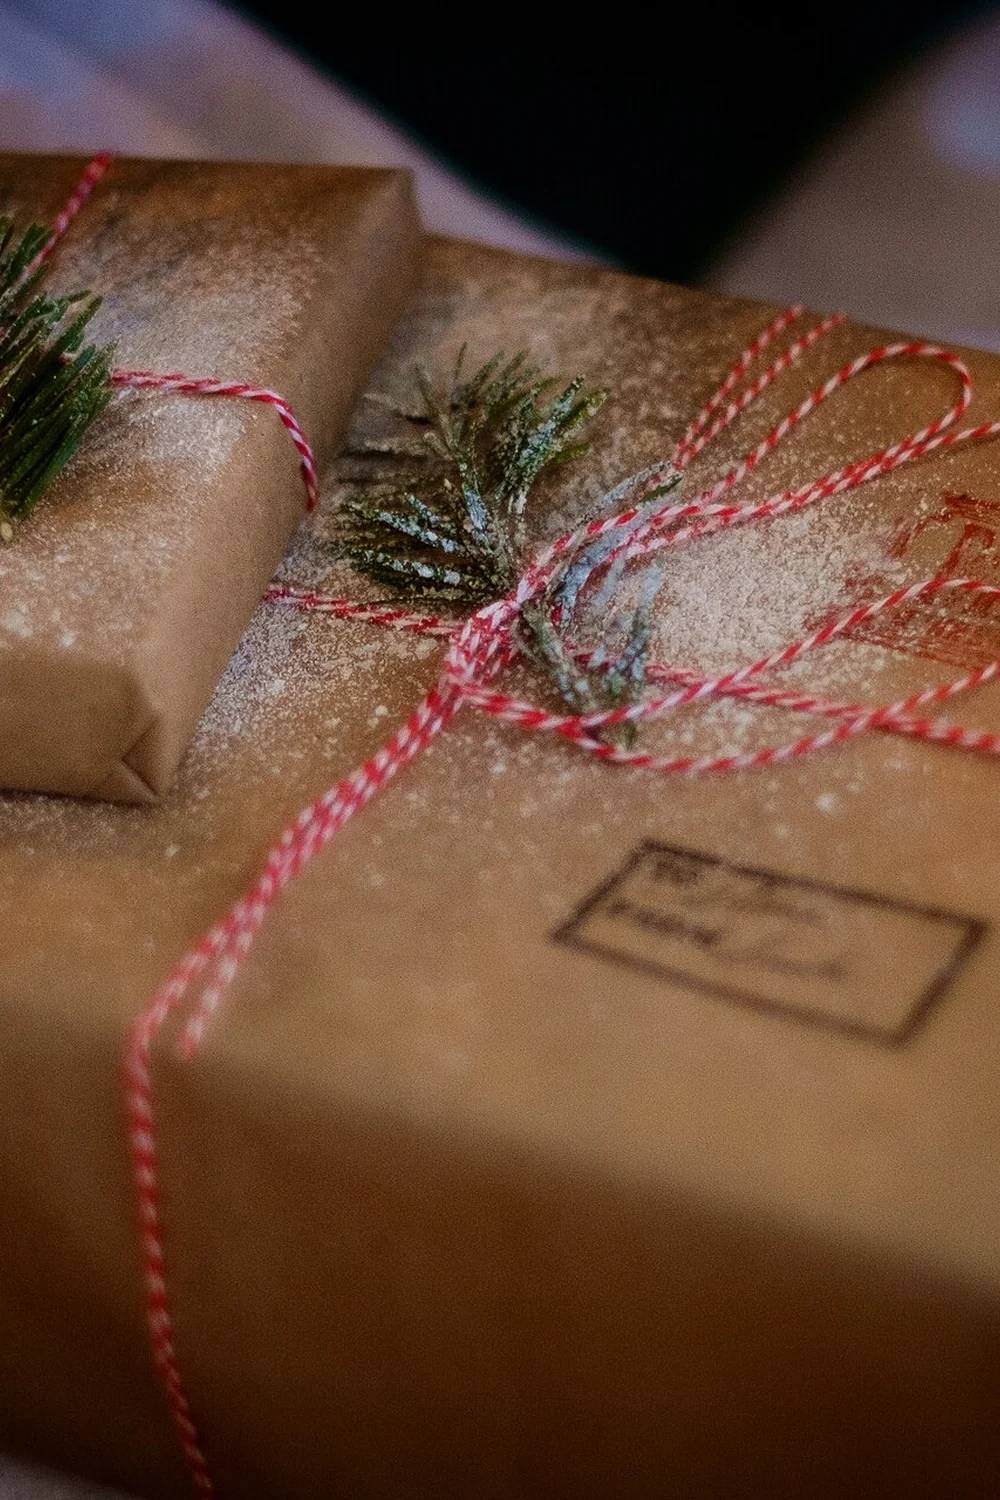
Plain brown paper wrapped tightly and tied in a cross with striped twine. It is the baseline for everything else here, and on its own it already outperforms most printed paper.
Watch out for: loose twine. Pull it taut enough to dent the paper slightly before knotting, or it slides off the corners in transit.
2. Stamped Plain Paper
Needs: kraft or white paper, a rubber stamp, ink. Time: 15 minutes for several.
Stamp a simple repeating motif across flat paper before wrapping. One stamp and one ink colour across every parcel makes a pile under a tree look like a set rather than an accumulation.
Watch out for: stamping after wrapping. The box edges tilt the stamp and half the impression comes out faint. Stamp the sheet flat, let it dry, then wrap.
3. Fresh Sprig Under the Twine
Needs: a wrapped parcel, a sprig of fir, rosemary or eucalyptus. Time: 1 minute.
Slide a short sprig under the twine where it crosses. It costs nothing, takes a moment, and it is the single detail that most reliably makes a plain parcel look deliberate.
Watch out for: adding it too early. Fresh foliage wilts within a day or two indoors, so attach it the morning the gift is handed over.
4. Dried Citrus Slice Tag
Needs: dried orange slices, twine. Time: 2 minutes, after drying.
Thread a dried orange slice onto the twine as a tag. It is translucent against brown paper, it smells faintly of the season, and it costs the price of one orange.
Watch out for: under-dried slices. Anything still tacky will stain the paper. Dry them fully at a low oven temperature first, and the same applies to anything botanical, as the guide to the best dried flowers sets out.
5. Fabric Scrap Wrap
Needs: a square of fabric, no tape. Time: 3 minutes.
Offcuts too small for sewing are exactly the right size for wrapping. No tape, no waste, and the fabric becomes part of the gift. More on using scraps sits in handmade Christmas fabric gifts.
Watch out for: fraying edges. Pink the edges with zigzag scissors or hem them once, and the same square lasts for years.
6. Newspaper and Black Ribbon
Needs: newspaper, black ribbon or twine. Time: 5 minutes.
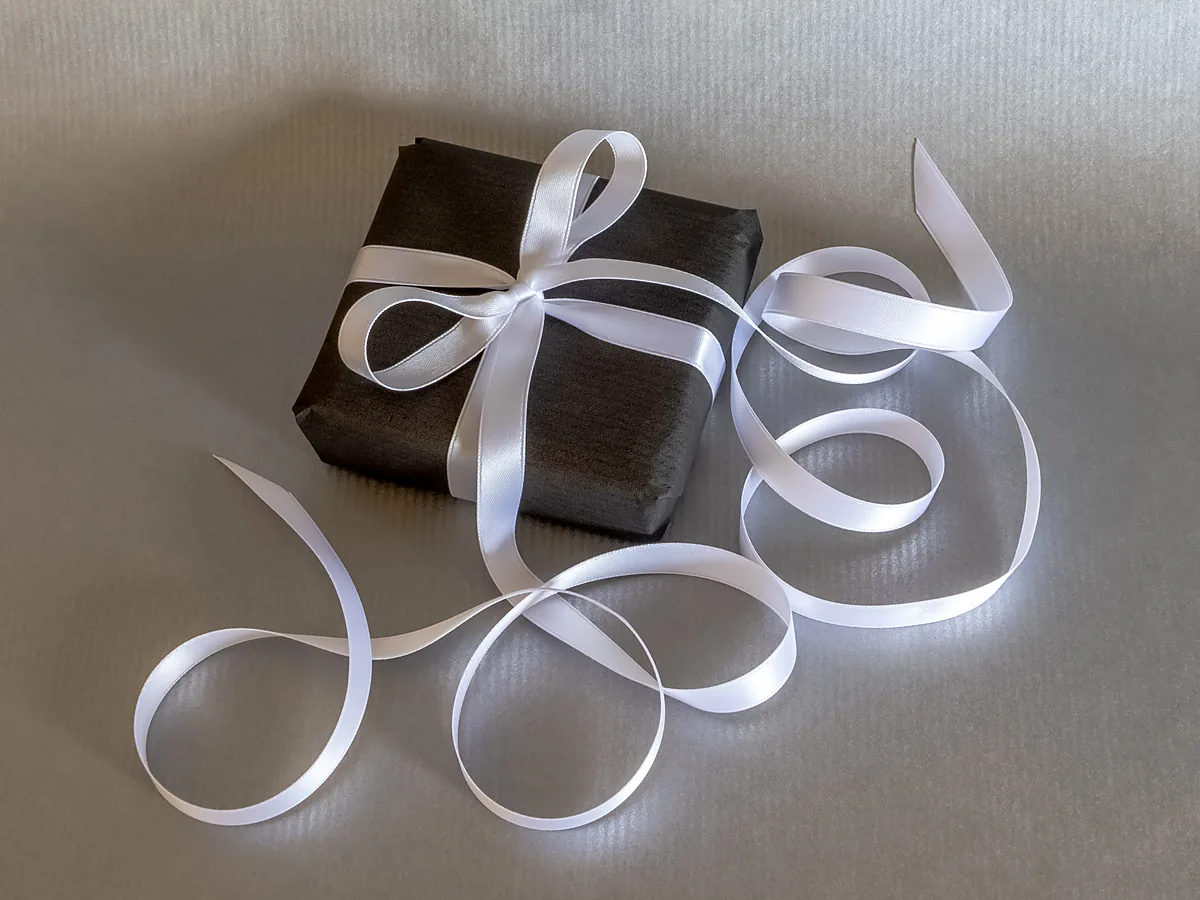
Newsprint reads as cheap on its own and surprisingly sharp with a single black ribbon. It works because the restraint is obviously a choice rather than an accident.
Watch out for: colourful advertising pages. Use the dense text pages, where the grey type behaves like a pattern.
7. Potato-Print Pattern
Needs: a potato, a knife, acrylic paint, plain paper. Time: 30 minutes.
Cut a simple shape into a halved potato and print it in rows across plain paper. A star or a single dot is enough; the repetition is what makes it look designed.
Watch out for: a wet potato. Blot the cut face on kitchen paper before the first print, or the paint runs and the first few prints are mush.
8. Watercolour Wash Paper
Needs: plain white paper, watercolour, a wide brush. Time: 20 minutes plus drying.
Brush a loose wash of one colour across white paper and let it dry completely before wrapping. No skill required, because unevenness is the entire effect.
Watch out for: thin paper. Standard wrapping paper cockles and tears when wet. Use cartridge paper or thin card instead.
9. Reused Jar With a Cloth Lid
Needs: a clean jar, a fabric circle, twine. Time: 5 minutes.
For anything small, a jar replaces wrapping entirely. Cover the lid with a fabric circle tied at the neck, and the container is part of the present.
Watch out for: labels left on. Soak them off completely; a half-scraped supermarket label undoes the whole effect.
10. Pinecone Topper
Needs: a small pinecone, wire or twine. Time: 2 minutes.
Wire a small cone onto the twine knot. It gives a flat parcel some height, and cones are free once they have been prepared properly, which is covered in 12 pinecone craft ideas for autumn and winter.
Watch out for: unbaked cones. Straight from the woods they carry insects and sticky resin, neither of which belongs on a present.
11. Hand-Lettered Kraft Tag
Needs: kraft card, a hole punch, a fine pen. Time: 5 minutes each.
Cut rectangles from kraft card, punch a hole, and write the name in whatever your handwriting actually is. A legible ordinary hand beats an attempt at calligraphy every time.
Watch out for: felt tip on kraft. It bleeds along the fibres. A fine ballpoint or a gel pen stays crisp.
12. Layered Tissue and Twine
Needs: two or three tissue colours, twine. Time: 5 minutes.
Wrap in two or three layers of tissue in close shades, letting each layer show slightly at the edges. It suits soft or awkwardly shaped gifts that refuse to take a crisp fold.
Watch out for: tape on tissue. It tears the moment anyone opens it. Hold tissue closed with twine or a sticker instead.
Furoshiki: Wrapping in Cloth
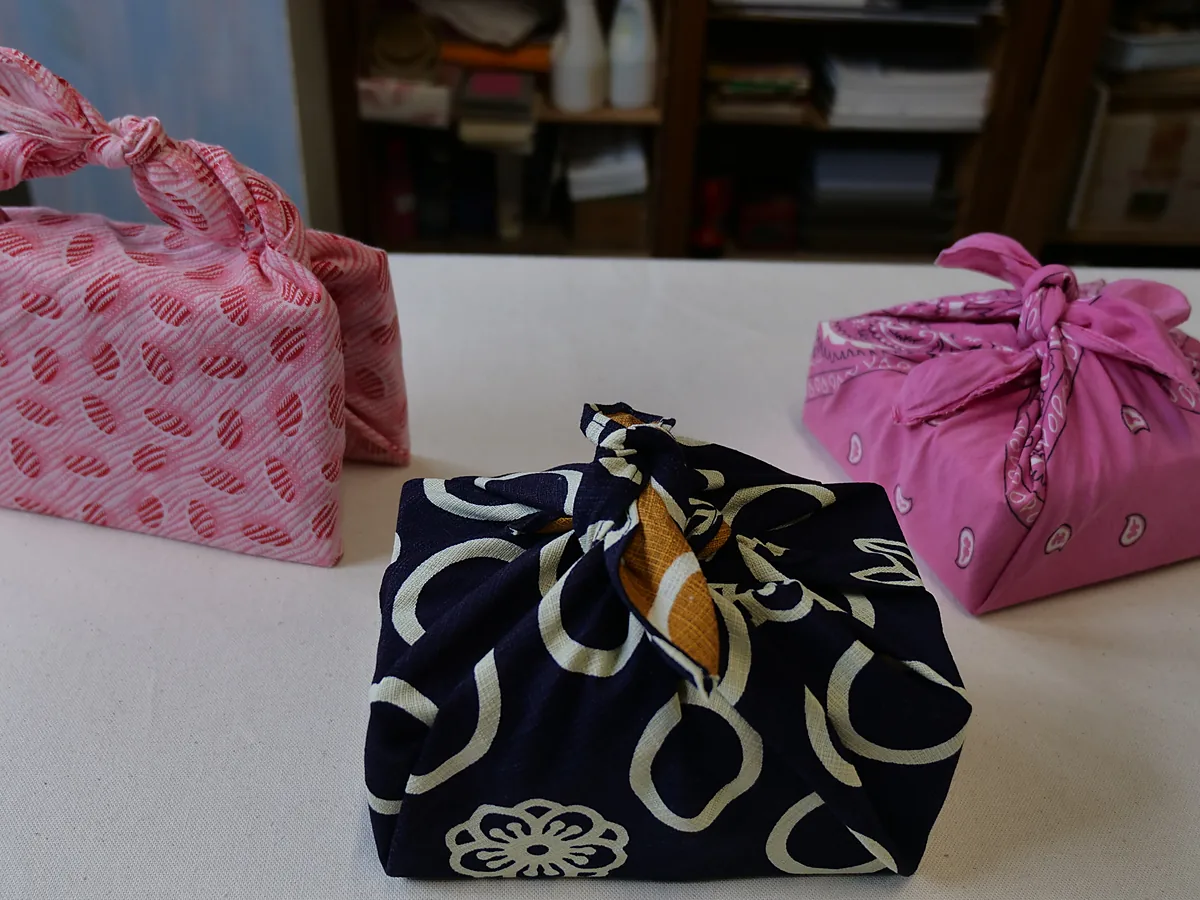
Furoshiki is the Japanese practice of wrapping goods in a square cloth, used for centuries for everything from bathhouse bundles to gifts, and it is the most practical alternative to paper on this list.
The basic method takes one square of fabric and two knots. Lay the cloth as a diamond, set the box in the centre, bring the near and far corners over the box and knot them, then bring the remaining two corners up and tie them over the top. The second knot becomes the handle.
Use a square between two and three times the width of the box. Cotton and linen hold a knot; silk slips and looks beautiful doing it. Nothing is cut and nothing is taped, so the cloth is returned or kept and used again, which is the point.
It is worth naming the technique when you give it. Furoshiki is a specific tradition rather than a generic trick, and most people receiving one have not seen it before.
Mistakes That Make a Parcel Look Rushed
- Wrapping from the roll. Cut the sheet to size first. Wrestling a long piece around a box is what produces the bunched corners.
- Visible tape. Double-sided tape costs a little more and removes the problem entirely.
- Folds that are not pressed. Run a bone folder or a spoon along every crease. Unpressed folds spring open and the parcel looks soft.
- Too many elements. One ribbon and one natural detail. Three competing decorations read as a craft project rather than a gift.
- Mismatched tags. A shop-bought gift tag on a hand-wrapped parcel undoes the work. Cut tags from the same paper.
- Fresh foliage added days early. It wilts. Attach it the morning the gift is given.
Conclusion
Buy one roll of plain kraft paper and one ball of twine, and stop buying seasonal rolls altogether. Between them they cover every occasion in the year, and the parcels look better than the printed alternative they replace.
Add exactly one detail per parcel. The restraint is what reads as expensive, and it is also the fastest option, which is rarely true of anything else in this house. For the gifts going inside, DIY handmade gifts and handmade home decor gifts cover the making, macrame gift ideas suit the cloth wrap particularly well, and for something larger there is how to upcycle furniture for a personalised holiday gift.
Frequently Asked Questions
What is the cheapest way to wrap gifts nicely?
Plain kraft paper and twine, finished with one foraged detail such as a fir sprig or a dried orange slice. A roll of kraft costs less than two rolls of printed seasonal paper, lasts for years, and suits every occasion rather than one month of the year.
How do you stop wrapping paper from bunching at the corners?
Cut the sheet to size before wrapping rather than working from the roll, and press every fold flat with a bone folder or the back of a spoon. Bunched corners are almost always the result of too much paper rather than poor technique.
What is furoshiki?
The Japanese practice of wrapping goods in a square cloth, tied with two knots and no tape or cutting. A square two to three times the width of the box is enough, cotton and linen hold a knot best, and the cloth is reused rather than thrown away.
Can you wrap gifts without any tape?
Yes. Cloth wrapping needs none at all, and paper parcels hold perfectly well with twine pulled taut across the seams. Double-sided tape is the next best option where tape is genuinely needed, because none of it shows on the outside.
Is brown paper acceptable for a present?
More than acceptable. Plain brown kraft with one ribbon and one natural detail consistently reads as more considered than printed novelty paper, which is why shops selling expensive goods use it. The restraint is the effect.
Featured image: Nathan Lemon / Wikimedia Commons, CC0, title text added by OKI HERE.