How to Sew a Cushion Cover for Any Size Pillow (Easy Method)
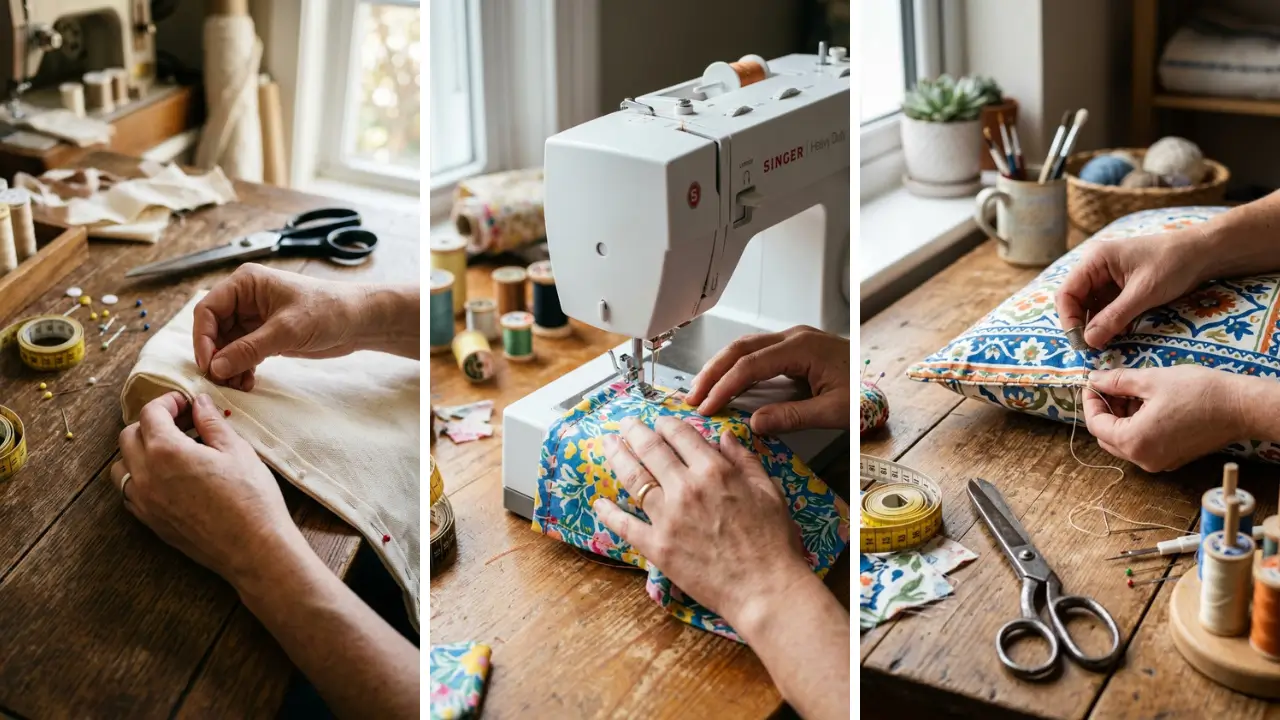
Have you ever looked at a throw pillow and thought, “I could make that myself”? The good news is — you absolutely can. Learning how to sew a cushion cover for any size pillow (easy method) is one of the most satisfying beginner sewing projects out there.
It’s quick, affordable, and the results look like something straight out of a home decor store. Whether you’re refreshing your living room or making DIY handmade gifts for friends and family, a custom cushion cover is always a winning choice. In this guide, you’ll learn exactly how to measure, cut, and sew a cushion cover that fits any pillow — no fancy equipment required.
What You Need Before You Start Sewing
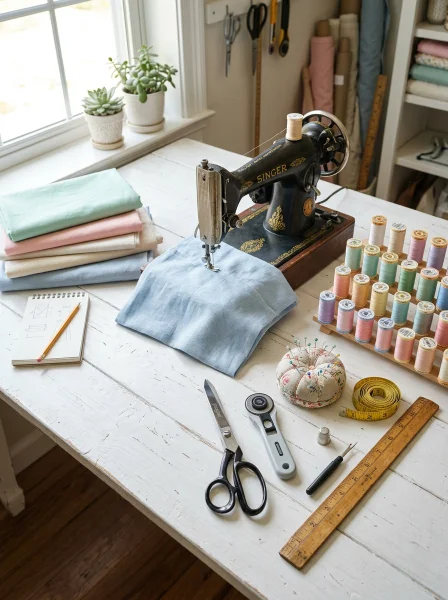
Getting your materials ready is half the battle. The great thing about this project is that you don’t need a lot — just a few basic supplies that most crafters already have at home. Here’s what you’ll need:
- Fabric — cotton, linen, or canvas work best for cushion covers
- Sewing machine (or needle and thread for hand sewing)
- Scissors or rotary cutter
- Measuring tape and ruler
- Pins or fabric clips
- Iron and ironing board
- Zipper or buttons (optional, for a closure)
If you’re on a tight budget, don’t worry. This is one of those dollar store crafts ideas that looks far more expensive than it actually is. You can find affordable fabric at craft stores, thrift shops, or even repurpose old bedsheets and curtains.
How to Measure Your Pillow for a Perfect Fit
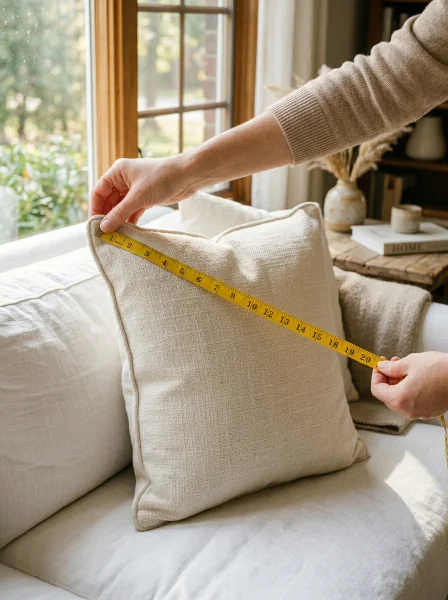
Before cutting any fabric, you need to measure your pillow insert correctly. A poorly measured cover will either be too tight or too loose — and neither looks great. Step 1: Measure the width and height of your pillow insert.
For example, a standard throw pillow might be 18″ x 18″. Step 2: Add 1 inch to each measurement for seam allowance. So an 18″ x 18″ pillow becomes 19″ x 19″ per fabric panel.
Step 3: If you’re making an envelope-style closure (no zipper needed), you’ll cut two overlapping back panels instead of one. Each back panel should be the full width of the pillow plus seam allowance, and about two-thirds the height. This formula works for any pillow size — from tiny 12″ accent pillows to large 24″ floor cushions.
Just plug in your numbers and you’re good to go.
How to Sew a Cushion Cover for Any Size Pillow Step by Step
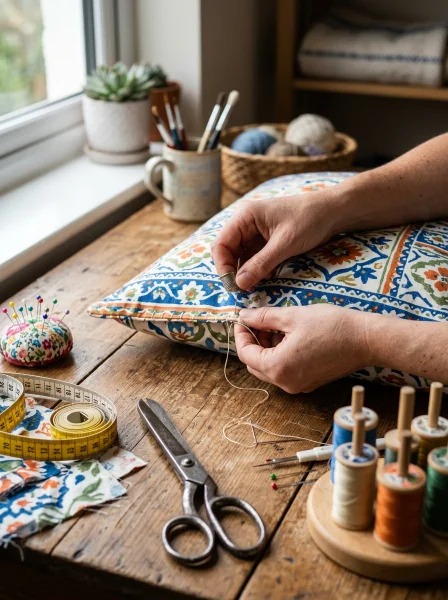
Now for the fun part. This easy method uses an envelope-style back closure, which means no zipper is required. It’s beginner-friendly and gives a clean, professional finish.
Step 1: Cut Your Fabric Panels
Using your measurements, cut one front panel and two back panels from your fabric. Make sure to cut along the grain of the fabric to prevent warping. Press your fabric with an iron before cutting for cleaner edges.
Step 2: Hem the Back Panels
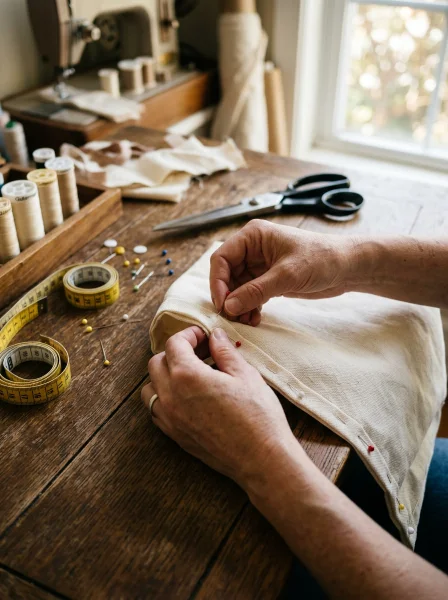
Fold one long edge of each back panel over by 1/2 inch, then fold again by another 1/2 inch to create a clean hem. Press with an iron and sew along the fold. This creates the overlapping envelope opening where you’ll insert the pillow.
Step 3: Assemble the Cover
Lay your front panel face-up on a flat surface. Place the two back panels on top, face-down, so the hemmed edges overlap in the center. The outer edges of all three panels should align perfectly.
Pin everything in place around all four edges.
Step 4: Sew Around the Edges
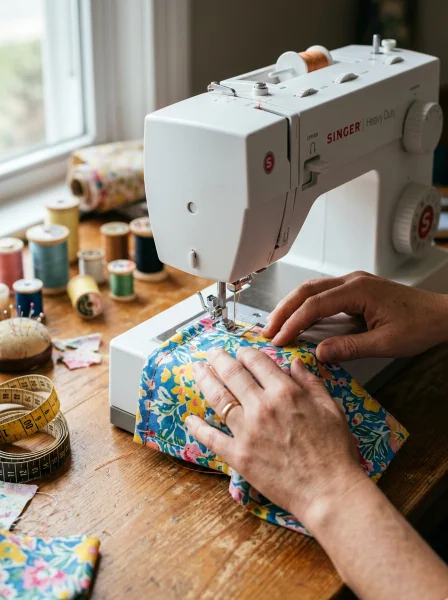
Sew around all four sides using a 1/2 inch seam allowance. Backstitch at the start and end of each seam for durability. When you reach a corner, keep the needle down, lift the presser foot, pivot the fabric, then continue sewing.
Step 5: Trim and Turn
Trim the corners diagonally to reduce bulk, being careful not to cut through your stitching. Turn the cover right-side out through the envelope opening. Use a blunt pencil or chopstick to gently push out the corners for a crisp finish.
Press the entire cover with an iron. And that’s it — your cushion cover is ready! Slide in your pillow insert through the envelope back, and you’re done.
This is genuinely one of the most satisfying fun crafts to make at home even if you’ve never touched a sewing machine before.
Tips for Getting Professional-Looking Results
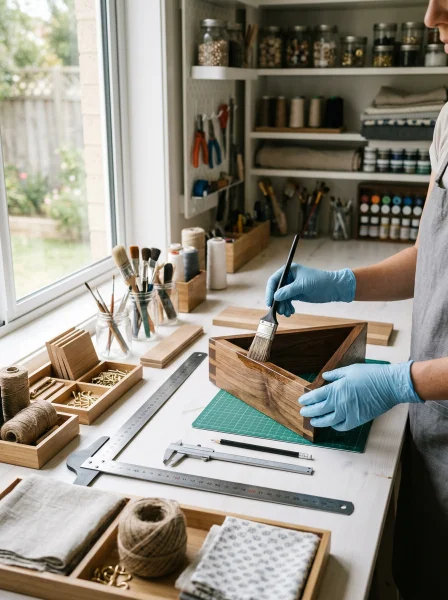
Even a simple project can look polished with a few extra steps. These tips will take your cushion cover from “homemade” to “handcrafted.”
- Pre-wash your fabric before cutting to prevent shrinkage later.
- Use matching thread or go bold with a contrasting color for a decorative touch.
- Press seams open after sewing for a flatter, neater finish.
- Choose the right needle — a universal size 80/12 needle works for most medium-weight fabrics.
- Clip curves if you’re making round or shaped cushion covers to help the fabric lie flat.
Once you’ve mastered the basic rectangle, you can experiment with piping, ruffles, button closures, or patchwork panels. The possibilities are endless, and this skill opens the door to so many other home craft projects quick wins you can tackle over a weekend.
Fabric Ideas That Work Beautifully for Cushion Covers
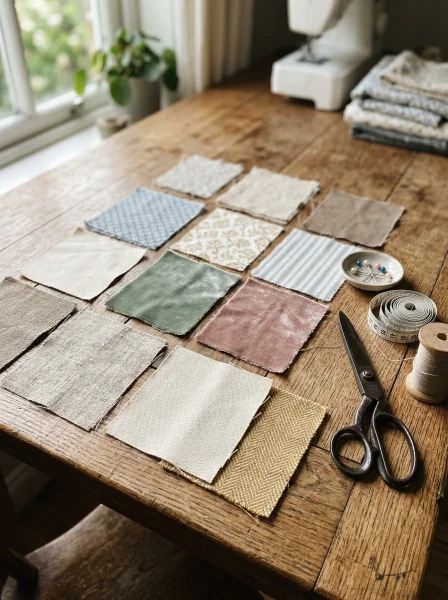
Choosing the right fabric makes a huge difference in how your finished cushion looks and feels. Here are some popular options: Cotton canvas is durable and comes in hundreds of colors and prints — perfect for everyday use. Linen has a natural, textured look that suits modern and farmhouse-style interiors.
Velvet adds a luxurious, rich feel and is surprisingly beginner-friendly to sew. Outdoor fabric is weather-resistant, making it ideal for patio or garden cushions. You can also mix and match fabrics for a patchwork look, or use fabric paint and stamps to customize a plain cover.
If you’re looking for handmade gift craft ideas, a personalized cushion cover with someone’s favorite colors or a printed design is a truly thoughtful and memorable present.
Common Mistakes and How to Avoid Them
Even experienced sewers make mistakes on new projects. Knowing what to watch out for saves time and fabric. Mistake 1: Not adding seam allowance.
Always add at least 1/2 to 1 inch to your measurements. Forgetting this step results in a cover that’s too small for your pillow insert. Mistake 2: Skipping the iron.
Pressing fabric before and after sewing makes a dramatic difference in the final look. It’s a step that’s easy to skip but hard to fake. Mistake 3: Sewing too fast at corners.
Slow down when approaching corners and pivot carefully. Rushing leads to uneven angles that are noticeable on the finished piece. Mistake 4: Not backtacking.
Always backstitch a few stitches at the beginning and end of every seam. Without this, your seams can unravel with use.
Conclusion
Knowing how to sew a cushion cover for any size pillow (easy method) is a skill that pays off every single time. Once you’ve made your first cover, you’ll wonder why you ever bought them from a store. The process is simple: measure accurately, cut cleanly, hem the back panels, assemble, sew, and turn.
That’s all there is to it. Whether you’re updating your home decor, crafting gifts, or just exploring a new hobby, this project delivers big results for minimal effort and cost. The envelope closure method in particular is a game-changer for beginners — no zippers, no stress, just clean and beautiful cushion covers every time.
The best part? Once you’ve got the technique down, you can make covers for every room in your house in a single afternoon. So grab your fabric, fire up that sewing machine, and start creating!
Ready to dive into more creative projects? Drop a comment below and tell us what fabric you’re planning to use for your first cushion cover. Share a photo of your finished project — we’d love to see what you create!
Frequently Asked Questions
Q: How do I know what size to cut my fabric when learning how to sew a cushion cover for any size pillow? A: Simply measure your pillow insert’s width and height, then add 1 inch to each measurement to account for seam allowance. For example, a 20″ x 20″ pillow requires fabric panels cut to 21″ x 21″.
This formula works universally regardless of pillow size. Q: Can I sew a cushion cover by hand without a sewing machine? A: Yes, absolutely.
A basic running stitch or backstitch works well for hand sewing cushion covers. The backstitch is stronger and more durable, so it’s recommended for seams that will experience regular use. Just make sure to use strong thread and small, even stitches.
Q: What is the easiest closure method for a beginner using the easy sewing method for cushion covers? A: The envelope-style closure is by far the easiest method for beginners. It requires no zipper or buttonholes — just two overlapping back panels that are hemmed.
The pillow insert slides in through the overlapping gap, and the weight of the pillow keeps everything in place. Q: How much fabric do I need to make one cushion cover? A: For a standard 18″ x 18″ pillow, you’ll need approximately 1 yard of fabric, which gives you enough for the front panel and two back panels with some extra to spare.
For larger pillows like 24″ x 24″, plan for about 1.5 yards to be safe. Q: Can I wash a homemade cushion cover in the washing machine? A: Yes, as long as you pre-wash your fabric before sewing and use quality thread.
Most cotton and linen cushion covers can be washed on a gentle cold cycle and air dried. Avoid high heat in the dryer, as this can cause shrinkage or distort the shape of the cover over time.