How to Use a Cricut Paper Home Decor (Beginner Project Ideas)
Ever looked at those beautifully decorated homes on Pinterest and wondered, “How do they make that?” The answer, more often than not, is a Cricut machine. Learning how to use a Cricut to make paper home decor (beginner project ideas included) is one of the most rewarding skills you can pick up — and it’s way more approachable than it looks. Whether you want to make wall art, custom banners, or decorative boxes, a Cricut can do it all with precision you’d never achieve by hand.
In this guide, you’ll discover exactly how to get started, which paper projects are perfect for beginners, and how to turn simple cuts into stunning home accents. Let’s dive in.
What Is a Cricut and Why Is It Perfect for Paper Home Decor?

A Cricut is an electronic cutting machine that follows digital designs to cut materials like paper, cardstock, vinyl, and more — with incredible accuracy. Think of it as a smart pair of scissors guided by a computer. For home decor, it’s a game-changer.
Paper is actually one of the best materials to start with on a Cricut. It’s inexpensive, widely available, and forgiving for beginners. You can experiment freely without worrying about wasting expensive materials.
The machine works alongside a free app called Cricut Design Space, where you choose or create designs, set your material type, and send the job to the machine. It’s intuitive enough that most beginners feel confident within their first session. Plus, if you love fun crafts to make at home, the Cricut opens up a whole new world of creative possibilities — especially for decorating your living space on a budget.
Essential Supplies You Need Before You Start

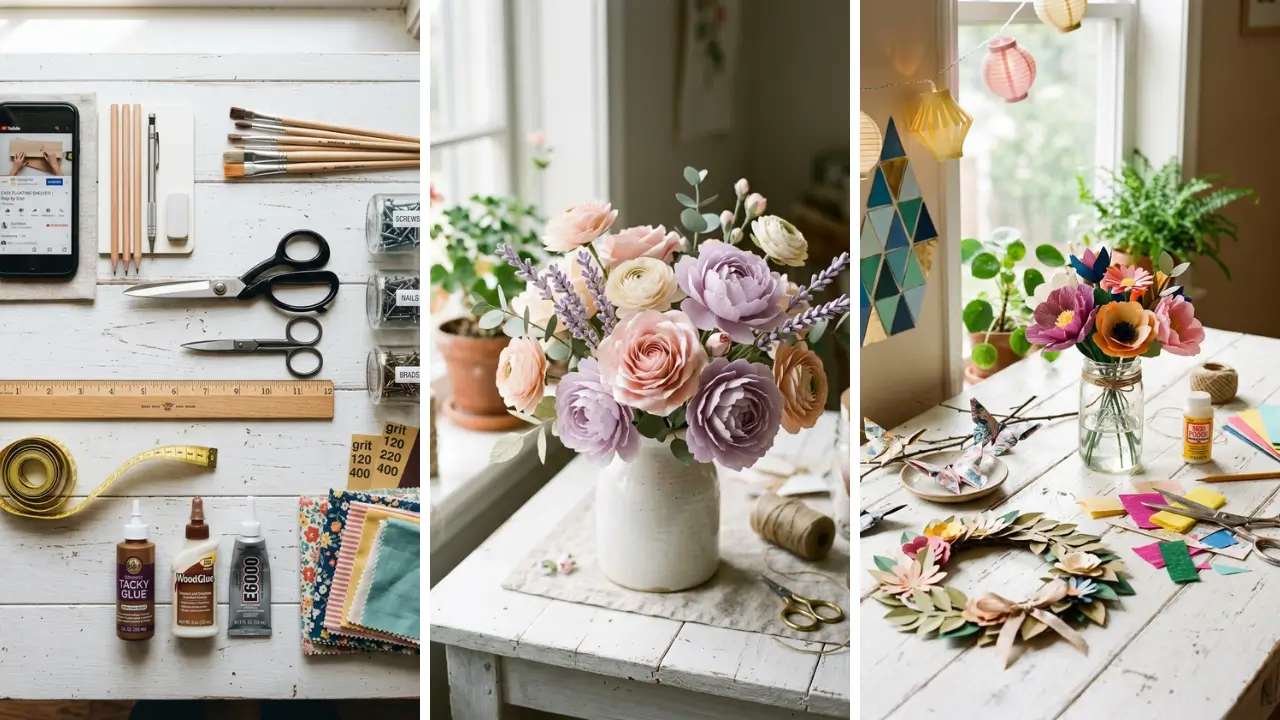
Before your first paper cut, gathering the right supplies will save you a lot of frustration. Here’s what every beginner needs:
- Cricut machine — The Cricut Joy, Explore 3, or Maker 3 are all great beginner options.
- Cutting mat — Use a Light Grip mat for standard paper and cardstock.
- Fine-Point Blade — Comes included with most Cricut machines and handles paper perfectly.
- Cardstock and decorative paper — Pick up a variety pack so you can experiment with colors and textures.
- Bone folder or weeding tool — Helps you fold and remove small paper pieces cleanly.
- Adhesive or tape runner — Essential for assembling 3D paper decor pieces.
You don’t need to spend a fortune upfront. Many dollar store crafts ideas translate perfectly into Cricut-friendly materials — dollar store cardstock and scrapbook paper work beautifully in most beginner projects.
How to Use a Cricut to Make Paper Home Decor: Step-by-Step for Beginners

Understanding the basic workflow is the foundation for every project. Once you’ve done it a few times, the process becomes second nature.
Step 1: Open Cricut Design Space and Choose a Design
Launch the Cricut Design Space app on your computer or tablet. You’ll find thousands of ready-to-cut designs — many are free, and others require a small purchase. For home decor, search terms like “wall art,” “paper flowers,” or “shadow box” will pull up tons of options.
You can also upload your own SVG or PNG files if you want to create something fully custom. This is great for personalizing your decor with names, quotes, or specific patterns.
Step 2: Customize Your Design

Once you’ve selected a design, resize it to fit your project. Cricut Design Space lets you adjust dimensions, change colors, and layer multiple elements together. For paper decor, always double-check that your design fits within your paper size before cutting.
Color-coding your layers matters here. If your design has multiple colors, Design Space will prompt you to cut each color on a separate sheet — keeping everything organized as you go.
Step 3: Set Your Material and Load the Mat
Select your material type (e.g., “Cardstock” or “Light Cardstock”) from the material settings. This tells the machine how much pressure to use. Place your paper smoothly on the cutting mat, load it into the machine, and press the flashing button to begin cutting.
Always do a test cut first — especially with a new paper type. A small test cut in the corner of your mat confirms the blade depth is right before committing to your full design.
Step 4: Weed and Assemble

After cutting, carefully remove the mat from the machine and peel the paper off — not the other way around. Use a weeding tool to remove any small internal pieces. Then assemble your design using a bone folder for crisp folds and adhesive to join pieces together.
This is where your paper home decor really comes to life. Take your time — rushing the assembly is the most common beginner mistake.
5 Easy Beginner Paper Home Decor Projects to Try First

Now for the fun part. These five projects are specifically chosen because they’re achievable for beginners, look impressive, and use minimal materials.
1. Paper Wall Quote Art
Cut a motivational quote in a bold font from black cardstock, then mount it on a contrasting background. Frame it, and you have custom wall art that looks store-bought. This is one of the quickest wins for new Cricut users.
2. 3D Paper Flowers

Paper flowers are a perennial favorite for a reason — they look stunning, last forever, and cost almost nothing to make. Cricut Design Space has several free paper flower templates. Roll, curl, and glue the petals for a lush, dimensional look perfect for wall displays or centerpieces.
3. Custom Paper Lanterns
Cut geometric lantern shapes from vellum or translucent paper, fold along the score lines, and assemble. Add a battery-operated tea light inside for a soft, cozy glow. These work beautifully as seasonal decor or everyday accents.
4. Decorative Gift Boxes and Bags
These double as decor and function. Cut and assemble paper gift boxes in coordinating colors for a styled shelf display. They’re also perfect when you want to give DIY handmade gifts that feel truly personal and polished.
5. Paper Garlands and Banners
From seasonal holiday banners to everyday “Home Sweet Home” garlands, paper cutting makes these incredibly easy. String your cut pieces along twine or ribbon for instant charm. These are among the most popular home craft projects quick enough to finish in an afternoon.
Pro Tips to Get Better Results on Your First Few Projects

Even with the best tools, small habits make a big difference in your output quality. Keep these tips in mind as you build your skills:
- Always use a fresh blade for intricate paper designs. A dull blade tears instead of cuts cleanly.
- Mirror your design only when using iron-on vinyl — not needed for paper projects.
- Store your mats properly — cover them with the clear plastic sheet they came with to preserve stickiness.
- Use scoring lines whenever your design requires folding. Cricut Design Space lets you add score lines that the machine traces before cutting, creating perfectly crisp folds.
- Keep your workspace clean and flat. Paper decor assembly requires a flat surface to avoid warping.
If you’re looking for more project inspiration beyond just Cricut work, there are plenty of handmade gift craft ideas that pair beautifully with Cricut-made paper decor — think custom gift tags, hand-stamped cards, and decorated boxes all working together.
How to Scale Up: Moving from Beginner to Confident Cricut Creator
Once you’ve nailed a few basic paper projects, it’s natural to want more. The good news: your Cricut grows with you. Start exploring more complex multi-layer designs, experiment with patterned cardstock, or try combining paper with other materials like wood veneer or fabric.
You can also start selling your Cricut-made decor or offering personalized pieces as gifts. Paper home decor made on a Cricut is consistently popular at craft fairs, markets, and online shops — so your hobby can easily become more. The key is to keep experimenting.
Every project teaches you something new, and the skill gap between beginner and intermediate closes faster than you’d expect.
Conclusion: Your Cricut Paper Decor Journey Starts Now
Learning how to use a Cricut to make paper home decor (beginner project ideas) is genuinely one of the most accessible crafting skills out there. With just a machine, some cardstock, and a little creativity, you can transform any room in your home with custom, one-of-a-kind pieces. Start with a simple wall quote or paper flower, nail the basics, and build from there.
The best part? Paper projects are low-risk and high-reward. Even if a cut doesn’t come out perfectly, you’ve only spent a sheet of paper and a few minutes.
That’s the beauty of starting small and growing your skills over time. Whether you’re decorating your own space or making pieces to share, your Cricut is a tool that keeps delivering value for years. So load up that first design, hit the go button, and see what you can create.
Ready to get crafting? Try one of the beginner projects from this guide this weekend and share your result in the comments below! Tag a friend who’s been wanting to try Cricut — because everything is better when you craft together.
Frequently Asked Questions
Q: What is the easiest paper home decor project to make with a Cricut for beginners? A: Paper wall quotes are the easiest starting point for most beginners. You simply choose a font, type your quote in Cricut Design Space, cut it from cardstock, and frame it.
The whole process takes under 30 minutes and the result looks professionally made. Q: How do I use a Cricut to make paper home decor without expensive materials? A: You absolutely don’t need to splurge on supplies.
Standard cardstock from craft stores or even dollar stores works perfectly for most beginner paper projects. Cricut Design Space also has free designs, so your biggest investment is the machine itself — materials can stay very budget-friendly. Q: Which Cricut machine is best for paper cutting and home decor projects?
A: The Cricut Explore 3 is an excellent all-around choice for beginners focused on paper and home decor. It’s fast, accurate, and compatible with a wide range of paper weights. The Cricut Joy is a more compact, affordable option if you’re working with smaller projects.
Q: Can I use a Cricut to make paper home decor as gifts? A: Absolutely — Cricut-made paper decor makes incredibly thoughtful and personalized gifts. Custom wall art, decorative boxes, and paper flower arrangements are all popular choices.
The ability to personalize designs with names or dates makes these gifts feel extra special and intentional. Q: How long does it take to learn how to use a Cricut to make paper home decor as a complete beginner? A: Most beginners feel comfortable with the basic workflow after just one or two projects.
The Cricut Design Space interface is user-friendly, and paper is a forgiving material to learn on. Within a weekend of practice, you can go from unboxing your machine to completing several finished home decor pieces.