Embroidery for Beginners: 12 Easy Hoop Projects
Quick summary
- Fabric pulled drum-tight in the hoop fixes more of the usual beginner problems than any change of technique does.
- Six-strand thread is meant to be split, and nobody tells you that before the first attempt.
- Leaving a finished piece in its frame for months presses a ring into the cloth that rarely comes out.
Quick answer: Buy a wooden hoop, a scrap of cotton, a pack of thread, and a needle with a long eye. Learn the running stitch, backstitch, satin stitch, French knot and lazy daisy, and those five cover almost every pattern a beginner will meet. A first hoop takes an evening, and the one thing that decides how it looks is how tightly the fabric is held.
Have you ever picked up a hoop kit, pulled the thread through once, and found the fabric puckering around every stitch? You are not alone. Almost every beginner blames their stitching for that, and almost every time the real cause is fabric that was never pulled tight enough to begin with.
These twelve projects run from a single stitch upward. Each one lists what it takes, how long it needs, and the detail that decides whether it ends up on a wall or in a drawer.
What You Need to Start
Five items, and three of them come in the cheapest kit on the shelf.
- A wooden hoop, 15 to 20cm. Big enough to work in comfortably, small enough to finish. Wood grips better than plastic, which matters while you are still learning how tight is tight enough.
- Cotton or linen fabric. A plain woven cotton with a tight weave is ideal. Avoid stretchy jersey entirely, because it moves under the needle and nothing stays where you put it.
- Stranded cotton thread. Each length is six strands twisted together, and most stitching uses two or three. Pulling them apart is the step nobody mentions, and leaving all six makes every line look clumsy.
- Embroidery needles. Look for a long eye, which is what makes threading several strands possible. A blunt-tipped needle is for counted work on open fabric; a sharp one is for everything else.
- A water-soluble marker. Draw the design on, stitch over it, rinse it off. Pencil does not wash out reliably and shows along every edge.
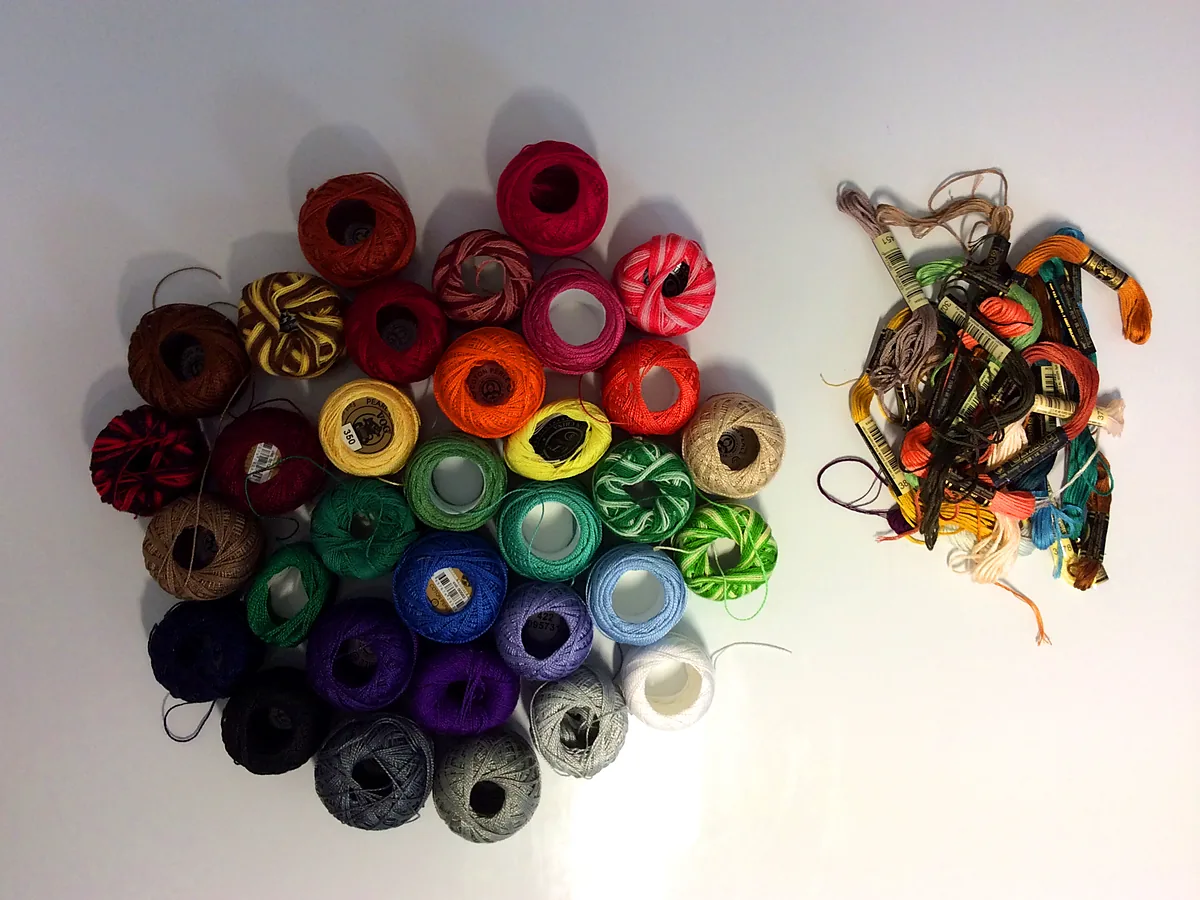
Thread multiplies fast, and the wider habit of keeping supplies findable is covered in the best craft supplies for beginners.
Embroidery or Cross Stitch?
Both use a hoop, thread and a needle, and they ask completely different things of you. Picking the wrong one is why some people conclude they are bad at this.
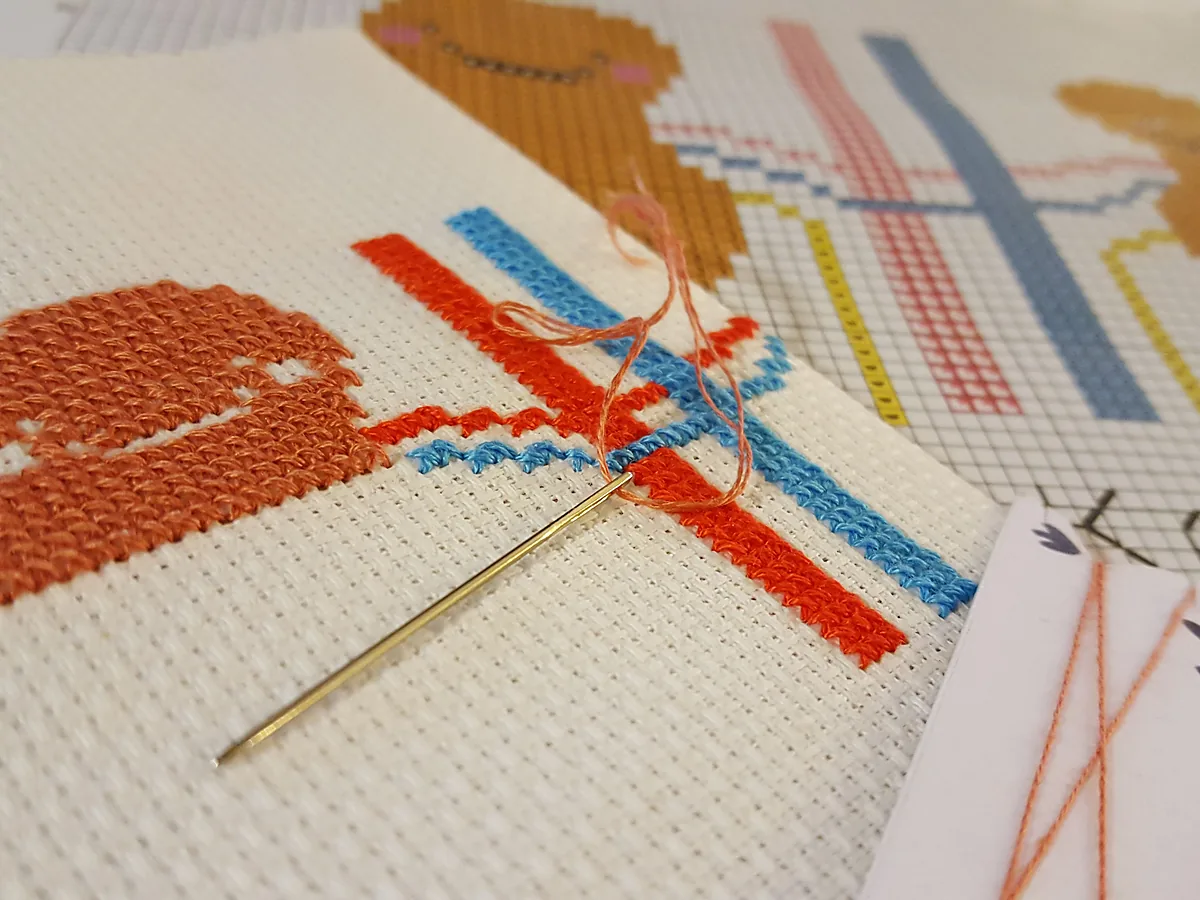
Cross stitch is counted work. You stitch identical X shapes onto fabric with a visible grid of holes, following a chart square by square. There is no drawing involved and no judgement about where a line should go, which makes it the gentler start for anyone who finds a blank piece of cloth intimidating. The trade-off is that it only produces what the chart contains.
Surface embroidery is freehand. You draw a design, then choose stitches to fill and outline it. It is far more flexible and far more forgiving of wobbly lines, since nothing is measured against a grid. It also asks you to decide things, which is exactly what some people want and others find exhausting after a long day.
If you like following instructions precisely, start with cross stitch. If you would rather make something up, start with surface embroidery. Most of the projects below work either way.
Five Stitches That Cover Almost Everything
Patterns name dozens of stitches. These five between them handle the large majority of beginner designs, and each takes a few minutes to learn.
- Running stitch. In, out, along. Dashed lines, borders, and the stitch you use to gather fabric when finishing a hoop.
- Backstitch. A solid unbroken line, made by coming up ahead and going back into the end of the last stitch. This is your outline stitch for everything.
- Satin stitch. Parallel stitches laid side by side to fill a shape. Keep the shape small, because long satin stitches snag.
- French knot. Wrapped around the needle twice, then pulled through. Flower centres, eyes, scattered texture. It fails when the thread is held slack, not when it is held wrong.
- Lazy daisy. A single looped petal, held down by a tiny stitch at the tip. Five or six of these make a flower, and it is the most satisfying thing to learn in a first hour.
12 Easy Hoop Projects
1. Single-Stitch Sampler
Needs: scrap fabric, three colours. Time: an evening.
Rows of each stitch across a scrap, practised until they look even. It is not decorative and that is the point: nothing is riding on it, so your hands can be clumsy in peace.
Watch out for: treating it as a throwaway. Keep it, because it becomes the reference you check against later.
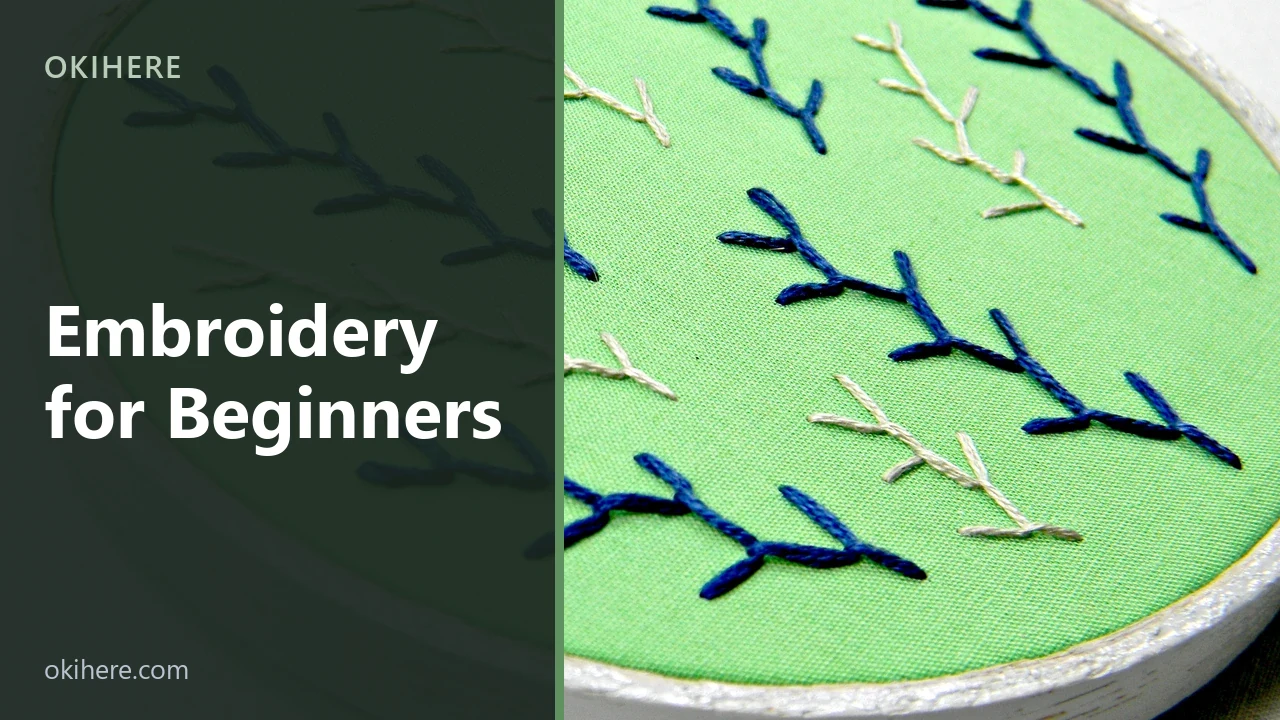
2. Sprig Pattern Hoop
Needs: 15cm hoop, two thread colours. Time: two evenings.
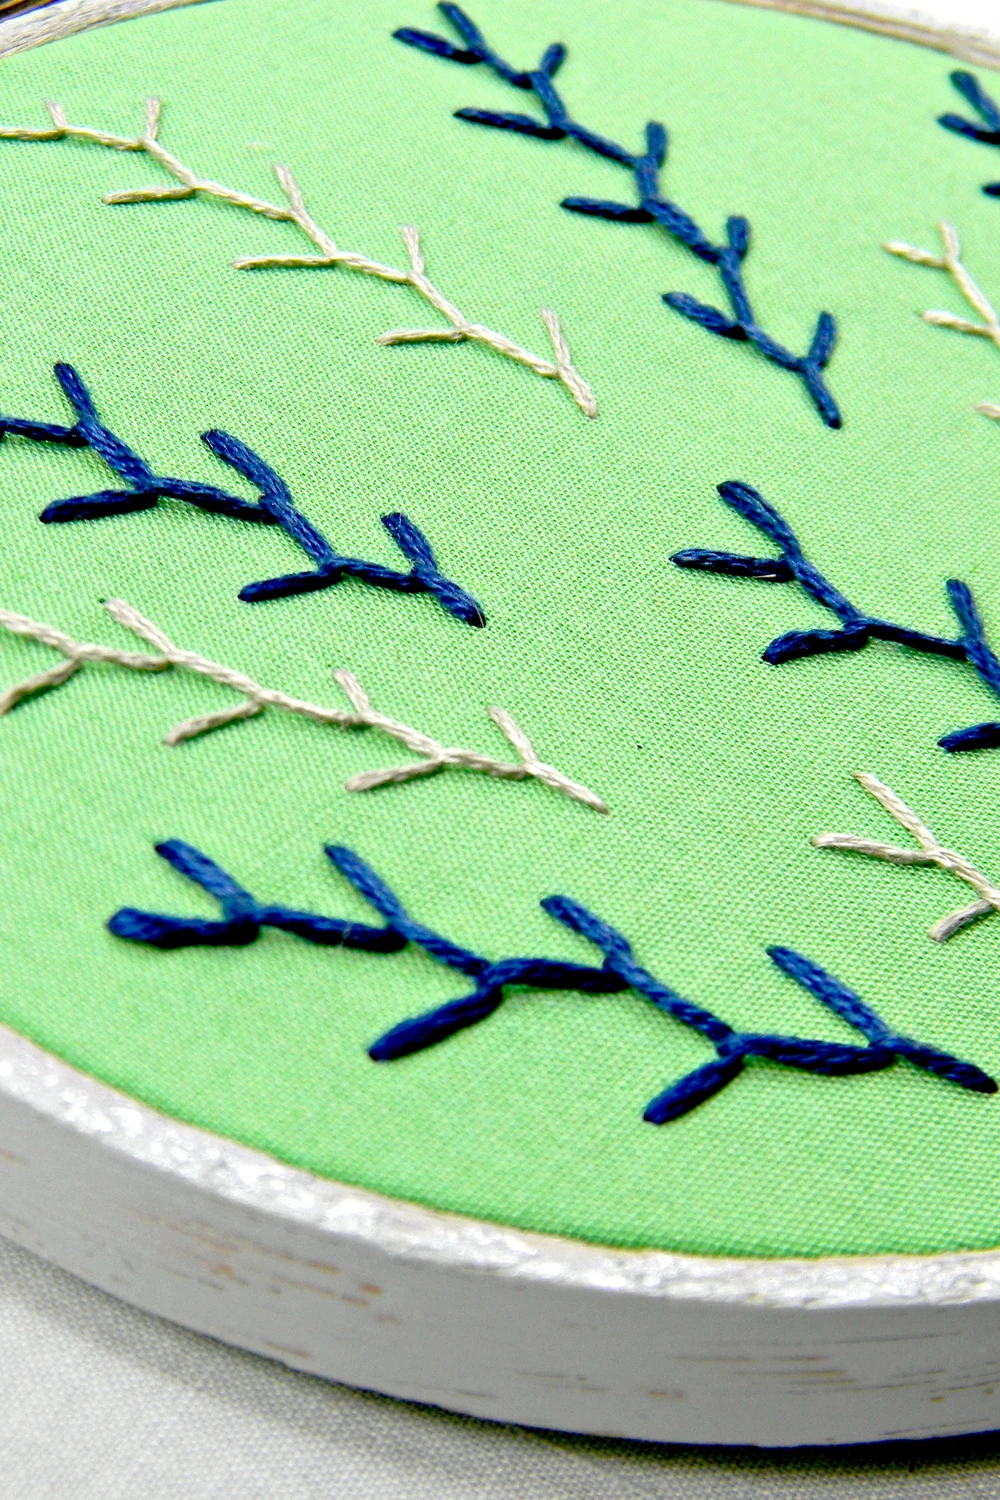
Small repeated branches scattered across plain fabric, each one a stem with short angled stitches off it. Repetition hides unevenness, and the result looks far more deliberate than the effort suggests.
3. Single Word in Backstitch
Needs: hoop, one colour, a printed word to trace. Time: an evening.
Write the word with a water-soluble pen and backstitch along it. Lettering teaches line control faster than any pattern, because mistakes in a curve are obvious immediately.
4. Flower Bouquet Hoop
Needs: hoop, four colours. Time: a weekend.
Lazy daisy petals, French knot centres, backstitch stems. Three stitches, one finished piece, and the clearest demonstration that a small vocabulary goes a long way.
5. Embroidered Tea Towel
Needs: a plain cotton towel, two colours. Time: an evening.
A small motif in one corner turns a plain towel into something given away rather than used up. Stitch through a single layer and keep the back tidy, since it will be washed often.
6. Monogram Patch
Needs: fabric scrap, one colour, iron-on backing. Time: an evening.
Satin stitch a letter, trim close, and back it with fusible webbing. It fixes a hole in a jacket and looks intentional while doing it.
7. Hoop Wall Art
Needs: 20cm hoop, three colours. Time: a weekend.
The hoop stays as the frame, which is why this is the most common finished form. Trim the fabric with a 3cm margin, run a line of running stitch around the edge, and pull it tight at the back.
The decorative side of this is covered in embroidery hoop boho wall art, which is worth reading for the arrangement before you commit to a size.
8. Mending a Visible Tear
Needs: the damaged garment, contrasting thread. Time: an hour.
Running stitch in rows across the hole, in a colour that announces itself. Visible mending is the one project here that needs no design decisions at all, since the damage sets the shape.
9. Constellation Hoop
Needs: dark fabric, pale thread. Time: an evening.
French knots for stars, single straight stitches joining them. It is forgiving in a way almost nothing else is, because no constellation looks wrong.
10. Cross Stitch Bookmark
Needs: a strip of open-weave fabric, a simple chart. Time: two evenings.
Narrow, short, and finished quickly. The best way to find out whether counted work suits you before buying a large kit.
11. Embroidered Cushion Panel
Needs: fabric, three colours, a cushion cover. Time: a weekend.
Stitch the panel first, then make it up. Doing it the other way round means wrestling a finished cover into a hoop.
The construction half of this is in how to sew a cushion cover.
12. Stitched Fabric Wall Hanging
Needs: a larger fabric panel, dowel, mixed threads. Time: a weekend.
Scaling up past the hoop. Work in sections, moving the hoop as you go, and accept that the fabric will need pressing at the end.
It sits alongside the approaches in these textile wall art ideas and quilted wall art.
What Goes Wrong, and Why
Four problems account for nearly every disappointing first hoop, and none of them is about talent.
- Puckered fabric is loose fabric. It should sound faintly like a drum when tapped. Retighten it every twenty minutes, because it slackens as you work whether you notice or not.
- Lines that look thick and clumsy mean all six strands went in. Separate them, use two for fine lines and three for bold ones, and the same pattern suddenly looks like the photograph.
- Thread that knots and frays was cut too long. Keep lengths to about 45cm. Anything more twists on itself and wears thin before it is used up.
- A ring pressed into a finished piece comes from storing it in the hoop for months. If a piece is going to sit for a while, take it out, and press the crease with a damp cloth before it sets.
The pattern behind most of these is the same one described in beginner crafting mistakes and how to avoid them.
Common Questions
How long does it take to learn embroidery?
The five stitches above take an afternoon between them. Evenness takes longer, and it arrives through repetition rather than through any particular technique, which is why a practice sampler is worth more than a careful first project.
What fabric is best for a first hoop?
Plain woven cotton with a tight weave, in a light colour so the design shows. Linen is lovely and slightly harder, since its looser weave lets stitches shift. Keep stretchy fabric for later or never.
Should the back be neat?
Only when it will be seen or washed. Anchor threads with two or three tiny stitches under the stitching rather than tying a knot, because knots create bumps and can pull through loose weave. A tidy back also stops long trailing threads shadowing through pale fabric.
Can you embroider on clothes?
Yes, and mending is one of the better uses for it. Work through a single layer, stabilise thin or stretchy fabric with a backing, and test the thread colour for bleeding before putting it near anything pale.
Is a kit worth buying first?
For a first project, usually yes. A kit removes the two decisions most likely to go wrong, which are fabric choice and thread weight, and what you learn from it transfers to everything afterwards.
Where to Start Tomorrow
Make the sampler. It costs one scrap of fabric and an evening, it teaches all five stitches, and it removes the pressure of a first attempt having to look like anything.
After that, the sprig hoop is the fastest route to something worth hanging. For a craft that works in the same corner of an evening but needs no thread at all, polymer clay ideas starts from a similar place, and fabric crafts for beginners covers what else that cupboard of offcuts can become.
Featured image: Hey Paul Studios / Wikimedia Commons, CC BY 2.0, title text added by OKI HERE.