10 DIY Gallery Wall Ideas for Small Spaces That Maximize Style
Struggling to decorate your small apartment or cozy room without overwhelming the space? A gallery wall might seem impossible in tight quarters, but it’s actually the perfect solution for adding personality without sacrificing precious square footage. The secret lies in choosing the right layouts, frames, and creative arrangements that complement rather than clutter your walls.
These 10 DIY gallery wall ideas for small spaces will help you transform any blank wall into a stunning focal point. Whether you prefer minimalist designs or eclectic collections, there’s an idea here for every style and budget. Let’s dive in…
1. Minimalist Grid Layout

- 4-6 matching black frames
- Black and white prints
- Picture hanging strips
- Level tool
A symmetrical grid arrangement creates visual order in compact spaces. Choose identical frames in one consistent size to maintain a clean aesthetic. This approach works beautifully above sofas or beds where wall space is limited.
Stick to black and white photography or simple line art for maximum impact. The monochromatic palette prevents visual chaos while still making a bold statement. Space your frames exactly two inches apart for professional results.
Use painter’s tape to map out the arrangement before committing to nail holes.
2. Floating Shelf Display

- Narrow floating shelves
- Assorted small frames
- Mini plants or decorative objects
- Wall anchors
Floating shelves offer incredible flexibility for small gallery walls. You can easily swap out artwork, add seasonal decorations, or rearrange pieces without drilling new holes. This makes them perfect for renters or anyone who loves changing their decor frequently.
Install two or three narrow ledge shelves stacked vertically. Layer frames of varying heights and lean them against the wall for a relaxed, curated look. Mix framed artwork with small sculptural pieces and tiny potted succulents.
This creates depth and visual interest without overwhelming your limited wall space. If you enjoy creating decorative pieces, explore fun crafts to make at home for unique display items.
3. Vertical Stack Arrangement

- 3-4 frames in graduated sizes
- Matching mats
- Picture wire
- Single wall hook
When horizontal space is scarce, think vertically. A stacked column of frames draws the eye upward and makes ceilings appear taller. This technique works wonderfully in narrow hallways or beside doorways.
Choose frames that graduate in size from largest at the bottom to smallest at top. This creates natural visual balance and grounding for the arrangement. Use consistent mat colors throughout all frames to unify the collection.
White or cream mats brighten small spaces while creating elegant breathing room around each artwork.
4. Corner Gallery Installation
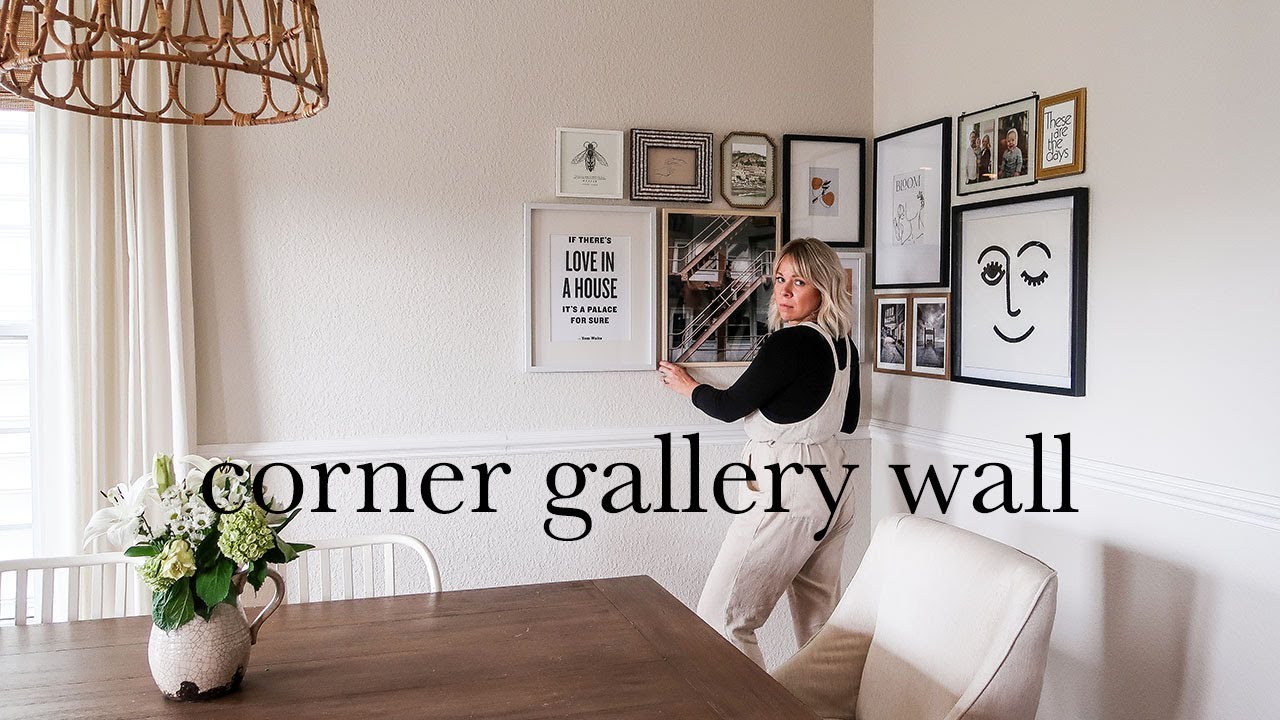
- Mixed frame sizes
- Corner-friendly artwork
- Picture hanging hardware
- Measuring tape
Corners are often overlooked dead zones in small rooms. Transform these awkward angles into stunning gallery corners that wrap around both walls. This clever technique maximizes typically wasted space.
Start with a larger piece on one wall and let smaller frames cascade around the corner. The asymmetrical flow creates dynamic movement and visual intrigue. Choose artwork that shares a cohesive color palette to tie the corner installation together.
Warm earth tones or cool blues work particularly well for creating unity across multiple pieces.
5. Washi Tape Frame Alternative

- Decorative washi tape
- Postcards or prints
- Scissors
- Ruler
Skip traditional frames entirely with this renter-friendly washi tape technique. Simply tape your artwork directly to the wall and create decorative borders using colorful washi tape. It’s damage-free and completely customizable.
Mix different tape patterns for an eclectic gallery wall aesthetic. Geometric patterns, florals, and solid colors can all work together beautifully. This method is incredibly budget-friendly and perfect for frequently rotating artwork.
Swap out seasonal photos or your latest creative projects whenever inspiration strikes. These home craft projects quick ideas can provide fresh artwork for your rotating display.
6. Clipboard Gallery System

- Wooden or acrylic clipboards
- Spray paint (optional)
- Sawtooth hangers
- Interchangeable art prints
Clipboards create an industrial-chic gallery wall that’s endlessly changeable. Simply clip new artwork whenever you want a fresh look. This system is ideal for displaying children’s artwork, photography, or rotating inspirational quotes.
Paint your clipboards in matching colors for a cohesive aesthetic. Matte black, white, or metallic gold all create sophisticated looks in small spaces. Arrange clipboards in a loose grid pattern with slight variations in spacing.
This creates intentional imperfection that feels collected rather than manufactured.
7. Mirror and Art Combination

- Small decorative mirrors
- Complementary artwork
- Mixed frame styles
- Heavy-duty wall anchors
Incorporate small mirrors into your gallery wall to bounce light and create the illusion of more space. This technique is particularly effective in dark corners or rooms with limited natural light. Choose mirrors in interesting shapes like sunbursts, hexagons, or vintage ornate frames.
Mix them thoughtfully with your artwork for visual variety. Position mirrors to reflect windows or light sources for maximum brightening effect. This strategic placement makes small rooms feel significantly more open and airy.
8. Polaroid String Display
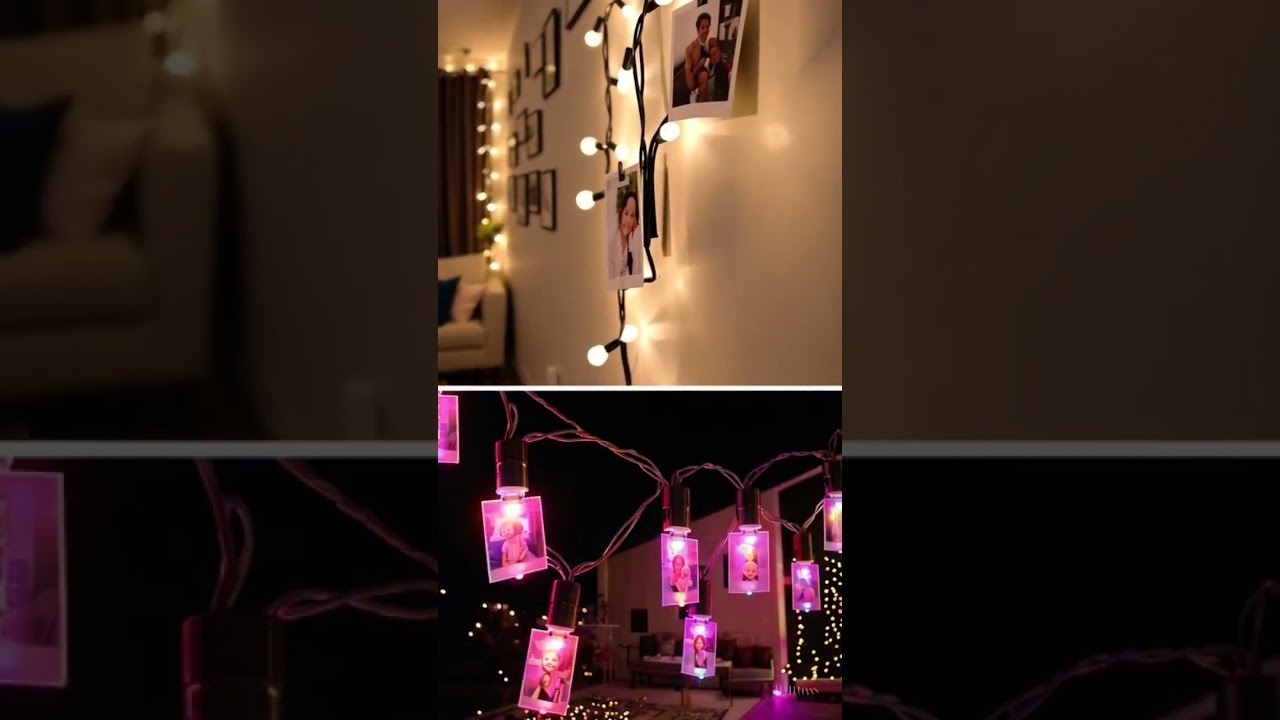
- Twine or fairy lights
- Mini clothespins
- Polaroid or 4×6 photos
- Small nails or hooks
Create a whimsical string photo display that adds personality without permanent commitment. Hang twine horizontally and clip your favorite photos along the line. This casual approach suits bohemian and eclectic decorating styles perfectly.
Swap twine for fairy string lights to add ambient warmth to your gallery. The soft glow transforms your photo display into a cozy nighttime feature. Layer multiple strings at different heights for a cascading effect.
This creates visual depth and allows you to display more memories in tight spaces. Consider adding handmade gift craft ideas like personalized photo prints for a meaningful touch.
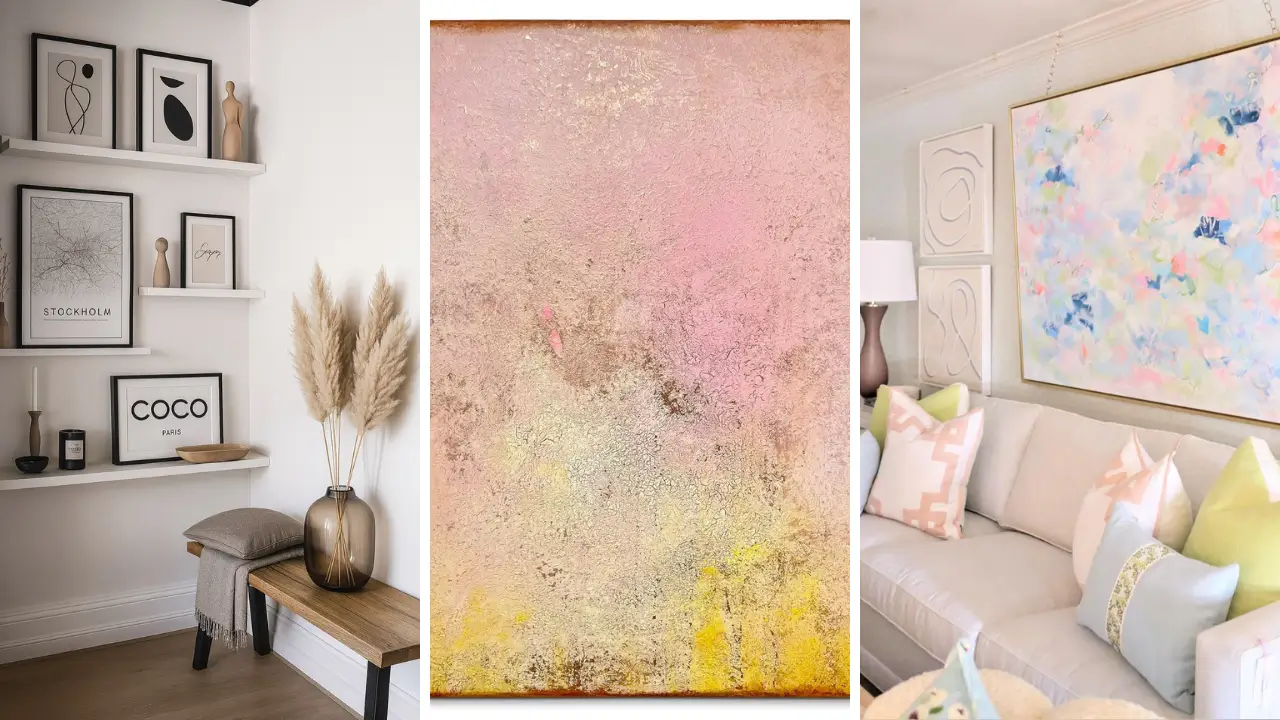
9. Single Statement Piece

- One oversized frame or canvas
- Statement artwork
- Heavy-duty mounting hardware
- Stud finder
Sometimes less truly is more. A single dramatic artwork can make a bigger impact than a cluttered collection. Choose one piece that speaks to you and let it command attention in your small space.
Select artwork with bold colors or interesting textures that draw the eye immediately. Abstract pieces, large photographs, or graphic prints all work beautifully as solo statements. Position your statement piece at proper eye level and ensure adequate wall breathing room around it.
This negative space actually enhances the artwork’s visual impact. For inspiration on creating your own statement piece, check out these large DIY wall art ideas that work beautifully in any space.
10. Mixed Media Textured Wall

- Woven baskets or textile art
- Framed prints
- 3D sculptural elements
- Varied hanging hardware
Combine different textures and mediums for a richly layered gallery wall. Mix woven baskets, framed artwork, and three-dimensional objects for an eclectic collected-over-time aesthetic. This approach adds incredible visual depth to small spaces.
Include natural elements like woven grass baskets or driftwood pieces alongside traditional frames. The textural contrast creates sophisticated visual interest without requiring additional square footage. Maintain cohesion through a shared color palette even when mixing wildly different mediums.
Earth tones, neutrals, or a specific accent color can tie diverse elements together beautifully. Creating personalized pieces makes wonderful DIY handmade gifts for friends who appreciate unique wall decor.
These 10 DIY gallery wall ideas for small spaces prove that limited square footage doesn’t mean limited style. From minimalist grids to textured mixed media displays, there’s an approach for every aesthetic preference and skill level. Grab your frames, prints, and hanging supplies and start creating your perfect gallery wall today!
Share your favorite ideas in the comments below and let us know which technique you’ll try first. Rate this post if you found it helpful!