20 Large DIY Wall Art Ideas to Make a Statement in Any Room
Are your walls looking bare and uninspiring? Blank walls can make even the most beautifully furnished room feel incomplete and lifeless. The solution is simpler than you think: create your own stunning oversized artwork that reflects your personal style without breaking the bank.
These large DIY wall art ideas to make a statement in any room will transform your space from ordinary to extraordinary. Whether you prefer modern minimalism, bohemian vibes, or rustic charm, there’s a project here for every skill level and aesthetic. Let’s dive in…
1. Oversized Abstract Canvas
- Large stretched canvas (36×48 inches or larger)
- Acrylic paints in coordinating colors
- Wide foam brushes and palette knives
- Painter’s tape
- Spray sealant
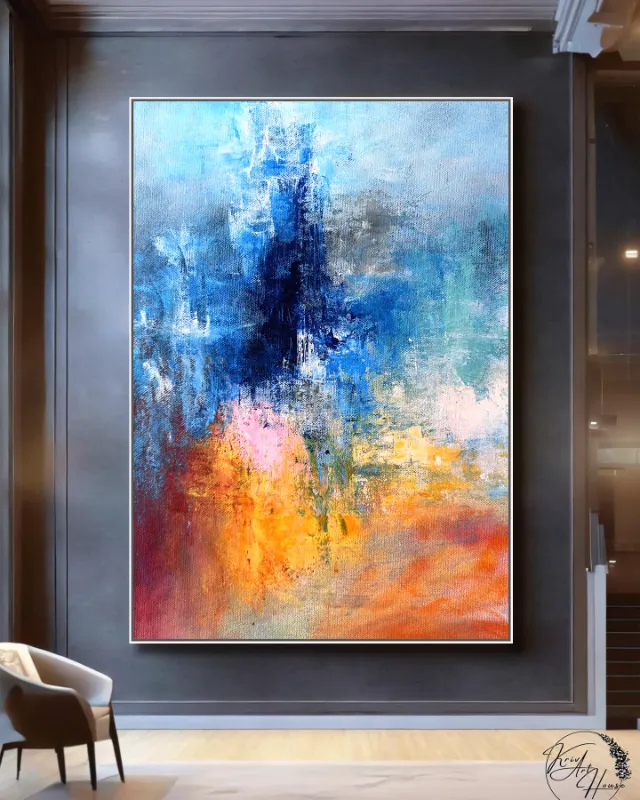
Creating an oversized abstract canvas is one of the most approachable ways to add dramatic artwork to your space. You don’t need any formal art training to produce something gallery-worthy. Simply choose three to five colors that complement your room’s palette and start layering with bold, confident strokes.
The key to professional-looking abstract art lies in building texture and depth through multiple layers. Allow each layer to dry partially before adding the next, and don’t be afraid to scrape back areas with a palette knife. This layering technique creates visual interest that draws the eye and sparks conversation.
2. Woven Yarn Wall Hanging
- Large wooden dowel or driftwood branch
- Chunky yarn in various textures
- Scissors
- Wooden beads
- Comb for fringe
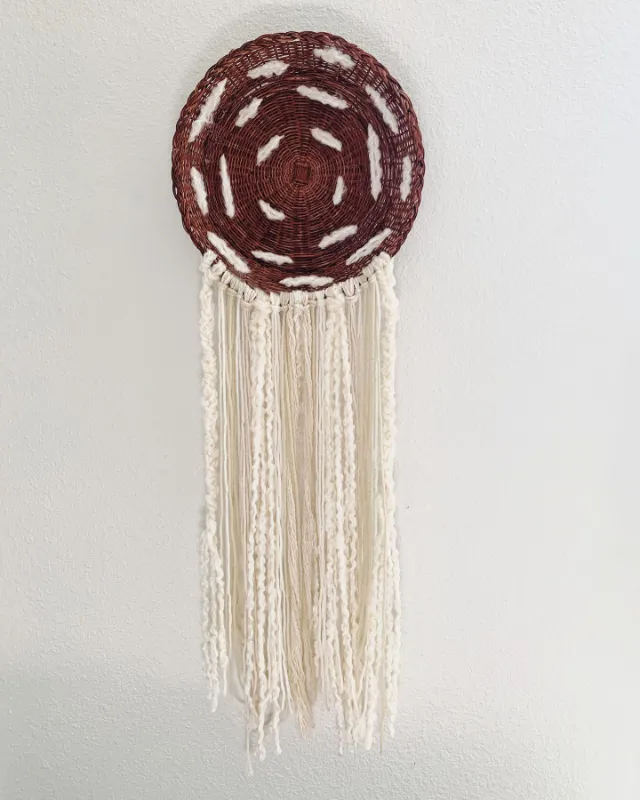
A woven yarn wall hanging brings warmth and texture that no printed poster can match. This bohemian-inspired piece works beautifully above beds, sofas, or as a focal point in entryways. Start by cutting yarn strands twice the length you want your finished piece, then fold and loop them over your dowel.
Experiment with different knotting patterns and yarn weights to create visual rhythm throughout your design. Incorporate wooden beads or metallic threads for added sophistication. The beauty of this project lies in its imperfection, so embrace the handcrafted aesthetic and let your creativity flow freely.
3. Giant Geometric Wood Art
- Plywood sheet (4×4 feet)
- Wood stain in multiple shades
- Painter’s tape
- Polyurethane sealant
- Sandpaper
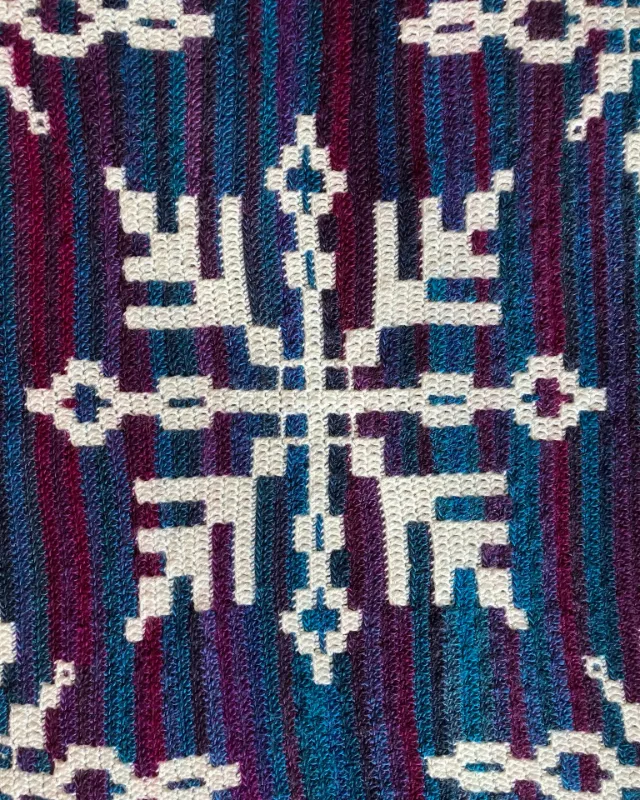
Transform a simple plywood sheet into a stunning geometric wood art piece using nothing more than tape and stain. This modern approach creates the illusion of intricate woodworking without any cutting or complex joinery. Map out your geometric design using painter’s tape to create crisp, clean lines.
Apply wood stains in varying shades to different sections, working from lightest to darkest for best results. The natural wood grain shows through beautifully, adding organic warmth to the geometric precision. Seal everything with polyurethane to protect your handcrafted masterpiece and give it a professional gallery finish.
4. Dramatic Paper Flower Installation
- Cardstock in various colors
- Hot glue gun
- Scissors or cutting machine
- Wire for stems
- Large foam board backing
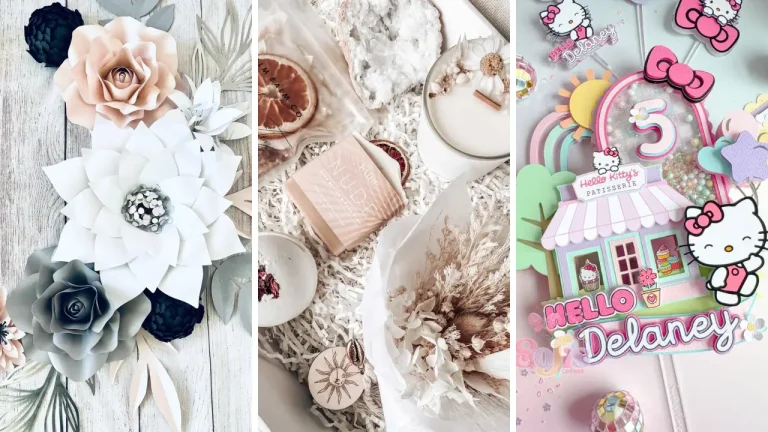
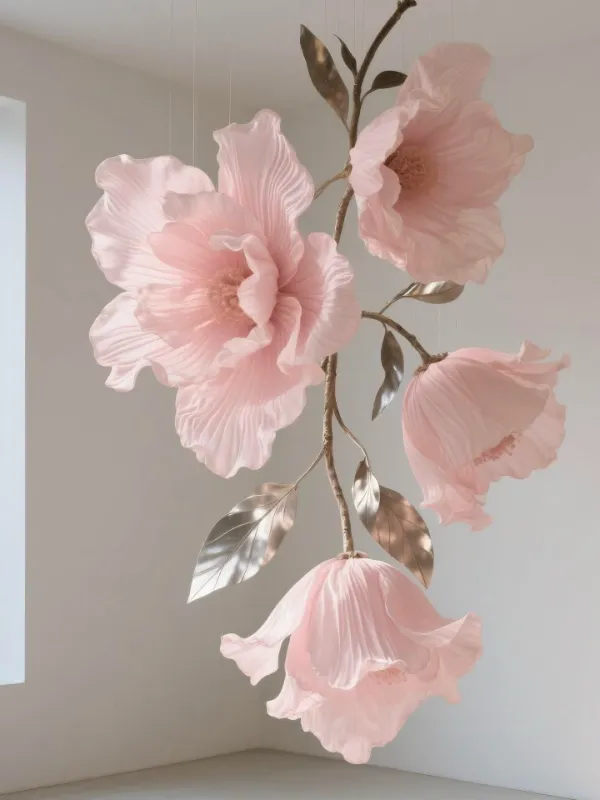
Nothing makes quite the impact of a dramatic paper flower installation cascading across your wall. This show-stopping piece works perfectly for bedrooms, nurseries, or any space that needs a whimsical touch. Create flowers in varying sizes from six inches to two feet in diameter for dynamic visual interest.
Layer petals from largest to smallest, curling edges gently for realistic dimension. Mix flower types like roses, peonies, and dahlias for variety, and don’t forget to add greenery. Arrange your completed blooms on a foam board backing before mounting, or attach them directly to create an organic flowing design that appears to grow from your wall.
5. Rustic Pallet Wood Mosaic
- Reclaimed pallet wood
- Circular saw or miter saw
- Wood glue and finishing nails
- Plywood backing
- Sandpaper and stain
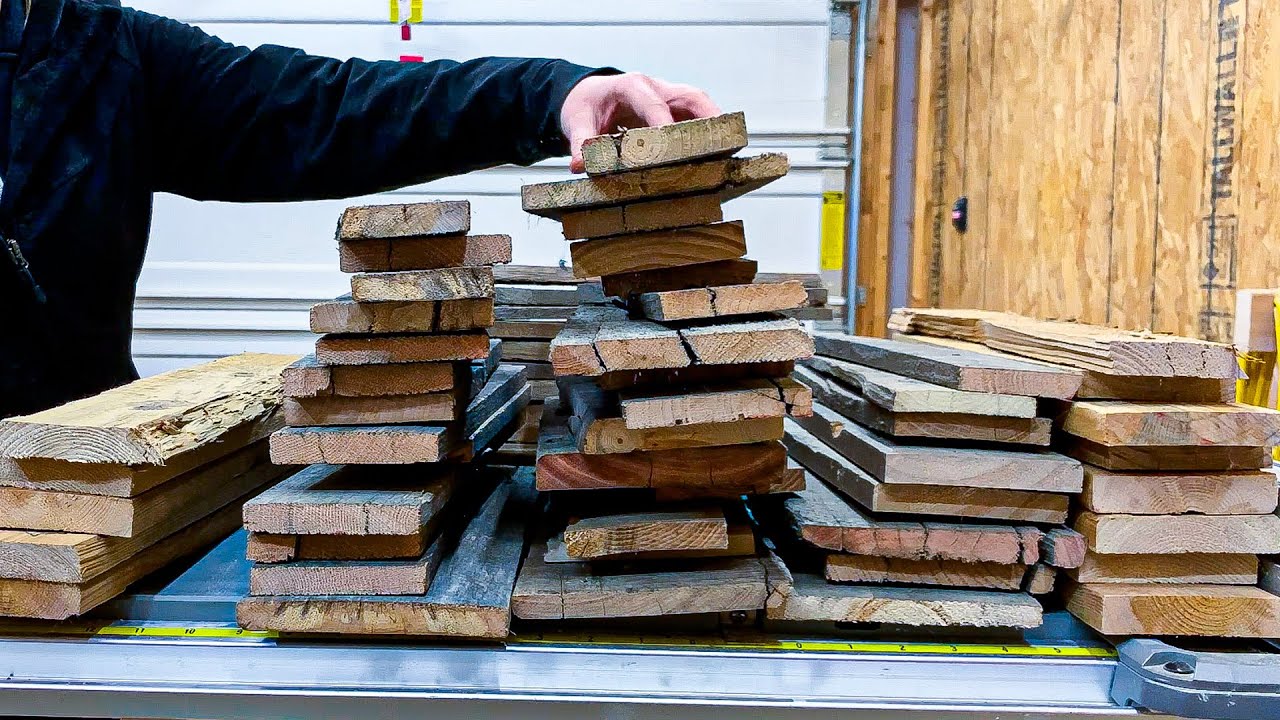
A rustic pallet wood mosaic brings character and history into your home through reclaimed materials. Each piece of weathered wood tells its own story, contributing to a one-of-a-kind artwork. Cut pallet boards into varying lengths and arrange them in chevron, herringbone, or random patterns on a sturdy plywood backing.
The natural variations in wood tone and texture create visual depth without any additional finishing. However, you can enhance contrast by lightly staining some pieces darker while leaving others natural. This eco-friendly art project gives discarded materials new life while adding substantial visual weight to any room.
6. Textured Plaster Art Panel
- Large canvas or wood panel
- Joint compound or plaster
- Palette knives and trowels
- Acrylic paint
- Matte medium sealant
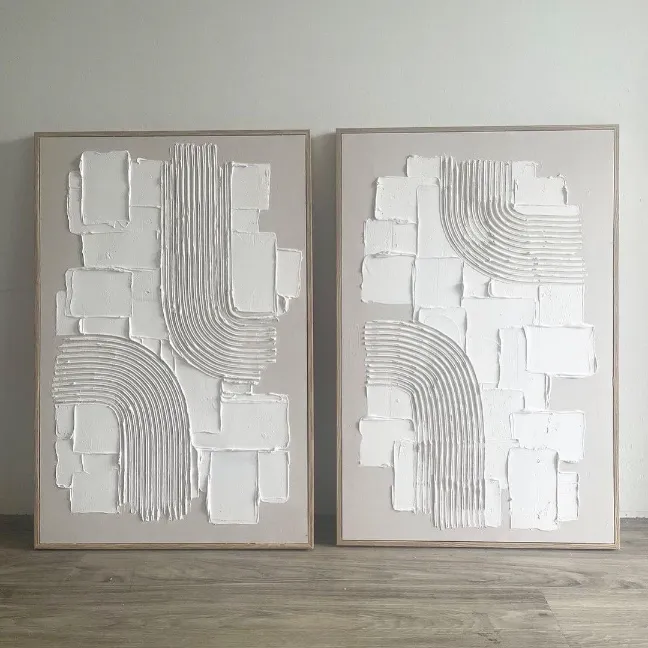
The textured plaster art trend has taken interior design by storm, and creating your own version is surprisingly straightforward. This technique produces organic, sculptural pieces that catch light beautifully throughout the day. Apply joint compound to your canvas using sweeping, gestural movements with a large palette knife.
Build up dimensional layers in areas where you want more drama, creating peaks and valleys across the surface. Once completely dry, apply a wash of diluted acrylic paint, then wipe back to highlight the textural details. The result is a sophisticated artwork that looks like it belongs in a high-end gallery.
7. Bold Fabric Stretched Panels
- Large wooden stretcher bars
- Statement fabric (2 yards)
- Staple gun
- Fabric scissors
- Iron
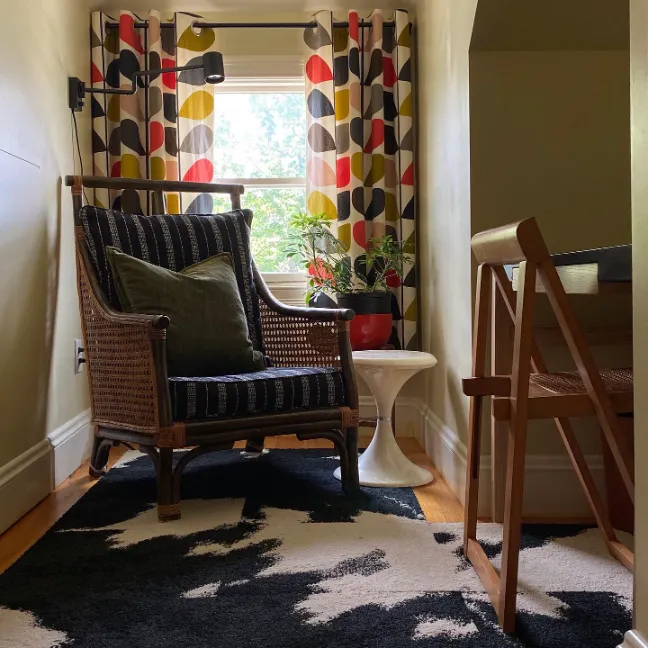
Turn gorgeous fabric into instant artwork with bold fabric stretched panels. This project allows you to incorporate patterns and colors that might be too overwhelming as curtains or upholstery. Choose a fabric with a large-scale print that can be appreciated from across the room.
Iron your fabric thoroughly before stretching to eliminate any wrinkles. Pull the fabric taut over assembled stretcher bars, starting from the center of each side and working toward corners. The key is maintaining consistent tension for a smooth professional finish. Create a series of three panels with coordinating fabrics for maximum impact.
8. Minimalist Line Art Mural
-
- Projector
- Black acrylic paint
- Fine artist brushes
- Painter’s tape
- Pencil for tracing
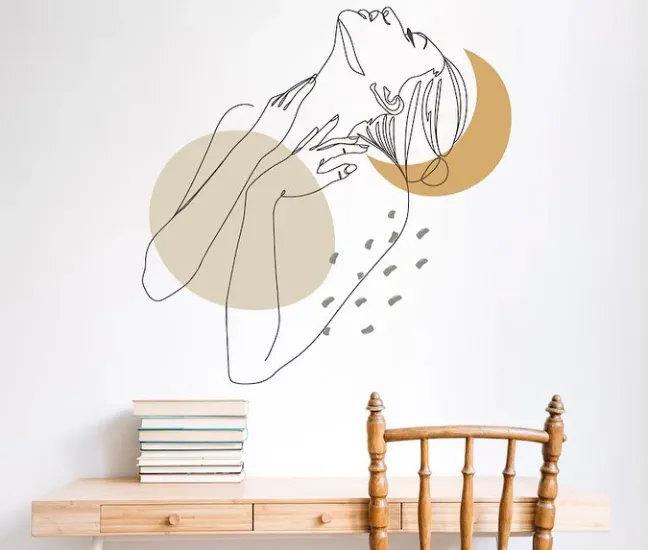
A minimalist line art mural painted directly on your wall creates a striking contemporary statement. This approach works beautifully in modern spaces and requires no framing or hanging hardware. Find a simple line drawing online, project it onto your wall, and trace lightly with pencil.
Use a fine artist brush and steady hand to paint over your traced lines. Vary line thickness slightly for visual interest while maintaining the minimalist aesthetic. Popular subjects include abstract faces, botanical illustrations, and continuous line drawings. This project transforms your wall into a piece of art itself.
9. Dramatic Mirror Cluster
- Assorted mirrors in various shapes
- Heavy-duty picture hangers
- Kraft paper for templates
- Level and measuring tape
- Decorative mirror frames
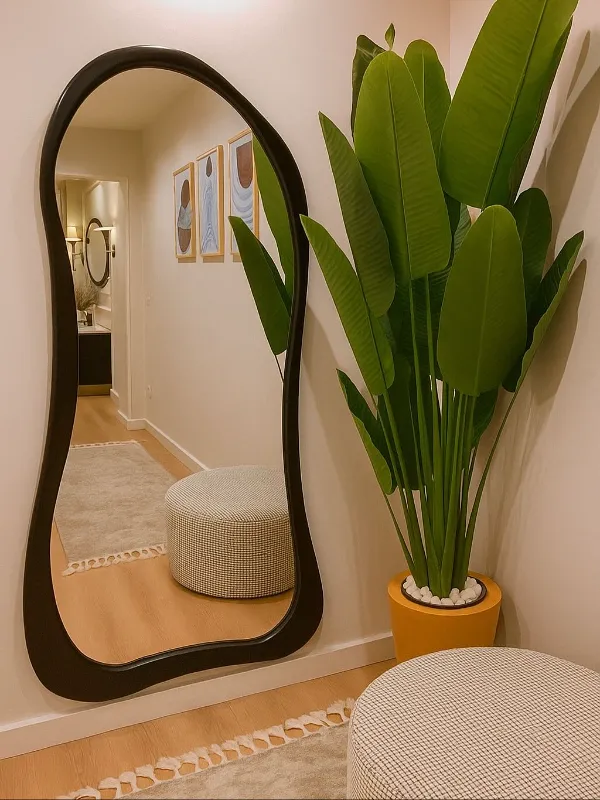
A dramatic mirror cluster does double duty as both art and functional decor while bouncing light throughout your space. Collect mirrors in various sizes, shapes, and frame styles from thrift stores and discount retailers. The eclectic mix creates far more interest than a single large mirror.
Before putting any holes in your wall, trace each mirror onto kraft paper and tape your paper templates to the wall. Rearrange until you find the perfect composition, then mark hanging points through the paper. This gallery wall technique ensures perfect placement without unnecessary nail holes.
10. Woven Basket Wall Display
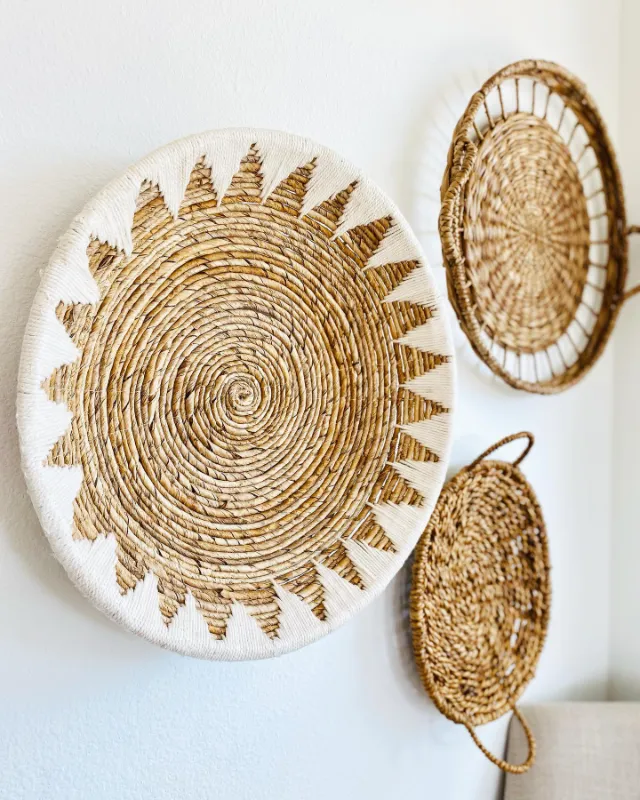
- Assorted woven baskets (8-15 pieces)
- Plate hangers or sawtooth hangers
- Command strips
- Kraft paper templates
- Level
Transform ordinary woven baskets into an extraordinary wall display that adds warmth and global-inspired style. Collect baskets in varying sizes, weave patterns, and natural tones. African-inspired baskets, vintage finds, and modern bohemian styles all work beautifully together.
Attach plate hangers or sawtooth hardware to the back of each basket for easy hanging. Arrange your collection in an organic, asymmetrical pattern that flows naturally across the wall. This textural wall treatment works especially well above beds, sofas, or in dining rooms where it creates a cozy, collected feeling.
11. Oversized Botanical Prints
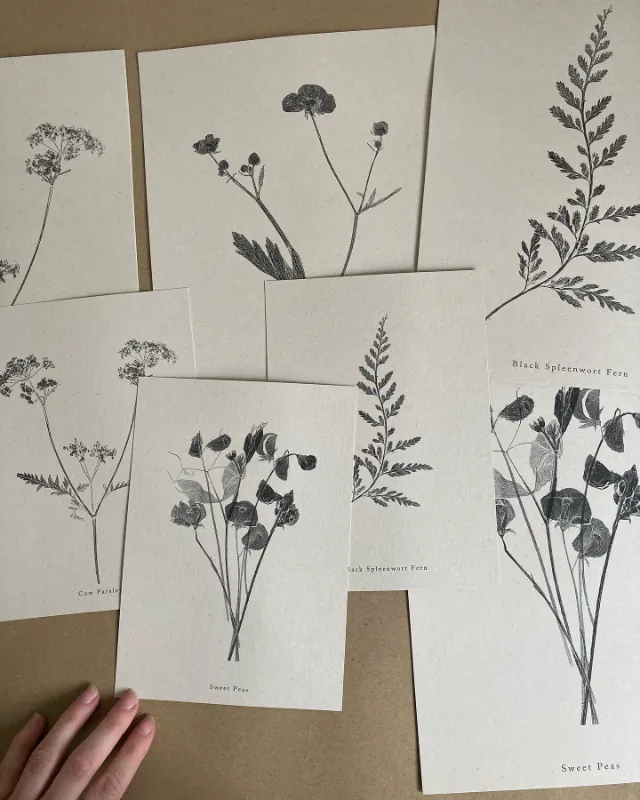
- Large format printer access or print shop
- Botanical illustration files
- Engineer print paper
- Large frames or poster rails
- Spray adhesive
Create stunning oversized botanical prints for a fraction of gallery prices using engineering prints from your local copy shop. Download high-resolution vintage botanical illustrations from public domain sources, then have them printed at architectural scale. These prints cost just a few dollars each but make enormous impact.
Frame your prints in simple black or natural wood frames, or use modern magnetic poster rails for a contemporary look. Create a series of three to five related botanical specimens for a cohesive gallery wall effect. The scientific illustration style adds sophisticated visual interest to kitchens, bathrooms, and living spaces alike.
12. Sculptural Metal Wall Art
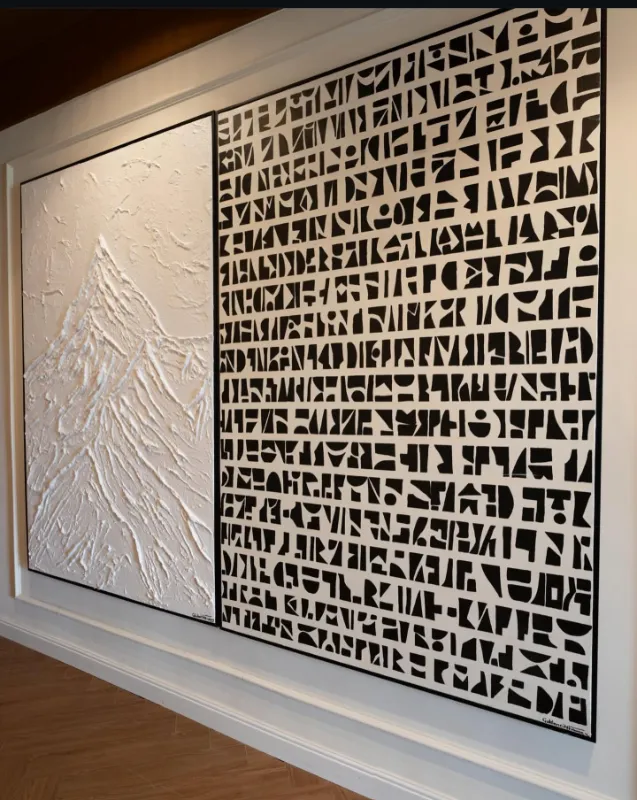
- Thin aluminum sheets or metal flashing
- Tin snips
- Metal punch tools
- Spray paint
- Heavy-duty adhesive
Create your own sculptural metal wall art that rivals expensive boutique pieces. Cut aluminum sheets into organic shapes like leaves, feathers, or abstract forms using tin snips. Add texture by hammering, punching holes, or bending edges to catch and reflect light.
Spray paint your pieces in metallic finishes like brass, copper, or matte black for a cohesive look. Arrange multiple pieces in a flowing, ascending pattern that draws the eye upward. This dimensional metal artwork adds sophisticated industrial edge to modern and transitional spaces.
13. Macrame Masterpiece Panel
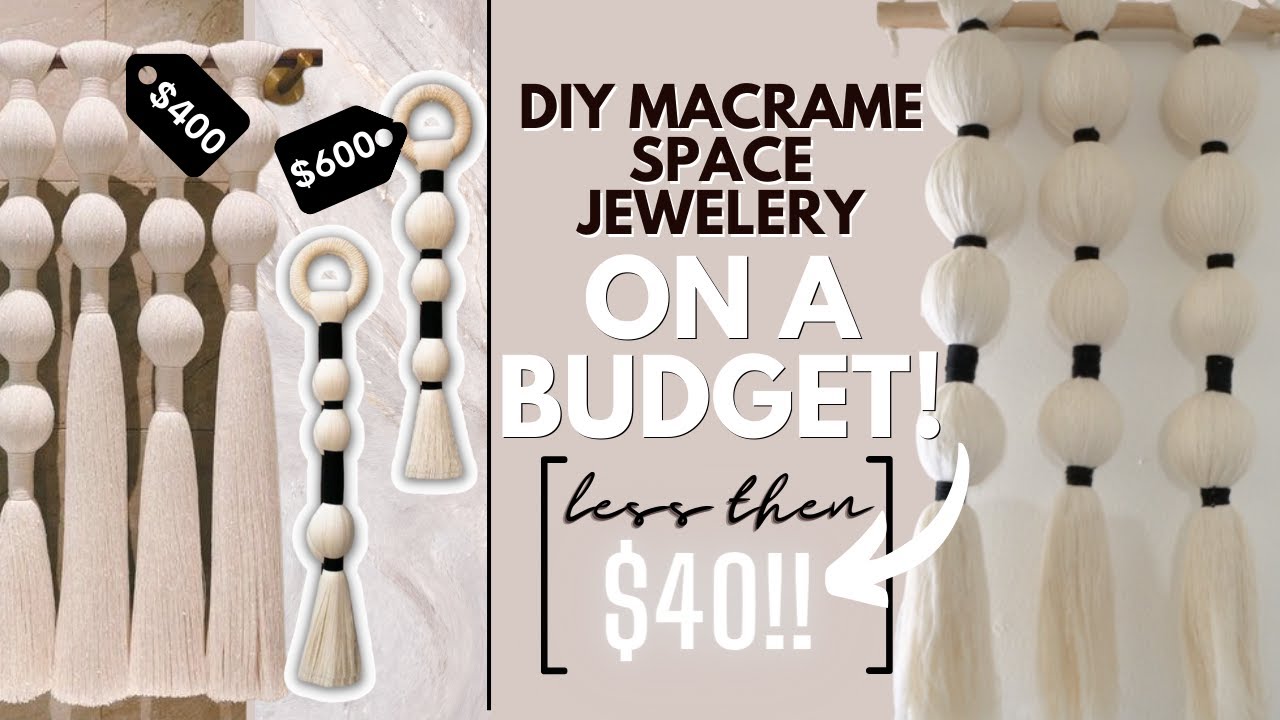
- Large wooden dowel (4-5 feet)
- Macrame cord (500+ yards)
- Scissors
- Measuring tape
- S-hooks for hanging
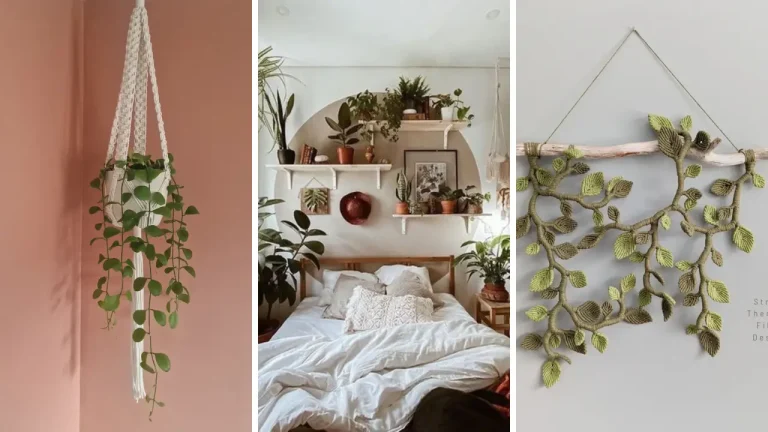
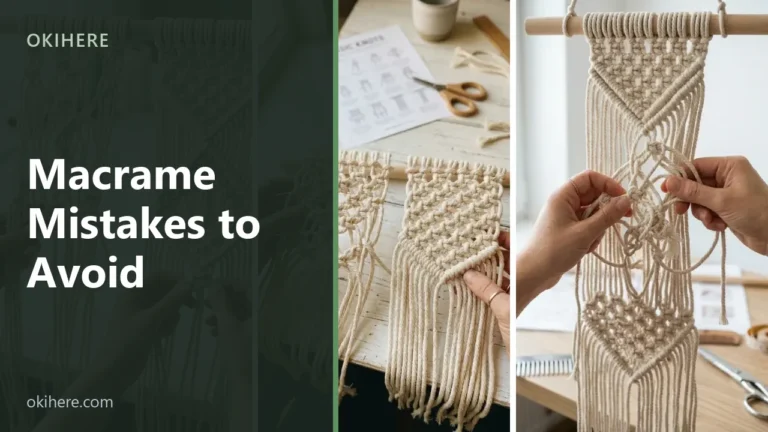
A large-scale macrame masterpiece panel brings bohemian elegance and incredible texture to any room. This project requires patience but no special equipment beyond basic knotting skills. Cut your cords four times the desired finished length to account for the knotting process.
Learn three to four basic macrame knots like square knots, spiral knots, and half hitches before beginning. Combine these techniques in patterns that create visual rhythm and movement throughout your piece. The dimensional fiber art that results becomes an instant focal point and conversation starter.
14. Painted Accent Wall Mural
- Interior latex paint
- Artist brushes and rollers
- Projector
- Painter’s tape
- Drop cloths
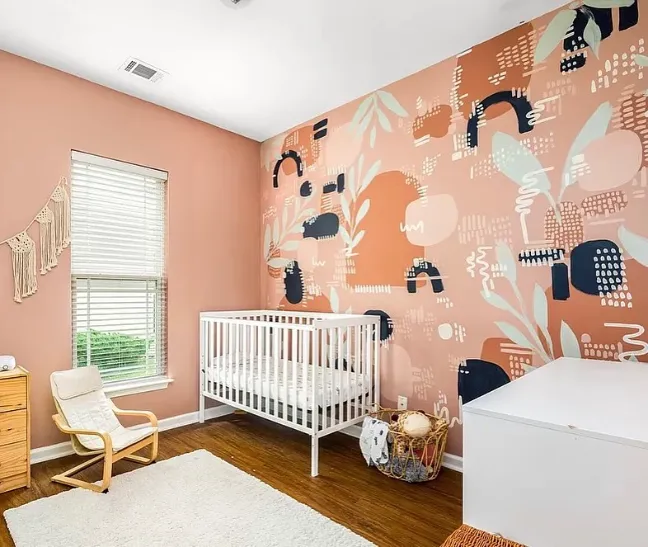
Transform an entire wall into artwork with a painted accent wall mural. This bold approach eliminates the need for any wall decor and creates an immersive design experience. Choose subjects like abstract color blocks, mountain silhouettes, or tropical foliage depending on your style.
Project your design onto the wall and trace outlines lightly with pencil. Use painter’s tape to create crisp edges for geometric designs, or work freehand for organic shapes. Start with your lightest colors and build toward darker shades for professional-looking results that transform your entire room.
15. Concrete Canvas Art
- Large stretched canvas
- Concrete patch compound
- Acrylic paints
- Palette knives
- Sealant spray
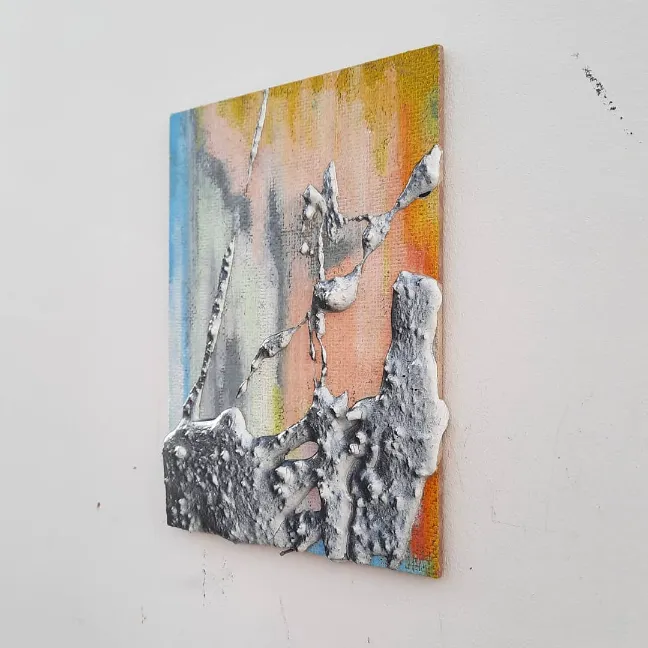
Create stunning concrete canvas art that brings industrial sophistication with organic texture to your walls. This technique produces artwork with incredible depth and a unique aesthetic that’s completely on-trend. Apply thin layers of concrete patch compound to your canvas using sweeping palette knife motions.
Work in sections, building up textural variations and allowing natural cracks and imperfections to develop. Once dry, enhance your piece with washes of acrylic paint in subtle earth tones or bold metallic accents. The resulting mixed-media artwork looks expensive and utterly unique.
16. Floating Frame Photo Display
- Large acrylic sheets (2 per frame)
- Metal standoffs
- High-resolution photo prints
- Drill with glass bit
- Level
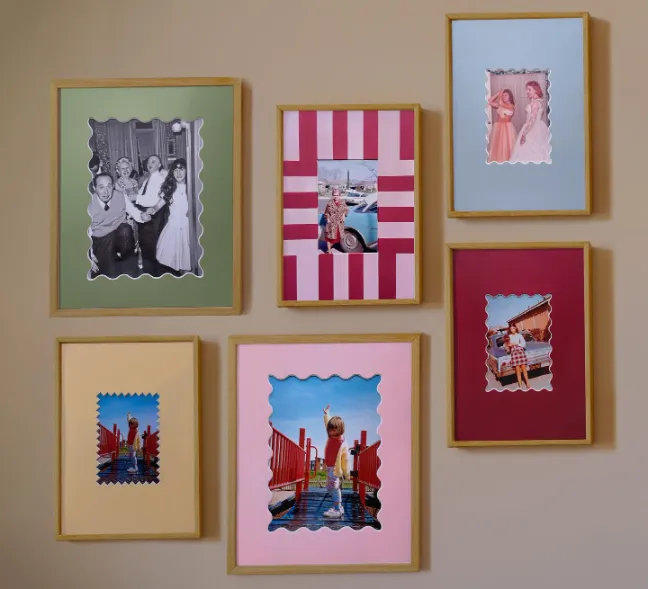
Elevate your photography with a sophisticated floating frame photo display that showcases images in gallery-worthy style. This modern approach sandwiches prints between two pieces of clear acrylic, creating a contemporary floating effect. Choose dramatic oversized prints that deserve this special treatment.
Drill holes in all four corners of your acrylic sheets, then use metal standoffs to mount them to your wall with the print sandwiched between. The frameless design puts all focus on your imagery while the floating effect adds depth and modern sophistication to any space.
17. Embroidery Hoop Collection
- Embroidery hoops (various sizes, 12-24 inches)
- Fabric in coordinating patterns
- Ribbon for hanging
- Hot glue gun
- Scissors
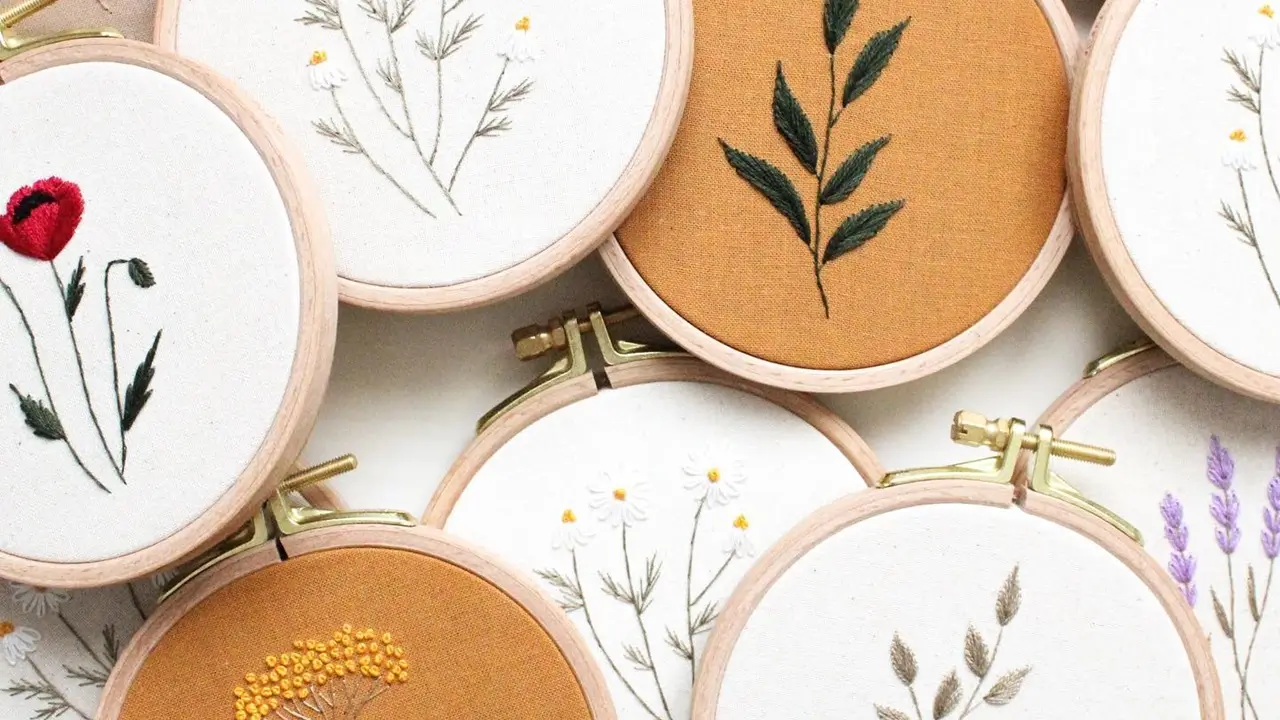
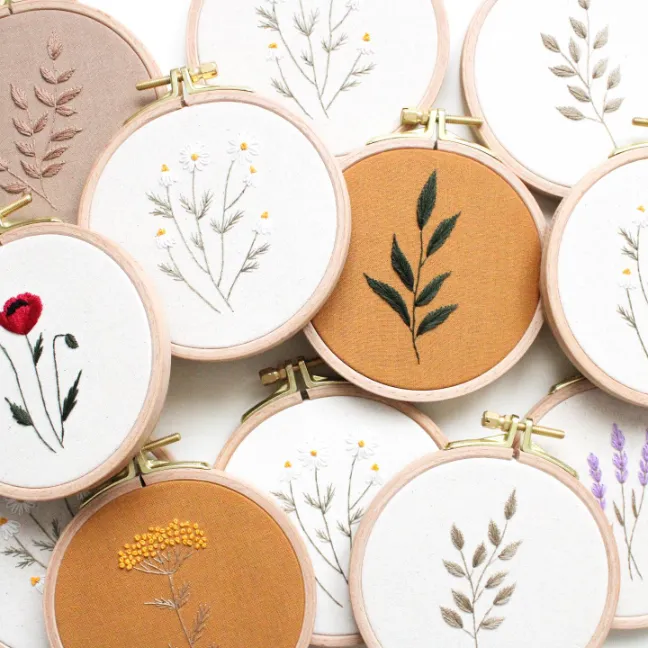
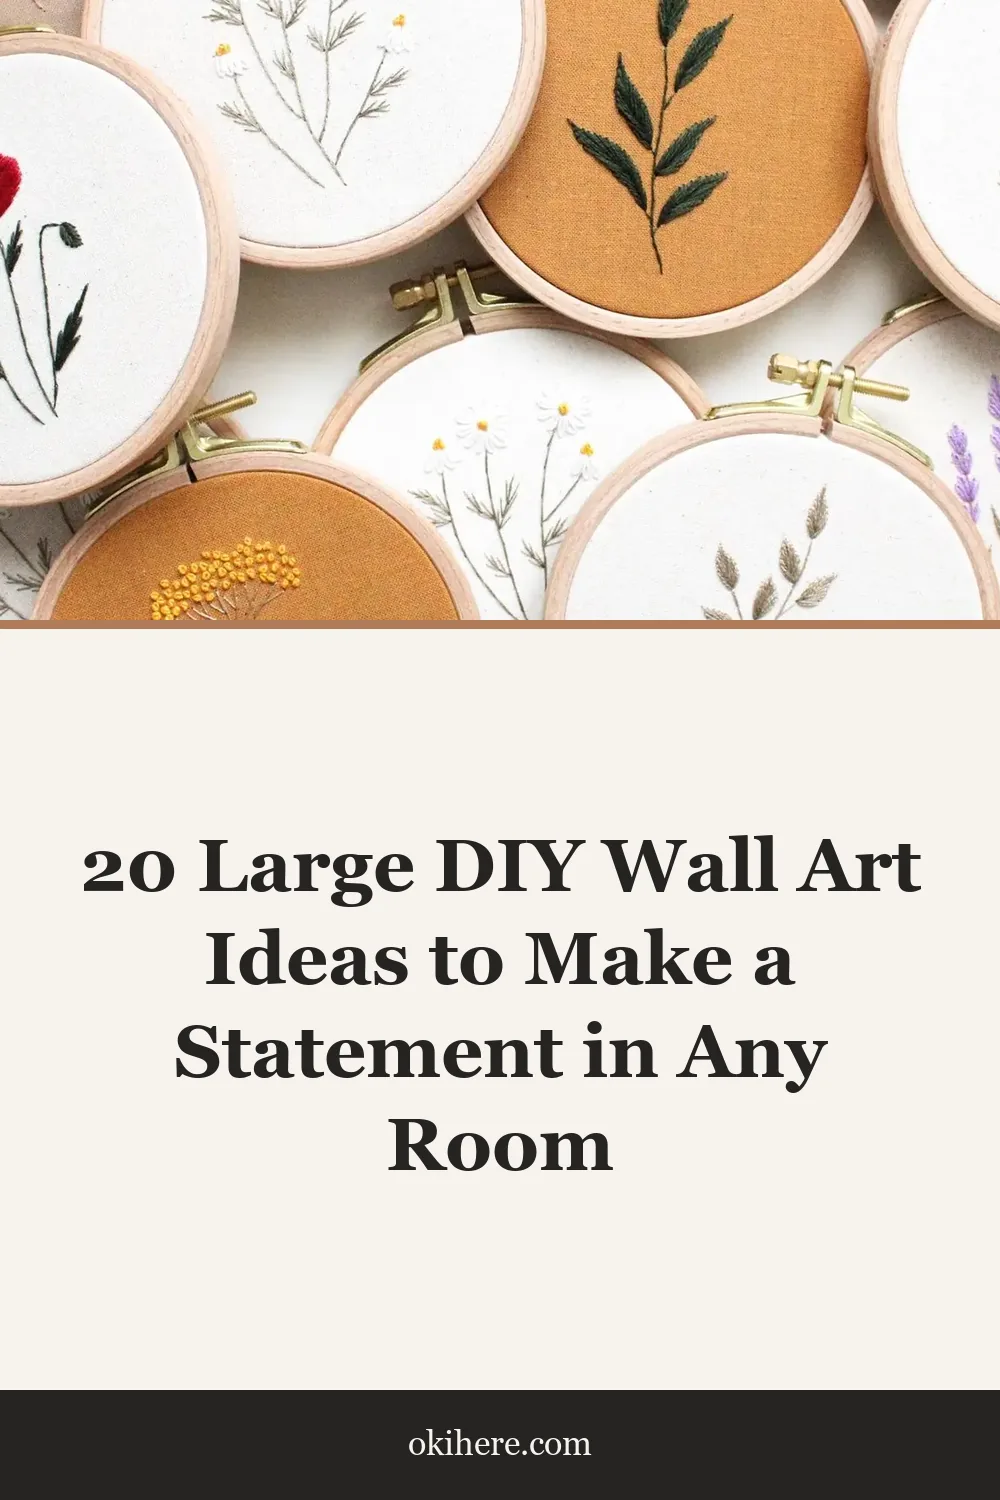
Build an eye-catching embroidery hoop collection that showcases beautiful fabrics in an unexpected way. This simple project creates maximum impact with minimal effort or crafting skill. Select fabrics with coordinating colors but varying scales and patterns for visual interest.
Stretch each fabric tightly in its hoop, trimming excess and securing with hot glue on the back. Arrange hoops in an organic cluster on your wall, overlapping slightly for depth. This textile art installation adds softness and pattern to bedrooms, nurseries, or craft rooms beautifully.
18. Statement Typography Sign
- Large plywood sheet
- Wood stain or paint
- Vinyl lettering or stencils
- Polyurethane sealant
- Sawtooth hangers
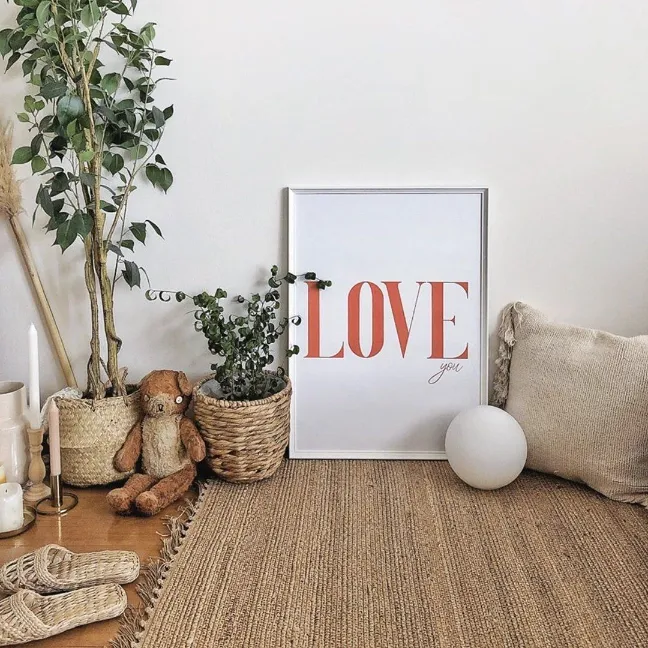
Create a custom statement typography sign featuring meaningful words, quotes, or your family name. This personalized artwork makes a powerful impact in entryways, living rooms, or above beds. Choose fonts that reflect your style, from elegant scripts to bold modern sans-serifs.
Stain or paint your plywood background, then apply vinyl lettering or use stencils to add your chosen words. For a more rustic look, hand-paint your letters with slight imperfections. This personalized wall art becomes a meaningful focal point that speaks to your family’s values and personality.
These eighteen large DIY wall art ideas to make a statement in any room prove that stunning decor doesn’t require a massive budget or professional skills. From textured plaster panels to dramatic paper flower installations, there’s a project here to suit every style and skill level.
The key is choosing a project that excites you and diving in with confidence. Grab your supplies and start creating! Share your favorite ideas in the comments below and let us know which project you’re tackling first. Rate this post if you found these ideas inspiring!
19. Elegant Pressed Flower Frame

- Oversized floating frame
- Pressed flowers and foliage
- Glass cleaner
- Tweezers
- Archival tape
An elegant pressed flower frame turns real blooms into wall art that outlasts the season they came from. Collect flowers and foliage from your garden, from special occasions, or from nature walks throughout the year. The pressing process flattens delicate petals so they keep their shape and color once they are framed.
Use an oversized floating frame so the botanical collection reads clearly from across the room. A pressed flower arrangement looks its best when window light passes through the glass behind it, so choose a wall that catches daylight. Group a single species together for a scientific look, or mix stems for a wildflower meadow effect.
20. Statement Mirror Mosaic

- Large plywood backing
- Mirror tiles or broken mirror pieces
- Mirror adhesive
- Grout
- Safety glasses
A statement mirror mosaic bounces light around the room while working as dramatic artwork. Set mirror tiles or broken mirror pieces onto a plywood backing in a sunburst pattern, an abstract design, or a strict geometric shape. The reflective surface makes small spaces feel larger and darker rooms noticeably brighter.
Wear safety glasses for the whole process, because mirror edges chip easily while they are being cut and set. The mosaic arrangement can take colored glass or ceramic tiles between the mirror pieces for extra visual interest. Hang the finished panel where it reflects natural light or a view worth doubling.