15 Easy DIY Projects Using Recycled Materials (2026 Guide)
Okihere.com – Every year, the world generates over 2.3 billion tonnes of municipal solid waste, but your household does not have to contribute to the landfill. The UN Environment Programme projects this massive number will hit 3.8 billion tonnes by 2050. The International Solid Waste Association confirms household waste reduction is a critical piece of the solution. Currently, only 19 percent of global waste is recovered through recycling and composting.
You want to reduce your carbon footprint and refresh your home. But buying sustainable decor is expensive. Plus, many DIYs require power tools you do not own. Feeling overwhelmed by complex tutorials stops many people from even trying.
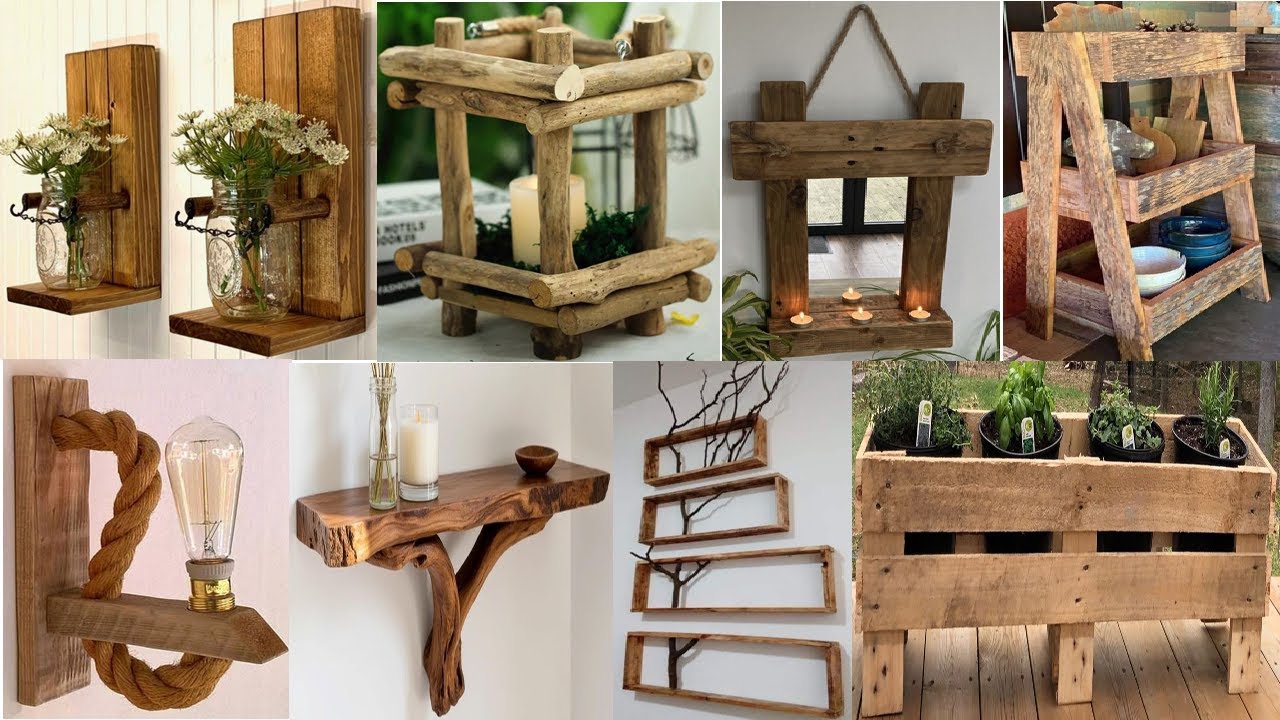
You will discover 15 practical ways to transform everyday household trash into functional treasures. You can turn empty tin cans and old sweaters into beautiful home goods. You do not need fancy tools. Basic household items like scissors, wood glue, sandpaper, and basic acrylic paint work perfectly well. These DIY projects using recycled materials are easy for anyone. Start creating zero waste DIY projects today.
4 Upcycled Furniture & Home Decor Ideas for Your Space
We all see old wooden pallets and broken crayons tossed on the curb. Instead of ignoring that waste, you can turn raw materials into beautiful statement pieces. The 2026 interior design trend focuses on mixed materials and textures. You can blend raw pallet wood with modern metal handles for a chic look.
Project 1: Wooden Pallet Coffee Table
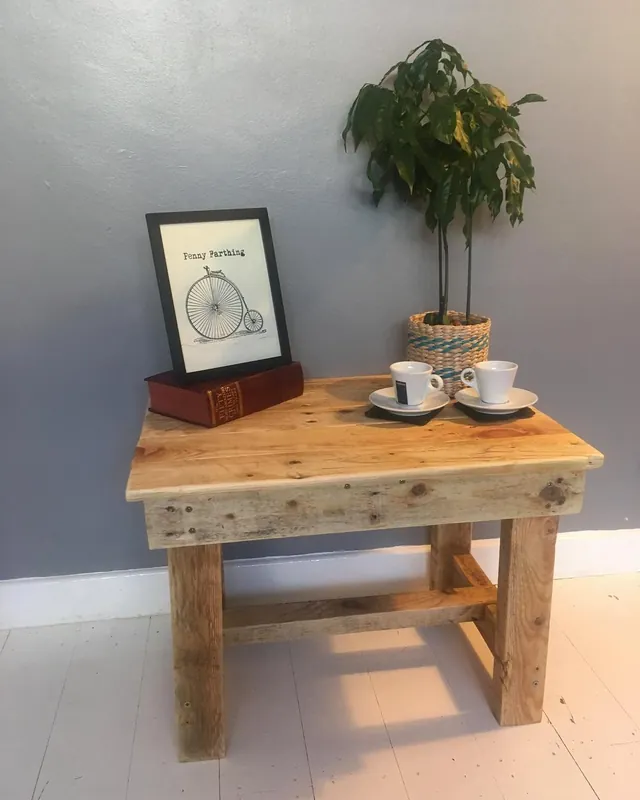
Cost: $15 | Time: 2 hours
Materials needed:
- 1 clean wooden pallet
- Sandpaper
- Wood stain
- 4 caster wheels
- Screws and a screwdriver
- Sand the entire wooden pallet until the surface is smooth.
- Apply an even coat of wood stain and let it dry completely.
- Attach the four caster wheels to the bottom corners using screws.
Project 2: Picture Frame Serving Tray
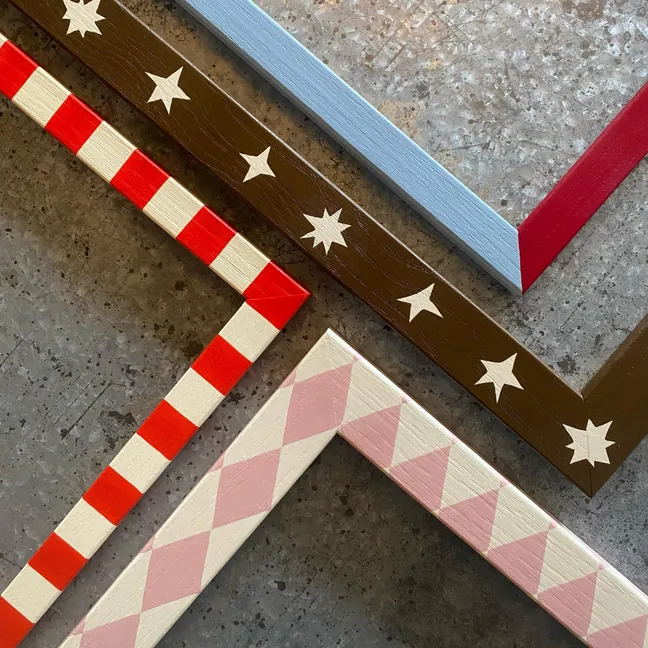
Cost: $5 | Time: 30 mins
Materials needed:
- 1 large old picture frame
- 2 metal cabinet handles
- Super glue
- Decorative paper
- Remove the glass and place decorative paper inside the frame.
- Secure the glass back into place.
- Glue the metal cabinet handles to the short sides of the frame.
Project 3: Terrazzo Style Candles
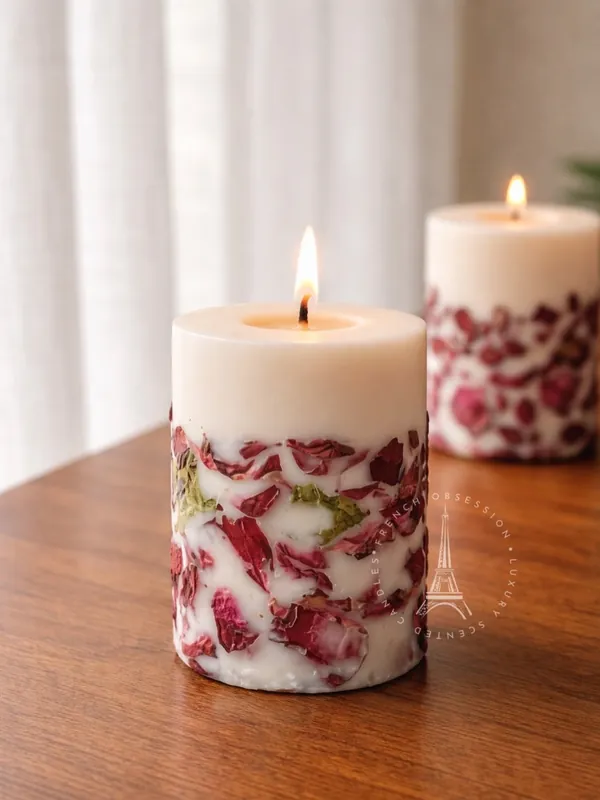
Cost: $0 | Time: 45 mins
Materials needed:
- Broken crayons
- Leftover candle wax
- Glass jar
- Candle wick
- Chop broken crayons into small colorful chunks.
- Melt the leftover candle wax in a safe container.
- Place the wick in the glass jar, pour in the wax, and stir in the crayon chunks.
Project 4: Vintage Window Trellis
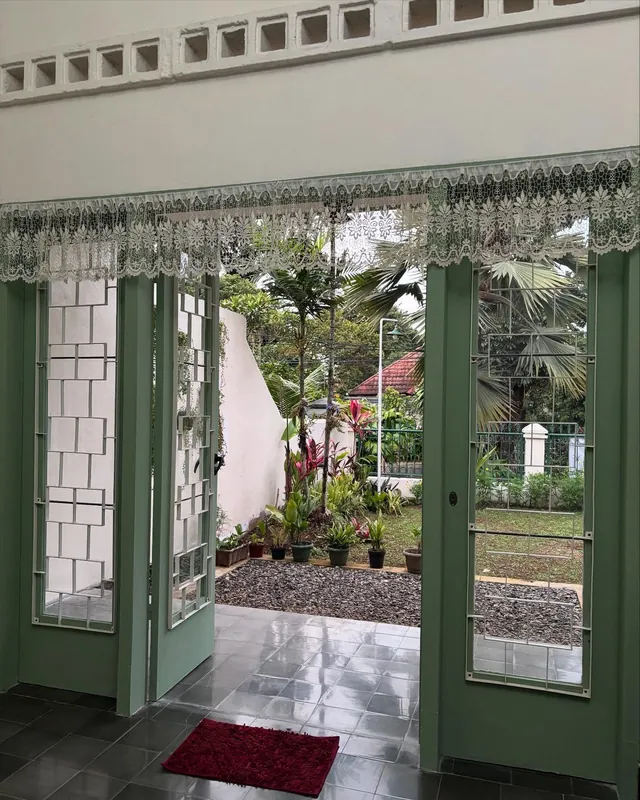
Cost: $0 | Time: 20 mins
Materials needed:
- Old wooden window frame without glass
- Twine
- Nails
- Hammer
- Hammer small nails along the inside edges of the wooden frame.
- Tie the twine tightly between the nails to create a grid.
- Lean the frame against a wall and guide your climbing indoor plants through the twine.
Place your new rustic coffee table in the center of your living room. Trying upcycling ideas at home saves money and reduces waste. These repurposed materials crafts add character to any space.
4 Eco Friendly Garden & Outdoor Projects to Try Today
We all throw away empty food containers without a second thought. Instead of tossing those cans and cartons into the bin, simply wash them out to prepare for planting. Household kitchens create 61 percent of all food waste. Starting a simple herb garden is a great step for localized and sustainable food consumption.
Project 5: Tin Can Herb Gardens
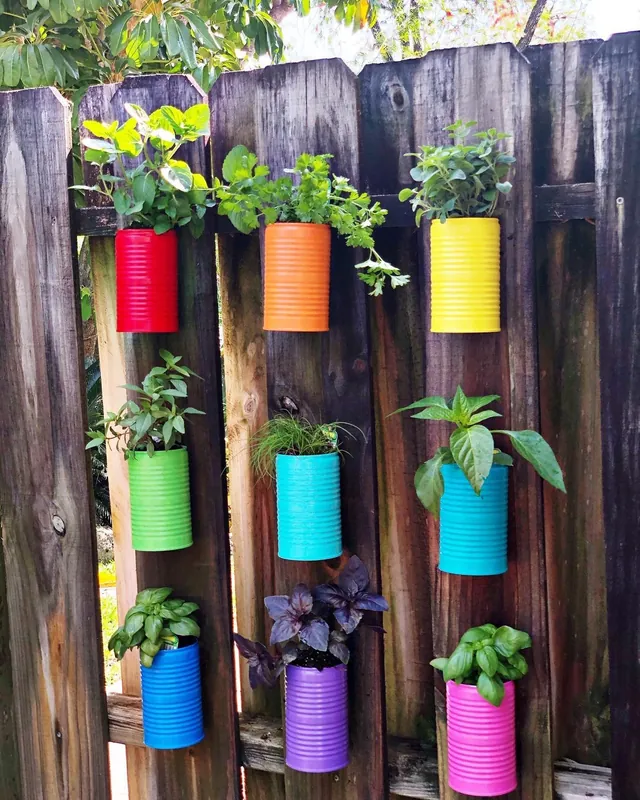
Cost: $0 | Time: 15 mins
Materials needed:
- Empty tin cans
- Basic acrylic paint
- Nail and hammer
- Potting soil and seeds
- Clean the tin cans and paint the outsides with acrylic paint.
- Use the nail and hammer to poke three drainage holes in the bottom.
- Fill the cans with potting soil and plant your herb seeds.
Project 6: Egg Carton Seed Starters
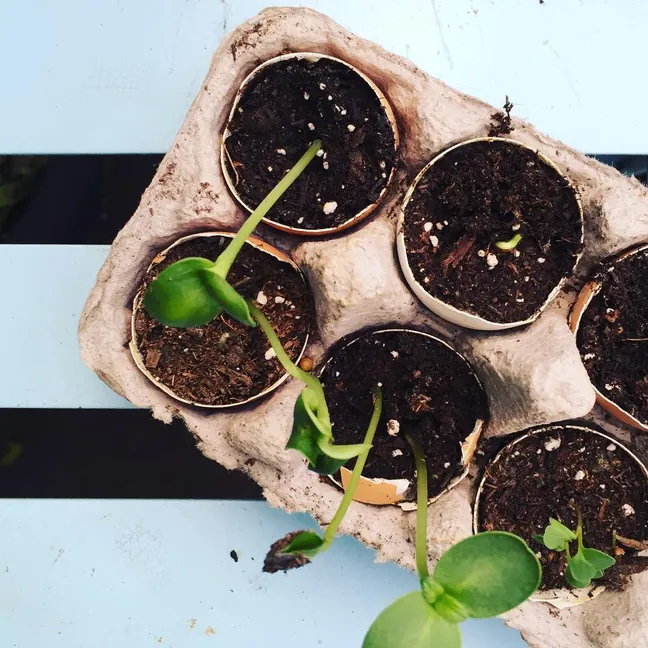
Cost: $0 | Time: 10 mins
Materials needed:
- Cardboard egg cartons
- Potting soil
- Seeds
- Scissors
- Cut the lid off the cardboard egg carton.
- Fill each small cup with potting soil and drop in a seed.
- Plant the entire biodegradable cup directly into the ground once the seeds sprout.
Project 7: Plastic Bottle Drip Irrigation
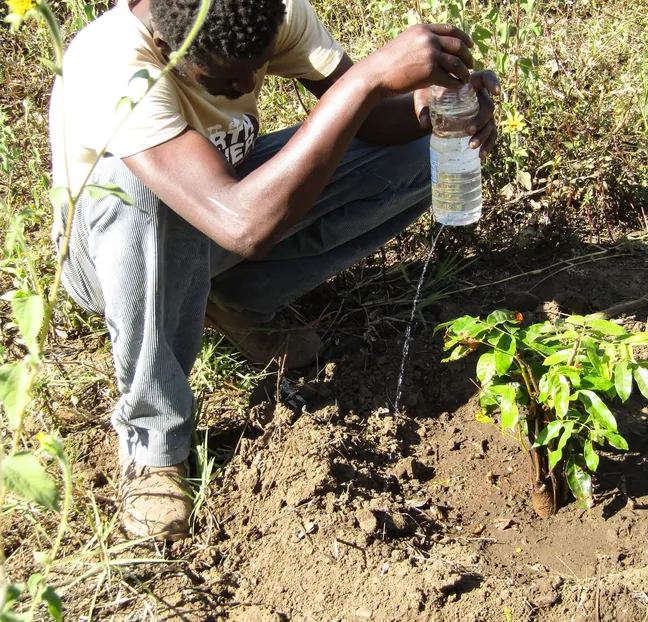
Cost: $0 | Time: 10 mins
Materials needed:
- Empty plastic bottle with cap
- Needle
- Poke tiny holes all over the plastic bottle using the needle.
- Bury the bottle next to your plant, leaving the cap above the soil.
- Fill the bottle with water and screw the cap on loosely for a slow release watering system.
Project 8: Teacup Bird Feeders
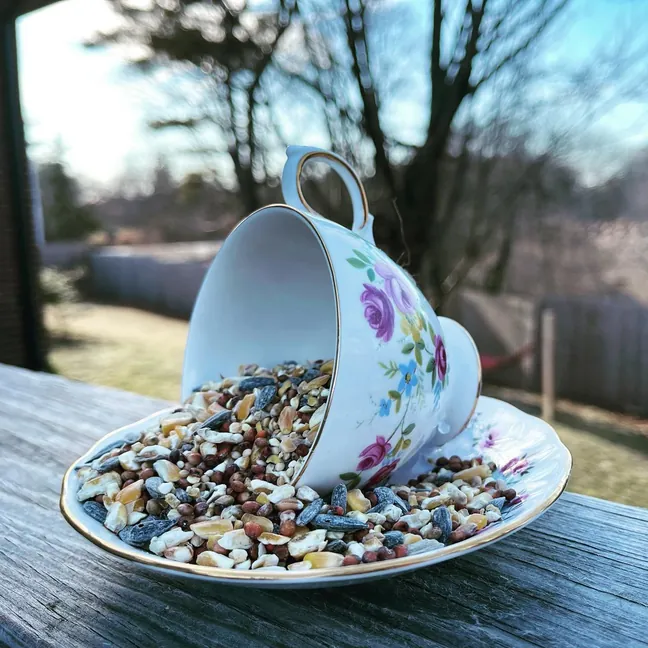
Cost: $0 | Time: 15 mins
Materials needed:
- Old teacup and saucer
- Strong waterproof glue
- Thick twine
- Birdseed
- Glue the teacup to the saucer so it lies on its side.
- Let the glue dry completely overnight.
- Tie the twine around the handle, hang it from a branch, and fill the saucer with birdseed.
Place your new tin can planters on a south facing windowsill for maximum sunlight. Creating DIY projects using recycled materials keeps your garden green and cheap.
3 Sustainable Storage & Organization Solutions for Clutter
We all buy things in glass jars and sturdy cardboard boxes. Instead of tossing that jar into the recycling bin, simply wash it out to prepare for a new life. Glass is infinitely recyclable, yet millions of jars are thrown away every single day. Reusing them cuts down on plastic container purchases.
Project 9: Mason Jar Bathroom Organizers
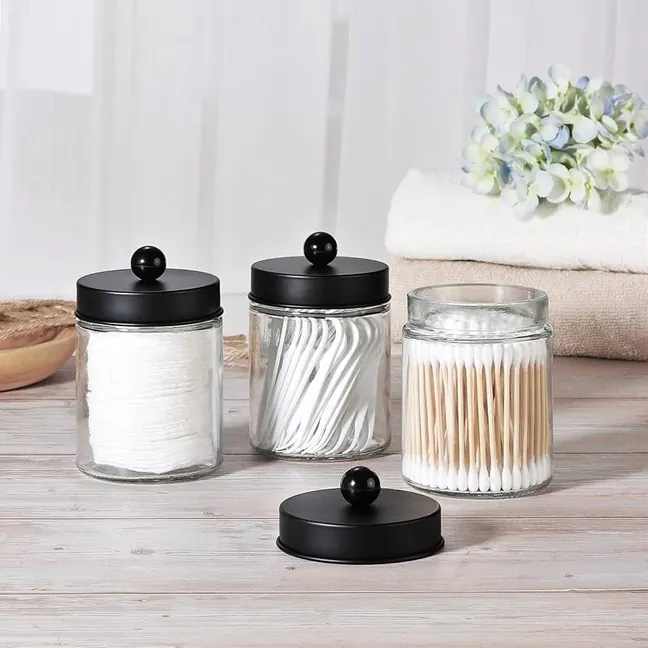
Cost: $5 | Time: 30 mins
Materials needed:
- Empty glass jars
- Piece of reclaimed wood
- Hose clamps
- Screws
- Secure the hose clamps to the reclaimed wood using screws.
- Tighten the hose clamps around the necks of the glass jars.
- Mount the wood block to your bathroom wall to hold toothbrushes and cotton swabs.
Project 10: Cardboard Box Drawer Dividers
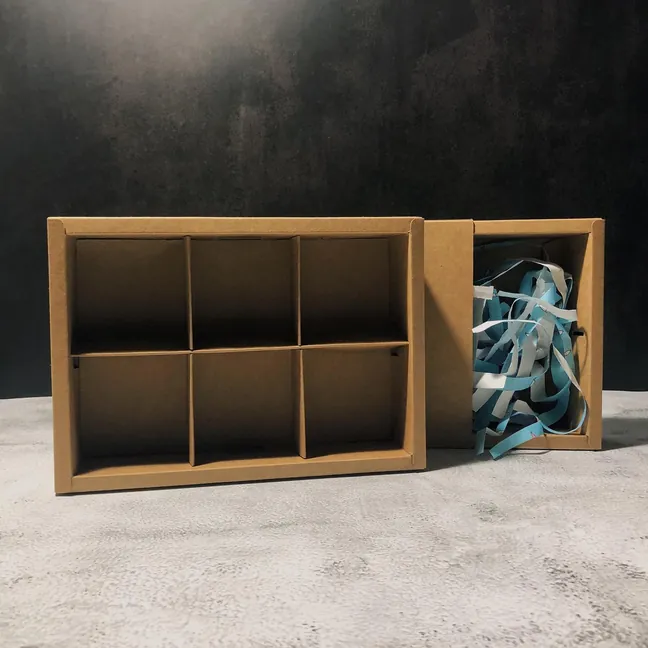
Cost: $0 | Time: 20 mins
Materials needed:
- Sturdy cardboard boxes
- Leftover fabric scraps
- Wood glue
- Scissors
- Cut the cardboard to fit the exact height and length of your drawer.
- Wrap the cardboard pieces securely with leftover fabric scraps.
- Glue the fabric in place and slide the dividers into your messy drawer.
Project 11: Secret Hollowed Out Book Box
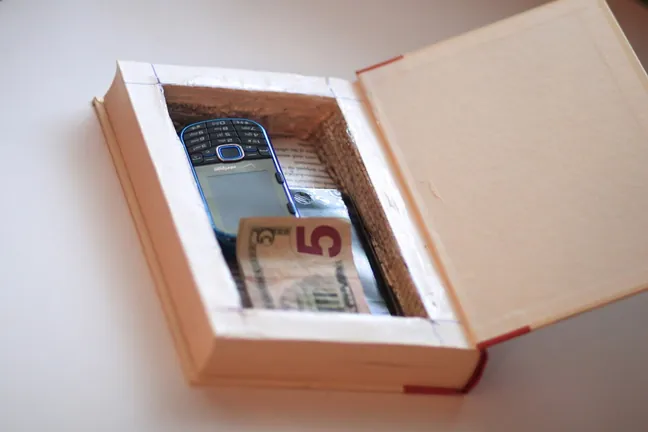
Cost: $0 | Time: 45 mins
Materials needed:
- Thick old hardcover book
- Craft knife
- Wood glue
- Small brush
- Brush wood glue along the outside edges of the book pages and let it dry.
- Use the craft knife to cut a deep rectangular hole through the glued pages.
- Brush glue on the inside walls of the hole to seal the secret storage space.
Pro Tip: “Dark academia” book sculptures are a massive room aesthetic trend right now. Displaying an altered book blends perfectly with this style.
Tuck your valuable items inside the secret book box on your shelf. Building zero waste DIY projects helps keep your home organized and free of clutter.
2 Zero Waste Fashion & Textile DIYs You Can Wear
We all have a drawer full of old clothes we cannot bear to throw away, but are never going to wear. Instead of keeping them hidden, you can cut and tie them into something new. Only 1 percent of used clothing is currently recycled into new garments. The Circular Wardrobe is a massive 2026 trend.
Project 12: Old T Shirt No Sew Tote Bags
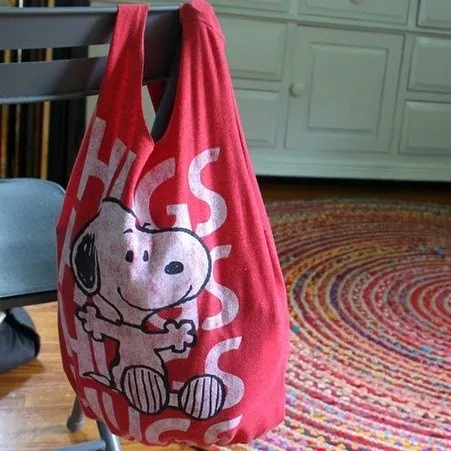
Cost: $0 | Time: 15 mins
Materials needed:
- Old large t shirt
- Fabric scissors
- Cut off the sleeves and the neckline of the old t shirt to create handles.
- Cut a deep fringe along the entire bottom hem of the shirt.
- Tie the front and back fringe pieces together in tight double knots to seal the bottom.
Project 13: Chunky Sweater Throw Pillow Covers
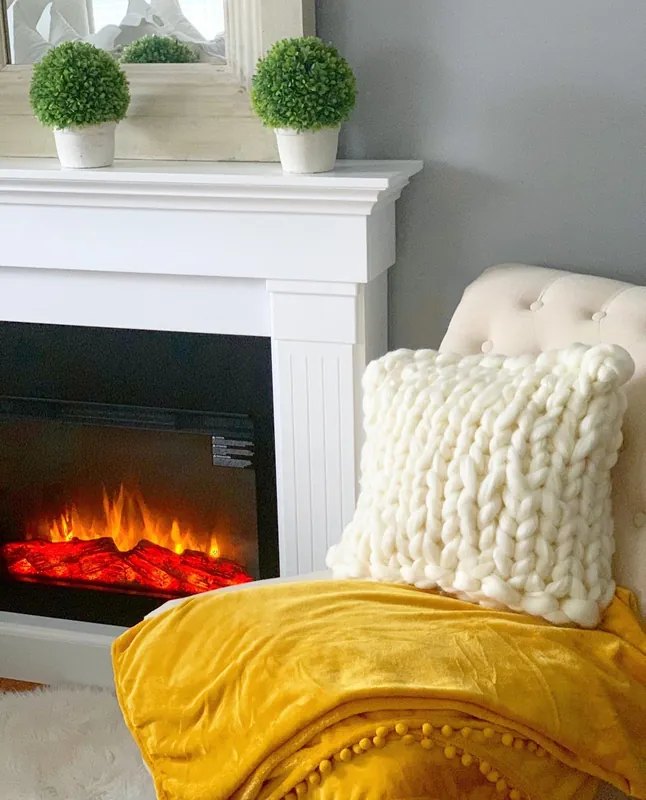
Cost: $0 | Time: 20 mins
Materials needed:
- Old chunky winter sweater
- Old throw pillow insert
- Safety pins or fabric glue
- Slide the old throw pillow insert inside the main body of the winter sweater.
- Fold the excess sweater fabric neatly around the back like an envelope.
- Secure the folded flaps tightly using safety pins or fabric glue.
Toss your new sweater pillows onto the couch for a cozy living room update. Try these repurposed materials crafts to refresh your space for free.
2 Fun & Functional Crafts for the Family to Build Together
We all generate small pieces of trash like corks and cardboard tubes daily. Instead of tossing them, gather them in a jar for weekend family activities. Cork is naturally antimicrobial. This makes it perfect for damp bathroom environments. Plus, only 9 percent of all plastic ever produced has been recycled, so avoiding new plastic organizers is vital.
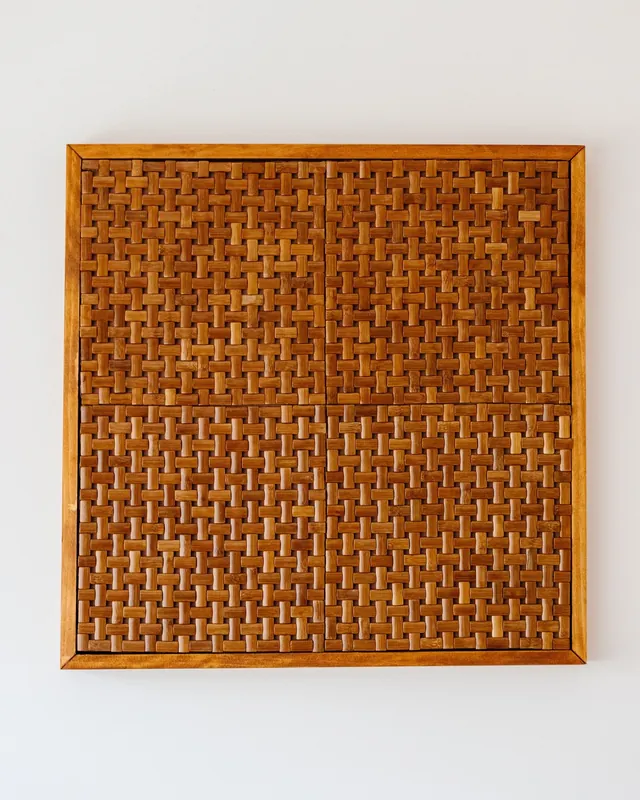
Project 14: Wine Cork Bath Mats
Cost: $5 | Time: 1 hour
Materials needed:
- Many old wine corks
- Rubber non slip shelf liner
- Hot glue gun and glue sticks
- Sharp knife
- Carefully slice every wine cork in half lengthwise using the sharp knife.
- Arrange the flat sides of the corks down onto the non slip shelf liner to form a pattern.
- Glue each piece firmly to the liner and let it dry completely.
Warning: Always supervise children when cutting corks. A craft knife can slip easily.
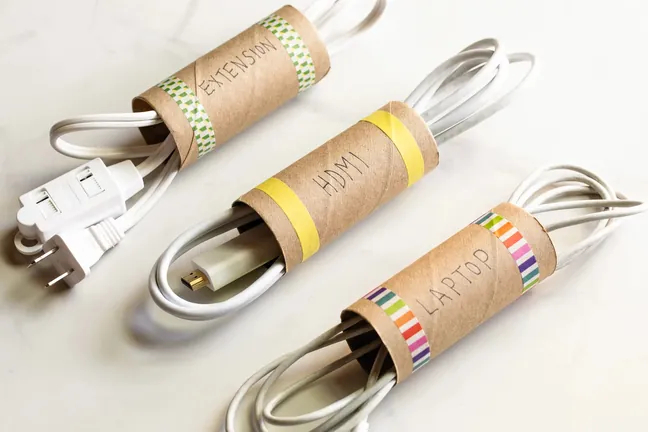
Project 15: Toilet Paper Roll Cable Organizers
Cost: $0 | Time: 5 mins
Materials needed:
- Empty toilet paper rolls
- Colorful washi tape
- Markers
- Wrap the empty cardboard rolls entirely in colorful washi tape.
- Fold your loose electronic cables neatly.
- Slide the folded cables inside the decorated tubes and write the cable type on the outside.
Step out of the shower onto your custom water resistant cork mat. Practicing upcycling ideas at home teaches kids the value of resources early on.
Start Creating Today
Upcycling is an accessible and budget friendly way to create functional items out of materials destined for the landfill. You reduce waste. You save money. You make your home look great. You also bypass the need for expensive tools or complicated carpentry skills.
Now it is your turn to build something amazing. Your first project might not look perfect, and that is completely fine. Did you try the pallet table or the simple cable organizers? Share photos of your completed projects in the comments below. You can also tag our brand on social media to inspire others.
Start your first DIY projects using recycled materials this weekend to make a real impact on our planet.