6 Macrame Mistakes Beginners Always Make (And How to Fix Them)
Have you ever spent hours on a macrame project only to end up with uneven knots and tangled cords? You are not alone in this frustrating experience. Many beginners struggle with the same common errors that can turn a relaxing craft into a stressful ordeal.
The good news is that these mistakes are completely fixable with the right knowledge and techniques. Understanding what goes wrong helps you prevent problems before they happen. Let’s dive in and explore the 6 macrame mistakes beginners always make and exactly how to correct them.
1. Inconsistent Tension Problems

- Macrame cord (3-4mm thickness)
- Wooden dowel or ring
- Measuring tape
- Clipboard or macrame board
The most common beginner mistake involves pulling knots too tight or leaving them too loose. This creates an uneven, bumpy appearance that ruins your finished piece. Your macrame will look amateur and unprofessional when tension varies throughout the project.
To fix this issue, practice maintaining consistent hand pressure with every single knot. Pull each knot with the same force and check your work frequently. Using a macrame board helps stabilize your project and makes tension control much easier.
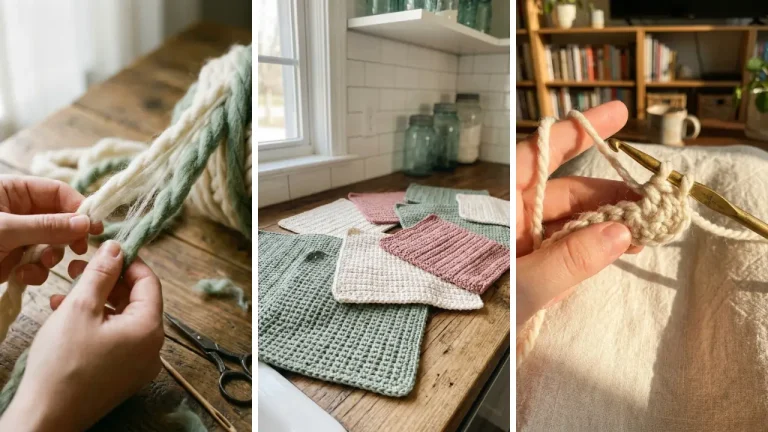
Start with shorter practice pieces before tackling larger projects. This builds muscle memory for even knotting. If you enjoy creating things by hand, exploring fun crafts to make at home can help develop your fine motor skills for better macrame work.
2. Wrong Cord Length Calculations

- Calculator or measuring app
- Extra macrame cord
- Scissors
- Masking tape
Cutting cords too short is a devastating mistake that wastes materials and time. Most beginners underestimate how much cord length they actually need. Running out of cord mid-project means starting completely over from scratch.
The standard rule is to cut cords four times the finished length of your project. For complex patterns with many knots, multiply by five or even six times. Always add extra length because you can trim excess but cannot add more cord easily.
Keep a cord calculation journal to track how much material each pattern requires. Write down measurements after completing projects for future reference. This eliminates guesswork and prevents costly mistakes on future macrame pieces.
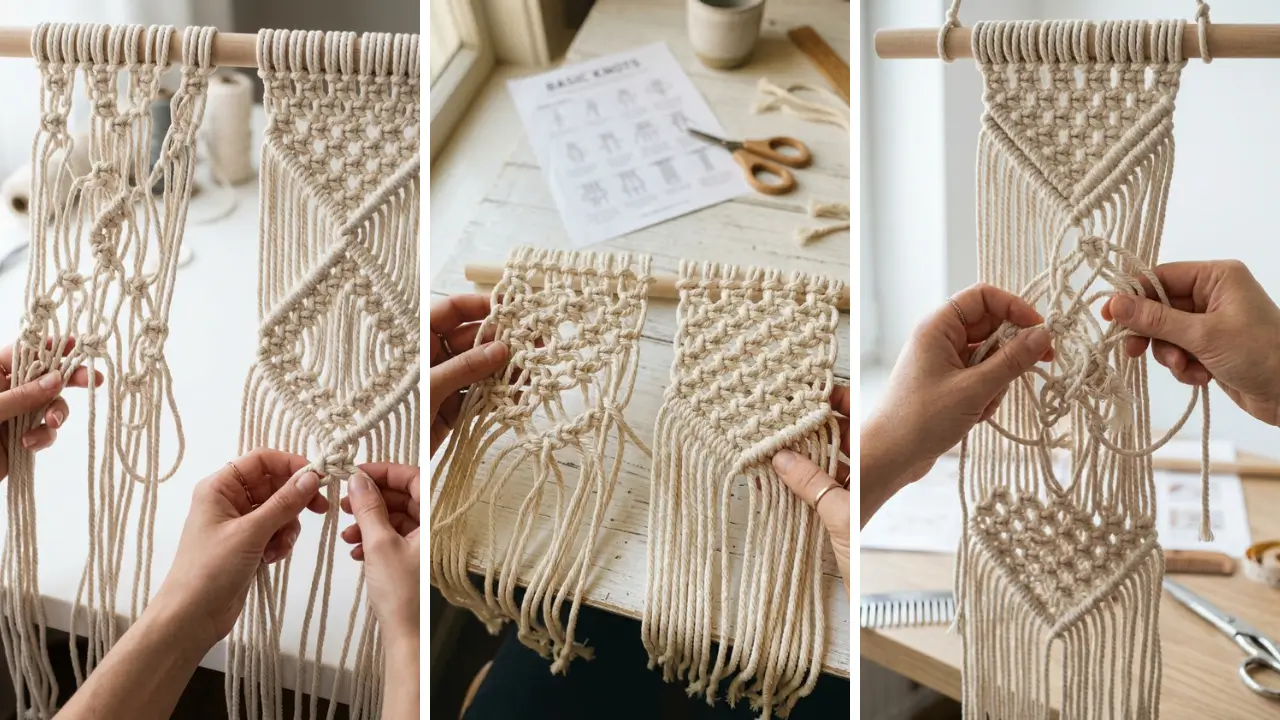
3. Skipping Proper Mounting Techniques

- Sturdy dowel or branch
- S-hooks or ceiling hook
- Level tool
- Cord for mounting
Many beginners rush through the mounting process and create crooked, unstable foundations. A poorly mounted piece will hang unevenly no matter how perfect your knots are. This mistake affects the entire finished appearance of your work.
Always use a level when positioning your dowel or mounting rod. Secure it firmly at a comfortable working height before attaching any cords. Taking five extra minutes here saves hours of frustration adjusting crooked work later.
Learn the lark’s head knot properly for secure cord attachment. This foundational mounting knot should be tight and uniform across all cords. Spacing cords evenly from the start creates a professional-looking foundation for any project.
4. Ignoring Pattern Direction Changes

- Pattern printout or reference
- Highlighter markers
- Stitch markers or pins
- Good lighting
Forgetting to switch knotting directions creates twisted, spiral patterns instead of flat designs. This happens when you repeat the same knot orientation without alternating. The result looks messy and completely different from your intended pattern.
Square knots require alternating between left-facing and right-facing half hitches. Highlight direction changes in your pattern with different colored markers. Place physical markers on your work to remind yourself when switches are needed.
Practice the basic alternating square knot pattern until it becomes automatic. This fundamental skill applies to most macrame designs you will encounter. Many creative enthusiasts find that home craft projects quick tutorials help reinforce these essential knotting techniques.
5. Using Poor Quality Cord Materials

- 100% cotton macrame cord
- Single-twist or 3-ply cord
- Cord samples for testing
- Storage container
Cheap synthetic cords fray excessively and produce sloppy-looking knots. Beginners often choose the least expensive option without considering quality differences. This budget choice actually costs more when projects fail and materials get wasted.
Invest in 100% cotton macrame cord from reputable craft suppliers. Cotton holds knots firmly and creates clean, professional-looking results. The texture is also much gentler on your hands during extended knotting sessions.
Test small cord samples before purchasing large quantities for big projects. Check for consistent thickness and minimal shedding when you pull and twist the material. Quality cord makes every single knot look better and last longer.
If you are working with limited budgets, check out dollar store crafts ideas for affordable supply alternatives that still deliver quality results.
6. Rushing Through Complex Knots

- Practice cord scraps
- Slow tutorial videos
- Good task lighting
- Comfortable seating
Speed is the enemy of beautiful macrame work for beginners. Rushing through spiral knots or gathering knots creates sloppy, uneven results. Impatience causes more project failures than any lack of skill or experience.
Break complex knots into individual steps and master each movement separately. Watch tutorial videos at half speed until the technique becomes natural. Practice difficult knots on scrap cord before incorporating them into actual projects.
Set realistic time expectations for your projects based on complexity level. A simple wall hanging might take three hours while intricate plant hangers need full weekends. Accepting this timeline removes the pressure that causes rushing mistakes.
Once you master these techniques, macrame becomes a wonderful option for creating DIY handmade gifts that friends and family will treasure forever.
Bonus: Forgetting to Document Progress

- Smartphone camera
- Craft journal or notebook
- Measuring tape
- Pen for notes
Not tracking your work makes it impossible to replicate successful projects or learn from mistakes. Beginners rarely photograph their progress or write down measurements. This oversight means reinventing the wheel with every new piece.
Take photos at each major stage of your project from start to finish. Note the cord lengths, knot counts, and any modifications you made along the way. This documentation becomes invaluable reference material for future macrame adventures.
Create a simple spreadsheet or notebook dedicated to your macrame journey. Record what worked, what failed, and what you would do differently next time. This practice accelerates your learning curve dramatically compared to starting fresh each project.
For more creative inspiration, explore handmade gift craft ideas that complement your growing macrame skills beautifully.
Now you understand the 6 macrame mistakes beginners always make and exactly how to fix them before they ruin your projects. With consistent tension, proper calculations, quality materials, and patient technique practice, your macrame work will transform from frustrating to fantastic. Grab your cords and dowels and start creating beautiful knotted art today!
Share your favorite tips and finished projects in the comments below. Rate this post if you found these solutions helpful!