11 Quilted Wall Art Ideas to Sew and Hang
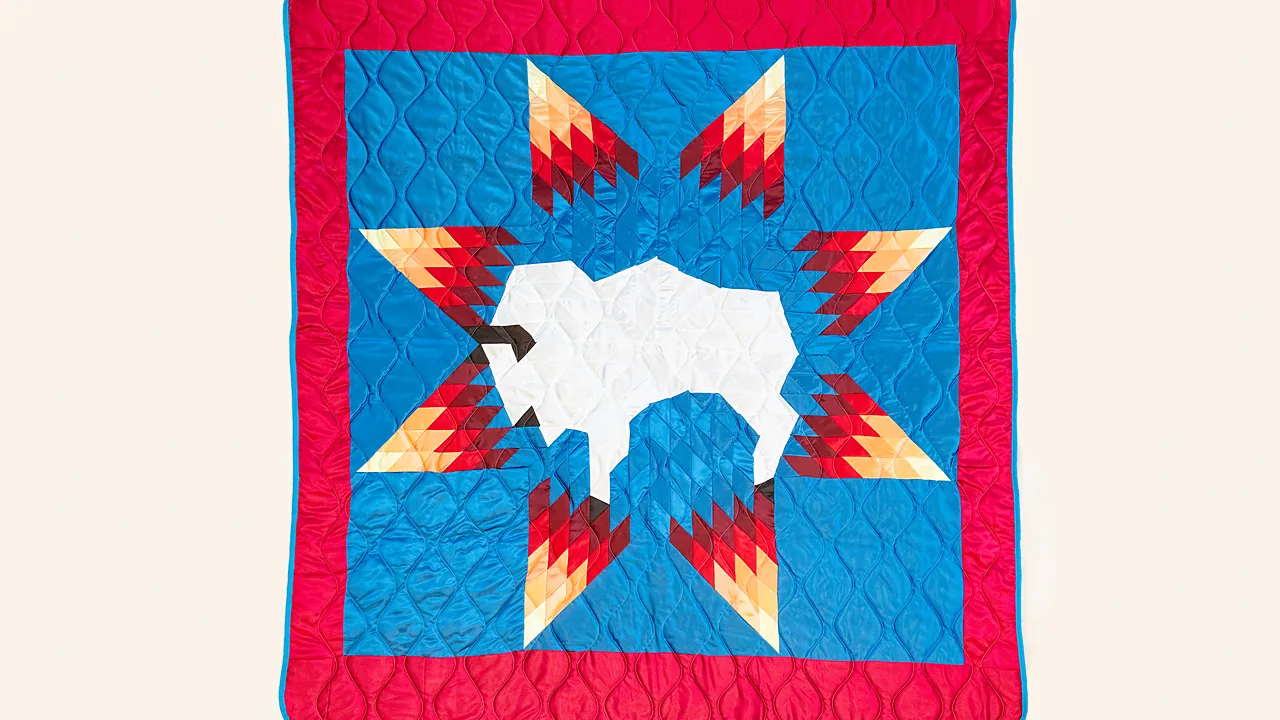
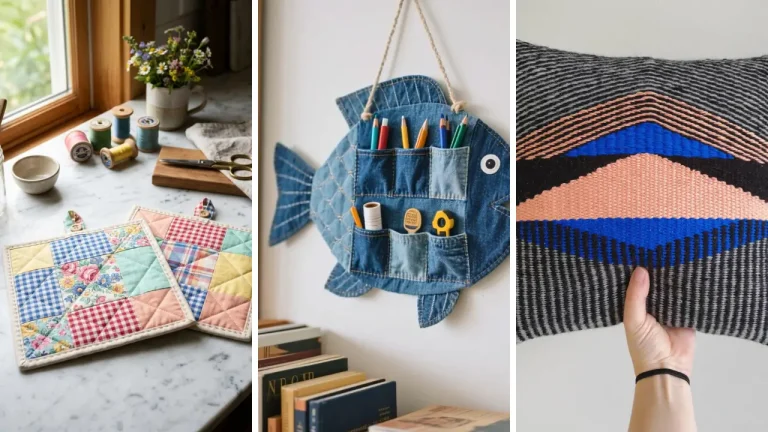
Have you ever looked at a stack of finished quilt blocks and realised you will never have the time, or the patience, to turn them into a whole bed quilt? Hang one on the wall instead. A wall piece needs no batting weight, no binding marathon, and no quilting a king size sandwich through a domestic machine. These eleven quilted wall art projects each list the materials, the time, and the detail that decides whether it hangs flat or sags in the middle.
Why Quilting Works Better on a Wall Than on a Bed
A wall quilt is not a small bed quilt. The rules change, and most of them change in your favour.
- Size is honest. A piece 50cm square is a finished project in a weekend rather than a project you abandon in March.
- Nothing has to survive washing. That opens up fabrics, fusible appliqué, and glue basting that would never hold up on a bed.
- Quilting is decorative, not structural. On a bed the stitching holds the batting in place through a hundred washes. On a wall it only has to look right.
- Imperfection reads as texture. Slightly wobbly lines vanish at viewing distance in a way they never do across a bed.
What does change is flatness. A quilt on a bed can ripple and nobody notices. On a wall, ripples are the first thing anyone sees, and almost every tip below is in service of avoiding them. Before buying anything, the guide to choosing fabric for home decor projects covers weights and why quilting cotton behaves differently from upholstery weight.
1. Single Block Framed Panel
Materials: one pieced block, batting scrap, backing fabric, deep frame.
Time: 2 hours plus piecing.
Quilt a single block, mount it on foam board, and drop it into a deep frame. One block treated as a serious object reads very differently from the same block lost in a bed quilt.
Quick tip: lace the piece to the foam board with thread across the back rather than gluing it. Glue bleeds through cotton over months and shows as dark patches. Frame choice is covered in the guide to frames for DIY wall art.
2. Nine Patch Grid in a Row
Materials: nine small blocks, batting, backing, nine small canvases.
Time: a weekend.
Make nine blocks in one palette, mount each on a small stretched canvas, and hang them in a three by three grid with even gaps. The repetition does the work, so the individual blocks can be simple.
Quick tip: cut the gaps between pieces to around 5cm and keep them identical. Uneven gaps are what makes a grid look accidental rather than planned.
3. Improv Strip Panel
Materials: fabric strips of random widths, batting, backing.
Time: 4 hours.
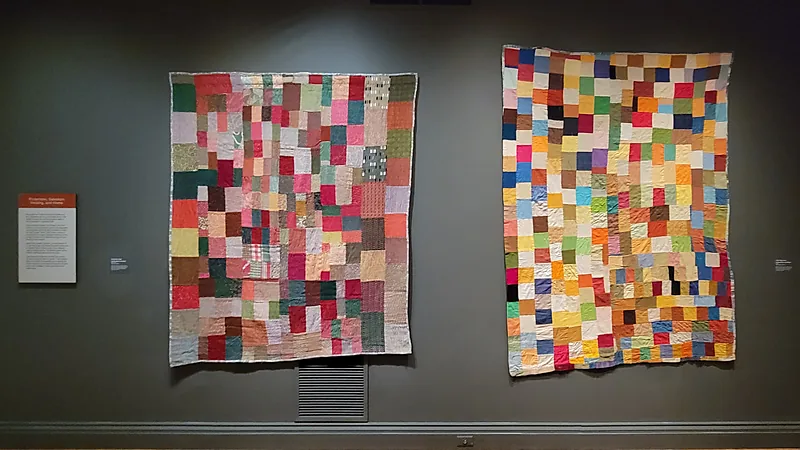
Sew strips of varying widths together with no measuring at all, trim the result square, then quilt straight lines across the seams. It uses up the awkward offcuts that are too narrow for anything planned.
Quick tip: press every seam in the same direction as you go. Strips pressed randomly build up a twist that only shows when the panel is finished and refuses to lie square.
4. Fused Appliqué Landscape
Materials: background fabric, fabric scraps, fusible web, batting.
Time: 5 hours.
Cut hills, sky, and trees from scraps, fuse them onto a background, then quilt around the shapes to outline them. No seam allowances and no piecing accuracy required.
Quick tip: work light to dark and background to foreground, fusing each layer before cutting the next. Trying to place everything at once and fuse in one pass never lines up.
5. Hexagon Cluster Hanging
Materials: paper hexagon templates, fabric scraps, thread, batting.
Time: spread over weeks.
English paper piecing is slow and entirely portable, which makes it the right technique for something carried around rather than sat down to. Cluster the finished hexagons into an irregular shape rather than trimming to a rectangle.
Quick tip: leave the outer edge as the natural hexagon zigzag. Cutting a paper pieced panel into a rectangle slices through the shapes that make the technique recognisable.
6. Quilted Banner on a Dowel
Materials: pieced panel, batting, backing, wooden dowel, cord.
Time: 4 hours.
Finish the panel with a channel along the top, slide a dowel through, and hang it from cord. It suits long narrow pieces that would look odd framed.
Quick tip: add a second channel along the bottom and slide a dowel in there too. A weighted hem is the difference between a banner that hangs straight and one that curls forward at the corners.
7. Mini Quilt Gallery Wall
Materials: five to seven small quilted pieces, hanging sleeves, pins.
Time: ongoing.
Make small pieces over time and hang them together, adding to the group as they accumulate. Varying sizes work better here than matching ones.
Quick tip: lay the arrangement out on the floor first and photograph it before any nail goes in. Arranging straight onto the wall is how a gallery wall ends up drifting rightward. The spacing rules sit in how to style a gallery wall.
8. Log Cabin Square
Materials: strips in light and dark values, batting, backing.
Time: 5 hours.
Build outward from a centre square, keeping one half of the block light and the other dark. The value contrast is the entire design, so the fabrics barely matter.
Quick tip: photograph the fabrics in black and white on a phone before cutting. Colours that look clearly different in person often share the same value, and a log cabin with no value contrast reads as mud.
9. Whole Cloth Quilted Panel
Materials: one piece of plain fabric, batting, backing, marking pen.
Time: 6 hours.
No piecing at all. Mark a pattern onto a single piece of plain fabric and let the quilting lines be the whole design. In a plain linen or a deep solid it is the most contemporary option here.
Quick tip: test the marking pen on an offcut of the same fabric and remove it the way you plan to. Some air erasable inks reappear permanently in cold weather, and there is no fixing that on a finished panel.
10. Scrappy Heart or Star Motif
Materials: scraps, background fabric, fusible web, batting.
Time: 3 hours.
Piece a field of random scraps, cut one bold shape from it, and fuse that shape onto a plain background. The contrast between a busy shape and an empty field is what makes it work.
Quick tip: keep the shape simple and large. Fine points and narrow necks fray at the edges and need stitching down, which defeats the speed of the method.
11. Seasonal Panel on a Rotating Hook
Materials: several panels of one size, matching sleeves, one wall hook.
Time: 4 hours per panel.
Make several panels to the same dimensions with identical hanging sleeves, then swap them through the year from a single fixed hook. One hole in the wall, four pieces of art.
Quick tip: cut every sleeve from the same template and measure the dowel position from the top edge each time. Sleeves placed by eye hang at different heights and the swap stops being effortless.
How to Make a Wall Quilt Hang Flat
This is the part that separates a piece that looks finished from one that looks homemade, and none of it is about the piecing.
- Use a hanging sleeve, not corner triangles. A full width sleeve spreads the load along the whole top edge. Corner pockets pull at two points and the centre dips within weeks.
- Make the sleeve slightly baggy. Pleat about 1cm of ease into it before stitching, so the dowel sits behind the quilt rather than pushing a ridge through the front.
- Choose a flat batting. Cotton or an 80/20 blend lies flat. High loft polyester is made to puff, and puff is the enemy here.
- Quilt evenly across the whole surface. Dense stitching in one area and sparse in another pulls the panel out of square, and the distortion is permanent.
- Square it up after quilting, never before. Quilting always shrinks a panel slightly, and never by the same amount in both directions.
- Block it when finished. Spray lightly with water, pin it square to a carpet or a foam mat, and let it dry fully. This is the step that is almost always skipped and it fixes most minor rippling.
Choosing Fabric and Size
Two decisions made early save most of the trouble later.
For fabric, quilting cotton is the default because it presses crisply and holds a seam. Linen works beautifully for whole cloth panels but frays fast, so cut generous seam allowances. Avoid anything stretchy, and avoid directional prints unless you are willing to cut every piece the same way up and waste the rest.
For size, measure the wall rather than guessing. A panel should occupy roughly two thirds of the width of the furniture beneath it, and sit with its centre at about 145cm from the floor. Full proportions are set out in the wall art size guide, and more non quilted options sit in DIY textile wall art ideas.
Mistakes That Show Up on the Wall
- Corner triangles instead of a sleeve. The centre sags. Use a full sleeve.
- High loft batting. It puffs between the quilting lines and the piece looks like a cushion.
- Uneven quilting density. It warps the panel permanently, and blocking will not rescue it.
- Trimming to size before quilting. The panel shrinks as you stitch, and it will no longer be square.
- Hanging it in direct sun. Cotton fades fast, and the fold lines fade differently from the rest.
- Skipping the blocking step. Ten minutes of pinning fixes rippling that nothing else will.
Conclusion
Start with the improv strip panel or the single framed block. Both finish in a day, neither needs accurate piecing, and both teach how quilting pulls a panel out of square before that lesson costs a month of work.
The hanging sleeve and the blocking are worth more than any amount of piecing precision, so get those right on the first small piece and everything after it hangs properly. More fabric projects at this scale sit in fabric crafts for beginners and beginner sewing projects for home decor, and if the wall is still bare, handmade wall decor ideas for a blank wall covers the alternatives.
Frequently Asked Questions
Q: How do you hang a quilt on the wall without damaging it?
A: Stitch a fabric sleeve across the full width of the back and slide a dowel or flat batten through it, resting the ends on two wall hooks. The load spreads along the whole top edge rather than pulling at a few points, and no nails or clips touch the quilt.
Q: What batting is best for quilted wall art?
A: Cotton or an 80/20 cotton polyester blend, both of which lie flat. High loft polyester puffs between the quilting lines and makes the piece look like a cushion rather than a flat panel.
Q: How big should a quilted wall hanging be?
A: Roughly two thirds the width of whatever furniture sits beneath it, with the centre about 145cm from the floor. A panel of 50cm to 60cm square suits most single wall spaces and finishes in a weekend.
Q: Why does a wall quilt ripple instead of hanging flat?
A: Usually uneven quilting density, or a sleeve that is too tight. Quilt at a consistent spacing across the whole surface, pleat about 1cm of ease into the sleeve, and block the finished panel by spraying it lightly and pinning it square until dry.