Polymer Clay Ideas: 12 Easy Beginner Projects
Quick summary
- An oven dial that reads low scorches more first projects than any mistake made while shaping.
- Softening the block properly before shaping is what separates pieces that snap from pieces that last.
- Finished pieces hold keys and rings beautifully, but nothing you intend to eat from should be made this way.
Quick answer: Buy one or two blocks of polymer clay, a cheap oven thermometer, and a smooth tile to work on. Knead the clay until it bends without cracking, shape something small and flat, and bake it at the temperature printed on the packet. A trinket dish or a pair of stud earrings takes under an hour and needs no kiln, no wheel, and no special tools.
Have you ever stood in a craft aisle holding a block of clay, unsure whether the thing in your hand needs a kiln, an oven, or just time on a windowsill? You are not alone. The word covers three different materials that behave nothing like each other, and picking the wrong one is why a lot of first attempts end up in the bin.
These twelve projects all use clay that hardens at home. Each one lists what it takes, how long it needs, and the detail that decides whether it survives.
What You Actually Need
The shopping list is short, and two of the five items are things most kitchens already have.
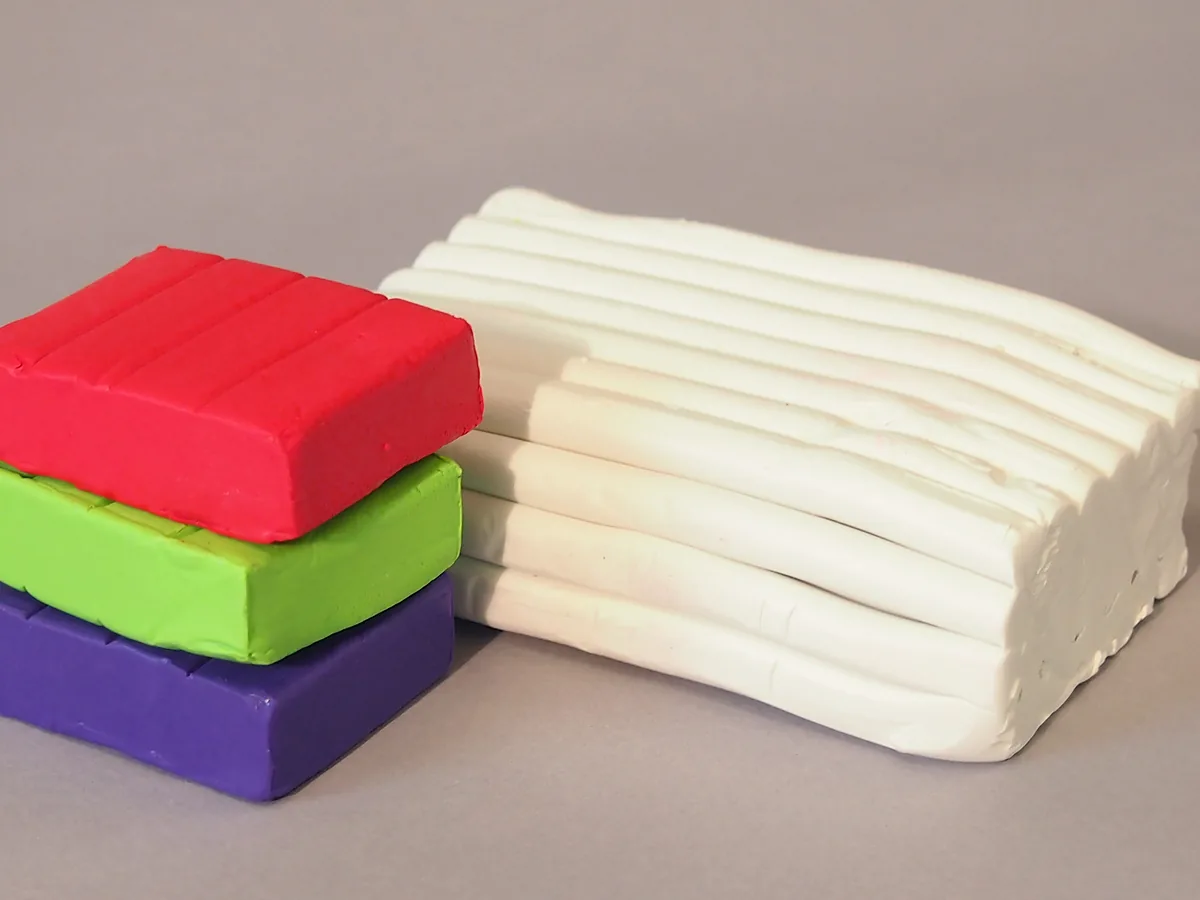
- One or two blocks of polymer clay. A standard block is enough for several small pieces. Buy white or a single colour rather than a rainbow pack, because mixing six colours into mud is a rite of passage worth skipping.
- An oven thermometer. The cheapest item on this list and the one that decides whether your work survives. Home oven dials are frequently out by twenty degrees or more.
- A smooth tile. Work on it, then bake on it. Ceramic holds heat evenly and saves transferring soft pieces onto a tray, which is where thumbprints come from.
- A craft knife and a smooth roller. A straight-sided glass or jar works as a roller. The knife matters more, because clean edges are most of what makes a finished piece look deliberate.
- Baking paper. Stops the shiny patch that forms where clay sits directly on ceramic.
That is the full list. Everything else sold alongside it is optional, and the wider question of what to buy first for any craft is covered in the best craft supplies for beginners.
Polymer Clay or Air-Dry Clay?
Both are sold as beginner clay, both harden without a kiln, and they suit completely different projects. Choosing badly is the single most common reason a first piece disappoints.
Polymer clay stays soft indefinitely until it is baked, which means an unfinished project can sit on the shelf for a month and still be workable. It holds fine detail, it barely changes size, and once baked it is tough enough to drop. It needs an oven.
Air-dry clay needs nothing but time, usually a day or two. It is cheaper, it feels more like traditional pottery to work with, and it is far better for anything large. The trade-offs are real though: it shrinks slightly as it dries, it cracks if it dries unevenly, and it never becomes waterproof. A sealed air-dry pot can hold a dry plant in its own plastic liner; it cannot hold water.
For jewellery, tiny detail, and anything that needs to survive being handled, use polymer. For bowls, larger decorative shapes, and anything where a slightly rustic surface is the point, use air-dry.
12 Beginner Clay Projects
1. Trinket Dish
Needs: one block, a bowl to shape over. Time: 40 minutes.
Roll a slab, cut a circle, drape it over an upturned bowl, bake. The curve forms itself. It is the fastest route from a block of clay to something that sits on a bedside table and holds rings.
Watch out for: rolling too thin. Under about 4mm the rim stays fragile no matter how well it is baked.
2. Stud Earrings
Needs: clay scraps, earring posts, strong glue. Time: 30 minutes.
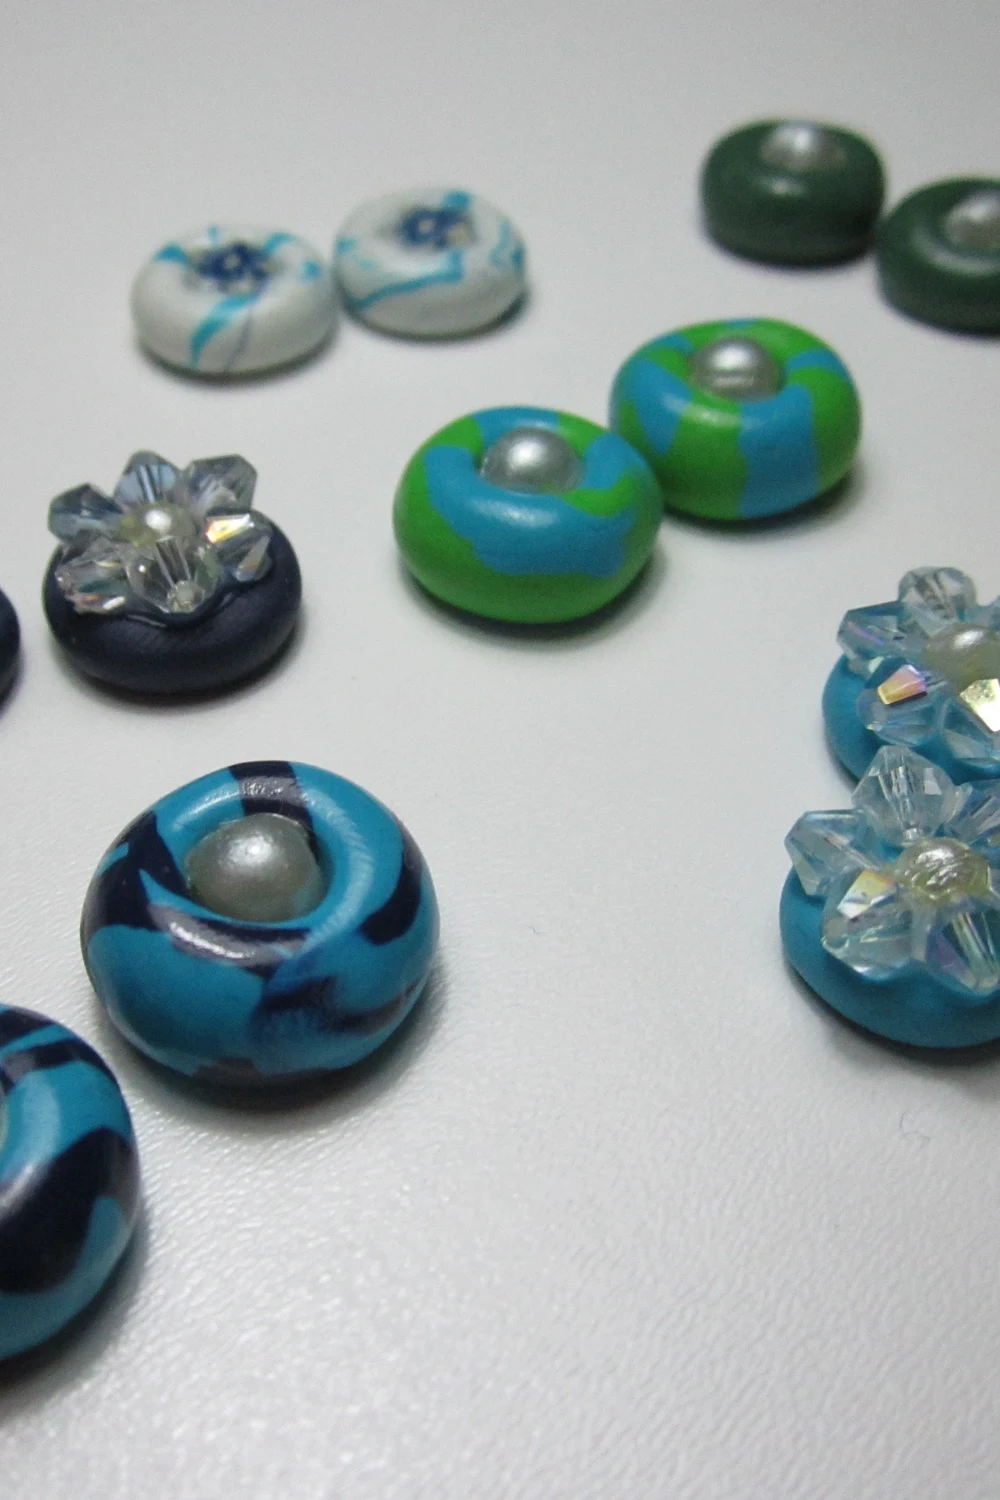
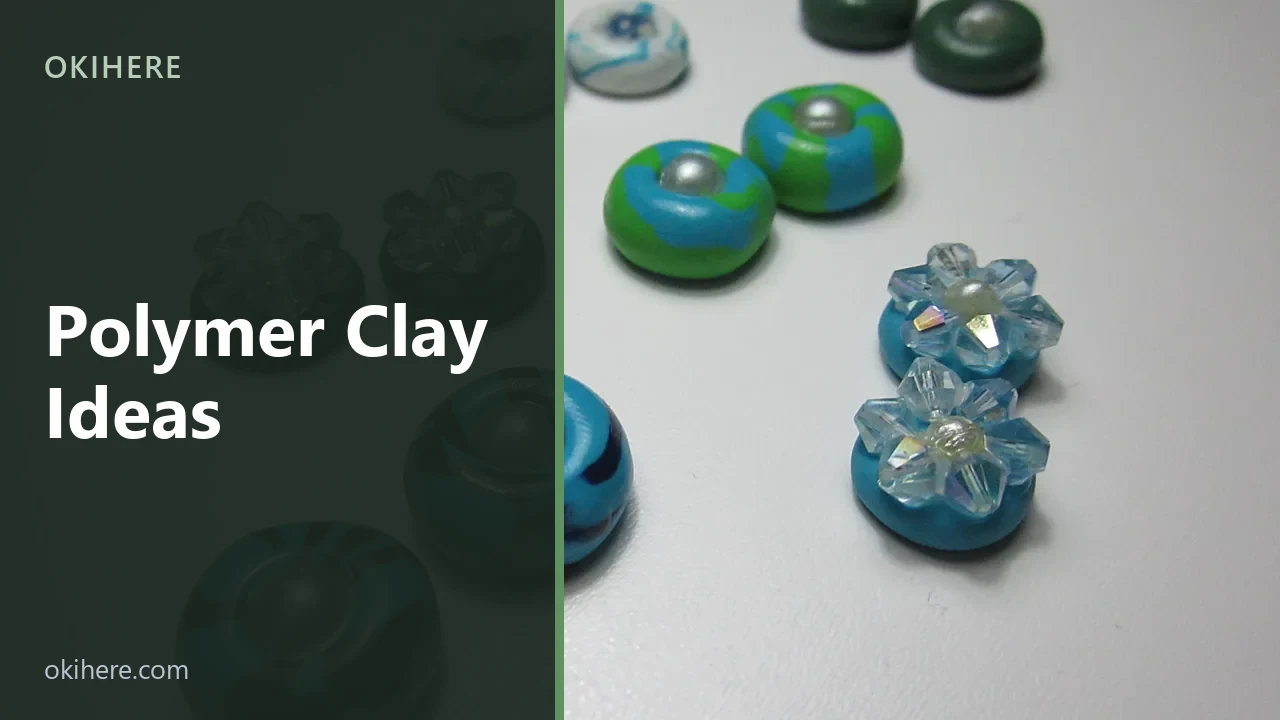
A flattened disc with a bead pressed into the centre is a complete design. Glue the posts on after baking, never before, because most posts are not meant to go in an oven.
Watch out for: making pairs that do not match. Cut both discs from the same rolled sheet with the same cutter.
3. Marbled Coasters
Needs: two colours, a square cutter. Time: an hour.
Twist two colours together, roll, and stop twisting while the swirl is still visible. Over-blending is the only way to get this wrong, and it happens faster than you expect.
4. Hanging Ornaments
Needs: cookie cutters, a straw. Time: an hour.
Cut shapes, punch the hanging hole with a drinking straw before baking, thread ribbon after. The straw gives a cleaner hole than anything pointed.
For a wider set of shapes and finishes, these Christmas ornaments to make work in clay as readily as in the materials they were written for.
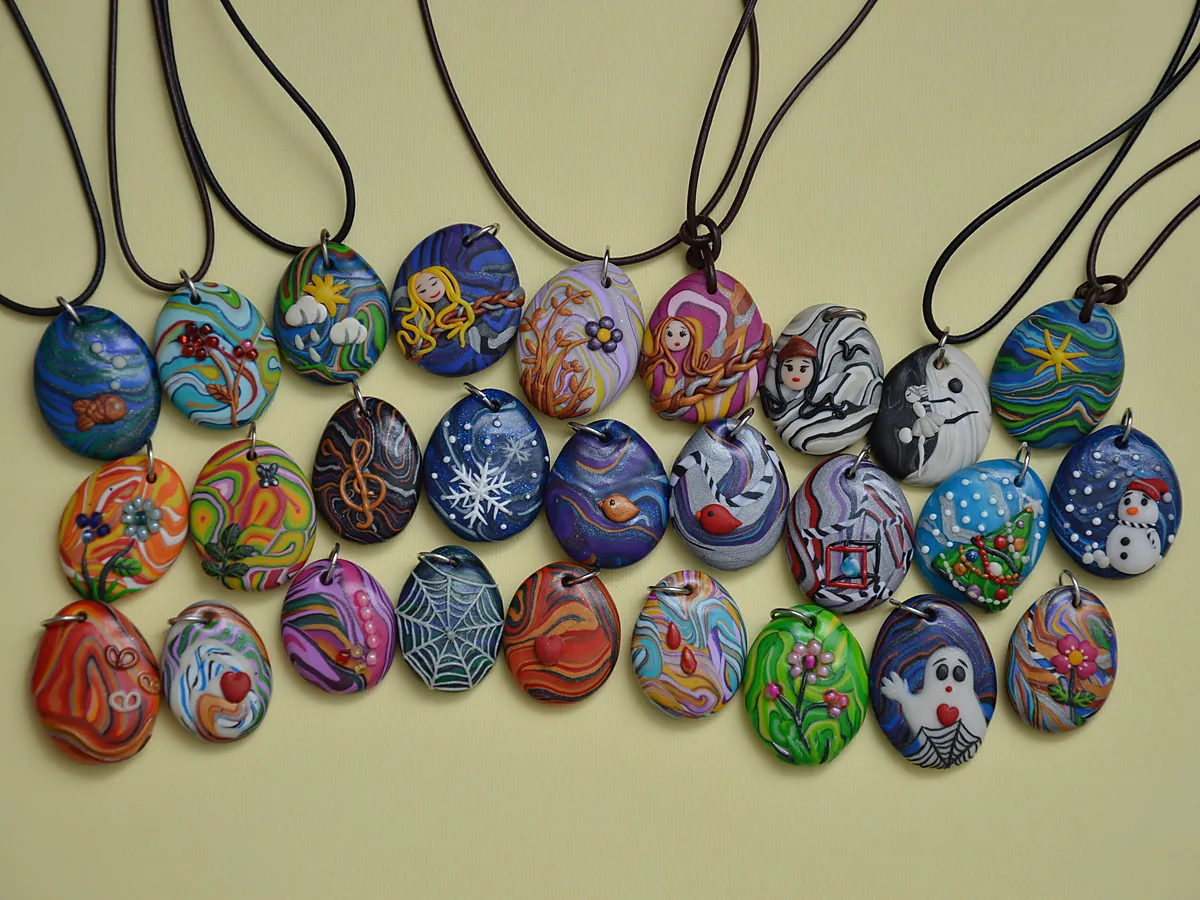
5. Textured Pendant
Needs: clay, something textured, a jump ring. Time: 30 minutes.
Press lace, a leaf, or a piece of coarse fabric into a rolled slab and the impression stays. This is the cheapest way to make a piece look considered without any drawing skill at all.
6. Mini Planter
Needs: air-dry clay, sealant. Time: 20 minutes, plus two days drying.
Pinch a small pot from a ball of air-dry clay. Keep the walls thicker than feels necessary, because thin walls crack as they shrink.
Watch out for: treating it as waterproof. Seal it, and still keep the plant in its nursery pot inside.
7. Clay Beads
Needs: scraps, a skewer. Time: 40 minutes.
Roll balls, pierce them with a skewer, and bake them standing on the skewer so they keep their shape. A dozen beads become a necklace, and the odd misshapen one disappears among the rest.
Beads sit comfortably alongside the techniques in these handmade jewellery ideas.
8. Ring Cone
Needs: one block. Time: 30 minutes.
A simple cone on a flat round base. It needs no mould and no cutter, and it holds a week of rings without ever looking like a beginner piece.
9. Fridge Magnets
Needs: scraps, small magnets, glue. Time: 30 minutes.
The best use for leftovers. Small, flat, forgiving, and nobody inspects a magnet closely.
10. Napkin Rings
Needs: a slab, a cardboard tube. Time: 45 minutes.
Wrap a strip around a tube wrapped in baking paper and bake it on the tube. The paper lets the finished ring slide off cleanly.
11. Textured Wall Tiles
Needs: air-dry clay, a square cutter. Time: an hour, plus drying.
Three or four small pressed tiles hung in a row read as a deliberate set. Dry them flat under a light weight or they curl at the corners.
They sit well within the approaches in this guide to wall art for beginners.
12. Small Figures
Needs: polymer clay, a cocktail stick. Time: an hour.
Simple rounded animals, built from balls and pressed together firmly at the joins. Attach limbs by pressing hard enough to blend the surfaces, because pieces merely rested together separate in the oven.
Clay or Resin?
These two crafts produce similar objects, which is exactly why it is worth being clear about how differently they behave.
Resin is poured as a liquid, mixed by precise ratio, and left to cure for a day. It gives glass-clear depth that clay cannot imitate, and it is the only option for embedding dried flowers or anything else inside a finished piece. It also demands ventilation, gloves, and care, which the safety notes on epoxy set out properly.
Clay asks for none of that. There is no mixing ratio to measure, no working time counting down, and no fumes to plan around. You can stop halfway through and come back next week. The trade-off is that clay is opaque and solid, so nothing is ever suspended inside it.
Choose resin when transparency or embedding is the point, and clay when you want to shape something by hand and have it finished the same afternoon. If resin turns out to be what you want, resin art for beginners and the resin supply list are the places to start.
What Goes Wrong, and Why
Nearly every failed clay project traces back to one of four things, and three of them happen before the oven is switched on.
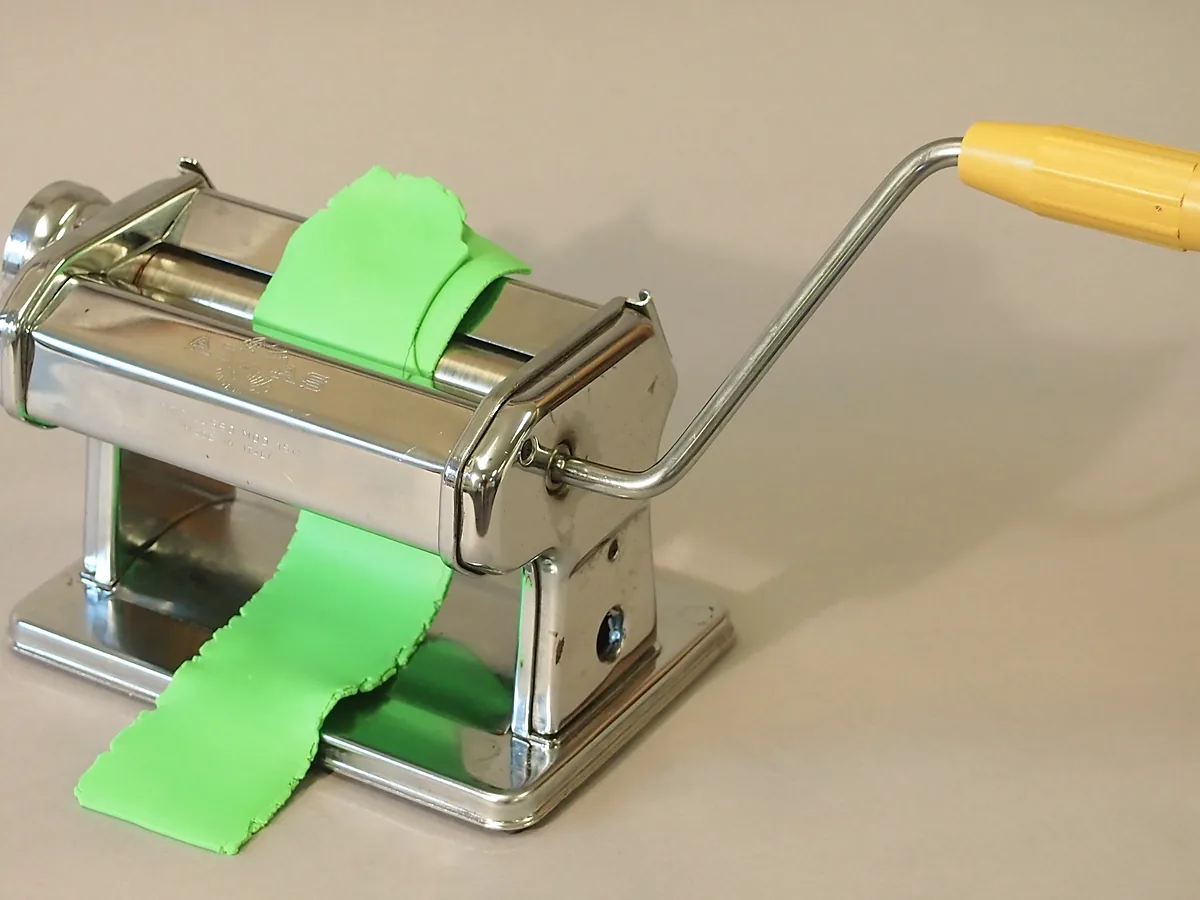
- Clay that snaps after baking was not softened enough first. Knead it until a rolled coil bends double without cracking at the fold. Cold clay straight from a shelf needs several minutes of work.
- Scorched or darkened edges mean the oven ran hotter than the dial claimed. Overheated polymer clay also gives off an acrid smell that is worth taking seriously: open a window, and check the temperature with a thermometer rather than trusting the setting.
- Pieces still soft after baking usually spent too little time at too low a temperature. Thickness drives the timing, and a second bake does no harm at all.
- Fingerprints everywhere come from handling warm clay. Let it rest a few minutes before the final shaping, and smooth the surface with a little rubbing alcohol on a cotton bud.
The broader pattern behind most of these is covered in the beginner crafting mistakes worth avoiding.
Common Questions
Can polymer clay be baked in a normal kitchen oven?
Yes, and a normal oven is what the instructions assume. Most packets specify somewhere between 110°C and 130°C, which is low enough that the clay hardens rather than cooks. Use the temperature printed on your packet rather than a figure remembered from elsewhere, since brands genuinely differ.
Is finished clay safe to eat from?
Treat it as decorative. A clay dish is excellent for rings, keys, and paper clips, and should not be used for food, even once baked and sealed. This is the one rule worth keeping rigid, because a trinket dish and a snack bowl look identical.
Why does air-dry clay crack?
Dry it slowly and evenly. Cracks appear when the outside shrinks while the inside is still wet, so keep pieces away from radiators and direct sun, turn them over partway through, and keep the walls an even thickness. A crack that does appear can be filled with a little wet clay smoothed in.
Can you paint clay after it hardens?
Acrylic paint works on both types after hardening. Air-dry clay takes paint readily and benefits from a sealant afterwards. Polymer clay already carries its colour, so paint is usually for details rather than whole surfaces.
How long does an unopened block last?
Polymer clay keeps for years if it is wrapped and kept out of warm places. Air-dry clay dries out once the packet is opened, so press the air out and seal it tightly, and a scrap that has gone firm can often be revived by kneading in a few drops of water.
Where to Start Tomorrow
Buy one block and make a trinket dish. It uses every skill the other eleven projects need, it fails in obvious ways that teach you something, and it takes less than an hour from opening the packet to switching the oven off.
Once a piece comes out of the oven intact, the rest of this list is just variations on the same four moves: soften, roll, cut, bake. For something to make alongside it on an evening that needs no oven at all, knitting for beginners starts from the same place.
Featured image: A ngelus / Wikimedia Commons, CC BY-SA 3.0, title text added by OKI HERE.