How to Do Resin Art for Beginners: Complete First-Pour Guide
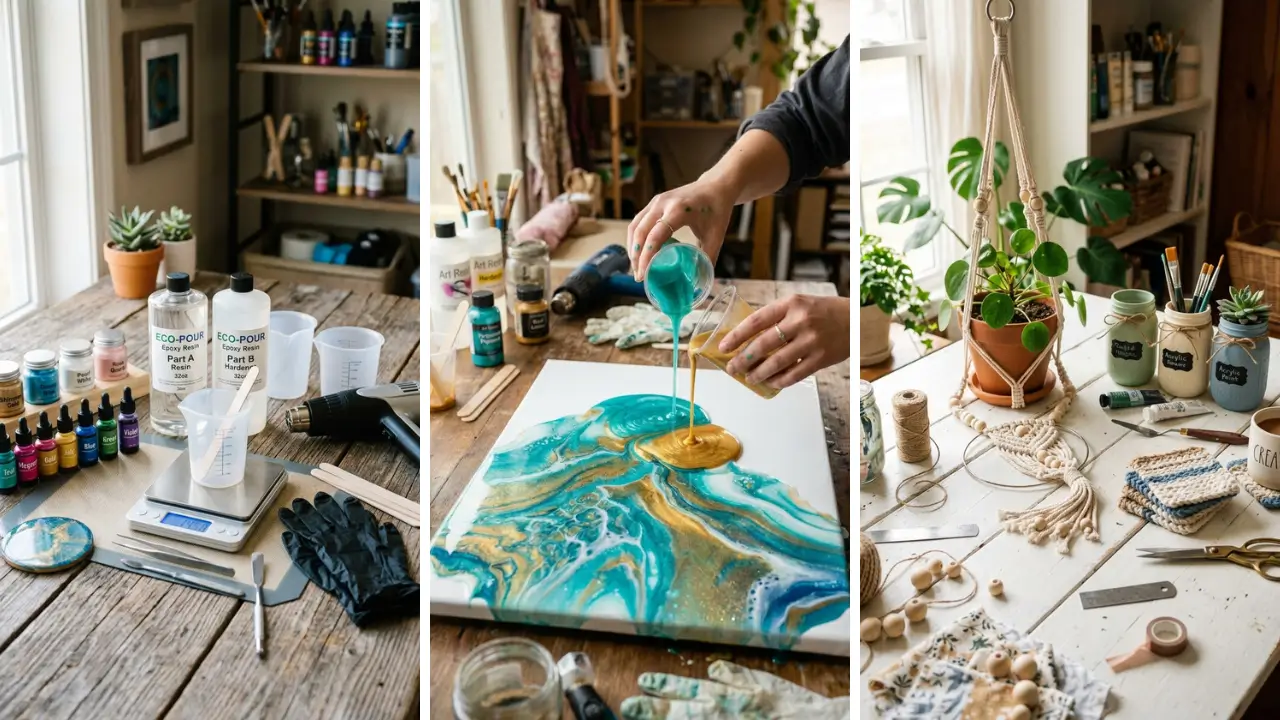
Your first resin pour comes down to five steps: measure resin and hardener at a 1:1 ratio by volume, stir 3 to 4 minutes plus a 60-second second mix, add pigment, pop bubbles with a heat gun held 6 to 8 inches away, then cover and cure 72 hours.
This complete first-pour guide walks you through everything — from the tools you need to the exact steps for mixing, pouring, and finishing your very first resin project. Whether you want to make jewelry, coasters, or decorative pieces, this guide sets you up for success from day one.
What Is Resin Art and Why Beginners Love It
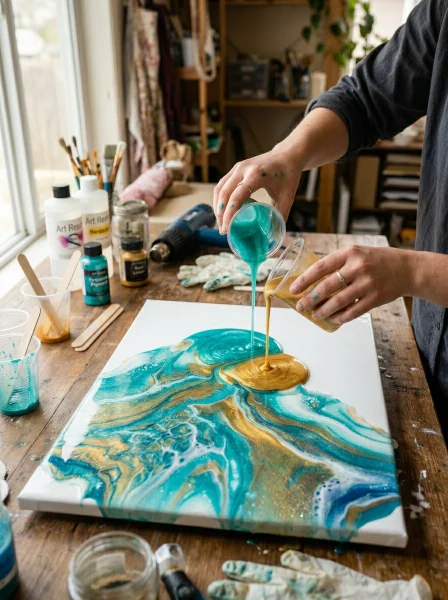
Resin art involves mixing two chemical components — resin and hardener — that react together to create a hard, glass-like surface. You can pour it into molds, onto canvases, or over objects to preserve and beautify them. The results look incredibly professional, even when you’re just starting out.
One of the biggest reasons beginners gravitate toward resin is the “happy accident” factor. The way pigments swirl and blend as resin cures creates patterns that are genuinely one-of-a-kind. No two pours are ever exactly alike, which means every project feels special.
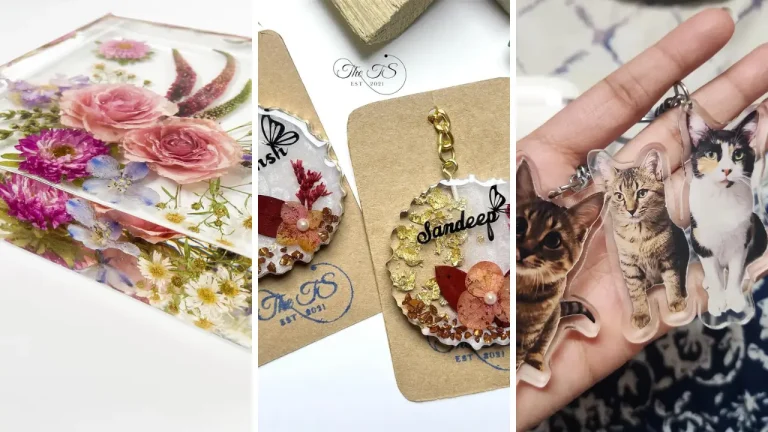
Resin art also makes for stunning DIY handmade gifts — think custom coasters, keychains, or framed artwork that look like they cost a fortune but were made with your own hands. It’s one of those crafts that impresses people far beyond the effort it actually takes.
Essential Tools and Materials for Your First Resin Pour
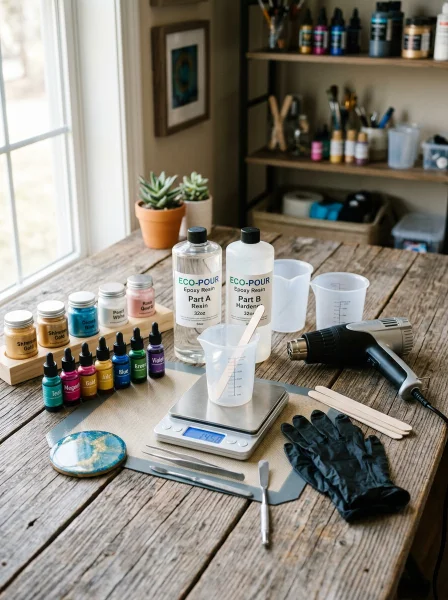
Before you mix a single drop, you need the right supplies. Skipping proper preparation is the number one reason beginners end up with sticky, cloudy, or uneven results.
The Core Supplies You Need
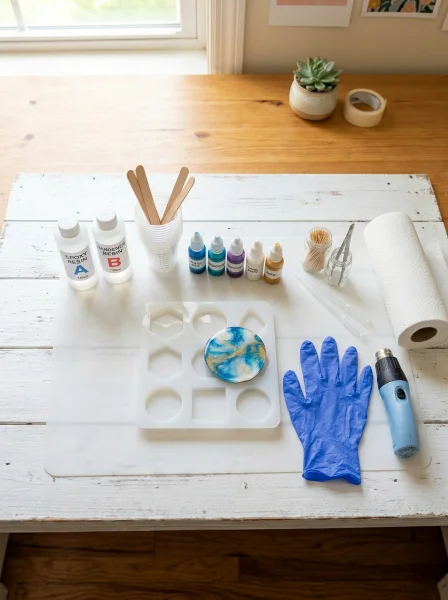
- Epoxy resin kit (includes resin and hardener) — choose a beginner-friendly brand with a 1:1 mixing ratio
- Silicone molds — easier to release cured pieces than plastic molds
- Mixing cups — graduated plastic or silicone cups work best
- Stir sticks — wood or silicone, at least two per pour
- Nitrile gloves — protect your skin; resin is an irritant
- Safety goggles — especially important when working with pigments
- Alcohol inks or resin pigments — for color and effects
- Isopropyl alcohol (90%+) — for removing surface bubbles and cleaning up
You don’t need an expensive setup to start. Many dollar store crafts ideas can even supplement your supply kit — items like plastic cups, toothpicks, and small containers are perfect for resin work and cost almost nothing.
Setting Up Your Workspace
Work in a well-ventilated area — open windows or use a fan to circulate air. Resin fumes aren’t overwhelming with most beginner-grade products, but proper airflow is still essential. Cover your table with a silicone mat or plastic sheeting, because cured resin drips are nearly impossible to remove from surfaces.
Temperature matters more than most beginners realize. Resin cures best between 70–77°F (21–25°C). If your workspace is too cold, the resin will stay tacky for days.
Too warm, and it may cure too fast and trap bubbles.
Step-by-Step: How to Do Resin Art for Beginners on Your First Pour
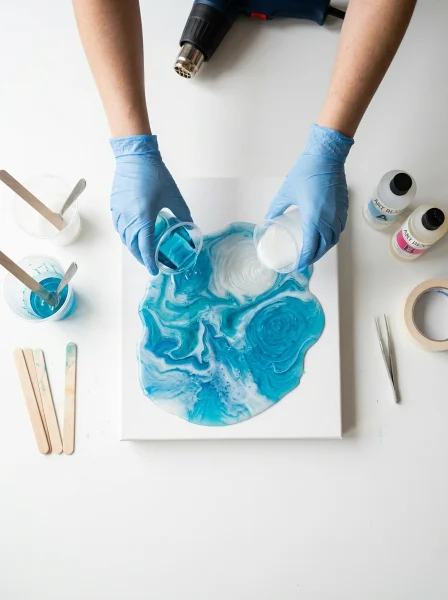
Now for the exciting part. Follow these steps carefully and your first pour will come out clean, clear, and beautiful.
Step 1 — Measure Your Resin and Hardener
Most beginner epoxy kits use a 1:1 ratio by volume. Pour equal amounts of resin and hardener into separate cups first, then combine them in a third cup. Never guess — use the measurement lines on your cups.
An off-ratio mix is the leading cause of sticky, uncured resin.
Step 2 — Mix Slowly and Thoroughly
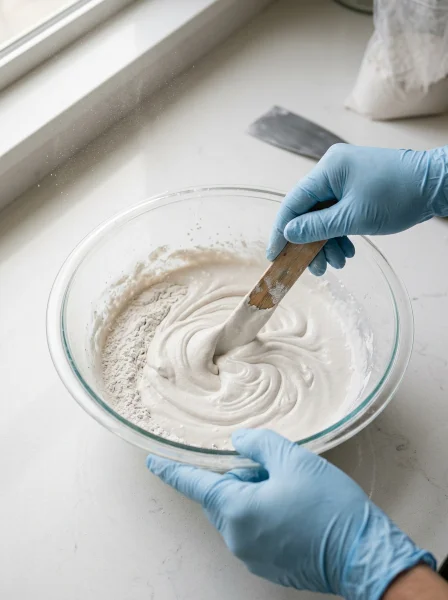
Stir the combined mixture for at least 3–4 minutes, scraping the sides and bottom of the cup as you go. Mix slowly to avoid introducing excess air bubbles. The mixture will look cloudy at first — keep stirring until it becomes crystal clear.
Switch to a clean stir stick and mix for another 60 seconds. This “second mix” step is something most tutorials skip, but it dramatically reduces the chance of unmixed streaks that cause soft spots in your finished piece.
Step 3 — Add Color and Effects
Divide your clear mixed resin into smaller cups and add pigments, alcohol inks, or mica powder. A little goes a long way — start with 1–2 drops of alcohol ink per 1 oz of resin. Stir each color gently.
For swirling effects, pour your colors into the mold one at a time, then use a toothpick or skewer to drag patterns through the surface. This is where resin art becomes genuinely fun — experimenting with fun crafts to make at home doesn’t get more satisfying than watching resin colors bloom and swirl.
Step 4 — Remove Bubbles
After pouring, surface bubbles will appear. Hold a heat gun or lighter 6–8 inches above the surface and pass it quickly over the resin. The heat causes bubbles to pop almost instantly.
Don’t hold the heat in one spot — keep it moving to avoid scorching. Alternatively, spritz a tiny amount of isopropyl alcohol from a spray bottle over the surface. The alcohol dissolves the surface tension and pops bubbles without heat.
Step 5 — Cover and Cure
Cover your project with a box or dome to keep dust off while it cures. Most beginner epoxy resins reach a demold stage in 24 hours and full cure in 72 hours. Resist the urge to touch it — fingerprints in partially cured resin are very difficult to fix.
Common Beginner Mistakes (and How to Avoid Them)

Knowing what goes wrong helps you prevent it before it happens. Here are the mistakes that trip up almost every first-timer.
- Not measuring accurately — Always measure by volume, not weight, unless your kit specifies otherwise.
- Undermixing — Cloudy resin or soft sticky patches after curing almost always mean insufficient mixing.
- Working in a cold room — If resin stays tacky after 24+ hours, low temperature is usually the culprit. Warm the room or use a space heater.
- Adding too much colorant — More than 6% colorant by volume can prevent proper curing. Start small.
- Skipping safety gear — Uncured resin is a skin sensitizer. Always wear gloves.
If your first pour doesn’t turn out perfectly, don’t be discouraged. Resin art has a learning curve, but it flattens quickly. Most beginners find their second pour is dramatically better than their first.
Easy First Projects to Practice Your Skills
Choosing the right first project sets you up for a win. Start with small, forgiving shapes before moving to large surfaces. Coasters are the classic beginner project — round silicone molds are easy to work with, and the result is immediately functional and giftable.
Keychains are even smaller and use minimal resin, so mistakes cost very little. Bookmarks in rectangular molds are another great option. If you enjoy mixing crafts, resin pairs beautifully with other techniques.
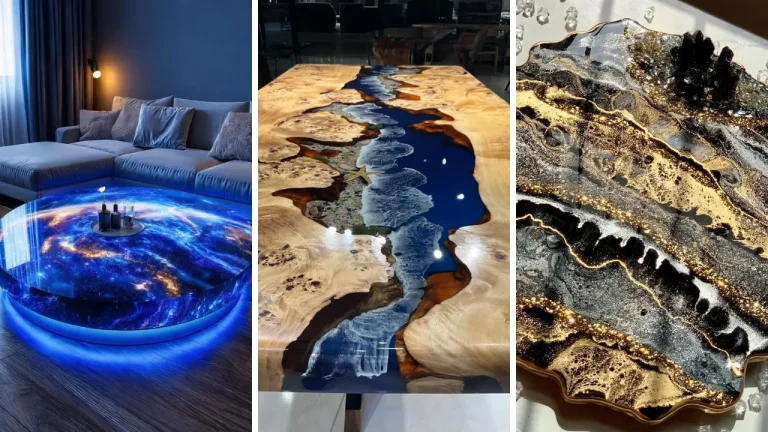
There are so many home craft projects quick that incorporate resin as a finishing coat or accent — from decoupage to pressed flower preservation. Once you’re comfortable with molds, try a resin geode painting or a petri dish pour. These techniques use slightly more advanced color blending but are still very doable with a few hours of practice under your belt.
Beginner-Friendly Resin Techniques to Try Next
Once a plain mold pour feels comfortable, these techniques are the natural next step, and none of them need advanced skills. What they do need is planning, because mixed resin only has a working time (or pot life) of roughly 20–45 minutes before it starts to thicken and becomes unusable. Decide on your colors and layout before you mix.
Ocean Pour (Petri Art)
This technique layers colors and then uses a heat source to push them into organic, flowing patterns that often resemble waves or cells. Alcohol inks, white pigment, and a torch do most of the work here — a butane torch gives you more control than a heat gun for this kind of detail. The result is different every single time.
Embedding Objects in Resin
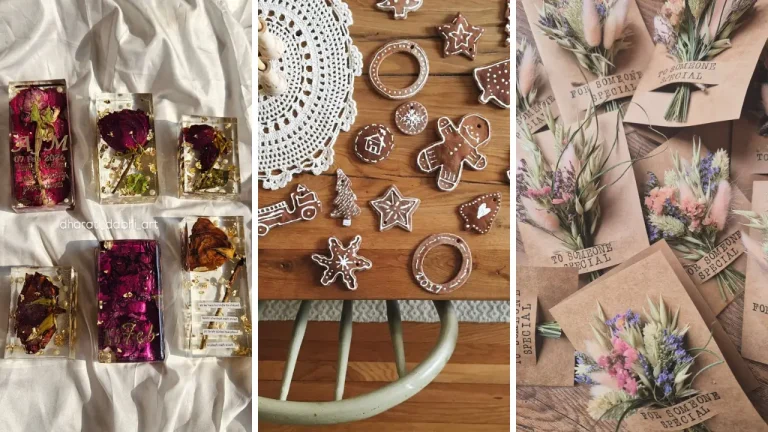
Dried flowers, photos, coins, and shells can all be preserved inside clear resin. Pour a base layer first, place your object on top of it, let that layer partially cure, then pour the top layer over it. Curing the base layer before adding the second one is what keeps the object from sinking or floating out of position. This is the technique behind memorial pieces and personalized jewelry.
Resin Geode Art
Geode art mimics the look of natural crystals and minerals using chunky glitter, colored pigments, and white paint on a canvas or wooden panel. It is one of the most visually striking styles, and it is far more achievable for a beginner than it looks.
Budget Tips: Starting Resin Art Without Overspending
Good news: you don’t need to spend a lot to get started. A basic epoxy resin kit, a set of silicone molds, and a few alcohol inks can be found for under $40 combined — and that’s enough for 10–15 small projects. Explore handmade gift craft ideas to get inspiration for what to make with your resin practice pieces.
Gifting your early projects is a great way to motivate yourself and share the joy of handmade work without the pressure of selling. As your skills grow, you can invest in higher-quality UV resins, casting resins for deeper pours, or specialty pigments like chameleon powders. But for your first pour?
Keep it simple and focus on technique over tools.
Conclusion: Your First Resin Pour Is Closer Than You Think
Resin art looks intimidating from the outside, but once you understand the basics — proper measuring, thorough mixing, controlled pouring, and patience during curing — everything clicks into place. This complete guide to how to do resin art for beginners has given you the foundation you need to pour with confidence. Start with a simple coaster mold, pick two or three colors you love, and just go for it.
Your first pour might not be perfect. It might have a few bubbles or uneven edges. That’s completely normal and part of the process.
What matters is that you start, learn from it, and keep going. Every experienced resin artist has a box of “practice pieces” somewhere. The craft community loves seeing beginner work, and there’s no better time than right now to pick up your mixing cup and create something beautiful with your own hands.
Ready to pour? Share your first resin project in the comments below — we’d love to see what you create! And if you have questions about any step in this guide, drop them below and let’s figure it out together.
Frequently Asked Questions
Q: How long does resin take to cure for beginners? A: Most beginner-friendly epoxy resins reach a safe demold stage in 24 hours and achieve full hardness after 72 hours. Factors like room temperature and humidity can affect this timeline — warmer conditions generally speed up curing, while cold slows it down significantly.
Q: What is the best resin for beginners learning how to do resin art for the first time? A: Look for a two-part epoxy resin with a simple 1:1 mixing ratio by volume. Brands marketed specifically for crafting or jewelry tend to be formulated for clarity and ease of use.
Avoid deep-pour casting resins as your first choice — they have different mixing ratios and longer cure times that can be confusing for newcomers. Q: Why is my resin still sticky after 24 hours? A: Sticky resin is almost always caused by one of three things: incorrect measuring ratio, insufficient mixing time, or a workspace that’s too cold.
Check your room temperature first — it should be at least 70°F (21°C). If temperature isn’t the issue, the batch likely needs to be sanded off and re-poured with careful attention to measuring and mixing. Q: Can I do resin art for beginners without a heat gun?
A: Yes. While a heat gun or embossing tool is the most effective way to pop surface bubbles, a simple lighter held 6–8 inches above the resin also works well for small projects. You can also use a quick spritz of 90%+ isopropyl alcohol as a chemical alternative that requires no heat at all.
Q: Is resin art safe to do at home? A: Resin art is safe when done with proper precautions. Always wear nitrile gloves and eye protection, work in a ventilated space, and avoid skin contact with uncured resin.
Once fully cured, epoxy resin is inert and safe to handle. Keep materials away from children and pets during the pouring and curing process.