How to Do an Alcohol Ink Resin Pour for Swirling Color Effects
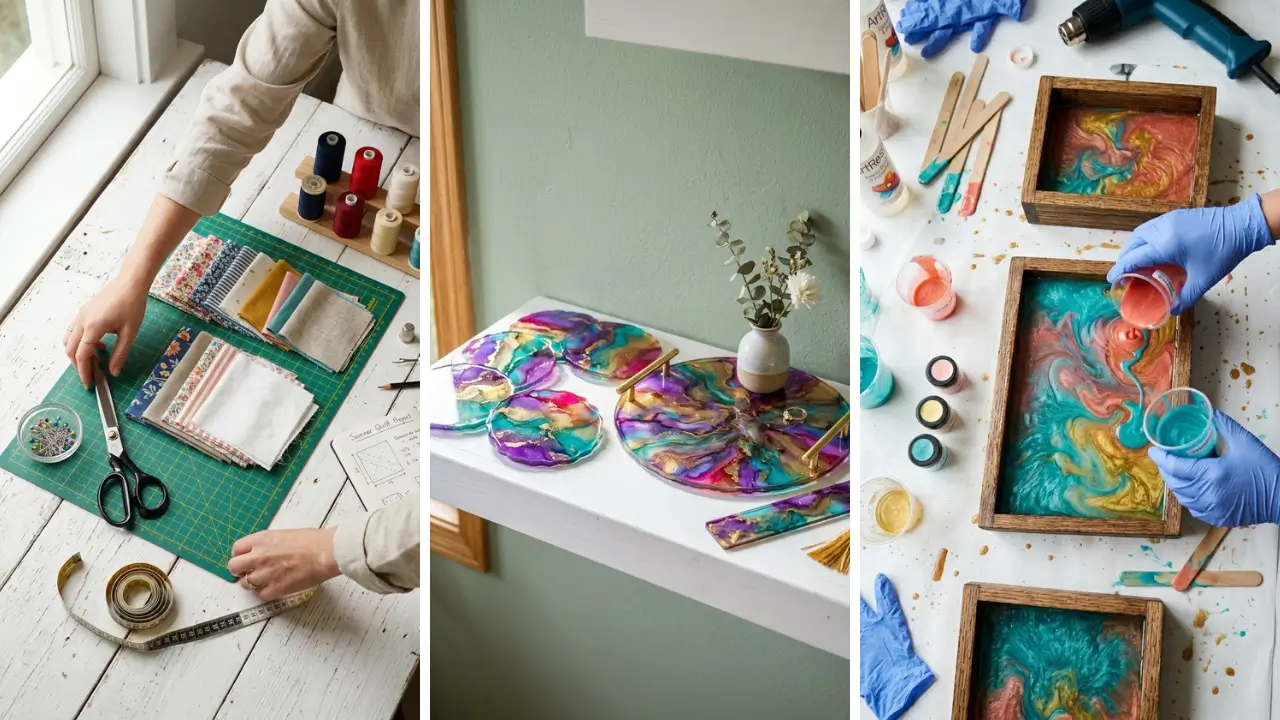
Mix two-part epoxy for 3 to 4 minutes, split it into three to five cups, and tint each with 2 to 5 drops of alcohol ink. Pour, mist with 91% isopropyl alcohol, then pass a heat gun 6 to 8 inches above the surface. You get 20 to 40 minutes before it sets.
In this guide, you’ll discover exactly what materials you need, how to mix and pour correctly, and the pro tips that separate a muddy mess from a stunning swirling masterpiece. Whether you’re making decor for yourself or exploring DIY handmade gifts for people you love, this technique delivers results that genuinely impress.
What You Need Before You Start: Materials and Setup
Getting your workspace and materials right makes all the difference. Rushing into a pour without preparation is the number one reason beginners end up with cloudy, muddy results instead of clean, vibrant swirls. Here’s what you’ll need to gather:
- Two-part epoxy resin (a clear, low-viscosity formula works best for color movement)
- Alcohol inks in 3–5 colors (avoid using too many — it gets muddy fast)
- Isopropyl alcohol (91% or higher) in a small spray bottle
- Silicone molds or a sealed wooden panel
- Gloves, safety glasses, and a well-ventilated workspace
- A heat gun or torch for popping bubbles and encouraging ink movement
- Mixing cups, stir sticks, and a level surface
One practical tip: place your mold or surface on a level table before pouring. Even a slight tilt will cause the resin to pool unevenly and ruin your swirling pattern. A cheap bubble level from a hardware store is a smart investment.
If you’re on a budget, you might be surprised how affordable this craft can be. Exploring dollar store crafts ideas is a great way to source silicone molds and basic tools without breaking the bank before you’ve even tried the technique.
How to Do an Alcohol Ink Resin Pour: Step-by-Step Process
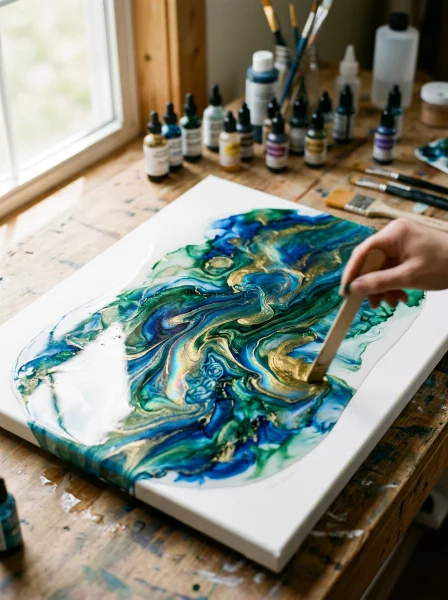
Now for the main event. Follow these steps carefully, especially the timing — epoxy resin has a working window, and once it starts to cure, you can’t manipulate the colors anymore.
Step 1: Mix Your Resin
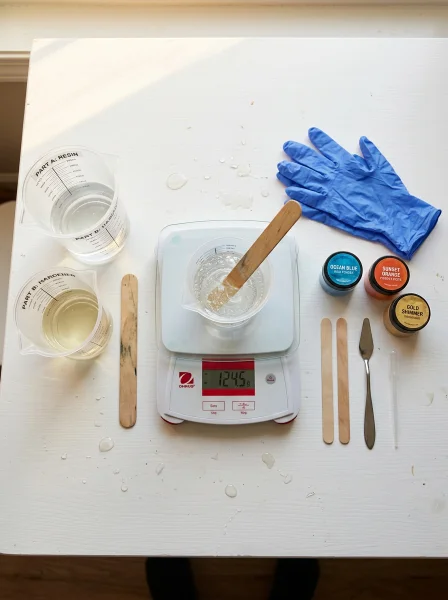
Combine Part A and Part B of your epoxy resin in a clean mixing cup according to the manufacturer’s ratio (usually 1:1 or 2:1). Stir slowly and thoroughly for at least 3–4 minutes, scraping the sides and bottom of the cup. Do not rush this step — incomplete mixing leads to sticky, uncured spots in your finished piece.
Once mixed, let the resin sit for about 5 minutes to release large bubbles before adding your inks.
Step 2: Add Alcohol Inks to Separate Cups
Divide your mixed resin into 3–5 smaller cups — one for each color. Add 2–5 drops of alcohol ink to each cup and stir gently. You want the color to be vibrant but not overpowering.
A little goes a long way with alcohol inks. Choose a color palette intentionally. Complementary colors like teal and copper, or navy and gold, tend to produce the most striking swirl effects.
Avoid mixing too many similar cool or warm tones, as they’ll blend into one flat color once poured.
Step 3: Pour and Layer Your Colors
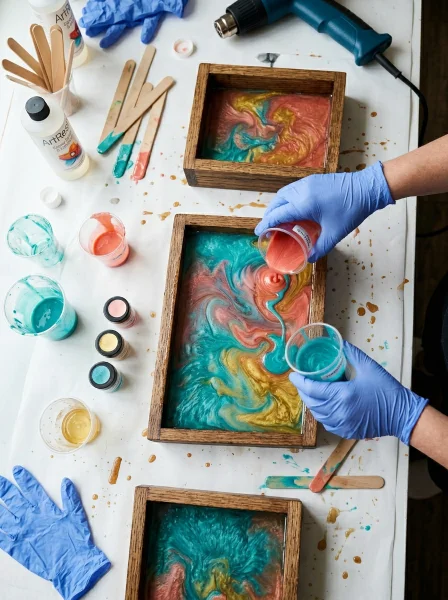
Begin pouring your colored resin onto the surface. You have a few different pouring techniques to choose from:
- Dirty pour: Stack all your color cups together and pour simultaneously from one spot for a central bloom effect.
- Swipe technique: Pour colors side by side, then drag a palette knife or gloved finger across the surface to create swooping lines.
- Spot pouring: Drop individual colors in different spots, then tilt the surface gently to let them flow and meet.
For the most dramatic swirling color effects, the spot-pour-and-tilt method gives you the most control. Pour your dominant color first, then add accent colors in smaller amounts around it.
Step 4: Spray Alcohol and Apply Heat
This is where the magic really happens. Lightly mist the surface with 91%+ isopropyl alcohol from a small spray bottle. The alcohol causes the ink to expand and move, creating those signature lacy, swirling patterns you’ve seen in professional resin art.
Follow up with a quick pass from a heat gun or torch held 6–8 inches above the surface. The heat pops air bubbles and drives the alcohol through the ink, intensifying the movement. Don’t hold the heat in one spot — keep it moving in slow circles to avoid scorching the resin.
Step 5: Encourage the Swirl
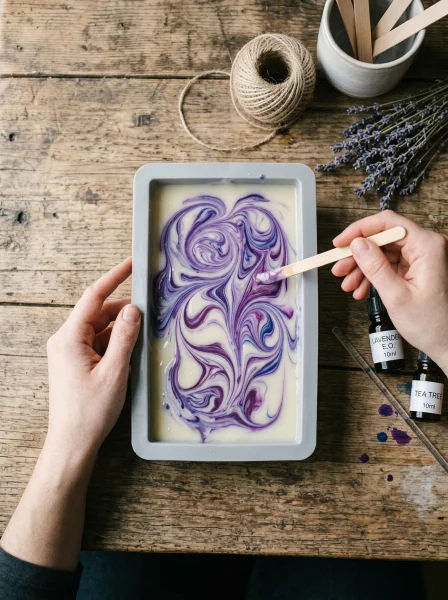
Gently tilt the surface in different directions to guide the resin flow. You can also use a toothpick or skewer to drag ink from one color into another for feathered or marbled effects. Work quickly — you typically have a 20–40 minute window depending on your resin brand before it starts to set.
Once you’re happy with the pattern, place your piece in a dust-free space and allow it to cure fully (usually 24–72 hours). Resist the temptation to touch it — even a fingertip will leave a permanent mark.
Pro Tips for Better Swirling Color Effects Every Time
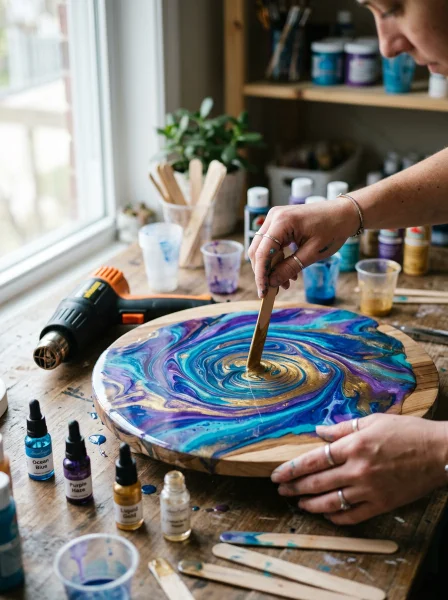
Even with the right technique, small details separate average pours from stunning ones. Here are the tips that experienced resin artists swear by. Use warm resin for better flow.
Sitting your resin bottles in warm water for 10 minutes before mixing lowers viscosity, which helps colors move more freely across the surface. Work in layers for depth. Pour a thin clear base layer, let it reach a gel stage (about 4–6 hours in), then pour your colored layer on top.
This adds a three-dimensional depth to the finished piece that’s hard to achieve in a single pour. Limit your palette. Three colors often outperform six.
When too many colors mix, they neutralize each other and create brown or gray muddiness. Start simple and expand your palette as your confidence grows. Embrace happy accidents.
Resin art is inherently unpredictable. Sometimes the swirl you didn’t plan becomes the most beautiful part of the piece. Learning to work with the flow rather than against it is a skill that develops with every pour.
This technique fits perfectly into a broader world of creative projects. If you enjoy working with your hands, there are so many fun crafts to make at home that require no prior experience and deliver impressive results just like this one.
Creative Ways to Use Your Alcohol Ink Resin Art
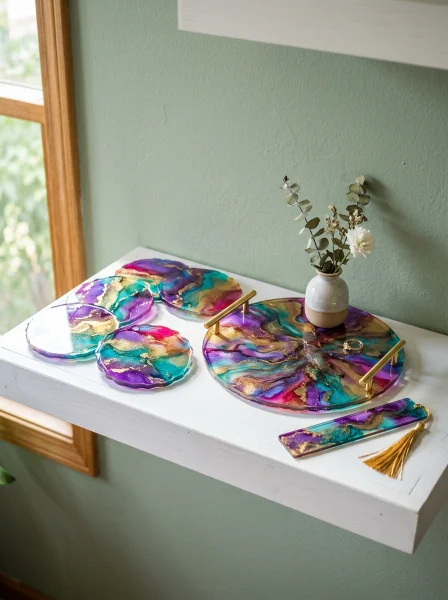
Once you’ve got the technique down, the possibilities for what you can create are genuinely exciting. Resin art isn’t just for wall decor — it translates beautifully into functional and gift-worthy items. Popular projects include coasters, serving trays, jewelry dishes, keychains, bookmarks, and decorative panels.
Resin coasters in particular are always a crowd favorite — they’re practical, visually stunning, and surprisingly quick to make once you know the process. If you’re looking for handmade gift craft ideas, a set of matching resin coasters with coordinated colors is one of the most thoughtful and personalized things you can give someone. You can even customize the palette to match the recipient’s home decor.
The technique also works beautifully on larger surfaces like wooden cheeseboards or decorative clocks. As you build confidence, scaling up to bigger projects becomes a natural and satisfying progression.
Common Mistakes to Avoid With Resin Alcohol Ink Pours
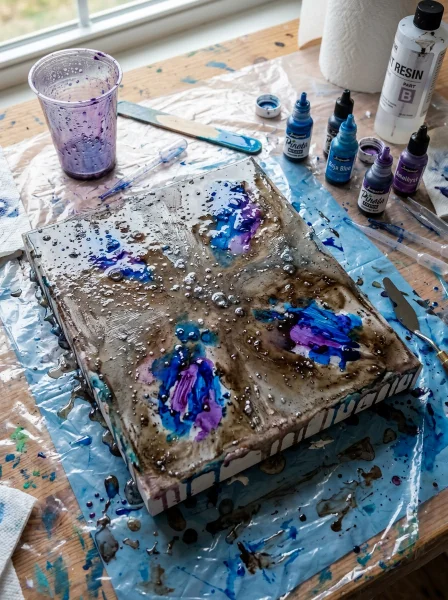
Even experienced crafters run into problems. Knowing what can go wrong helps you troubleshoot before it’s too late to fix. Sticky or tacky finish: Almost always caused by incorrect mixing ratios or under-mixing.
Always measure by weight when possible and mix for the full recommended time. Colors turning brown or gray: Too many colors mixed together or overworking the surface with a heat gun. Let the resin do the work — don’t keep going back in with heat or tools after the initial manipulation.
Bubbles in the cured piece: Likely from mixing too fast or not doing a final torch pass. Stir slowly and always do a final light heat pass about 5 minutes after pouring. Ink sinking to the bottom: This can happen if your resin is too thin or if you added too much alcohol ink.
Use a resin with slightly higher viscosity or reduce the amount of ink per cup. Resin art is a skill that rewards patience and observation. Keep notes on each pour — what worked, what didn’t, which colors you used — and your results will improve dramatically over time.
It’s one of those home craft projects quick to learn but endlessly satisfying to refine.
Conclusion
Mastering how to do an alcohol ink resin pour for swirling color effects opens a door to one of the most visually rewarding craft techniques available to home artists. The process is approachable, the materials are affordable, and the results consistently look like professional gallery art. You’ve learned how to set up your workspace, mix and pour your resin, use alcohol and heat to drive those stunning ink movements, and avoid the most common pitfalls that trip up beginners.
The key takeaway is this: preparation and patience matter more than talent. Get your ratios right, work in a leveled and dust-free space, and trust the chemistry to do most of the visual work for you. Every pour will teach you something new.
Whether you’re creating for yourself or making something meaningful to give away, this technique is worth every minute invested. Start with a small coaster mold, practice your pour, and build from there. You might be surprised just how quickly you fall in love with it.
Ready to try your first pour? Grab your materials, clear your table, and give it a go this weekend. Drop a comment below and let us know what color palette you’re starting with — we’d love to see what you create!
FAQ
Q: What type of resin works best when learning how to do an alcohol ink resin pour for swirling color effects? A: A low-viscosity, clear two-part epoxy resin is ideal because it flows easily and allows the alcohol ink to move freely across the surface. UV resin is generally too thick and cures too quickly for this technique.
Look for resins marketed specifically for art or tabletop applications, as they tend to have longer working times and excellent clarity. Q: How many colors of alcohol ink should I use in a resin pour? A: For beginners, starting with 3 colors is highly recommended.
Using too many colors — especially complementary ones like red and green — results in muddy brown or gray tones where they mix. Once you’re comfortable controlling the pour and the tilt direction, you can experiment with adding a fourth or fifth color strategically. Q: Can I do an alcohol ink resin pour for swirling color effects without a heat gun?
A: Yes, though a heat gun or torch gives you much more control over ink movement and bubble removal. As an alternative, you can use a straw to gently blow across the surface — this moves the alcohol and ink in organic directions. Tilting the surface is also effective on its own.
A torch produces the most dramatic lacy swirl effects, but great results are possible without one. Q: How long does it take for an alcohol ink resin pour to fully cure? A: Most two-part epoxy resins reach a hard, touch-safe cure within 24 hours but achieve full hardness and maximum durability after 72 hours or more.
Always check the manufacturer’s instructions for your specific product. Avoid placing objects on or packaging your piece until it’s fully cured to prevent dents, fingerprints, or surface impressions. Q: Is resin art with alcohol ink safe to do at home?
A: It can be done safely at home with proper precautions. Always work in a well-ventilated area — open windows and use a fan to direct fumes away from your breathing zone. Wear nitrile gloves to protect your skin, and safety glasses are strongly recommended when using a torch or heat gun.
Uncured resin is a skin sensitizer, so minimize direct contact and wash hands thoroughly if any resin touches your skin.