10 DIY Handmade Jewelry Ideas for Beginners
Quick summary
- A starter kit of pliers, wire and findings costs around thirty dollars and covers every project here.
- Stretch cord and memory wire need no clasps, which removes the fiddliest step for a first attempt.
- Findings decide whether a piece survives being worn, so spend there rather than on yet more beads.
Quick answer: Start with a beaded stretch bracelet or a pair of drop earrings. Both need only pliers, beads and a few findings, both finish in under thirty minutes, and neither involves a clasp or a soldered joint. A beginner kit at around $20 to $30 covers the tools for every project below.
Have you ever picked up a simple beaded bracelet in a shop, turned over the price tag, and realised it was four strung beads and a knot? You are not alone. Most high-street costume jewellery uses techniques that take minutes to learn, and the markup is on the assembly rather than the materials.
These ten projects are ordered by how much equipment each one needs, starting with the ones requiring almost none. Every entry lists the materials, the rough time, and the detail that decides whether the finished piece lasts a season or falls apart in a week.
Why Make Your Own Jewelry
The cost gap is the obvious reason. A strand of glass beads and a reel of elastic produce a dozen bracelets for the price of one shop-bought piece, and the leftovers roll into the next project rather than going to waste.
The less obvious reason is fit and colour. Standard bracelets assume a standard wrist, standard earrings assume pierced ears and a particular drop length, and neither assumption suits everyone. Making the piece means choosing the length, the weight and the exact shade, which is also what makes handmade jewellery work as a gift rather than as a guess. The same logic runs through DIY handmade gifts.
There is also a repair argument. Once the techniques here are familiar, a broken clasp or a snapped strand becomes a ten-minute fix instead of a reason to throw the piece away.
What You Need to Start
A beginner jewellery kit at around $20 to $30 contains most of this. Buying the tools separately is worthwhile only if the kit versions turn out to be too soft, which is common at the very bottom of the price range. The wider question of what to buy first across any craft is covered in the best craft supplies for beginners.
- Three pliers: round-nose for forming loops, flat-nose for gripping and closing, and side cutters for trimming wire. These three cover every project here.
- Stringing material: elastic cord for stretch bracelets, beading wire for anything heavier, and nylon thread for knotted work.
- Findings: jump rings, head pins, ear wires and clasps. These are the parts that fail, so buy better ones than feel necessary.
- Beads: a mixed bag to start with, so the hole sizes and weights can be compared in the hand before committing to a colour scheme.
Buy findings in a plated brass or sterling rather than the cheapest base metal. A ten-cent saving on an ear wire is why inexpensive earrings turn skin green. For everything else, the usual budget sources apply, as covered in where to buy cheap craft supplies online.
10 DIY Handmade Jewelry Ideas for Beginners
1. Beaded Stretch Bracelets
Needs: elastic cord, beads with a wide hole. Time: 15 minutes.
String beads onto elastic cord, then tie off with a surgeon’s knot and a dab of glue inside the nearest bead. No clasp, no tools, and sizing is a matter of measuring the wrist and adding a centimetre.
Watch out for: stretching the cord while stringing. Pre-stretched elastic relaxes later and the bracelet sags. Lay it flat and let the beads sit loosely as you work.
2. Simple Drop Earrings
Needs: head pins, ear wires, beads, round-nose pliers. Time: 20 minutes a pair.
Thread a bead onto a head pin, bend the wire to ninety degrees just above it, and roll a loop with round-nose pliers before hooking it onto the ear wire. This single loop is the foundation of most earring designs.
Watch out for: a loop left open. Close it fully with flat-nose pliers so the ends meet, or the bead will work its way off over a few wears.
3. Memory Wire Bracelets
Needs: memory wire, beads, heavy-duty cutters. Time: 20 minutes.
Memory wire holds a permanent coil, so it slips on without a clasp and fits almost any wrist. String beads along the coil and finish with a small loop turned at each end to stop them escaping.
Watch out for: using ordinary side cutters. Memory wire is hardened steel and will notch good pliers. Use cutters sold for it, or snap the wire by bending it repeatedly.
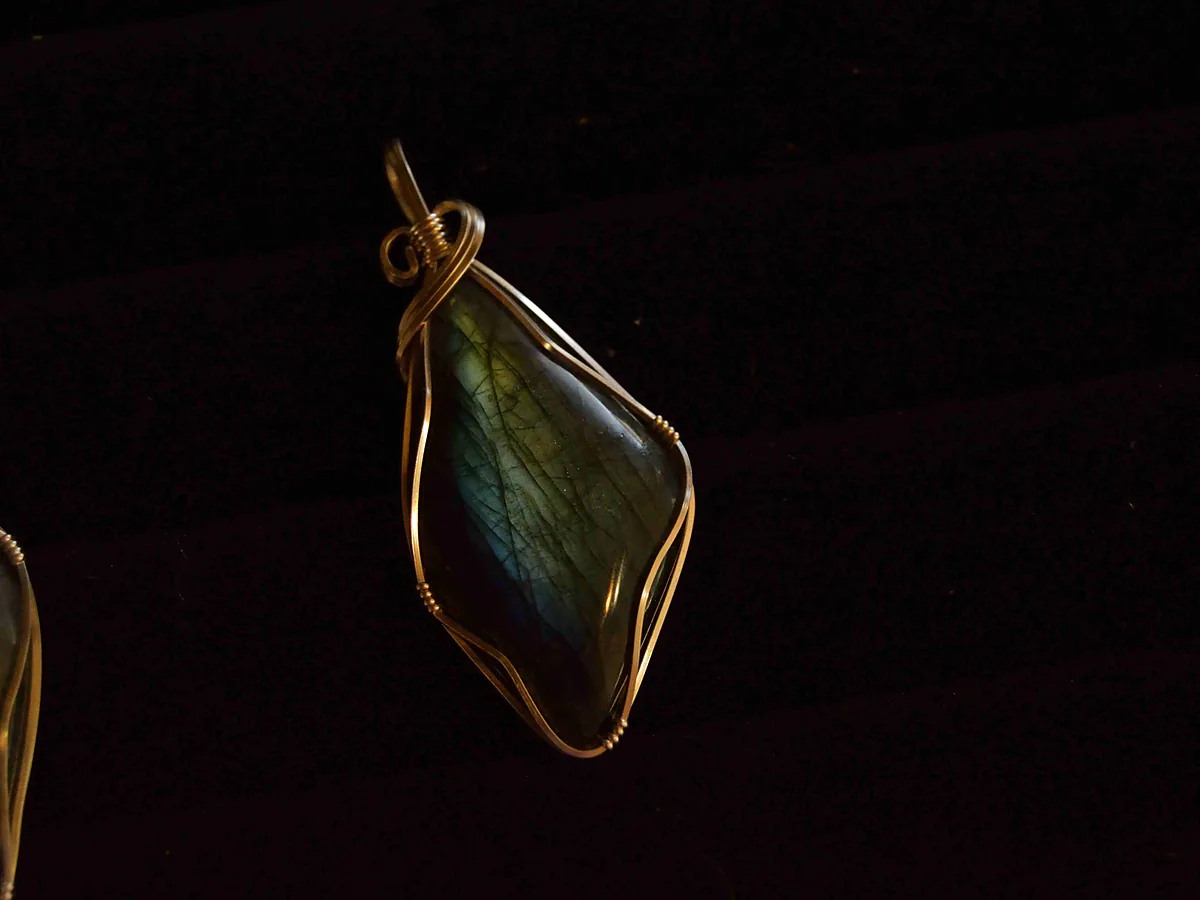
4. Wire-Wrapped Pendants
Needs: craft wire, a tumbled stone, pliers. Time: 45 minutes.
Cage a polished stone in wire rather than gluing it, so nothing shows on the front and the stone can be swapped later. No drilling and no findings beyond the bail you form yourself.
Watch out for: wire that is too thick to shape or too thin to hold. Around 0.8mm for the frame and 0.4mm for the decorative binding is the usual pairing.
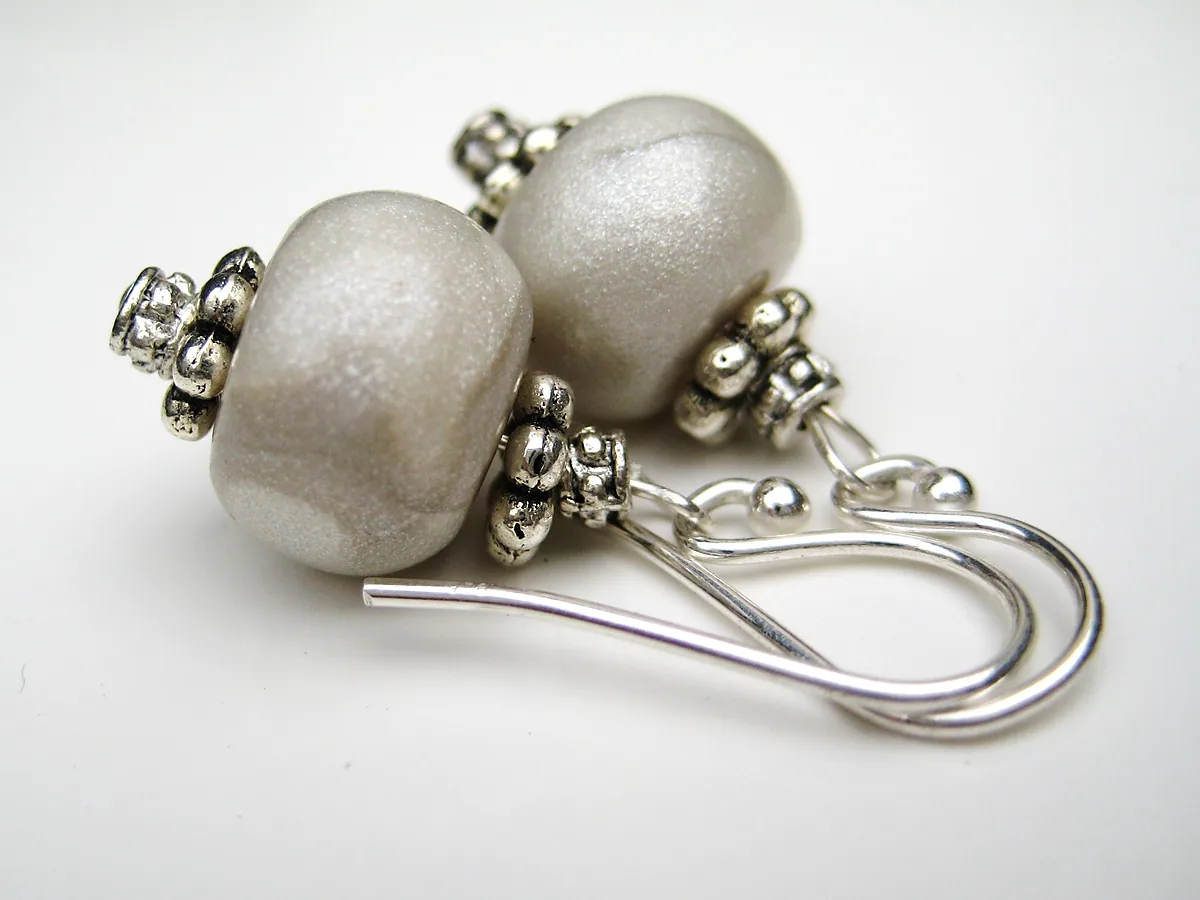
5. Clay Bead Earrings
Needs: polymer clay, a cocktail stick, oven, ear wires. Time: 30 minutes plus baking.
Roll and shape beads from polymer clay, pierce them before baking, and assemble as for drop earrings. Marbling two colours together gives a stone-like finish that looks nothing like its cost.
Watch out for: piercing after baking. The hole has to go in while the clay is soft, and widening a baked bead usually cracks it.
6. Tassel Earrings
Needs: embroidery floss, card, bead caps, ear wires. Time: 30 minutes a pair.
Wind floss around a piece of card to set the length, tie the bundle at one end, cut the other, then hide the binding inside a bead cap. Cheap, fast, and the colour range is whatever the floss aisle offers.
Watch out for: uneven ends. Trim the tassel only after it is hanging from the ear wire, because it sits differently once suspended.
7. Leather Wrap Bracelets
Needs: leather cord, metal beads, a button. Time: 40 minutes.
Thread beads along a doubled leather cord and finish with a button and loop so the bracelet wraps the wrist several times. The adjustment is built into where the loop catches.
Watch out for: bead holes that are too tight. Test one bead on the cord before buying a strand, because leather does not compress the way thread does.
8. Beaded Friendship Bracelets
Needs: embroidery floss, seed beads. Time: spread over a few evenings.
Work the usual knotted pattern and slide a bead into place every few knots. It is slow and entirely portable, which makes it the one project here suited to being carried around rather than sat down to.
Watch out for: bead holes smaller than the floss. Seed beads sized 6/0 or larger take two strands; anything finer will not.
9. Chain and Charm Necklaces
Needs: plain chain, charms, jump rings, two pliers. Time: 20 minutes.
Open each jump ring by twisting it sideways rather than pulling it apart, attach the charm, then twist it closed. Charms can be swapped later, which makes one chain serve several looks.
Watch out for: pulling jump rings open. That deforms the ring so it never closes flush again, and the charm eventually slips out of the gap.
10. Remade Jewelry From Broken Pieces
Needs: old or thrifted jewellery, pliers. Time: varies.
Dismantle broken pieces for their chains, clasps and beads. Thrift shops sell tangled bags of costume jewellery cheaply, and a single necklace often yields findings worth more than the bag cost.
Watch out for: assuming everything is reusable. Glued-in stones and crimped ends rarely survive dismantling, so sort for screwed, looped and linked parts first. The same hunting instinct that works for dollar store craft ideas that look expensive applies here.
Mistakes That Make Handmade Jewelry Look Homemade
- Jump rings pulled apart instead of twisted. The ring never closes flush again, and the gap is visible from across a room.
- Cheap base-metal findings. They tarnish within weeks and irritate skin. This is the one component worth upgrading first.
- Loops that are not fully closed. Every dropped bead traces back to a loop left slightly open at the join.
- Mismatched metal tones. Silver ear wires on gold findings reads as whatever was in the box rather than a decision.
- Too many bead types in one piece. Three materials at most. Beyond that it looks like a sample card.
- No knot sealant on elastic. A surgeon’s knot still works loose eventually without a drop of glue inside the adjacent bead.
Conclusion
Start with a stretch bracelet, then make a pair of drop earrings. Between them they cover stringing, knotting and the wrapped loop, which is nearly everything the other eight projects are built from.
Spend the first budget on findings and pliers rather than on beads. Beads are the cheap part and always will be, whereas a soft pair of round-nose pliers makes a neat loop impossible no matter how much practice goes in. The habits that decide whether any first craft project gets finished are collected in beginner crafter mistakes and how to avoid them, and for gift-making at a similar scale there is macrame gift ideas to make at home and handmade home decor gifts.
Frequently Asked Questions
What jewelry is easiest for a complete beginner to make?
A beaded stretch bracelet. It needs no tools at all, finishes in about fifteen minutes, and the only technique is a surgeon’s knot secured with a drop of glue. Drop earrings come next, and they introduce the wrapped loop that most other projects rely on.
What tools do you actually need to start making jewelry?
Round-nose pliers, flat-nose pliers and side cutters. That is the whole essential set, and a beginner kit at $20 to $30 usually includes all three plus a starter assortment of findings. Everything else can wait until a specific project calls for it.
How do you stop handmade earrings from falling apart?
Close every loop and jump ring completely, so the two ends of the wire meet with no visible gap. Open joints are the cause of almost every lost bead or charm. Twist jump rings sideways to open them rather than pulling them outward, which permanently deforms the ring.
Why does cheap handmade jewelry turn skin green?
Base-metal findings, usually copper alloy with a thin plating that wears through. Sterling silver, surgical steel or plated brass findings cost a little more per piece and solve it entirely. Beads are rarely the problem, so this is the component worth upgrading first.
Is making your own jewelry actually cheaper than buying it?
Per piece, substantially, once the tools are bought. A strand of beads and a reel of elastic produce ten or more bracelets for roughly the price of one from a shop. The tools pay for themselves across the first few projects and then last for years.
Featured image: Maame1Yaa / Wikimedia Commons, CC BY-SA 4.0, title text added by OKI HERE.