12 DIY Vase Ideas Using Bottles and Jars
Quick summary
- Labels come off with hot water and oil, and that one step decides whether a bottle reads as a vase.
- Odd numbers and varied heights do more for a cluster than any amount of decorating does.
- A single stem suits a narrow neck, since crowding one is exactly how a bottle stays a bottle.
Quick answer: Soak the bottle in hot soapy water to lift the label, rub the leftover glue away with cooking oil, then dry it thoroughly. From there it takes paint, twine, raffia, or nothing at all. Group three at varied heights, or put a single stem in each, and the result stops looking like recycling.
Have you ever kept a nice-shaped bottle because it was too good to throw out, and then left it in a cupboard for a year because it still had half a label on it? You are not alone. The gap between a bottle and a vase is about twenty minutes of work, and most of it is waiting.
These twelve ideas all start from something that came into the house holding something else. Each lists what it takes, roughly how long it needs, and the detail that decides whether it looks chosen or looks saved.
Getting Labels and Glue Off
This is the step that decides everything, and skipping it is why most upcycled bottles look like upcycled bottles.
- Soak in hot soapy water for half an hour. Most paper labels lift off whole after that. Cold water barely touches the adhesive.
- Rub the leftover glue with cooking oil. Any oil works. Leave it on for ten minutes, then rub with a cloth and the residue rolls off in grey curls.
- Finish with washing-up liquid. Oil leaves a film that paint and glue will not stick to, so the bottle needs degreasing before any decorating.
- Dry it completely, inside and out. Trapped moisture clouds a clear bottle and stops paint adhering. Leave it upside down overnight.
Plastic labels and foil wraps need more patience: a hairdryer softens the adhesive enough to peel them in one piece, which is far easier than scraping.
12 DIY Vase Ideas Using Bottles and Jars
1. Raffia-Tied Bottle
Needs: a clean bottle, raffia or garden twine. Time: 5 minutes.
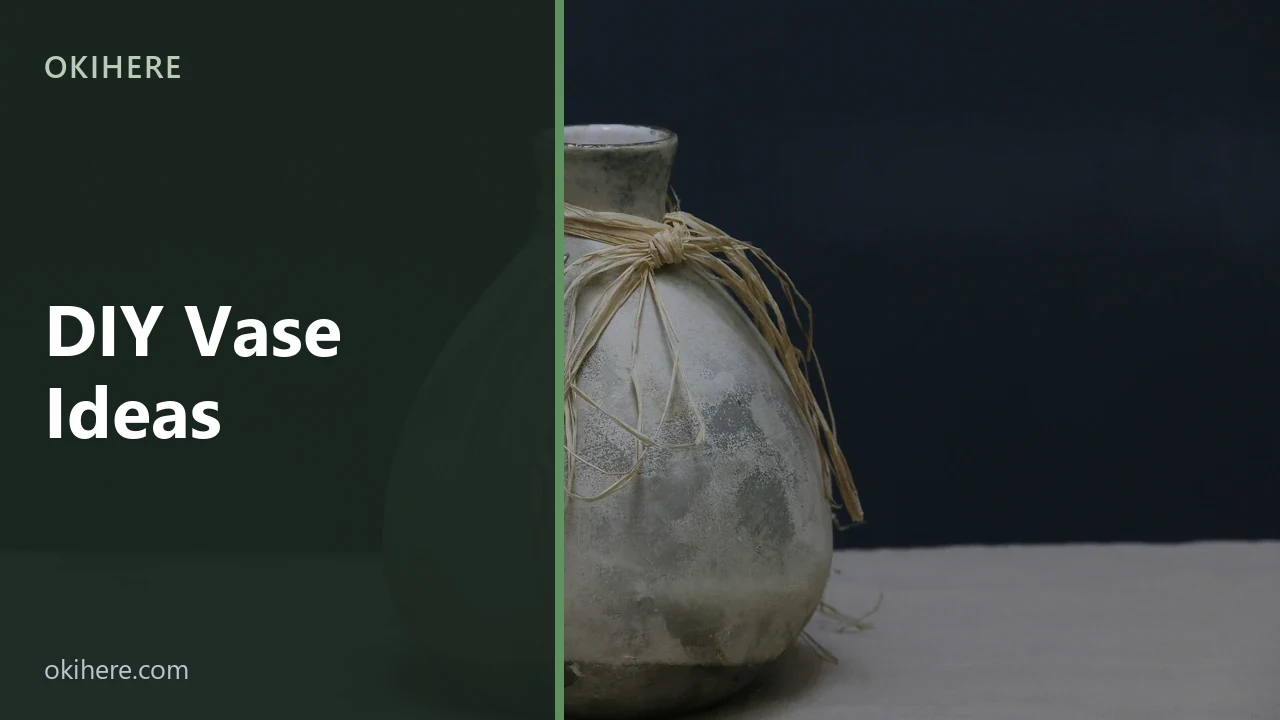
Wrap raffia around the neck two or three times and tie it off, leaving the ends long and loose. It costs almost nothing and it is the fastest way to make a plain bottle look deliberate.
Watch out for: trimming the ends neatly. The loose, slightly ragged ends are the whole effect; a tidy bow turns it into a gift.
2. Painted Opaque Bottle
Needs: a bottle, chalk or acrylic paint. Time: 20 minutes plus drying.
Two thin coats of matt paint turn a recognisable bottle into a plain ceramic-looking vessel. Chalk paint grips glass better than standard acrylic and needs no primer.
Watch out for: one thick coat. It runs down the curve and pools at the base. Two thin coats with drying time between them is the whole technique.
3. Frosted Glass Effect
Needs: a clear bottle, frosting spray. Time: 10 minutes plus drying.
A light pass of frosting spray turns clear green or brown glass soft and diffused. It keeps the shape and the colour while hiding the fact that it was a bottle.
Watch out for: spraying too close. Hold the can well back and build up in passes; close spraying produces drips that dry as hard ridges.
4. Twine-Wrapped Neck
Needs: a bottle, garden twine, glue. Time: 20 minutes.
Wind twine tightly down from the neck, gluing every few turns, and stop a third of the way down. Stopping partway looks intentional in a way that wrapping the whole bottle does not.
Watch out for: gaps between turns. Push each wrap hard against the last as you go, because gaps cannot be closed afterwards.
5. Single Bud Bottle
Needs: a narrow-necked bottle, one stem. Time: 1 minute.
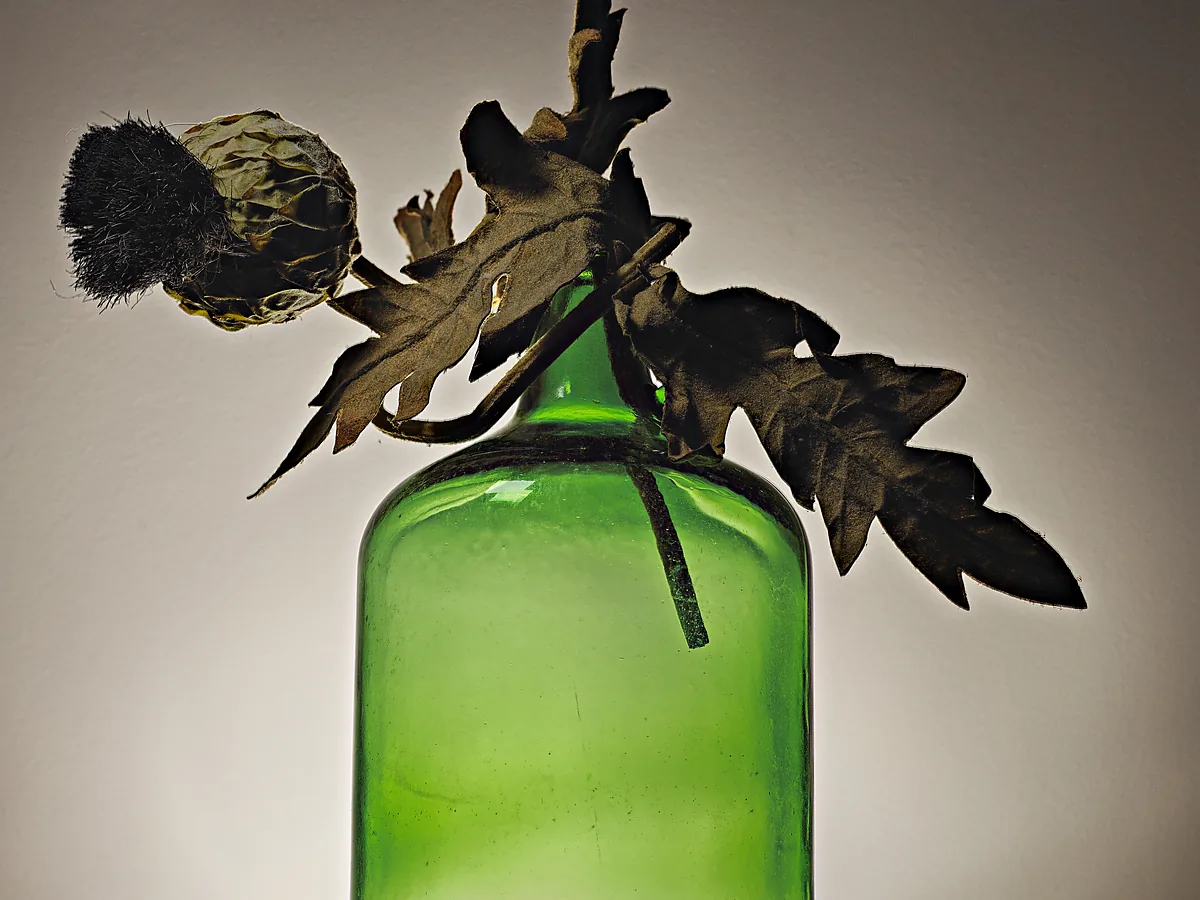
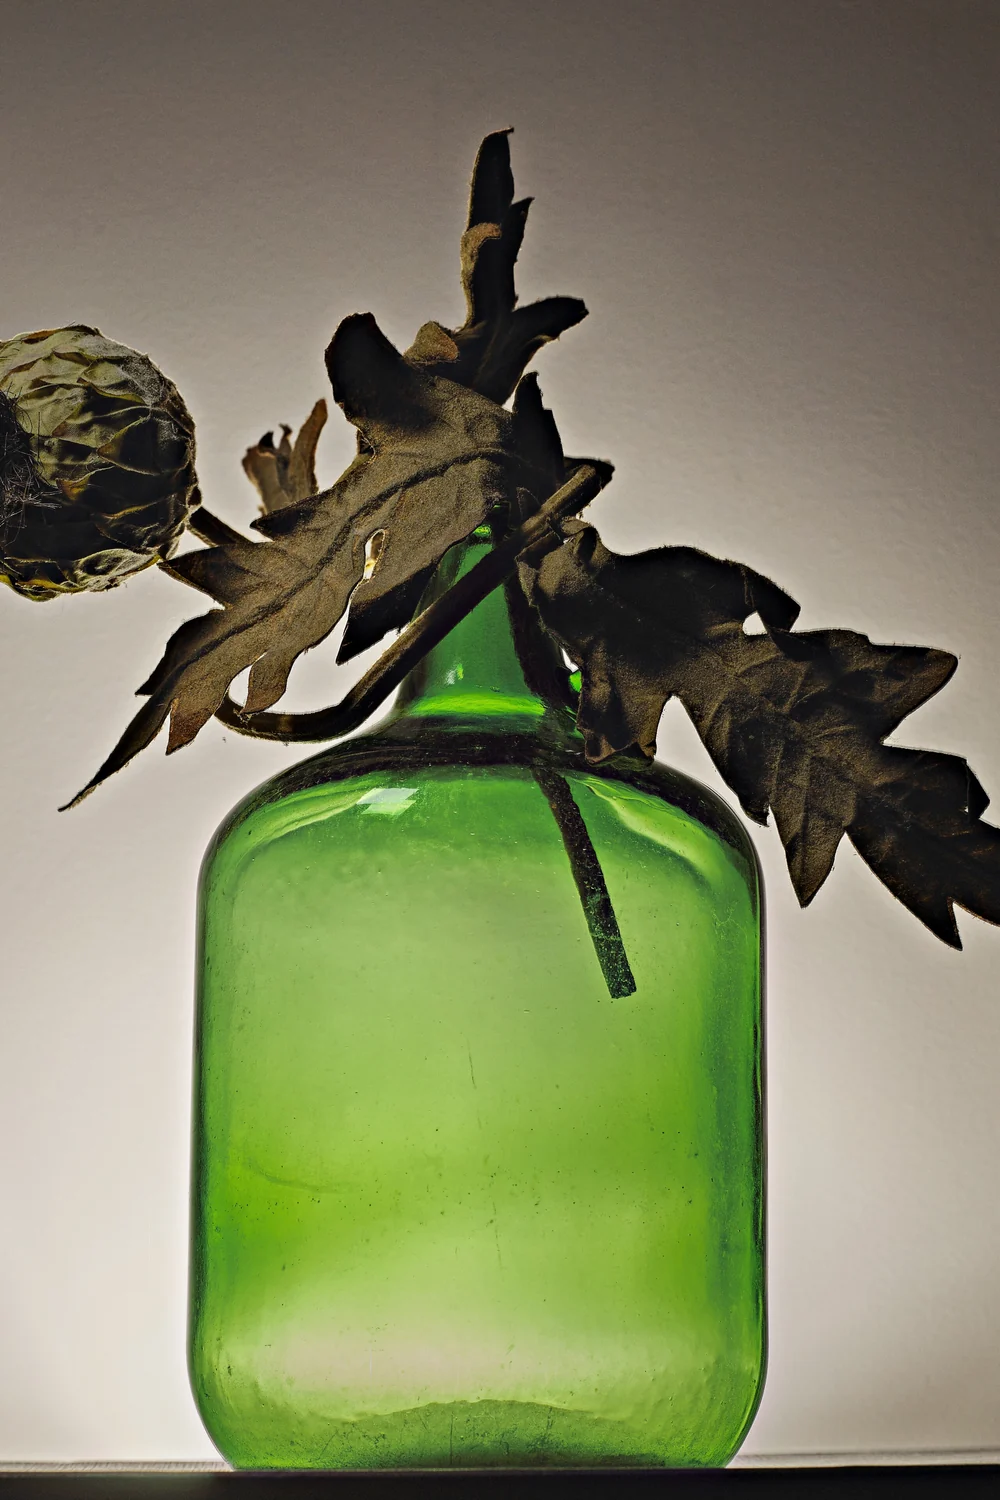
One flower or one dried stem in a plain bottle. The restraint is the point, and a narrow neck holds a single stem upright without any support.
Watch out for: adding a second stem. Two stems in a narrow neck cross and lean; it is either one, or enough to fill the neck completely.
6. Grouped Bottle Cluster
Needs: three to five bottles of different heights. Time: 5 minutes.
Group an odd number of bottles at varied heights on a tray or a shelf. A cluster reads as a collection; a pair reads as two bottles left on a surface.
Watch out for: matching them too closely. Varied heights with one shared element, such as all clear or all the same twine, is what holds a group together.
7. Mason Jar With a Fabric Collar
Needs: a jar, a fabric strip, twine. Time: 10 minutes.
Tie a strip of fabric around the jar below the thread, where the glass steps in. The step holds the fabric in place without glue and hides the moulded seam.
Watch out for: fraying raw edges. Cut the strip with pinking shears or fold the edge under before tying.
8. Tin Can Vessel
Needs: a clean tin, paint, a glass jar to fit inside. Time: 20 minutes.
Paint the outside of a tin and drop a small jar inside to hold the water. The tin never touches the water, so it never rusts, which is where most tin vases fail.
Watch out for: sharp rims. Run a file around the opening, or use a smooth-edge tin opener from the start.
9. Bottle With Dried Stems
Needs: a bottle, dried grasses or seed heads. Time: 5 minutes.
Dried material needs no water, which means any bottle works regardless of whether it holds water, and the arrangement lasts for months. The options are set out in the guide to the best dried flowers.
Watch out for: direct sunlight. Dried stems fade and go brittle on a sunny sill, as how long dried flowers last explains.
10. Two-Tone Dipped Jar
Needs: a jar, paint, masking tape. Time: 25 minutes plus drying.
Tape a clean line partway up and paint only the lower section, leaving the glass clear above it. The hard line is what makes it look manufactured rather than hand-painted.
Watch out for: peeling the tape late. Lift it while the paint is still slightly tacky, or it takes the edge of the paint with it.
11. Wire-Wrapped Hanging Vase
Needs: a small jar, craft wire. Time: 20 minutes.
Wrap wire around the neck of a small jar and form a loop to hang it from a hook or a branch. Several at different heights along a window make better use of a narrow sill than anything standing on it.
Watch out for: wire that is too thin. Below about 1mm it unwinds under the weight of water. Tuck every cut end back into the wrap.
12. Repainted Thrifted Vase
Needs: a charity shop vase, paint. Time: 30 minutes plus drying.
Shapes that are good and finishes that are dated turn up constantly in charity shops for very little. One matt colour over a dated pattern is usually all it needs.
Watch out for: painting the inside. Water will lift interior paint within days. Paint the outside only, and keep water below the rim.
What to Put In Them
The vessel is half the job. What goes in it decides whether the arrangement lasts a week or a season.
Dried material is the most practical choice for upcycled bottles, because it needs no water at all. That removes every worry about whether a painted or wrapped bottle is watertight, and it suits narrow necks that are awkward to fill and empty. Grasses, seed heads and hydrangea all hold their shape for months, and the arranging is covered in DIY dried flower arrangement ideas.
Fresh stems need a watertight vessel and regular changes, which rules out anything painted inside or wrapped at the base. One or two stems in a bud bottle is far more manageable than a full arrangement, and it suits the narrow necks most bottles have.
Nothing at all is a legitimate option, and an underrated one. A cluster of three empty bottles in good shapes works as an object on a shelf. The comparison between dried and artificial is set out in dried flowers versus faux flowers, and aesthetic dried flower display covers placement.
Mistakes That Make a Bottle Look Like a Bottle
- Label glue left on. The single clearest giveaway, and the easiest thing on this list to fix.
- Overfilling a narrow neck. Stems cross and splay. One stem, or enough to fill the neck solidly; nothing in between works.
- Even numbers. Two bottles read as a pair left out. Three or five read as arranged.
- Matching heights. A row of identical bottles looks like storage rather than decoration.
- Visible glue under twine. Apply it sparingly and only where a wrap will cover it.
- Painting the inside. Water lifts it within days, and the flakes end up in the arrangement.
Conclusion
Start by cleaning three bottles properly and doing nothing else to them. Grouped at varied heights with one dried stem each, they already work, and that costs nothing but half an hour of soaking.
Decorate only after that, and only one way at a time. The restraint is what separates these from the craft-fair version, and it is also considerably less work. For more on building a room around natural material, natural home decor for beginners covers the wider approach, and a bottle makes a good container for a small gift too, as DIY gift wrapping ideas sets out.
Frequently Asked Questions
How do you get labels off bottles cleanly?
Soak in hot soapy water for about half an hour, which lifts most paper labels whole. Rub the remaining adhesive with any cooking oil, leave it ten minutes, then wipe it away. Finish with washing-up liquid, because the oil film stops paint and glue adhering afterwards.
What paint sticks to glass bottles?
Chalk paint grips glass without primer and dries to a matt finish that hides the shape of the bottle. Standard acrylic works with a light sand or a spray primer first. Either way, two thin coats beat one thick one, which runs down the curve.
Can you put water in a painted bottle?
Only if the paint is on the outside. Interior paint lifts within days and flakes into the water. For painted or wrapped bottles, dried stems are the safer choice, since they remove the question entirely.
How many bottles should you group together?
Three or five, at clearly different heights. Odd numbers read as an arrangement and even numbers read as items left on a surface. One shared element across the group, such as all clear glass or all tied with the same twine, is what holds it together.
What flowers suit a narrow bottle neck?
A single stem of anything with a strong upright line: a tulip, a thistle, a seed head, or a length of dried grass. The neck holds it without support. Two or three stems cross and lean, which is why one works better than a few.
Featured image: Sally V / Wikimedia Commons, CC BY-SA 4.0, title text added by OKI HERE.