How to Sand and Repaint Thrift Store Chair | DIY Guide
That dusty wooden chair sitting in the corner of your local thrift store has potential you probably didn’t notice. For under twenty dollars, you could own a piece that looks like it came from a high-end furniture boutique. The secret?
Learning how to sand and repaint a thrift store chair in one weekend transforms budget finds into showstopping statement pieces. This project is perfect for beginners and experienced DIYers alike. You don’t need fancy equipment or professional training.
With basic supplies and a free Saturday, you’ll create something beautiful while saving hundreds compared to buying new furniture. In this guide, you’ll discover everything from selecting the right thrift store chair to applying the final protective coat. We’ll cover sanding techniques, paint selection, and pro tips that make your finished piece look professionally done.
Ready to unlock your inner furniture artist?
Choosing the Perfect Thrift Store Chair for Your Project
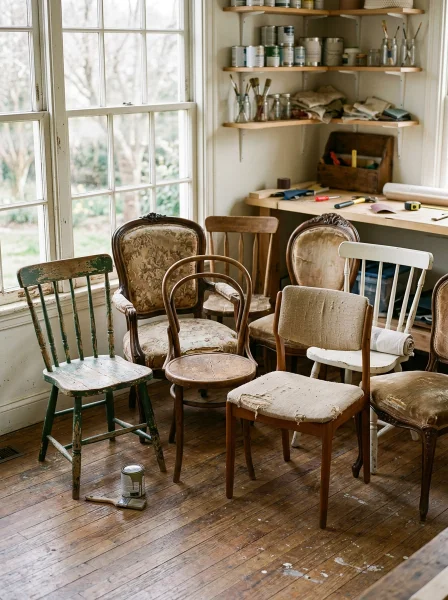
Not every thrift store chair deserves rescue. Knowing what to look for saves time and frustration later. The ideal candidate has solid construction with minimal structural damage.
Check the joints first. Sit in the chair and rock gently side to side. Wobbly joints can be fixed, but severely damaged ones require woodworking skills beyond basic refinishing.
Look underneath for cracks, splits, or signs of wood rot. Solid wood chairs work best for this project. Avoid particle board or heavily laminated pieces since paint doesn’t adhere well to these surfaces.
Oak, maple, and pine are excellent choices that sand beautifully and accept paint evenly.
What Makes a Chair Worth Refinishing?
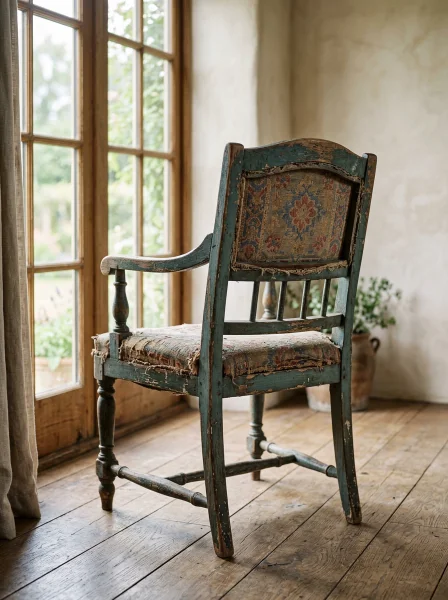
Interesting shapes and details add character to your finished piece. Curved backs, turned legs, or carved accents become stunning focal points when properly painted. These architectural elements are exactly what expensive furniture stores charge premium prices for.
Minor cosmetic issues like scratches, water rings, or peeling finish are actually ideal. These imperfections mean sellers price chairs lower while the underlying structure remains sound. You’re sanding everything anyway, so surface damage doesn’t matter.
This type of furniture transformation fits perfectly with other fun crafts to make at home when you’re looking to upgrade your living space affordably.
Essential Supplies for How to Sand and Repaint a Thrift Store Chair
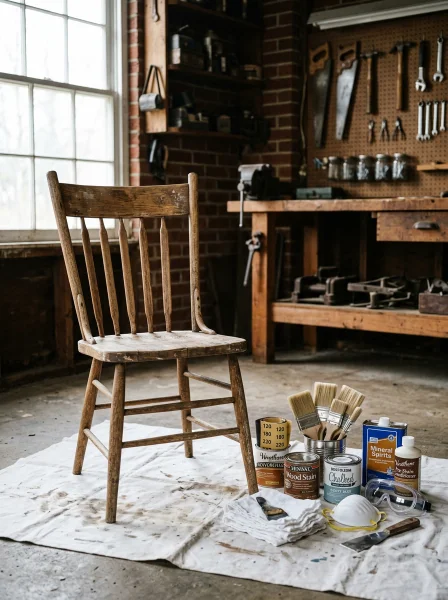
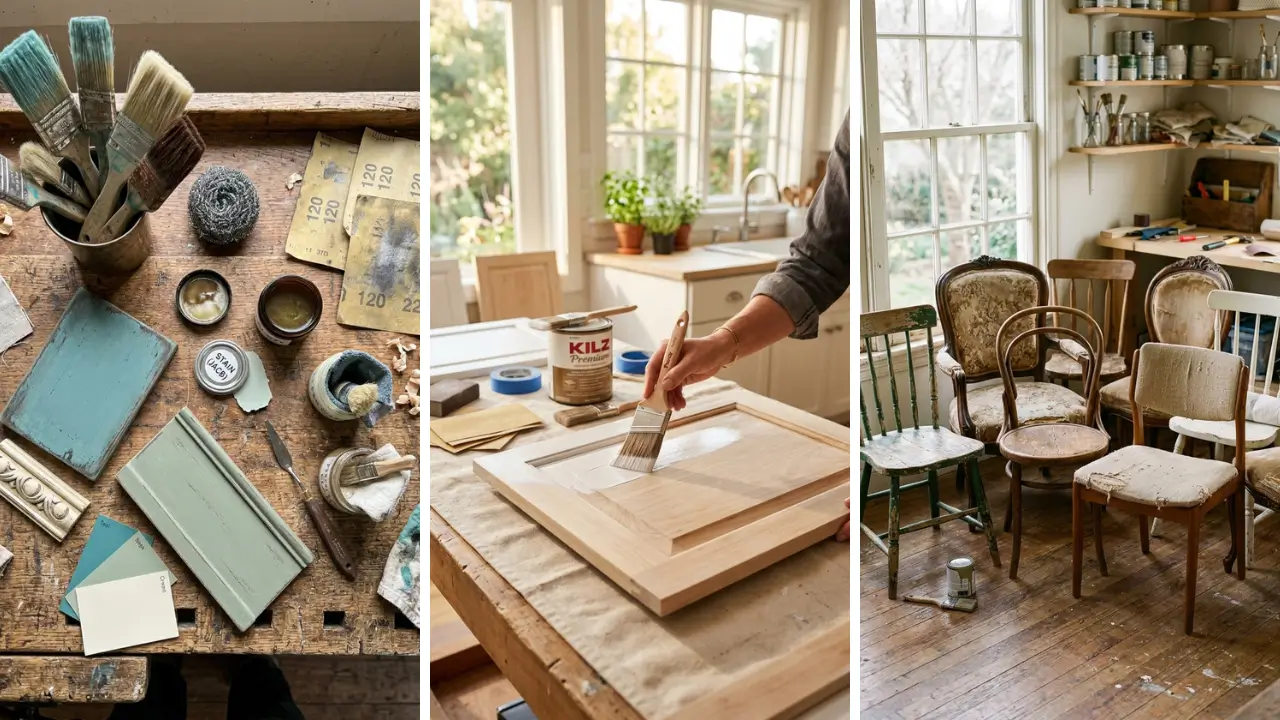
Gathering supplies before starting prevents frustrating mid-project trips to the hardware store. Here’s your complete shopping list organized by project phase. Sanding supplies:
- Sandpaper in 80-grit, 120-grit, and 220-grit
- Sanding sponges for curved areas
- Tack cloth for dust removal
- Safety glasses and dust mask
Painting supplies:
- High-quality primer (shellac-based for best adhesion)
- Furniture paint or chalk paint
- Quality brushes in 2-inch and 1-inch sizes
- Small foam roller for flat surfaces
- Drop cloths or plastic sheeting
Finishing supplies:
- Clear polyurethane or furniture wax
- Fine steel wool (0000 grade)
- Clean lint-free cloths
Choosing the Right Paint Type
Chalk paint has revolutionized furniture refinishing. It adheres to most surfaces with minimal prep and creates a beautiful matte finish. However, it requires sealing with wax or polyurethane.
Traditional latex paint offers durability and easy cleanup. When properly primed, it creates a smooth, professional finish that withstands daily use. Semi-gloss or satin sheens work best for furniture.
Milk paint provides an authentic vintage appearance with natural ingredients. It’s eco-friendly and creates beautiful layered effects. Consider this option if you’re exploring DIY handmade gifts with an artisan aesthetic.
Saturday Morning: The Complete Sanding Process
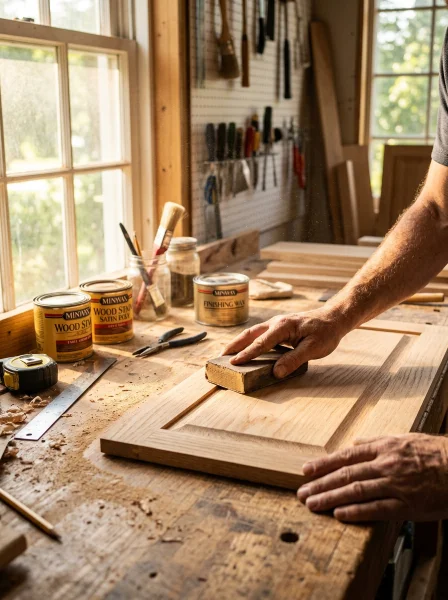
Proper sanding determines 90% of your final result. Rushing this step leads to peeling, chipping, and disappointment. Commit Saturday morning to thorough preparation.
Start with 80-grit sandpaper to remove old finish, paint, or varnish. Work with the wood grain using long, even strokes. Apply consistent pressure without gouging the surface.
This aggressive grit quickly strips old coatings. Switch to 120-grit for smoothing. This medium grit removes scratches left by coarser paper while further preparing the surface.
Pay special attention to detailed areas where old finish tends to hide. Finish with 220-grit for a silky surface. This fine grit creates the perfect texture for primer adhesion.
The wood should feel smooth as glass when you’re done.
Tackling Tricky Areas
Spindles, carvings, and curved surfaces challenge flat sandpaper. Sanding sponges flex around contours while maintaining even pressure. They’re essential for professional-looking results on detailed chairs.
For intricate carvings, fold sandpaper and use the edge to reach tight spots. Small detail brushes help remove dust from crevices between sanding grits. Patience here pays dividends in your final finish.
After sanding, use tack cloth to remove every dust particle. Wipe the entire chair thoroughly, then repeat. Any remaining dust creates bumps under your paint.
This simple step separates amateur results from professional ones.
Saturday Afternoon: Priming for Perfection
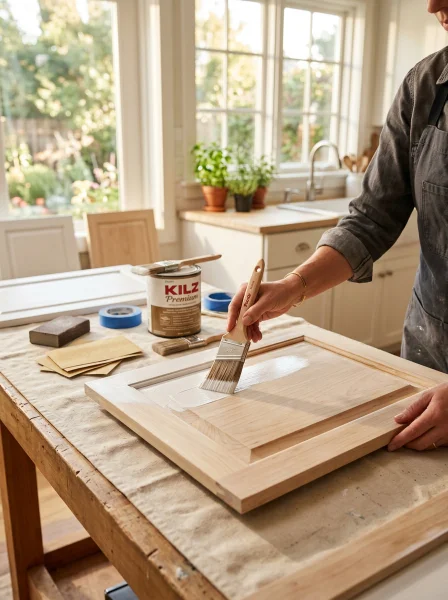
Primer creates the foundation for lasting paint adhesion. Skipping this step almost guarantees problems later. Quality primer bonds to wood while providing an ideal surface for paint.
Apply thin, even coats rather than one thick layer. Thick primer runs, drips, and takes forever to dry. Two thin coats dry faster and create better coverage than one heavy application.
Pay attention to end grain on seat edges and leg bottoms. Wood absorbs primer unevenly in these areas, often requiring extra coats. Don’t proceed to paint until end grain no longer appears darker than surrounding surfaces.
Allow primer to dry completely according to manufacturer instructions. Humidity affects drying time significantly. Test by pressing your fingernail gently into an inconspicuous spot.
If it leaves a mark, keep waiting.
Light Sanding Between Coats
After primer dries, lightly sand with 220-grit paper. This step removes any raised wood fibers and creates mechanical adhesion for your paint. Don’t sand through the primer, just smooth the surface.
Wipe with tack cloth again before painting. This obsessive dust removal becomes second nature once you’ve experienced the frustration of dust bumps in fresh paint. These preparation techniques apply to many home craft projects quick enough to complete during your free time.
Sunday: Painting Your Thrift Store Chair
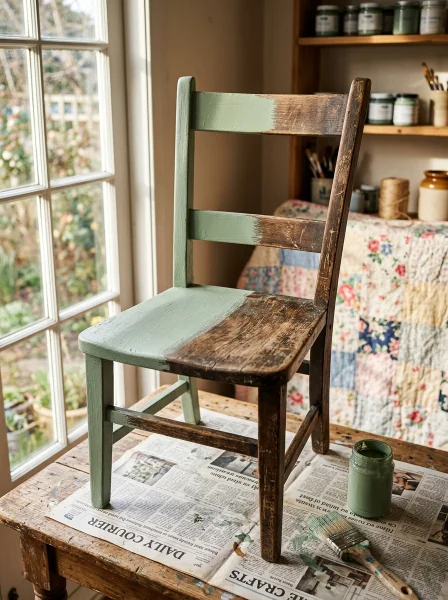
Paint day has arrived. Your preparation work makes this step surprisingly enjoyable. Well-prepped surfaces accept paint beautifully without fighting you.
Start with the chair upside down, painting legs and underneath areas first. This approach prevents drips on already-finished surfaces. Work from the inside out and bottom to top.
Use a brush for details and a small foam roller for flat surfaces. Rollers create smoother finishes faster than brushes on large areas. Combination techniques yield professional results efficiently.
Apply thin coats always. Two or three thin coats beat one thick coat every time. Thin coats dry faster, level better, and resist dripping.
Your patience creates a flawless finish.
Achieving Smooth, Professional Results
Brush strokes disappear when you work quickly and avoid over-brushing. Load your brush properly and lay paint down in confident strokes. Going back over tacky paint creates visible marks.
Watch for runs and sags, especially on vertical surfaces like chair backs. Check your work frequently and immediately brush out any drips before they set. A handheld mirror helps inspect hidden areas.
Between coats, lightly sand with 220-grit or 320-grit paper. This step might feel counterintuitive but dramatically improves adhesion and smoothness. Remove dust with tack cloth before applying the next coat.
Sealing and Protecting Your Finished Chair
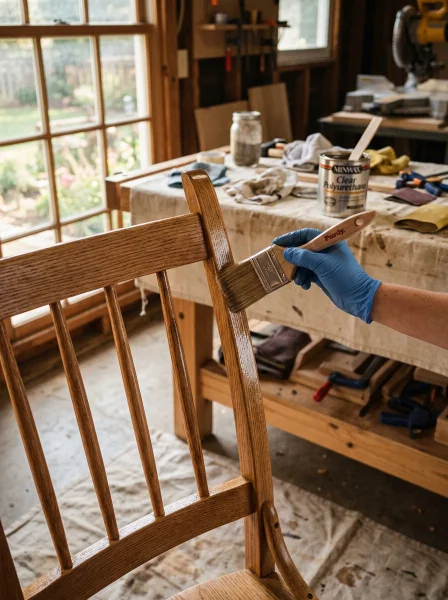
Your beautiful paint job needs protection from daily wear. The right topcoat preserves your work for years while enhancing appearance. Water-based polyurethane offers excellent durability without yellowing.
It’s easy to apply and cleans up with water. Choose satin or matte finish to avoid plastic-looking shine. Furniture wax creates a soft, hand-rubbed appearance perfect for farmhouse or vintage styles.
It requires periodic reapplication but feels luxurious under your hands. Chalk paint particularly benefits from wax finishing. Apply protective coats following the same thin-layer principle used for painting.
Allow adequate drying time between coats. Most finishes recommend light sanding between coats for maximum adhesion.
Curing Time vs. Drying Time
Paint may feel dry to touch within hours, but full curing takes up to 30 days. Treat your finished chair gently during this period. Avoid placing heavy objects on the seat or dragging the chair across floors.
Temperature and humidity affect curing dramatically. Warm, dry conditions speed the process while cool, humid environments extend it. Position your chair in a well-ventilated area during cure time.
Your finished chair becomes a conversation piece and potential handmade gift craft ideas inspiration for friends who admire your work.
Creative Finishing Techniques to Try
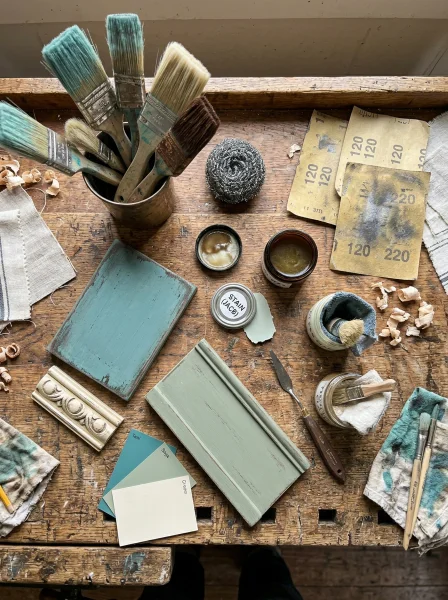
Once you’ve mastered basic refinishing, advanced techniques add unique character to future projects. These methods work especially well on thrift store chairs with interesting architectural details. Distressing creates authentic aged appearance by strategically sanding edges and high-wear areas after painting.
Focus on spots that would naturally wear over decades of use. Color layering involves applying multiple paint colors, then sanding through to reveal underlying shades. This technique mimics furniture that’s been repainted multiple times throughout its life.
Dry brushing applies minimal paint with a nearly dry brush, creating subtle texture and dimension. It’s perfect for highlighting carved details or adding vintage character. Finding affordable supplies for these techniques often leads crafters to explore dollar store crafts ideas that stretch project budgets further.
Conclusion: Your Weekend Transformation Success
Learning how to sand and repaint a thrift store chair in one weekend opens doors to endless furniture possibilities. That twenty-dollar thrift store find now rivals pieces costing hundreds at retail stores. The skills you’ve developed transfer to countless other projects.
Coffee tables, dressers, nightstands, and cabinets all respond beautifully to these same techniques. Each project builds confidence and refines your abilities. Beyond saving money, furniture refinishing connects you with sustainable living.
Rescuing quality pieces from landfills while creating exactly what you envision for your space feels incredibly satisfying. Your transformed chair tells a story now. It represents your creativity, patience, and willingness to see potential where others saw junk.
That narrative adds meaning no store-bought piece can match. Ready to start your first chair project? Head to your local thrift store this weekend and find your perfect candidate.
Share your before and after photos in the comments below. We’d love to see your transformation!
Frequently Asked Questions
Q: Do I need to strip old paint completely before repainting a thrift store chair? A: Not necessarily. If existing paint is in good condition without peeling or flaking, thorough sanding creates adequate adhesion for new paint.
Only strip completely when dealing with multiple layers, lead paint concerns, or severely damaged finishes. Q: How long does it take to sand and repaint a thrift store chair in one weekend? A: Most chairs require 3-4 hours for sanding, 1-2 hours for priming, and 2-3 hours for painting plus drying time between coats.
Starting Saturday morning allows plenty of time for multiple coats with adequate drying. Q: Can I use spray paint instead of brush-on paint for my chair project? A: Spray paint works well for simple chairs without intricate details.
It creates smooth finishes quickly but uses more product and requires extensive masking. Detailed chairs often benefit from brush control in tight areas. Q: What causes paint to peel off furniture after refinishing?
A: Paint peeling usually results from inadequate sanding, skipping primer, or applying coats before previous layers fully dried. Surface contamination from grease, silicone, or wax also prevents proper adhesion. Proper preparation prevents these issues.
Q: How do I fix drips and mistakes while painting my thrift store chair? A: If paint is still wet, immediately brush out drips with a nearly dry brush. For dried drips, wait until fully cured, sand smooth with fine-grit paper, and apply another thin coat.
Prevention through thin coats beats correction every time.