How to Make a Concrete Garden Stepping Stone (With Mosaic Design)
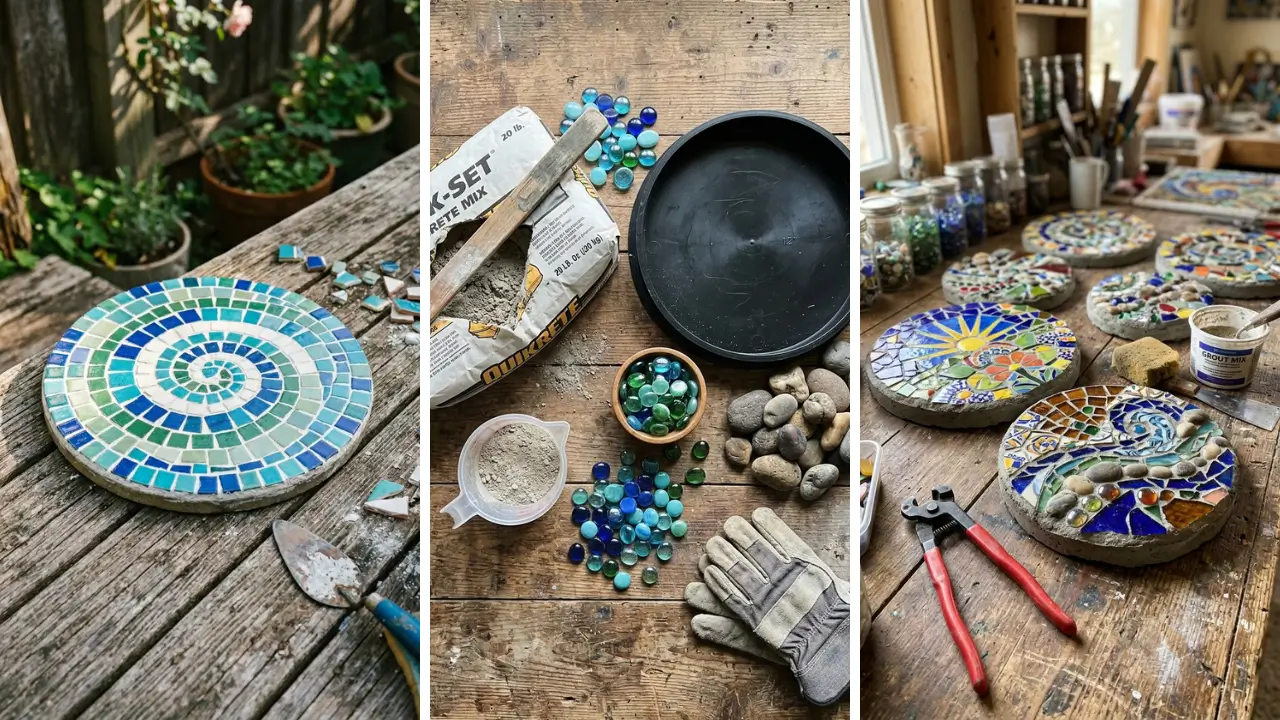
Have you ever looked at a beautifully decorated garden path and thought, “I wish I could make something like that”? The good news is — you absolutely can. Learning how to make a concrete garden stepping stone with mosaic design is one of the most satisfying weekend projects you can tackle, even if you’ve never worked with concrete before.
It’s creative, practical, and the end result is something you’ll actually use in your garden for years. In this guide, you’ll get a complete step-by-step walkthrough — from gathering materials to pressing in your last tile — so you can create a stunning mosaic stepping stone that looks professionally made.
Why Mosaic Concrete Stepping Stones Are Worth Making
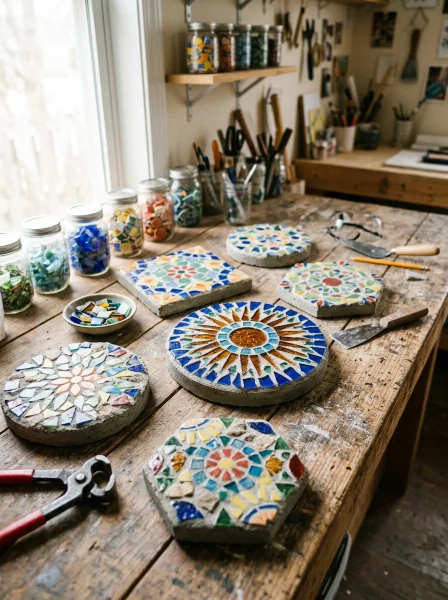
Before diving into the how-to, let’s talk about why this project is so popular. Mosaic stepping stones combine two crafts — concrete molding and mosaic art — into one functional piece. The result is a garden accent that’s both durable and beautiful.
Unlike store-bought stepping stones, handmade versions let you customize colors, patterns, and sizes to match your garden’s style. They also make incredible DIY handmade gifts for gardening-obsessed friends or family members. A personalized stepping stone with someone’s initials or a flower pattern?
Truly thoughtful and unique. The materials are affordable, the process is beginner-friendly, and each stone you make is one-of-a-kind. That’s a hard combination to beat.
Materials You’ll Need to Make a Concrete Garden Stepping Stone
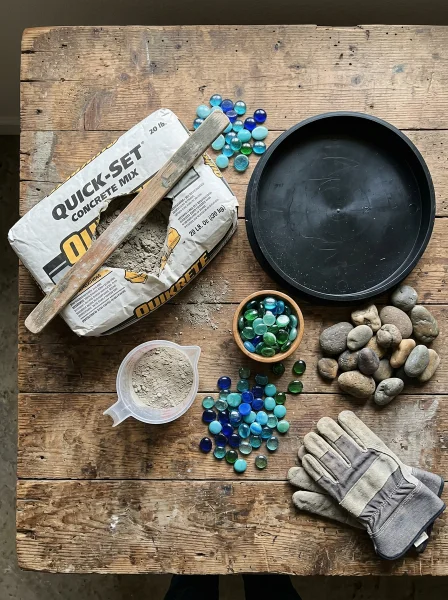
One of the best things about this project is that you don’t need fancy equipment. Most supplies can be found at your local hardware store or craft store — and some can even be sourced cheaply if you explore dollar store crafts ideas for things like glass gems, tiles, and small decorative pieces. Here’s your full materials list:
- Concrete mix (fast-setting or standard — one 50 lb bag is enough for 2–3 stones)
- Plastic mold (stepping stone molds, old cake pans, or sturdy plastic containers)
- Mosaic tiles, glass gems, or broken ceramics
- Protective gloves and safety glasses
- Mixing bucket and trowel or old spoon
- Water
- Cooking spray or petroleum jelly (for mold release)
- Plastic sheet or drop cloth (to protect your work surface)
- Optional: acrylic sealer for finishing the stone after it cures
Pre-plan your mosaic design on paper before you start. It’s much easier to sketch it out than to rearrange wet tiles in a rush.
Step-by-Step: How to Make a Concrete Garden Stepping Stone With Mosaic Design
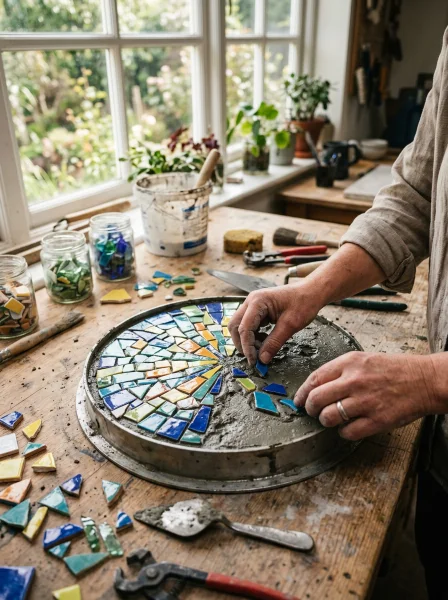
Now for the main event. Follow these steps carefully and you’ll have a gorgeous stepping stone ready for your garden path.
Step 1: Prepare Your Mold
Coat the inside of your mold with a thin layer of cooking spray or petroleum jelly. This prevents the concrete from sticking and makes demolding much easier later. Make sure every corner and crevice is lightly covered.
Place your mold on a flat, stable surface covered with a plastic drop cloth. You want it completely level so your stone cures evenly.
Step 2: Mix the Concrete
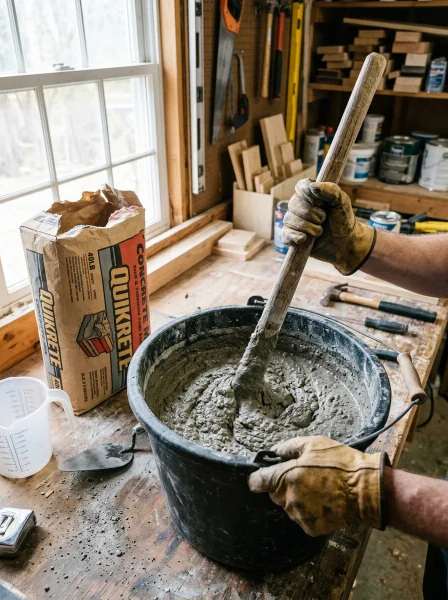
Follow the instructions on your concrete mix bag. Generally, you’ll combine the dry mix with water until it reaches a thick, oatmeal-like consistency — not too runny, not too stiff. Wear gloves throughout this step; concrete is caustic and can irritate skin.
Mix thoroughly to eliminate dry clumps. A consistent mixture means a stronger finished stone.
Step 3: Pour and Level the Concrete
Pour the concrete mix into your prepared mold, filling it about halfway. Tap the sides of the mold gently to release any trapped air bubbles — this improves the final surface quality. Then fill the mold to about 1.5 to 2 inches deep, which is the ideal thickness for a garden stepping stone.
Smooth the surface with a trowel or the back of a spoon. Don’t worry about perfection at this stage — you’ll be pressing tiles in next.
Step 4: Press In Your Mosaic Design
This is the creative part. Working quickly (you have about 20–30 minutes before the concrete starts to set), press your mosaic tiles, glass gems, or ceramic pieces into the surface. Push each piece firmly so it’s partially embedded — the tile should sit flush or just slightly above the concrete surface.
Avoid going too deep or the pieces might not be visible once the stone is finished. Follow your pre-planned design, but feel free to improvise as you go. Pro tip: Leave small gaps between tiles for a classic mosaic look.
Press harder on corners and edges where pieces tend to pop loose during curing.
Step 5: Let It Cure
Cover your mold loosely with plastic wrap or a damp cloth and let it sit undisturbed for at least 24–48 hours. Concrete needs moisture to cure properly — the damp cloth helps prevent the surface from drying too fast and cracking. For maximum strength, wait a full 72 hours before demolding, especially if you plan to walk on the stone regularly.
Step 6: Demold and Finish
Carefully flip the mold and press the back to release the stone. If it’s stubborn, gently flex the mold sides. Once released, let the stone cure on a flat surface for another 3–5 days before placing it outside.
Once fully cured, apply an acrylic or concrete sealer over the surface. This protects the mosaic pieces from weather, prevents staining, and gives the stone a beautiful finished look that lasts through multiple seasons.
Design Ideas for Your Concrete Mosaic Stepping Stone
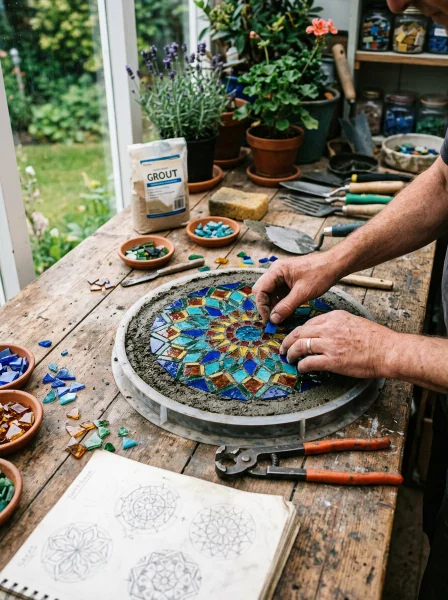
Not sure what pattern to go with? Here are some popular and beginner-friendly mosaic designs that look stunning in any garden:
- Sunburst or sun face — a classic choice with yellow and orange tiles radiating from a center gem
- Floral pattern — arrange colored tiles in petal shapes around a central circle
- Geometric shapes — simple triangles, chevrons, or concentric circles work beautifully
- Monogram or initial — spell out a letter in contrasting tiles for a personalized touch
- Nature inspired — dragonflies, butterflies, or leaf shapes made from broken ceramic pieces
If you’re new to mosaic crafts, start with a simple sunburst or floral pattern. These forgiving designs don’t require precise placement and still look impressive when finished. This kind of project is exactly the type of fun crafts to make at home that requires zero prior experience but delivers results you’ll be genuinely proud of.
The learning curve is gentle, and every stone you make will look better than the last.
Tips to Make Your Mosaic Stepping Stone Last for Years
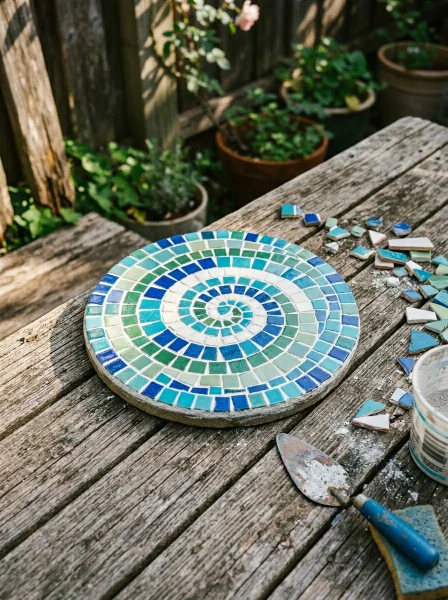
Concrete is durable by nature, but a few simple habits will keep your mosaic stepping stone looking great season after season. Seal it every year. Outdoor exposure gradually breaks down sealers, so reapply a concrete sealer once a year to protect the mosaic surface from freeze-thaw damage and UV fading.
Use the right concrete mix. Standard concrete works fine, but a mix designed for outdoor use or containing sand and gravel aggregate will be more durable under foot traffic and weather exposure. Avoid sharp impacts.
Mosaic tiles can crack if something heavy is dropped on them. Place your stone in a low-traffic area or use it as a decorative garden accent rather than a main pathway stone if your design includes delicate glass pieces. This project also fits perfectly alongside other home craft projects quick you can complete on a weekend — especially if you’re looking to add a personal, handcrafted touch to your outdoor spaces without spending much money.
Common Mistakes to Avoid When Making Stepping Stones
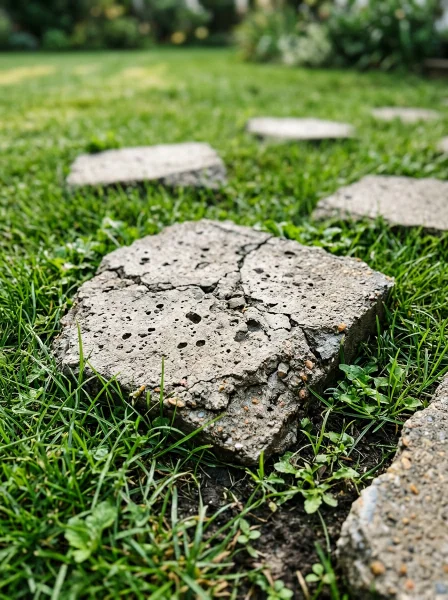
Even experienced crafters run into issues with concrete projects. Here’s what to watch out for:
- Mixing concrete too thin: Watery concrete cracks easily. Aim for a thick, peanut butter-like consistency.
- Rushing the cure time: Removing the stone from the mold too early is the #1 cause of breakage. Patience pays off.
- Not pressing tiles deep enough: Tiles that sit too high on the surface will pop off once the stone is walked on. Press firmly.
- Skipping the mold release: Forget the cooking spray and your stone might crack trying to demold it. Always grease your mold.
- Working in direct hot sun: Heat speeds up drying too fast, causing surface cracks. Work in the shade or during cooler parts of the day.
Making Mosaic Stepping Stones as Gifts
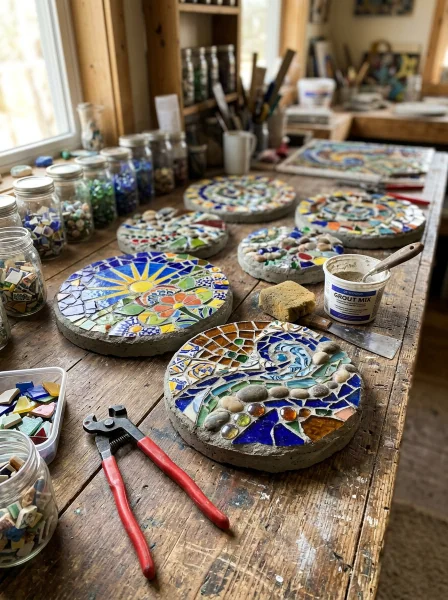
A hand-poured concrete stepping stone with a custom mosaic design makes a remarkable gift. Whether it’s for a housewarming, Mother’s Day, or a birthday, this is the kind of present that feels genuinely personal and takes real effort to create. Pair it with a small potted plant or a packet of flower seeds for an extra-thoughtful presentation.
If you’re building a collection of handmade gift craft ideas, mosaic stepping stones deserve a top spot on your list — they’re memorable, long-lasting, and impossible to buy in a store.
Conclusion
Now you know exactly how to make a concrete garden stepping stone with mosaic design from start to finish. The process is straightforward: prepare your mold, mix your concrete, pour and smooth it, press in your mosaic tiles, let it cure, then seal and enjoy. Every step is doable for beginners, and the results look incredibly professional.
What makes this project especially rewarding is that no two stones are ever identical. Your design choices — the colors, the pattern, the tile arrangement — make each one a small piece of art. Whether you’re decorating your own garden path or creating thoughtful DIY handmade gifts for the people you love, this is a craft worth mastering.
Start with one stone this weekend. You’ll almost certainly want to make more once you see how it turns out — and your garden path will thank you for it. Ready to get your hands a little dirty?
Grab your materials, sketch out your mosaic design, and give it a go this weekend. When you’re done, drop a comment below and tell us what pattern you made — we’d love to see your creations!
Frequently Asked Questions
Q: How long does it take to make a concrete garden stepping stone with mosaic design from start to finish? A: The hands-on work — mixing concrete, pouring, and pressing in your mosaic pieces — takes about 45 minutes to an hour. However, the stone needs 24–72 hours to cure in the mold and another 3–5 days to fully harden before you place it outside.
Plan for about a week from start to garden installation. Q: What type of tiles work best for mosaic stepping stones? A: Vitreous glass tiles, glass gems (flat-backed marbles), broken ceramic tiles, and porcelain pieces all work well.
Avoid using tiles that are very thick or have sharp protruding edges. Glass gems are especially popular with beginners because they’re easy to press in and come in a huge range of colors. Q: Can I make a concrete garden stepping stone with mosaic design without a special mold?
A: Absolutely. You can use any sturdy, shallow plastic or rubber container — old cake pans, plastic plant saucers, or large food storage containers all work great. The key is that the mold should be flexible enough to peel away from the cured concrete, so avoid rigid metal molds unless they have tapered sides.
Q: Do I need to seal my mosaic stepping stone after it cures? A: Sealing isn’t strictly required, but it’s strongly recommended for outdoor use. A concrete or masonry sealer protects the mosaic tiles from freeze-thaw cycles, prevents water from seeping under the tiles, and keeps colors vibrant longer.
Apply it once the stone has fully cured (after about a week) and reapply annually. Q: How thick should a concrete garden stepping stone be to hold up under foot traffic? A: A minimum thickness of 1.5 inches is recommended for a stone that will be walked on.
Two inches is ideal — it provides enough structural integrity to resist cracking under normal foot traffic. Thinner stones work fine as decorative garden accents but may crack if stepped on repeatedly.