Thanksgiving Crafts: 12 Easy Ideas to Make
Quick summary
- Branches gathered outdoors want a night indoors and a wipe down before anything gets hung on them.
- Put the first few notes up yourself, because an empty display stays empty and a started one fills.
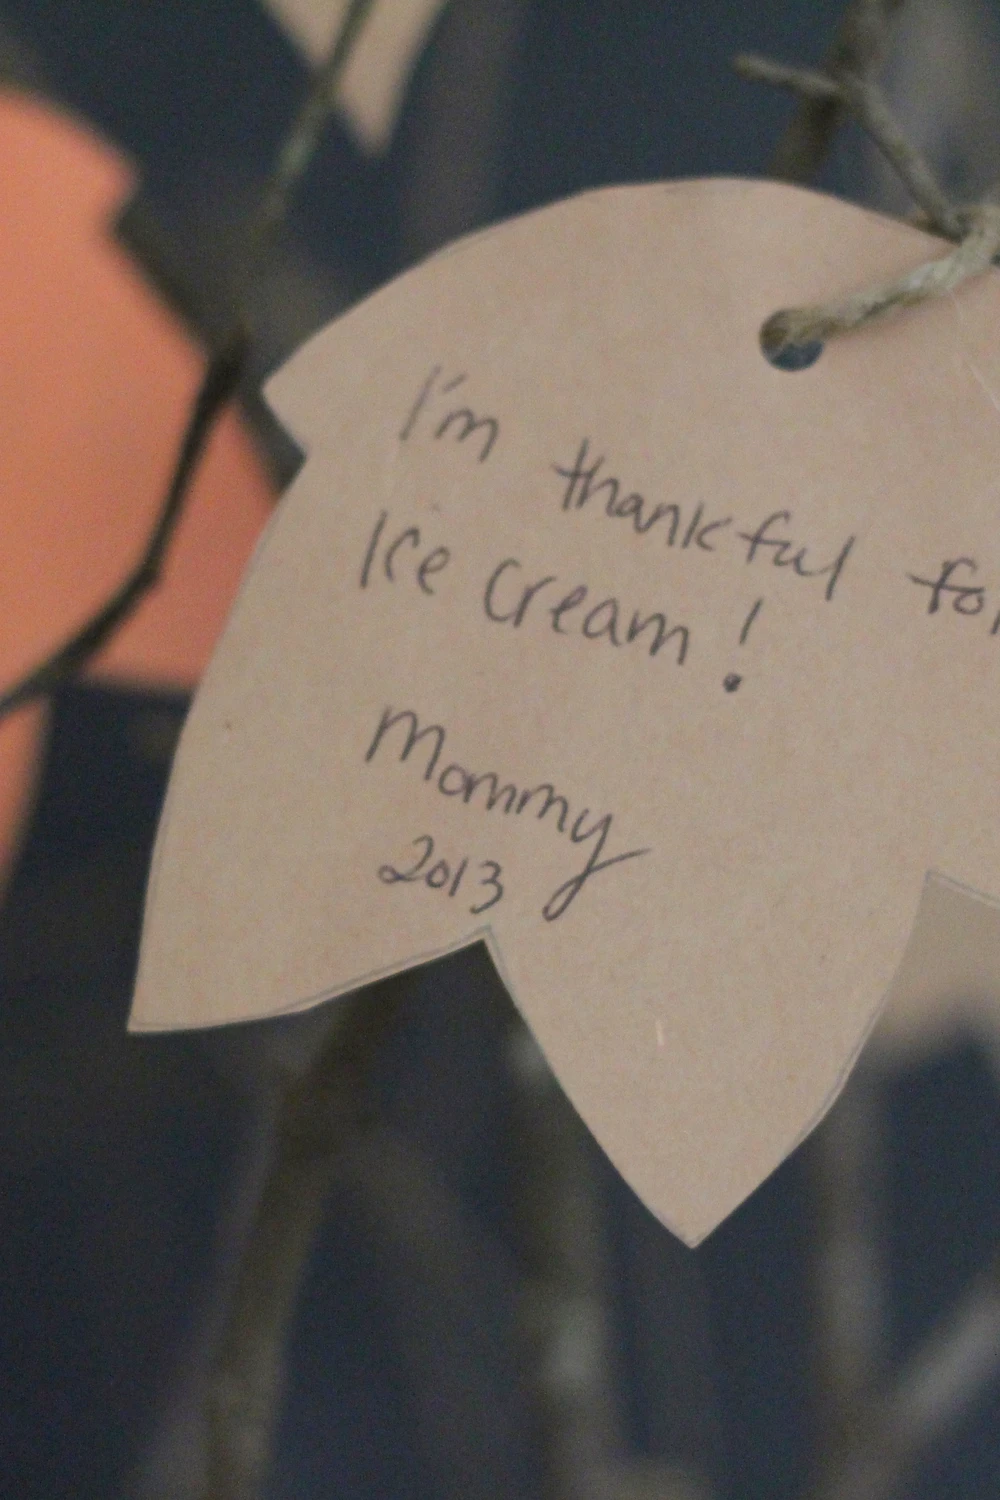
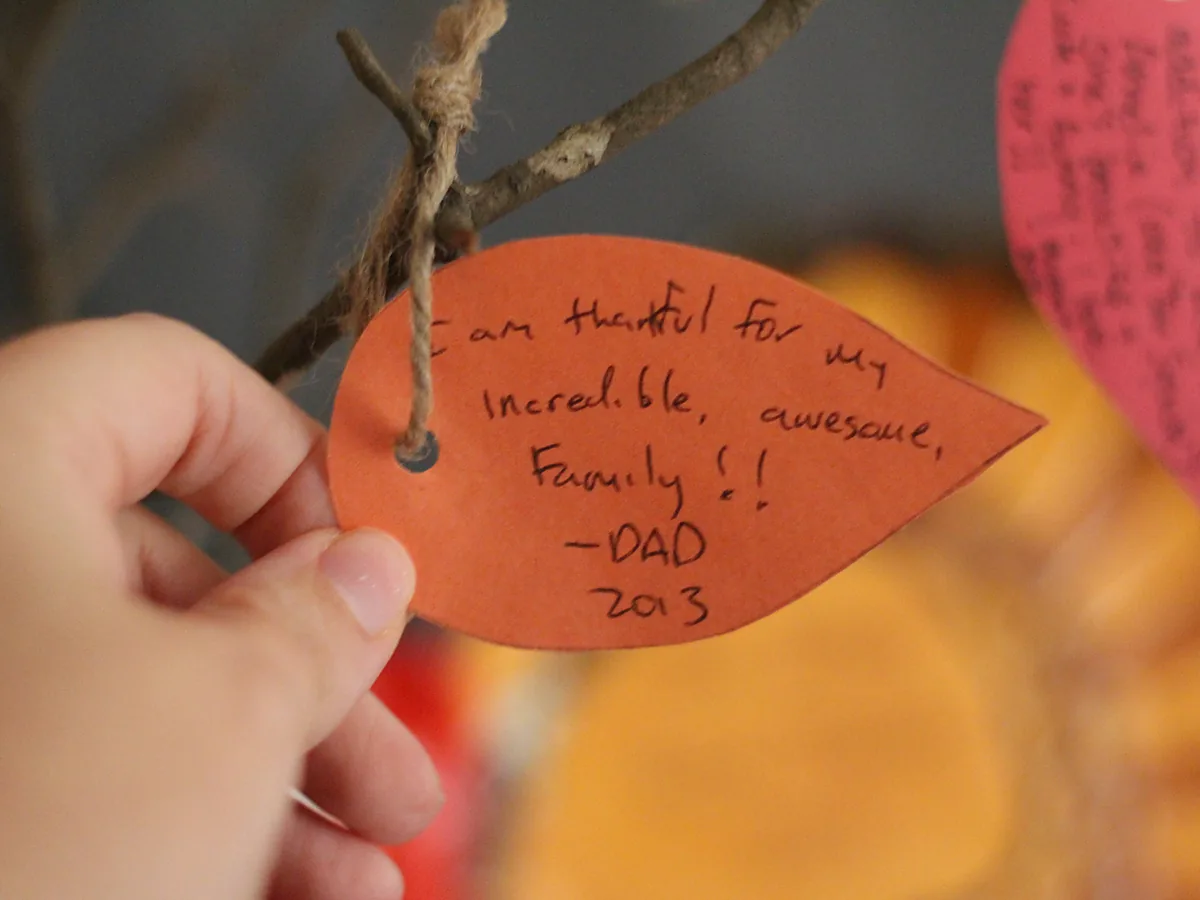
- The ones people keep are dated and signed, which costs two seconds and changes what they become.
Quick answer: Stand a few bare branches in a weighted jar, cut leaf shapes from card, punch a hole in each and thread a short loop of twine. Leave the leaves and a marker beside it so anyone passing can write something and hang it. That is a gratitude tree, it takes about an hour, and it is the one Thanksgiving craft that gets added to all month rather than finished in an afternoon.
Have you ever put out decorations that looked right and did absolutely nothing for the day itself? You are not alone. Most seasonal crafting is scenery. A few of these are scenery too, and the first one is not.
These twelve run from a ten-minute job upward. Each lists what it takes, how long it needs, and the detail that decides whether it works or just sits there.
What You Need
Most of this is already in the house, and the rest costs very little.
- Card or thick paper in autumn colours. Thin printer paper curls and tears at the punch hole within days, which matters for anything meant to hang for weeks.
- Twine and a hole punch. Twine reads warmer than ribbon against paper and card, and it does not fray at a cut end the way satin does.
- A permanent marker. Pencil rubs off and ballpoint skips on textured card. One decent marker left beside the display does more work than any other item here.
- Bare branches, pine cones, dried leaves. Free, and better looking than anything sold as a substitute.
Anything gathered outdoors comes in with company. Shake branches out, leave them somewhere dry overnight, and wipe them down before they go anywhere near the table. The fuller list of what a craft cupboard actually needs is in the best craft supplies for beginners.
How to Cut the Leaves
Nine of the twelve projects below use the same paper leaf, so it is worth doing once properly.
- Make one template. Draw a simple leaf on thin card, about the size of your palm, and cut it out. Tracing one shape forty times is far faster than drawing forty, and they match.
- Stack and cut. Three or four sheets of card at a time. More than that and the lower layers come out ragged.
- Punch before you decorate, at least a centimetre in from the edge. Punching last is how a finished leaf gets torn.
- Cut the twine long. Twenty centimetres per leaf, knotted into a loop. Short loops are difficult to hook over a twig one-handed, which is exactly how people will be doing it.
- Cut more than you need. Forty feels excessive and a busy household gets through them. Keep the spares with the marker.
12 Thanksgiving Crafts
1. Gratitude Tree
Needs: branches, a weighted jar, card, twine. Time: an hour.
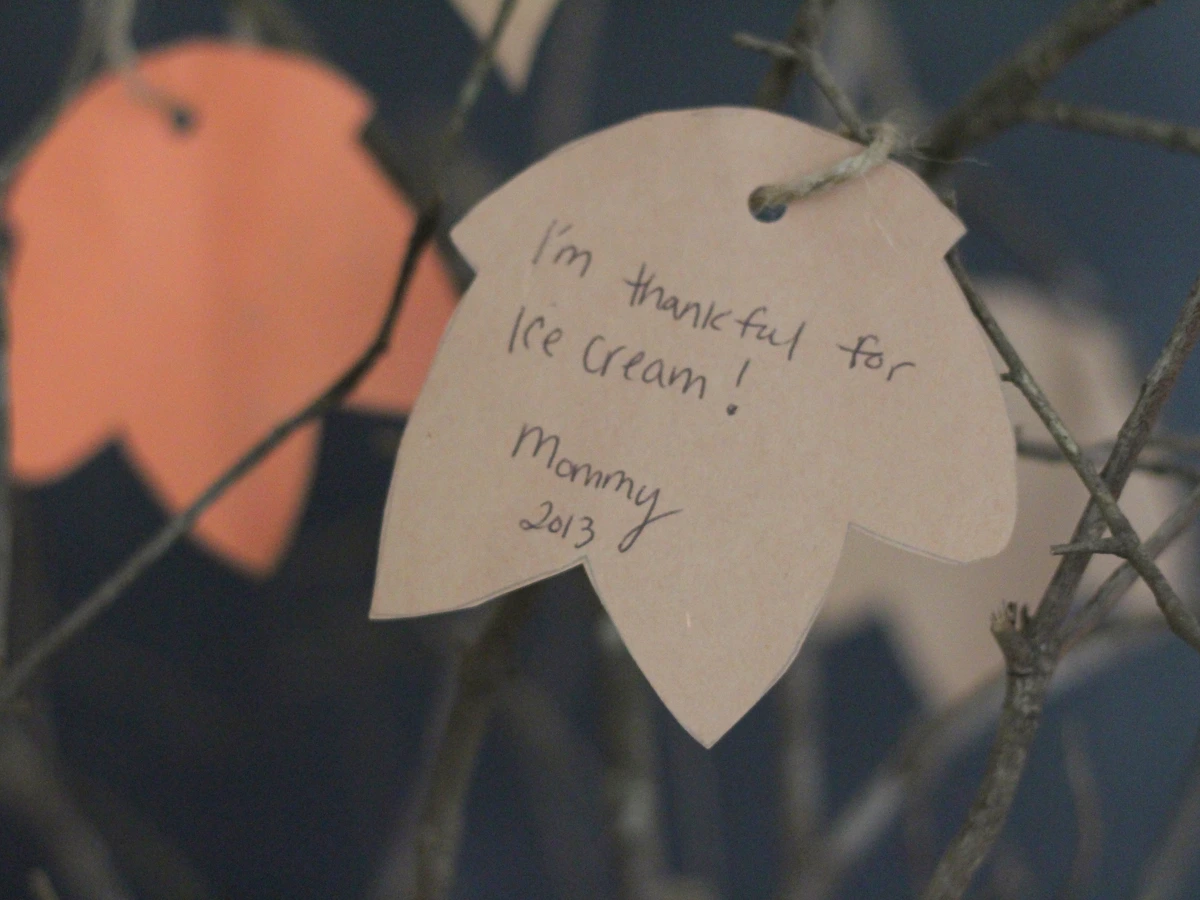
Branches in a jar weighted with stones or sand, a stack of punched paper leaves beside it, and a marker. People write what they are thankful for and hang it as they pass.
Watch out for: leaving it empty and hoping. Write three or four yourself and hang them first; a bare tree stays bare and a started one fills by itself.
2. Thankful Jar
Needs: a jar, paper slips. Time: 15 minutes.
The same idea with nothing to build. Slips go in through the month and get read out at the table. It suits a small flat far better than a tree does.
3. Paper Leaf Garland
Needs: card, twine, punch. Time: an hour.
The same leaves, strung along a mantel instead of hung on twigs. Vary three shades rather than using six colours, which is the difference between autumnal and a classroom display.
The stringing side carries over from paper crafting for beginners.
4. Pine Cone Turkeys
Needs: pine cones, card, glue. Time: half an hour.
Card feathers fanned into the back of a cone. The classic one to make with children, and the one they will ask to keep.
Watch out for: gluing feathers to a damp cone. A cone brought in that morning will still be closing and opening as it dries, and it pushes the glued pieces off as it moves.
More uses for the same gathering walk are in these pine cone craft ideas.
5. Leaf Print Tea Towels
Needs: plain cotton towel, fabric paint, real leaves. Time: an hour plus drying.
Paint the veined underside of a leaf, press it down, lift straight up. Use less paint than feels right, because a flooded leaf prints as a blob.
Watch out for: skipping the test print. The first one off a freshly painted leaf is always too heavy; the second and third are the good ones.
6. Twig Place Card Holders
Needs: short twigs, a saw, card. Time: half an hour.
Slice a slot into a short log offcut and stand a name card in it. Quick and sturdy, and they store flat for next year.
The rest of the table is covered in these Thanksgiving table decor ideas, which is the styling side of the same day.
7. Dried Orange Garland
Needs: oranges, twine, a low oven. Time: three hours, mostly waiting.
Slice thinly, dry slowly at a very low heat, thread when cool. They smell of the season for weeks and cost almost nothing.
Watch out for: rushing the oven. Hot and fast scorches the edges brown and the slices stay sticky in the middle rather than drying through.
8. Candle Jars with Pressed Leaves
Needs: jars, pressed leaves, glue. Time: half an hour.
Leaves glued to the outside of a jar with a tealight inside. Outside only, and use an LED tealight if children will be near them.
9. Thankful Banner
Needs: card triangles, twine. Time: an hour.
One letter per triangle. Draw the letters in pencil first and go over them; freehand marker on the final card is how banners end up with a cramped last word.
10. Harvest Wreath
Needs: a ring base, dried leaves, seed heads, wire. Time: an afternoon.
Work in one direction, overlapping each bunch over the stems of the last. The biggest project here and the one that lasts several seasons.
Watch out for: stopping to judge it halfway. A half-finished wreath always looks wrong, and taking it apart at that point is the most common way one gets abandoned.
The method is the same as in these simple seasonal wreaths.
11. Leaf Rubbings, Framed
Needs: paper, wax crayon, leaves, frames. Time: half an hour.
Leaf under paper, crayon on its side, rub. Three rubbings in matching frames read as deliberate art rather than a school project.
12. Gratitude Notebook
Needs: a plain notebook, paper, glue. Time: half an hour.
Cover a cheap notebook and leave it out with a pen. The one on this list that outlives November, because nothing about it is seasonal once the cover is on. Glue the cover paper from the centre outwards to push the air out, and weight it flat under a book overnight.
What Goes Wrong, and Why
Four problems, and the first is the only one that decides whether the main project works at all.
- Nobody writes anything. An empty tree asks people to go first, and most will not. Start it yourself and keep the marker visibly beside it rather than in a drawer.
- Leaves tear at the hole. Paper that is too thin, or a hole punched too near the edge. Leave at least a centimetre of card above the punch.
- Branches drop everything. They were damp or too fresh. Let gathered branches dry indoors for a day, and choose bare ones over anything still holding leaves.
- It looks like a classroom display. Too many colours. Three shades of the same family, one paper stock, one handwriting colour.
The wider version of that last point is in beginner crafting mistakes and how to avoid them.
Common Questions
What is a gratitude tree?
Bare branches stood in a container, with paper leaves that people write on and hang through the month. It is part decoration and part activity, which is why it holds attention in a way a centrepiece does not.
When should you put it up?
At the start of November, so it has time to fill. Put it out the day before and it stays nearly empty, which defeats the point entirely.
Do these work outside the United States?
The tree and the jar do, and plenty of people run them as a plain November thing with no holiday attached. The place cards and the table pieces are tied to a specific dinner, so they travel less well.
What can you use instead of branches?
A bare houseplant, a coat hook rail, a length of twine pinned across a wall, or a drawn tree on paper with the leaves taped on. None of it needs to be a tree; it needs to be somewhere things visibly accumulate.
What do you do with the leaves afterwards?
Keep them. Dated and signed, a jar of them read back next November is the whole reason to date and sign them in the first place.
Where to Start This Week
Make the gratitude tree, and make it early. It is an hour of work, most of which is cutting leaves, and it is the only one here that gets better over the weeks rather than being finished and then dusted.
If a tree is more than the space allows, the thankful jar does the same job on a shelf. For the rest of the season, cozy fall home crafts and autumn botanical decor cover what else can be made from a walk and a bag.
Featured image: Personal Creations / Wikimedia Commons, CC BY 2.0, title text added by OKI HERE.