12 DIY Thanksgiving Table Decor Ideas to Make at Home
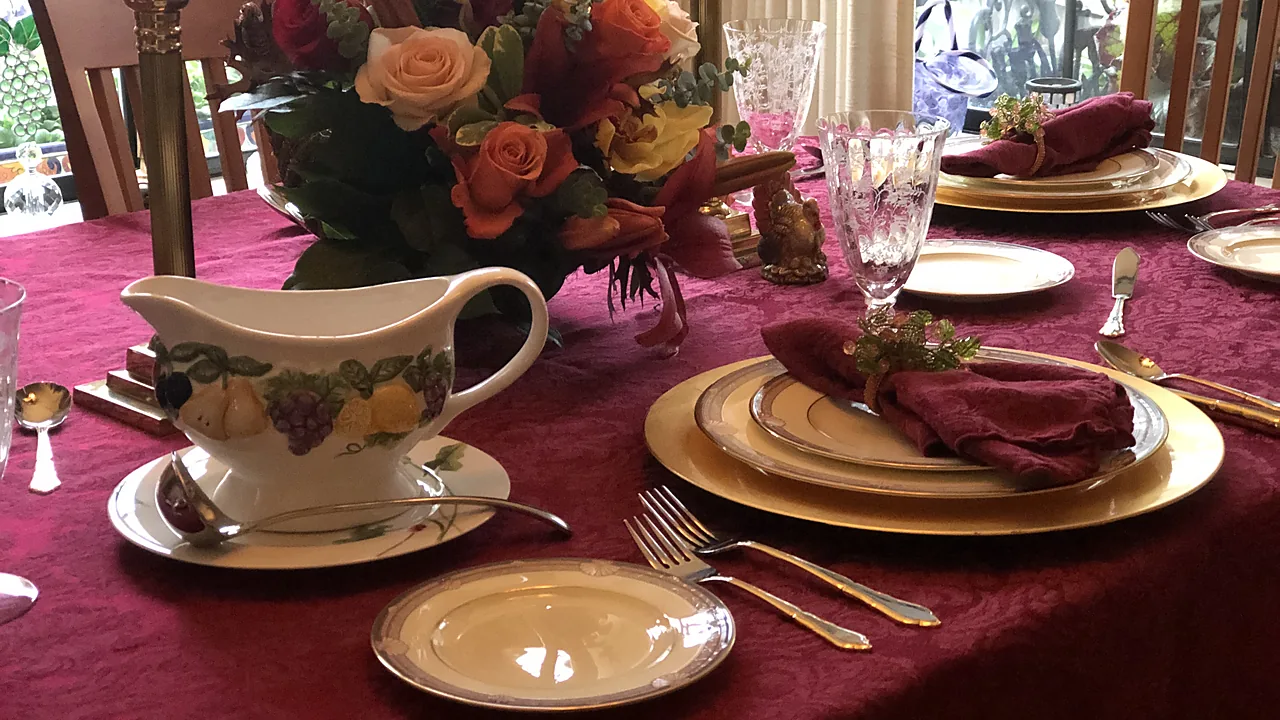
Have you ever set the Thanksgiving table an hour before guests arrive and realised it looks exactly like every other Tuesday dinner? A tablescape does not need a decorator budget to fix that. Most of the pieces below cost under ten dollars, several cost nothing at all, and the longest one takes an afternoon. This guide walks through twelve DIY Thanksgiving table decor projects, what each one needs, and roughly how long it takes, so you can pick the ones that fit the time you actually have.
What to Gather Before You Start
Almost every project here pulls from the same short list, so one trip sorts out the whole table.
- From outside: pinecones, fallen leaves, acorns, bare twigs, and small branches. Bake foraged pinecones at 200F for 30 minutes on foil to drive out insects and sap before they touch the table.
- From the craft aisle: twine, floral wire, hot glue, raffia, and a roll of kraft paper.
- From the kitchen: mason jars, small pumpkins, cinnamon sticks, dried orange slices, and whole nuts still in their shells.
- Candles: unscented only. Scented wax competes with the food, which is the one thing on a Thanksgiving table that should win.
Work in a warm palette and the pieces will look related even though you made them separately: amber, rust, cream, deep green, and raw wood. If you want a shortcut on foliage that survives being packed away, the guide to the best faux fall foliage covers which types read as real under warm light.
1. Foraged Pinecone and Leaf Centerpiece
Materials: shallow wooden tray or bowl, pinecones, dried leaves, three pillar candles.
Time: 20 minutes.
Lay the leaves flat in the tray first so they form a base, then nest the pinecones in clusters of three rather than spreading them evenly. Odd-numbered groupings read as arranged instead of scattered. Set the pillar candles at different heights in the gaps.
Quick tip: dry-brush a few pinecone tips with gold or copper paint and leave the rest bare. Gilding all of them flattens the texture that made them interesting.
2. Hollowed Pumpkin Vases
Materials: small pumpkins, a jar that fits inside, serrated knife, flowers or wheat stems.
Time: 25 minutes.
Cut the top wide enough to drop a jar inside, scoop the seeds, then slide the jar in and fill it with water. The jar is what keeps the pumpkin from rotting against wet stems, and it buys you about a week instead of two days.
Quick tip: white pumpkins photograph better under warm bulbs than orange ones, which can go muddy in candlelight. For a version that lasts the whole season, see how to make a pumpkin centerpiece.
3. Kraft Paper Runner With Handwritten Notes
Materials: roll of kraft paper, scissors, a chunky marker.
Time: 15 minutes.
Run the paper down the centre of the table and cut it about four inches longer than the table at each end. Write one thing you are grateful for about each guest at their seat. It costs almost nothing and it is usually the part people photograph.
Quick tip: leave a few markers on the table so guests can add their own notes between courses.
4. Mason Jar Candle Lanterns
Materials: mason jars, twine, tea lights, dried leaves.
Time: 10 minutes each.
Press a dried leaf against the inside wall of the jar, drop in a tea light, and wrap twine around the neck three or four times. The leaf throws a soft shadow once the candle is lit.
Quick tip: keep these below eye level when seated, around five inches tall, so nobody is talking around a wall of glass. More container options are in creative candle container ideas.
5. Dried Orange and Cinnamon Garland
Materials: oranges, twine, cinnamon sticks, baking sheet.
Time: 10 minutes of work plus 3 hours drying.
Slice oranges a quarter inch thick, blot them dry, and bake at 200F for about three hours, turning once. Thread the cooled slices onto twine with cinnamon sticks between them and lay the garland along the runner.
Quick tip: slices thinner than a quarter inch tear when you thread them, and thicker ones stay damp in the middle and mould within a week.
6. Napkin Rings From Twigs and Twine
Materials: pencil-thick twigs, twine, secateurs.
Time: 5 minutes each.
Cut three twigs to roughly five inches, bundle them, and bind the middle with twine, leaving long tails to tie around the napkin. Tuck a sprig of rosemary or a single dried leaf under the binding.
Quick tip: cut twigs the day before and let them dry indoors. Fresh green wood splits as it dries and the binding goes loose.
7. Pressed Leaf Place Cards
Materials: large flat leaves, heavy books, a white paint pen.
Time: 10 minutes plus 5 days pressing.
Press the leaves between sheets of paper inside a heavy book for about five days, then write each name across the leaf with a white or gold paint pen. Maple and oak leaves hold a pen line better than thin birch.
Quick tip: this one needs lead time, so start it the weekend before. The same pressing method is covered in detail in how to press and frame flowers.
8. Wheat and Dried Grass Bundles
Materials: wheat stems or dried grasses, raffia, small vases.
Time: 15 minutes.
Gather a handful, trim the stems to the same length, and bind them a third of the way down with raffia. Stand one bundle in a small vase at each end of the table to frame the centrepiece.
Quick tip: cut the stems at an angle and they fan out instead of standing in a stiff column. More in this direction sits in autumn botanical decor projects.
9. Candle Holders Wrapped in Bark
Materials: glass votives, loose birch or thin bark, twine, scissors.
Time: 10 minutes each.
Wrap a strip of bark around the outside of the glass and tie it with twine. Use only loose bark that has already fallen, never bark stripped from a living tree, which kills it.
Quick tip: keep the bark below the rim so the flame never sits level with it.
10. Acorn and Nut Filled Bowls
Materials: shallow bowls, acorns, walnuts, pecans still in shell.
Time: 5 minutes.
Fill two or three small bowls and space them along the table between the taller pieces. The low height keeps sightlines open, which is the main reason tables feel cluttered.
Quick tip: freeze foraged acorns for 48 hours before using them indoors. Acorn weevils hatch out otherwise, usually onto the table.
11. Fabric Scrap Table Squares
Materials: cotton scraps in autumn tones, pinking shears.
Time: 10 minutes.
Cut squares roughly twelve inches across with pinking shears so the edges do not need hemming, then set one under each plate. It adds a layer of texture without the cost of a full tablecloth.
Quick tip: wash and press the scraps first. Fold creases show badly under overhead light. If you have offcuts left over, handmade pillow cover ideas uses the same size pieces.
12. Dried Flower Posies at Each Place
Materials: dried flowers, twine, small clips or ribbon.
Time: 10 minutes.
Tie three or four dried stems into a posy small enough to sit on a side plate, and let guests take theirs home. Strawflowers and statice hold their colour for months, which is why they turn up in almost every dried arrangement.
Quick tip: make these first, before anything else is on the table, because they are the easiest to crush. More options are in dried flower decor ideas.
How to Layer the Table So It Looks Finished
Decorating the table is mostly a question of height. Work in three bands and the whole thing settles into place.
- Low band, under five inches: the runner, the fabric squares, nut bowls, place cards, and posies. This is where most of the surface lives.
- Middle band, five to ten inches: votives, lanterns, small vases, and the centrepiece. Nothing here should block a face across the table.
- Tall band, above twelve inches: only the wheat bundles, and only at the ends where nobody sits opposite each other.
Build in that order, low first, and stop when the table still has bare wood showing. Empty space is what makes the filled space read as deliberate.
Mistakes That Make a Thanksgiving Table Look Cluttered
These are the ones that undo an otherwise good tablescape.
- Scented candles near the food. Cinnamon and clove scents fight the meal. Keep scented candles in other rooms.
- Centrepieces at eye level. If guests have to lean around it, it is too tall, however good it looks empty.
- Too many colours. Three colours plus raw wood is usually the ceiling. A fourth reads as accidental.
- Decor on every inch. Serving dishes need somewhere to land, and a table with no clear space becomes stressful once food arrives.
- Fresh foraged material brought straight indoors. Bake pinecones, freeze acorns, and dry twigs first.
Conclusion
None of these projects require skill you do not already have. Start with the kraft paper runner and the nut bowls if time is short, because together they take under twenty minutes and cover most of the table. Add the pinecone centrepiece if you have an afternoon, and start the pressed leaf place cards a week ahead if you want the piece guests actually keep.
When the meal is over, the dried pieces are worth saving. Garlands, pressed leaves, and wheat bundles store flat and come out again next year, and the guide to storing holiday decor covers how to pack them so they survive. Several of these also carry straight through December with a change of palette, which the easy Christmas crafts roundup picks up.
Frequently Asked Questions
Q: How far ahead can Thanksgiving table decor be made?
A: Dried pieces such as orange garlands, wheat bundles, and pressed leaf place cards can be made two to three weeks ahead and stored flat. Anything using fresh pumpkins or cut greenery should wait until two or three days before, because both start to soften after that.
Q: What is the cheapest Thanksgiving centerpiece?
A: The foraged pinecone and leaf tray, which costs nothing beyond candles you probably already own. The kraft paper runner is a close second at a few dollars per roll, and it covers far more of the table.
Q: How tall should a Thanksgiving centerpiece be?
A: Under ten inches for anything in the middle of the table, so people seated opposite each other can still make eye contact. Taller pieces belong at the ends of the table or on a sideboard.
Q: Are real pumpkins safe to use on a dining table?
A: Yes, provided they are clean, dry, and uncut. A cut pumpkin starts breaking down within two days and will mark a wood surface, so put a jar inside it rather than filling it with water directly, and set it on a tray.