How Much Macrame Cord Do You Need? Easy Length Formula
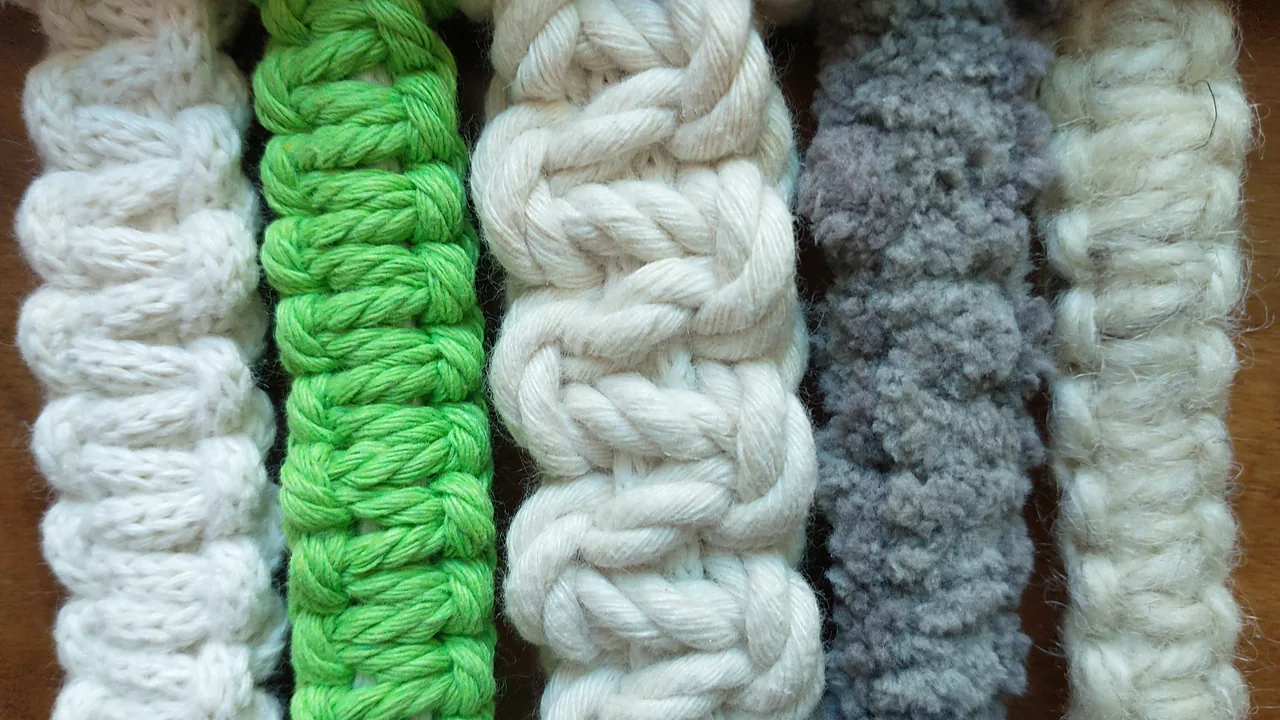
Have you ever reached the last few rows of a macrame project and realized your cords were too short to finish? You’re not alone. Running out of cord is one of the most frustrating beginner mistakes, and it usually happens because macrame uses far more cord than most people expect.
The good news is that working out how much macrame cord you need is simple once you know the formula. This guide explains the rules of thumb makers use, walks you through a full calculation with real numbers, and shares quick estimates for common projects, so you can cut your cords with confidence instead of guessing.
The Quick Answer: The 4x and 8x Rules
If you just need a fast estimate, start here:
- For a single strand: cut about four times the finished length of your project.
- For a cord folded in half: cut about eight times the finished length, because folding creates two working strands from one piece.
- Then add a buffer: an extra 15 to 20 percent covers mistakes, fringe, and knots that use more cord than planned.
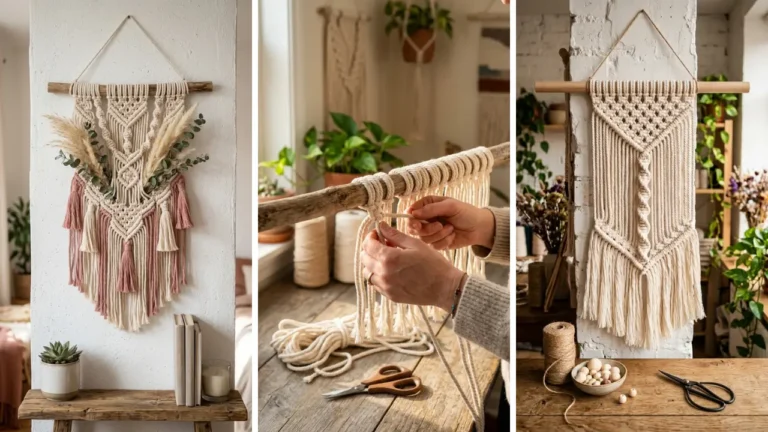
Most wall hangings and plant hangers attach cords with a lark’s head knot, which folds each cord in half. That is why the 8x rule is the one beginners use most often. It is always easier to trim extra cord than to fix a piece that comes up short.
Why Macrame Uses So Much Cord
Every knot wraps cord around other cords, and each wrap eats up length. A row of square knots can use several inches of cord to cover just one inch of finished height. Dense patterns with lots of knots packed closely together use the most, while open designs with gaps and long fringe use much less.
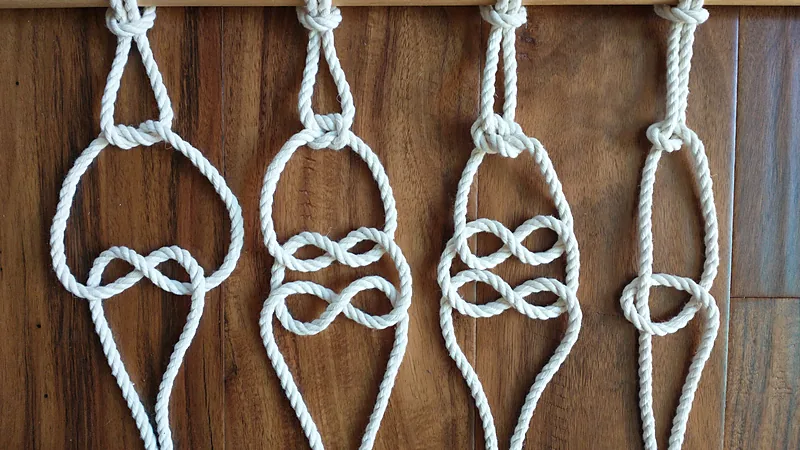
The type of knot matters, too. Working cords in a square knot travel around filler cords, so they shrink much faster than the filler cords in the middle. If you are still learning the basics, this guide on how to tie the 5 basic macrame knots shows how each knot is formed, which makes it easier to picture where the cord goes.
How to Calculate Macrame Cord Length Step by Step
For a more accurate number, work through these steps. A calculator or notepad helps.
Step 1: Decide the Finished Length
Measure how long the finished piece will be from the top mounting point to the end of the knotting, and include any fringe you want to leave. If you are following a pattern, the finished size is usually listed. This guide on how to read a macrame pattern explains where to find it.
Step 2: Choose a Multiplier
Pick a multiplier based on how dense your knotting will be:
- 3 to 3.5 times: mostly fringe, long gaps, or very little knotting
- 4 to 4.5 times: standard knotting, such as square knots and double half hitches in most wall hangings and plant hangers
- 5 to 5.5 times: dense or complex work, such as spirals, berry knots, and tightly packed patterns
Step 3: Double It if the Cord Is Folded
If each cord is folded in half at the top with a lark’s head knot, double the result from Step 2. If the cord hangs as a single strand, skip this step.
Step 4: Add a Buffer
Multiply by 1.15 to 1.2 to add a 15 to 20 percent safety margin. This covers undoing a knot, uneven tension, and trimming the fringe neatly at the end.
Step 5: Multiply by the Number of Cords
Finally, multiply the length of one cut cord by the number of cords you need. This gives you the total amount of cord to buy.
A Worked Example
Say you want a wall hanging that finishes at 24 inches (61 cm) long, with standard square knots, using 12 cords folded in half on a dowel.
- 24 inches × 4 (standard knotting) = 96 inches per strand
- 96 inches × 2 (folded in half) = 192 inches per cut cord
- 192 inches × 1.15 (buffer) = about 221 inches, or roughly 18.4 feet (5.6 m) per cord
- 221 inches × 12 cords = about 2,650 inches, or roughly 221 feet (67 m) of cord in total
That number surprises many beginners, but it is typical for a medium wall hanging. Knowing it before you start helps you buy enough cord from the same batch, so the color matches across the whole piece. This guide on where to buy macrame supplies on a budget can help you find larger spools at a better price.
How Cord Thickness Changes the Math
Thicker cord uses more length for each knot because it has to wrap around a larger bundle. A project tied in 5 mm cord will usually need more length than the same design in 3 mm cord, and it will also come out slightly longer and wider. If you swap the cord size a pattern calls for, expect to adjust the cord length and test a small section first.
Cord construction matters as well. Single-strand cord, twisted 3-ply rope, and braided cord all knot and fringe differently. The guide to the best macrame cord for beginners explains how each type behaves, so you can choose one that suits your project before you calculate.
How Many Cords Will Your Project Need?
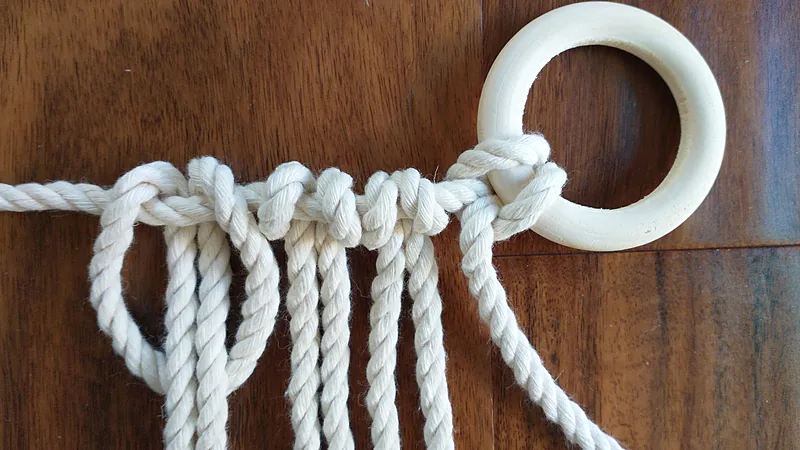
Length is only half the question. To estimate how many cords you need, decide how wide the finished piece will be, then attach one test cord to your dowel and measure how much space it takes up. Divide the width of the design by that measurement to get a rough cord count. Remember that a folded cord gives you two working strands, and most square knot patterns work in groups of four strands.
Here is how that works in practice. Suppose your dowel is 14 inches wide and you want the knotted section to cover about 12 inches of it, leaving a little space at each end. You attach one test cord with a lark’s head knot and find it takes up about half an inch. Dividing 12 by 0.5 gives you room for about 24 folded cords, which means 48 working strands. Because square knots use four strands at a time, 48 strands give you 12 square knots across each row, a tidy number for most designs. If the count does not divide evenly by four, add or remove a cord or two until it does.
Thicker cord takes up more space on the dowel, so a 5 mm cord might fit only 16 to 18 cords in the same 12 inches, while a thin 3 mm cord fits more. That is another reason to attach a test cord in the actual material you plan to use rather than estimating from a photo.
If you are working from a pattern, it will list the number and length of cords. Following those numbers exactly for your first few projects is a great way to learn how much cord different designs really use.
Quick Estimates for Popular Projects
These examples use the formula above with a 15 percent buffer. Treat them as starting points, since your knot density and cord thickness will change the result.
| Project | Finished length | Multiplier | Approx. length per folded cord |
|---|---|---|---|
| Simple plant hanger with long gaps | 36 in (91 cm) | 3x | about 248 in (21 ft / 6.3 m) |
| Small wall hanging, standard knots | 18 in (46 cm) | 4x | about 166 in (14 ft / 4.2 m) |
| Dense wall hanging with spirals | 24 in (61 cm) | 5x | about 276 in (23 ft / 7 m) |
| Keychain or small ornament | 6 in (15 cm) | 4x | about 55 in (4.6 ft / 1.4 m) |
Ready to try one? This tutorial on how to make a macrame plant hanger in 30 minutes and this macrame wall hanging for beginners are good first projects to practice your measurements.
Tips to Avoid Running Short
- Cut one test cord first. Tie a small section of your pattern, measure how much cord it used, and adjust your multiplier before cutting the rest.
- Remember the working cords. In square knots, the outer working cords shrink faster than the filler cords, so cut them a little longer if your pattern allows.
- Buy from one batch. Cord color can vary between batches, so buy enough for the whole project at once.
- Bundle long cords. Wrap long working ends into small bundles secured with a rubber band. They are easier to handle and less likely to tangle.
Common Measuring Mistakes
Most shortages come from a few simple slips: forgetting to double the length for folded cords, leaving out the fringe, using the 4x rule on a dense spiral pattern, or measuring the finished length without the mounting loop at the top. For more of the problems beginners run into, see these macrame mistakes beginners always make and how to fix them.
Conclusion
Knowing how much macrame cord you need comes down to one formula: finished length times a multiplier, doubled for folded cords, plus a 15 to 20 percent buffer. Start with 4x for standard knotting, move up for dense patterns, and test a small section when you are unsure. With the right amount of cord cut before you begin, you can focus on your knots instead of worrying about the last row.
Frequently Asked Questions
How long should macrame cords be for a wall hanging?
For a wall hanging with cords folded in half, cut each cord about eight times the finished length, then add 15 to 20 percent. A dense pattern may need closer to ten times the finished length.
Is it better to cut macrame cord too long or too short?
Too long is always better. Extra cord can be trimmed into fringe, while a cord that runs short is difficult to extend without a visible join.
Does thicker macrame cord need more length?
Yes. Thicker cord wraps around a larger bundle with every knot, so it usually uses more length than thinner cord in the same design.
What can I do if a cord runs out mid-project?
You can add a new length of cord by tying it in behind a knot and hiding the ends inside the next few knots, or by switching the short cord to a filler position where it does less work. Both methods leave a join that may be visible up close, which is why measuring carefully and adding a buffer at the start is the better approach.
How do I calculate cord for a macrame plant hanger?
Measure the finished length, including the fringe. Because plant hangers have long open sections, a multiplier of about 3x per strand often works. Double it for cords folded in half, then add a 15 percent buffer.
Featured photo: Stilfehler / Wikimedia Commons, CC BY-SA 4.0