How to Make a Macrame Plant Hanger in 30 Minutes (Easy Method)

Have you ever looked at those beautiful boho-style plant hangers in home decor stores and thought, “I could never make that”? Think again. Learning how to make a macrame plant hanger in 30 minutes is completely achievable — even if you’ve never touched a piece of rope in your life.
This easy method breaks down every knot and step so you can go from zero to stunning in less time than it takes to watch an episode of your favorite show. In this guide, you’ll get a full step-by-step tutorial, a materials list, pro tips to avoid common beginner mistakes, and ideas for how to use your finished hanger. Whether you’re decorating your living room or looking for a unique gift idea, this project delivers serious results with minimal effort.
Let’s dive in.
What You Need Before You Start

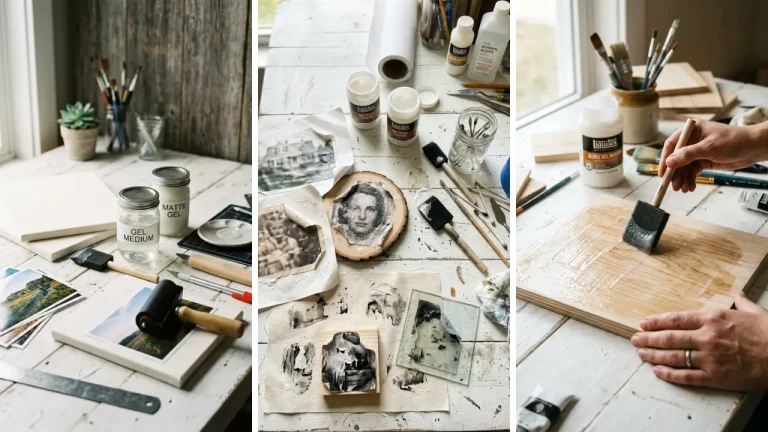
One of the best things about this project is how affordable it is. You don’t need a craft room full of supplies — just a few basics that are easy to find at any craft store or even online. Here’s your complete materials list:
- Macrame cord — 3mm or 4mm natural cotton rope works best for beginners
- Wooden dowel or metal ring — about 2–3 inches in diameter
- Scissors
- Measuring tape
- A hook or doorknob to hang your work while knotting
- A small pot (to test fit as you go)
That’s it. You can find most of these supplies at a dollar store or craft retailer. If you’re interested in keeping costs low, check out these dollar store crafts ideas that look surprisingly expensive — macrame cord is often on the list.
Cut your rope into 8 equal pieces, each about 6 feet long. For a larger pot, go up to 8 feet. This gives you enough length to work comfortably and still have a graceful drape at the bottom.
How to Make a Macrame Plant Hanger in 30 Minutes: Step-by-Step

This method uses just two basic knots — the square knot and the gathering knot. Once you know these two, you can make dozens of variations. Here’s the full process broken down into clear stages.
Step 1: Set Up Your Anchor (2 Minutes)
")
Fold all 8 rope pieces in half so you have 16 strands. Thread the folded midpoints through your wooden ring or over your dowel. Secure everything with a gathering knot — wrap one separate short piece of cord tightly around all strands about 2 inches below the ring, then tie it off.
This creates your hanger’s top loop.
Step 2: Create the Upper Knot Section (10 Minutes)
Divide your 16 strands into 4 groups of 4. Working with one group at a time, tie a series of square knots starting about 4 inches below the gathering knot. A square knot is simple: left cord over the middle two, then under and through the right side.
Right cord under the middle two, then up and through the left side. Pull snug and repeat. Tie 3–4 square knots per group.
This forms the decorative upper section of your hanger and gives it that classic macrame look.
Step 3: Form the Basket (8 Minutes)
")
This is where the magic happens. Drop down about 5–6 inches from your last knot on each group. Now split the groups — take 2 strands from one group and 2 from the adjacent group, and tie a square knot with these combined strands.
Work your way around all four groups doing the same thing. This creates a net-like basket shape that cradles your pot. Drop down another 3–4 inches and repeat the process one more time.
You’ll visually see the basket forming — it’s incredibly satisfying at this stage.
Step 4: Secure the Bottom (5 Minutes)
Gather all 16 strands together at the base of your basket. Tie a tight gathering knot to hold everything in place. Make sure you test your pot inside the basket before making this knot permanent — the pot should sit snugly with no risk of falling through.
Leave about 6–8 inches of fringe below the final knot. Trim the ends evenly with scissors, or cut them at varying lengths for a layered, bohemian look. You can also gently unravel the rope ends with your fingers to create a fluffy fringe effect.
Step 5: Hang and Style (5 Minutes)
")
Your hanger is done! Slip your potted plant inside, hang it from a ceiling hook, curtain rod, or outdoor beam, and step back to admire your work. Adjust any knots that look uneven while the hanger is in place — it’s easy to tweak while it’s hanging.
This entire process genuinely takes about 30 minutes once you’ve done it once. Your second hanger? Probably 20 minutes.
It’s one of those fun crafts to make at home that feels impressive but is surprisingly beginner-friendly.
Tips to Make Your Plant Hanger Look Professional

Small details make a huge difference between a plant hanger that looks homemade and one that looks like it came from a boutique. Keep these tips in mind:
- Keep tension consistent. Pull each knot with the same force throughout your project. Uneven tension is the number one reason hangers look messy.
- Use a comb or brush to fluff out the fringe at the bottom for a soft, finished look.
- Choose the right cord thickness. 3mm cord creates a delicate look; 5mm cord looks bold and modern. Match your style to your space.
- Measure twice, cut once. Running out of cord mid-project is frustrating. Always cut longer than you think you need.
- Practice the square knot separately before starting. Just 5 minutes of practice makes a noticeable difference in your final result.
If you’re looking to build on these skills and tackle more home craft projects quick, macrame is a perfect gateway craft. It scales beautifully — from simple hangers to elaborate wall art and furniture accents.
Creative Ways to Use and Gift Your Macrame Plant Hanger

Once you’ve made one, you’ll want to make more — and honestly, that’s a great problem to have. These hangers make incredible gifts because they feel personal, handcrafted, and thoughtful. Consider gifting them as housewarming presents, birthday gifts, or holiday surprises.
Pair a hanger with a small succulent or air plant for a complete, ready-to-display gift that anyone would love. If you enjoy making things for others, explore more handmade gift craft ideas that have the same high-impact, low-cost appeal. You can also customize your hangers with different colors of cord, decorative beads threaded onto the strands before knotting, or by dyeing the rope with natural fabric dye.
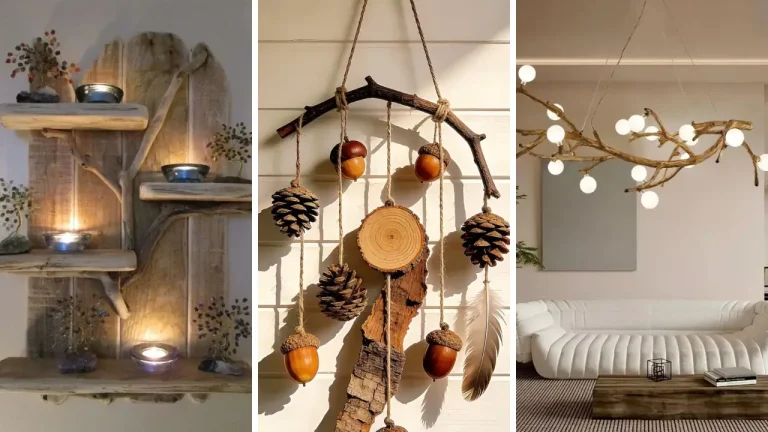
Indigo blue, terracotta, and sage green are trending color choices that complement indoor plants beautifully. For a seasonal twist, make a cluster of three hangers at different heights and hang them together. Group them with trailing plants like pothos or string of pearls for a dramatic living wall effect that costs a fraction of what you’d pay in a home goods store.
Macrame plant hangers are also a great entry point into the broader world of DIY handmade gifts. Once you get comfortable with the basics, you’ll start seeing knotting patterns everywhere — in wall hangings, keychains, jewelry, and more.
Conclusion
There’s something genuinely rewarding about making something beautiful with your own hands in under half an hour. Knowing how to make a macrame plant hanger in 30 minutes (easy method) gives you a skill you can use over and over — for your own home decor, as thoughtful gifts, or even as a relaxing weekend creative outlet. The process is simple: gather your supplies, cut your cord, master two basic knots, and shape your basket.
That’s all there is to it. With consistent tension and a bit of patience, your first hanger will look polished and professional. The best part?
Every hanger you make gets faster and better. What starts as a 30-minute project can become a 15-minute one after just a few practice rounds. And once you’ve got the technique down, the creative possibilities are genuinely endless.
Ready to give it a try? Grab your cord, pick a plant that deserves a beautiful new home, and start knotting. Share your finished hanger in the comments below — we’d love to see what you create!
And if you want more project inspiration, drop a question or browse more craft ideas to keep the creative momentum going.
Frequently Asked Questions
Q: Can a complete beginner really learn how to make a macrame plant hanger in 30 minutes? A: Absolutely. This easy method is specifically designed for beginners who have never done macrame before.
You only need to learn two knots — the square knot and the gathering knot — and the rest is just repetition. Most first-timers finish their hanger within 30–45 minutes on their very first attempt. Q: What type of cord is best for a beginner macrame plant hanger?
A: Natural cotton rope in 3mm or 4mm thickness is ideal for beginners. It’s soft, easy to knot, and holds its shape well. Avoid synthetic ropes to start — they tend to be slippery and harder to control when you’re still learning consistent tension.
Q: How long should I cut my macrame cord for a standard plant hanger? A: For a standard hanger that fits a 4–6 inch pot, cut 8 pieces of cord at 6 feet each. If you’re working with a larger pot or want a longer drape, cut them up to 8 feet.
It’s always better to cut too long and trim the excess than to run short mid-project. Q: Is making a macrame plant hanger in 30 minutes a good project for kids? A: Yes, with supervision it’s a fantastic craft for older kids and teens.
The knots are repetitive and satisfying, making it great for focus and fine motor skills. Younger children may need help with the gathering knot, but they can absolutely participate in the square knot sections with some guidance. Q: How do I keep my macrame plant hanger from getting damaged outdoors?
A: Natural cotton cord can degrade if left in heavy rain or direct sun for extended periods. For outdoor use, look for macrame cord made from polyester or UV-resistant materials. You can also spray natural cotton hangers with a fabric protector spray to extend their lifespan in covered outdoor spaces like patios or porches.