How to Make Resin Coasters With Dried Flowers
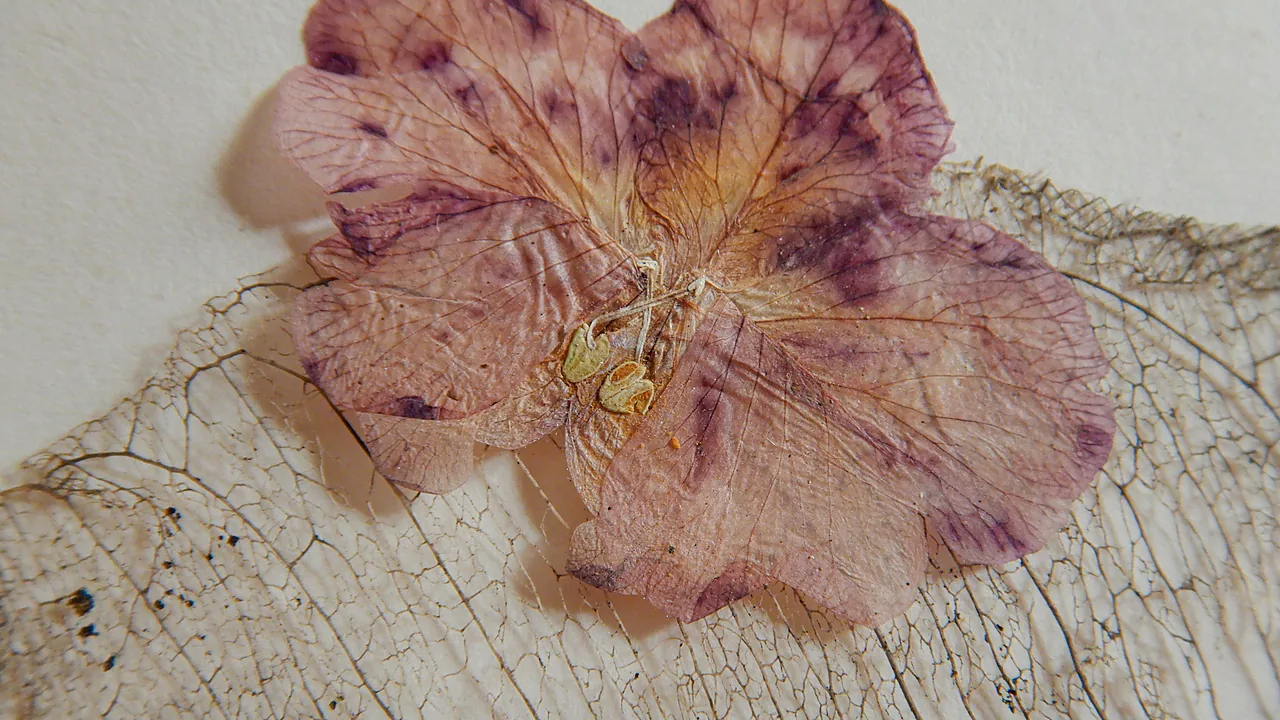
Have you ever looked at a beautifully preserved flower and thought, “I wish I could keep this forever”? Good news, you absolutely can, and you can turn it into something functional and gorgeous at the same time. Learning how to make resin coasters with dried flowers (step-by-step) is one of the most rewarding craft projects you can take on, whether you’re a complete beginner or a seasoned DIY enthusiast. These coasters make stunning home décor pieces and incredibly thoughtful gifts. In this guide, you’ll get everything you need: the right materials, prep tips, the actual casting process, and finishing touches that make your coasters look professionally made.
Why Resin Coasters With Dried Flowers Are Worth Making
Resin art has exploded in popularity over the past few years, and for good reason. The results look luxurious, but the process is surprisingly accessible. Dried flower coasters, in particular, combine the timeless beauty of botanicals with the durability of epoxy resin, creating pieces that last for years.
These coasters are also incredibly versatile as DIY handmade gifts, perfect for birthdays, housewarmings, Mother’s Day, or just because. A set of four custom coasters wrapped in kraft paper feels far more personal than anything you’d find in a store.
Beyond gifting, making resin coasters is genuinely enjoyable. It’s one of those fun crafts to make at home that doesn’t require a dedicated studio or expensive equipment. Your kitchen table works just fine.
Materials You’ll Need Before You Start
Getting your supplies right from the beginning saves a lot of frustration. Here’s what you’ll need to complete this project:
- Epoxy resin kit (two-part resin + hardener), choose a clear, self-leveling formula
- Silicone coaster molds, round or square, typically 3.5″ to 4″ in diameter
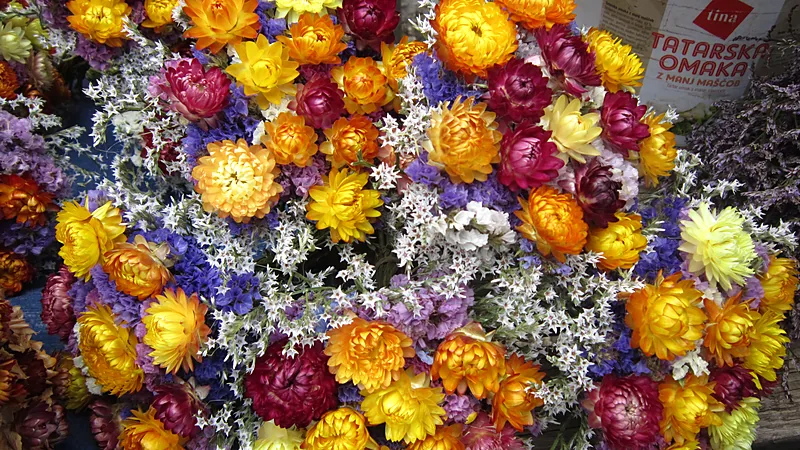
- Dried flowers, pressed flowers, dried petals, or botanical confetti work best
- Mixing cups and stir sticks, disposable plastic works great
- Gloves and eye protection, resin can irritate skin
- Heat gun or butane torch, for popping air bubbles
- Isopropyl alcohol, for cleaning spills and measuring tools
- Optional: pigment powder or mica powder, for added color effects
You can find most of these supplies at craft stores or online. If you’re watching your budget, check out some dollar store crafts ideas, mixing cups, stir sticks, and even small silicone molds can sometimes be found for a fraction of the price.
How to Prepare Your Dried Flowers for Resin
The secret to stunning resin coasters is all in the flower prep. Moisture is the enemy of resin, any trapped water will cause cloudiness, bubbles, or even mold growth inside your finished piece.
Drying Methods That Work Best
The easiest method is pressing flowers between the pages of a heavy book for 2 to 4 weeks. Place the flower between two sheets of parchment paper first to prevent staining. For faster results, a microwave flower press can dry flowers in minutes.
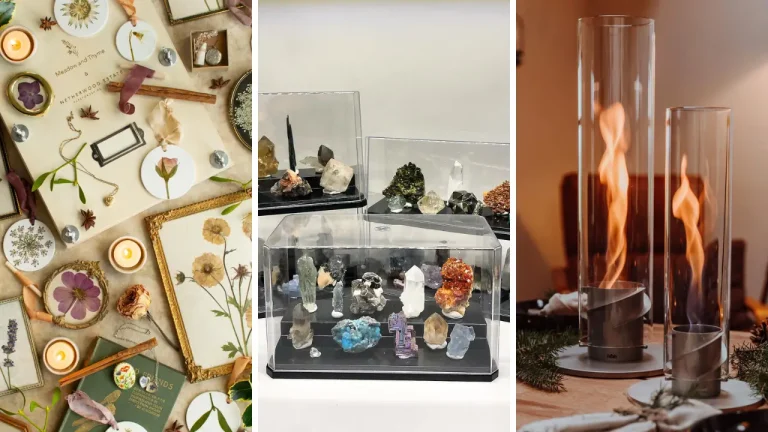
Silica gel is another excellent option, especially for three-dimensional flowers like roses or daisies. Bury the blooms in silica crystals for 3 to 7 days. The result is a beautifully preserved flower that retains its shape and much of its original color.
Sealing Your Flowers Before Use
Once dried, lightly spray your flowers with a clear sealant spray or brush on a thin layer of Mod Podge. This step is optional but highly recommended, it prevents the resin from discoloring the petals and helps the flowers stay vibrant inside the finished coaster.
Step-by-Step: How to Make Resin Coasters With Dried Flowers
Now for the main event. Follow these steps carefully, especially regarding resin mixing ratios, and you’ll get professional-looking results every time.
Step 1: Pour a Thin Base Layer
Mix your resin according to the manufacturer’s instructions, usually a 1:1 or 2:1 ratio by volume. Stir slowly for at least 3 to 4 minutes, scraping the sides and bottom of the cup. Pour a thin base layer (about 1/4 inch) into each mold. Use your heat gun briefly to pop any surface bubbles.
Let this base layer cure until it’s tacky but not fully dry, usually 3 to 5 hours depending on your resin brand. This tacky layer acts like glue for your flowers.
Step 2: Arrange Your Dried Flowers
Place your dried flowers face-down onto the tacky base layer. This is the most creative part! Arrange petals, small blooms, and leaves in a pattern you love. Use a toothpick or tweezers for precision. Press gently so the flowers adhere to the resin surface.
Don’t overcrowd the design, negative space actually makes the final piece look more elegant and intentional.
Step 3: Pour the Top Layer
Mix a fresh batch of resin and pour it over your flower arrangement, filling the mold to the top. Pour slowly and from a low height to minimize new bubbles. Use your heat gun in short, sweeping passes to remove surface bubbles, hold it about 4 to 6 inches away from the surface.
Check your coasters every 30 to 60 minutes for the first few hours and use the heat gun again if new bubbles appear.
Step 4: Cure and Demold
Cover your molds loosely (a cardboard box works great) to keep dust off while curing. Most epoxy resins reach a demolding stage in 24 hours, but a full cure takes 48 to 72 hours. Resist the temptation to demold early, patience here makes a big difference in the final hardness and clarity.
To demold, gently flex the silicone mold and push from underneath. The coaster should pop out cleanly.
Step 5: Sand and Finish
If your coasters have any sharp edges or uneven spots, wet-sand them lightly with 400-grit sandpaper, then work up to 1000-grit for a smooth finish. Wipe clean and optionally apply a thin coat of resin to restore the glossy top surface.
Add adhesive felt pads to the bottom to protect your furniture, a small but important finishing touch.
Tips for Getting the Best Results Every Time
Even with a solid process, a few insider tips can take your coasters from good to genuinely impressive:
- Work in a warm room, resin cures better at 70 to 75°F (21 to 24°C). Cold temperatures slow curing and increase cloudiness.
- Mix slowly, vigorous stirring introduces air bubbles. Slow and deliberate wins every time.
- Use UV-resistant resin, this prevents yellowing over time, especially important for pieces that will sit near windows.
- Test with a small batch first, if it’s your first time with a new resin brand, do a test pour before committing your best flowers.
This project is a great addition to your collection of home craft projects quick enough to finish over a weekend. You pour on day one, demold on day two, and finish on day three, simple as that.
Creative Variations to Try
Once you’ve mastered the basic technique, there’s so much room to experiment. Try adding a swirl of gold mica powder to your resin before pouring for a luxe marbled effect. Or use a round mold with a single large dried rose at the center for a dramatic statement piece.
You can also add dried herbs like lavender or eucalyptus for a more rustic, farmhouse-style aesthetic. Mixing different flower types, like tiny forget-me-nots with bold marigold petals, creates a garden-inspired look that’s hard to replicate with any other craft medium.
If you’re looking for more inspiration, exploring handmade gift craft ideas can spark plenty of new directions for your resin work, from jewelry trays to bookmarks and beyond.
Coasters are a small pour, but the same precautions apply, so check resin art safety before you start. For more designs to try next, resin coaster ideas collects a dozen variations, and resin art for beginners covers the basics of a first pour.
Conclusion
Now you know exactly how to make resin coasters with dried flowers (step-by-step), from selecting and drying your botanicals to pouring resin, curing, and finishing. The process is straightforward, the materials are affordable, and the results are genuinely beautiful. Whether you’re making a set for your own home or crafting them as gifts, these coasters carry a personal touch that store-bought items simply can’t match.
The key takeaways: dry your flowers completely, seal them before embedding, mix your resin slowly and thoroughly, and be patient during the curing process. Master those four things, and your coasters will come out crystal-clear and stunning every single time.
Start with one small batch, experiment with different flower arrangements, and don’t be afraid to make a few “practice” coasters before you get to your best design. You’ll be surprised at how quickly the process becomes second nature.
Ready to give it a try? Gather your supplies this weekend and make your first set of resin flower coasters. Share a photo of your finished coasters in the comments below. And if you found this guide helpful, share it with a friend who loves crafting.
Frequently Asked Questions
Q: How long does it take to make resin coasters with dried flowers from start to finish?
A: The actual hands-on time is relatively short, about 30 to 60 minutes of active work spread across two days. However, the total timeline including curing is 48 to 72 hours. If you need to dry your flowers first, add another 1 to 4 weeks depending on your drying method.
Q: Do I need to seal dried flowers before putting them in resin?
A: It’s not strictly required, but sealing is highly recommended. A light coat of Mod Podge or clear sealant spray prevents the resin from discoloring the petals and keeps colors vibrant inside the finished coaster. It only takes a few minutes and makes a noticeable difference in the final appearance.
Q: What is the best resin for making dried flower coasters as a beginner?
A: Look for a clear, self-leveling epoxy resin with a working time of at least 30 to 45 minutes. This gives you enough time to arrange flowers and pop bubbles without rushing. UV-resistant formulas are also worth the slight extra cost since they resist yellowing over time, keeping your coasters looking fresh for years.
Q: Can I use fresh flowers instead of dried flowers in resin coasters?
A: No, fresh flowers contain moisture that will trap inside the resin, causing cloudiness, discoloration, and eventually mold. Always dry your flowers completely before embedding them. The drying process also helps flowers maintain their shape and color more reliably inside the resin.
Q: How to make resin coasters with dried flowers that won’t turn yellow over time?
A: The two main strategies are using a UV-resistant epoxy resin and keeping your finished coasters out of direct sunlight. UV light is the primary cause of yellowing in resin pieces. If you use a UV-stable resin formula and store or display your coasters away from windows, they should stay beautifully clear for several years with normal use.