18 Origami Home Decor Ideas That Are Actually Easy to Make

Want to transform your living space without spending a fortune? Paper folding offers an elegant solution that costs almost nothing. These ancient Japanese techniques create stunning decorative pieces from simple sheets of paper.
The best part? You don’t need years of practice or expensive supplies. With just paper and patience, you can craft beautiful home accents.
Let’s dive in…
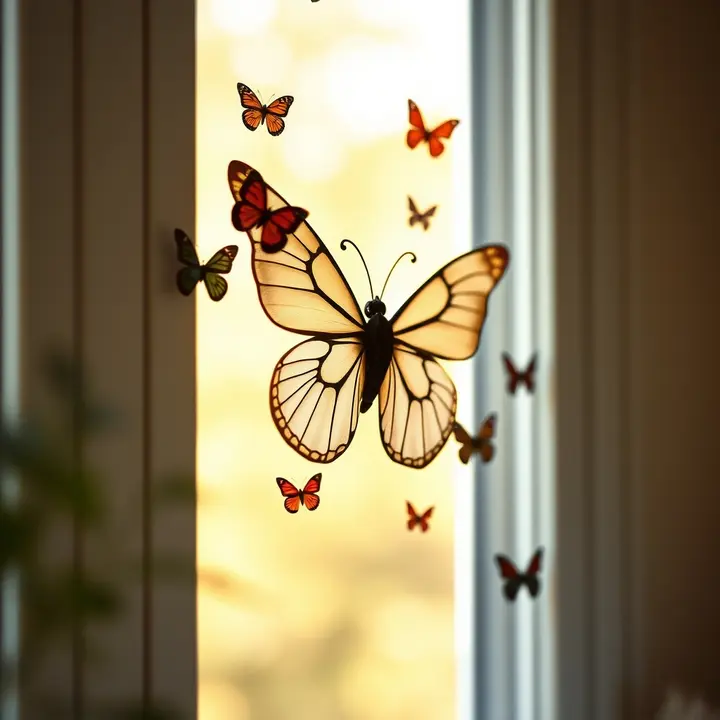
1. Delicate Butterfly Wall Display
- Square origami paper (various sizes)
- Double-sided tape
- Scissors
- Pencil for marking
Create a stunning butterfly cascade that flows across your wall. Start with squares ranging from 3 to 6 inches. The size variation adds visual depth and movement to your display.
Fold each square diagonally, then create accordion pleats through the center. Pinch the middle tightly and fan out the wings. Attach butterflies in a flowing diagonal pattern for maximum impact.
This project works beautifully as DIY wall art ideas for living room spaces. Metallic or gradient papers create an especially elegant effect.
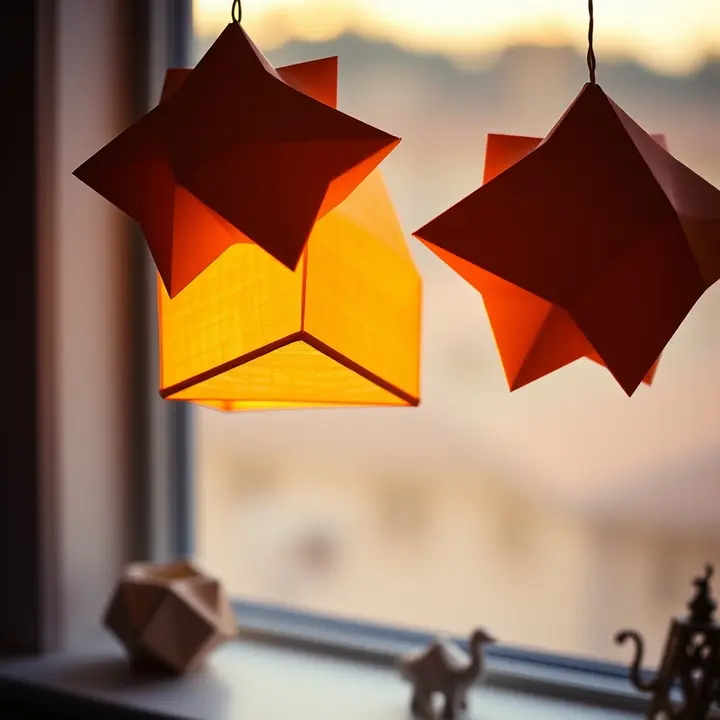
2. Geometric Star Lanterns
- Translucent vellum paper
- LED tea lights
- Ruler and bone folder
- Glue stick
These luminous star lanterns cast magical shadow patterns when lit. Use translucent paper to allow light through beautifully. Each lantern requires six identical folded modules.
Fold each module using the traditional modular star technique. Lock pieces together without glue for a clean finish. Place battery-operated tea lights inside for safe, warm illumination.
Hang multiple lanterns at varying heights above your dining table. The ambient glow creates perfect atmosphere for evening gatherings.
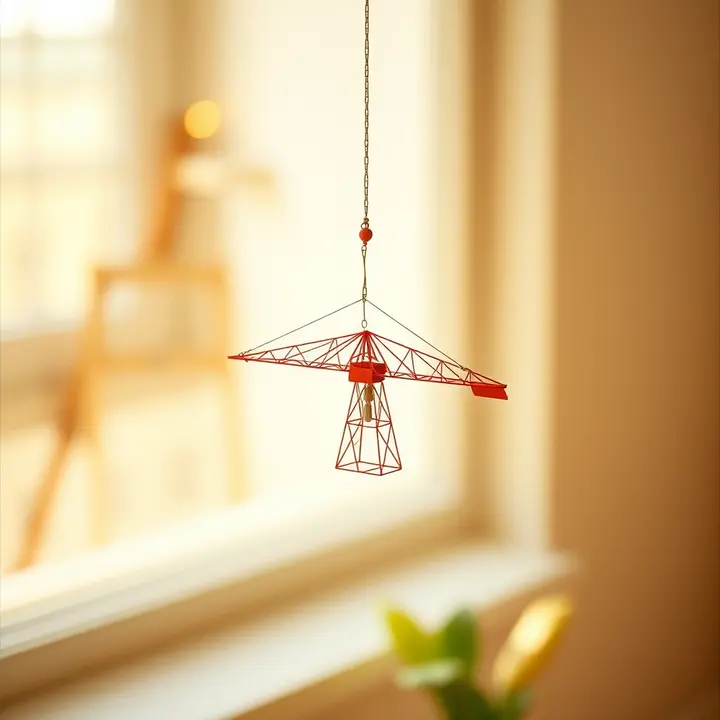
3. Minimalist Crane Mobile
- 6-inch square papers (20-30 sheets)
- Embroidery thread
- Wooden dowel or branch
- Small needle
The traditional paper crane symbolizes peace and good fortune. String multiple cranes at different heights for a mesmerizing mobile. This classic design never fails to impress visitors.
Thread each completed crane through its back using a needle. Space cranes about 4 inches apart on each string. Attach strings to a natural branch for rustic appeal.
Hang your mobile near a window where gentle breezes create subtle movement. The dancing cranes add life and whimsy to any room.
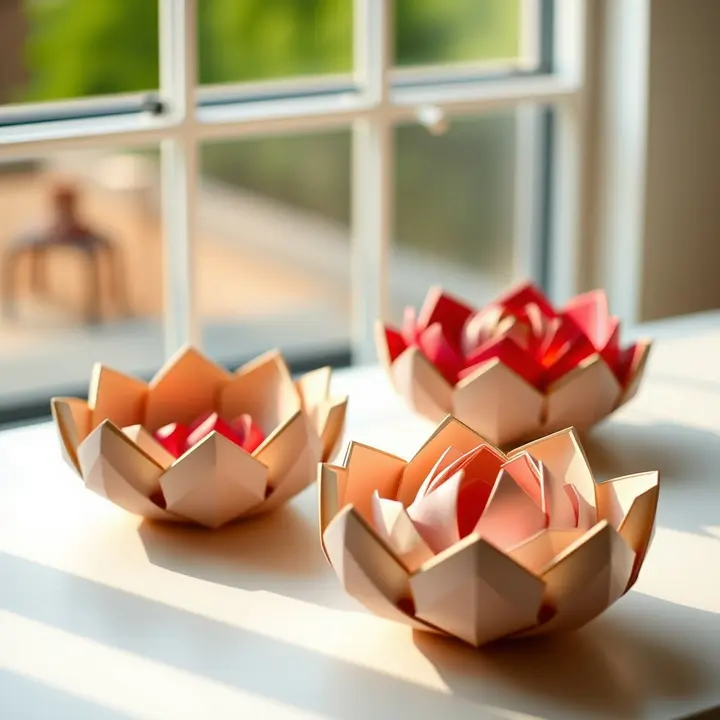
4. Sculptural Lotus Bowls
- Heavy cardstock paper
- Mod Podge sealant
- Paint brush
- Wax paper
Transform flat paper into functional decorative lotus bowls. These elegant containers hold keys, jewelry, or small treasures. Start with 8-inch squares of sturdy cardstock.
Fold the traditional lotus pattern, then coat with Mod Podge sealant. Let dry completely on wax paper. Apply two coats for durability and water resistance.
Place finished bowls on entryway tables or bathroom counters. The organic flower shape adds natural beauty to any surface.
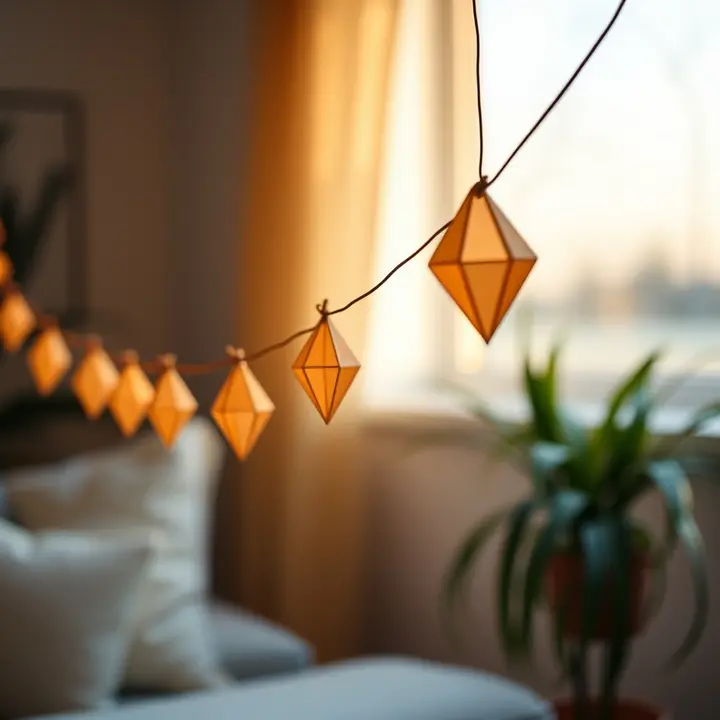
5. Abstract Diamond Garland
- Patterned scrapbook paper
- String or twine
- Hot glue gun
- Paper trimmer
Create eye-catching three-dimensional diamonds that string together beautifully. Cut paper into 3×4 inch rectangles. You’ll need two folded pieces per diamond shape.
Fold each rectangle into a triangular pocket using simple mountain folds. Glue two pockets together at their open edges. String diamonds along twine before closing completely.
Drape garlands across mantels, doorways, or headboards. Mix coordinating patterns for a cohesive designer look that elevates any space instantly.
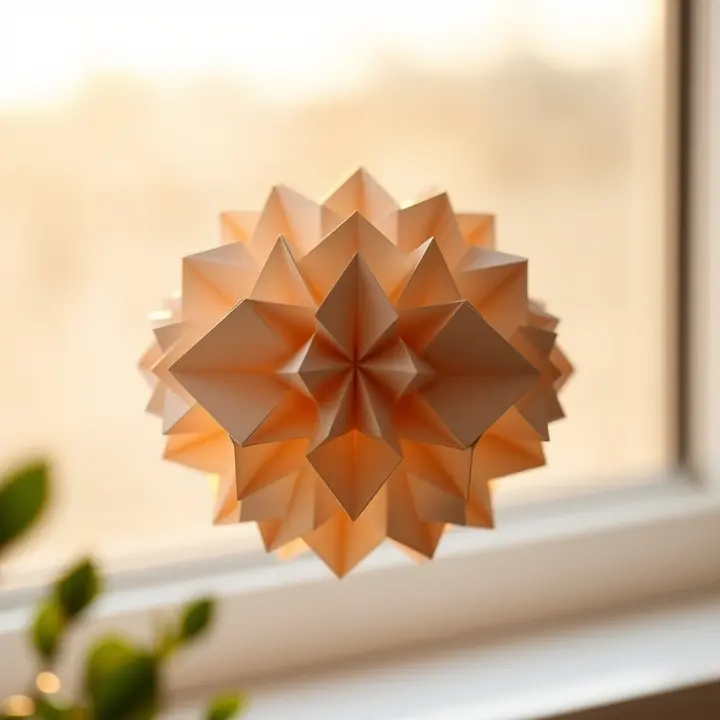
6. Elegant Modular Kusudama
- 60 square papers (same size)
- White craft glue
- Ribbon for hanging
- Patience
These stunning spherical decorations originated as incense holders in ancient Japan. Each kusudama ball requires 60 identical folded modules. The result resembles an intricate flower sphere.
Fold each module using the basic kusudama petal technique. Glue five petals together to form one flower unit. Connect twelve flower units into a complete sphere.
Hang finished kusudama balls in corners or above dining areas. They make perfect DIY handmade gifts for special occasions too.
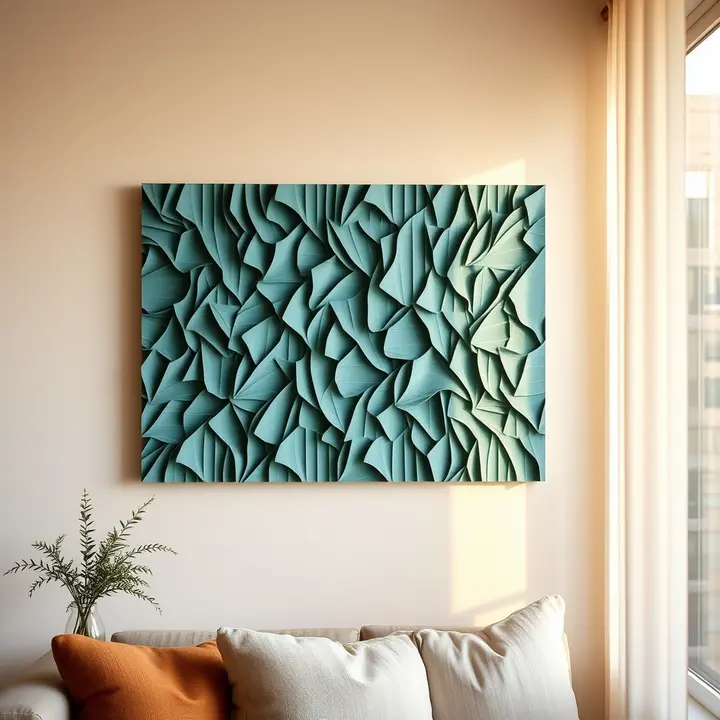
7. Textured Wall Panel Art
- Canvas board
- Matching cardstock squares (50-100)
- Spray adhesive
- Ruler
Cover a canvas with repeated folded shapes for stunning textural wall art. Simple fortune teller folds create interesting shadow play. Arrange pieces in precise grid patterns.
Fold each small square into a basic waterbomb base. Glue pieces in tight rows across your canvas. Maintain consistent spacing for a polished, professional appearance.
Paint the entire finished piece one solid color for modern sophistication. White creates a gallery-worthy sculptural effect that impresses everyone.
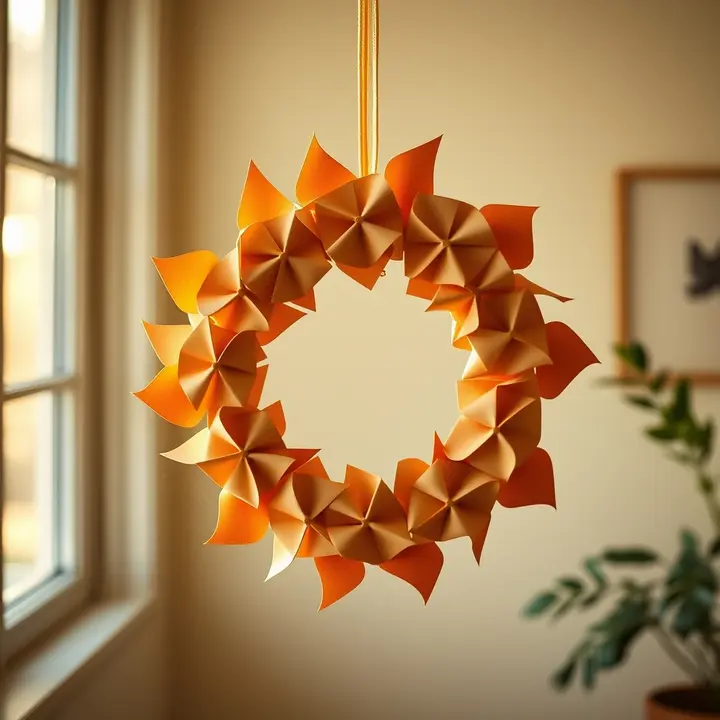
8. Whimsical Pinwheel Wreath
- Foam wreath form
- Coordinating paper squares
- Straight pins
- Small buttons
This cheerful wreath brings playful charm to any door or wall. Classic pinwheels in coordinating colors create instant visual impact. Each pinwheel takes just two minutes to fold.
Cut slits toward the center of each square. Fold alternating corners to center and secure with pins. Cover a button with the pin head for a polished finish.
If you enjoy these fun crafts to make at home, this project delivers maximum impact. Attach pinwheels densely around the entire foam form for fullness.
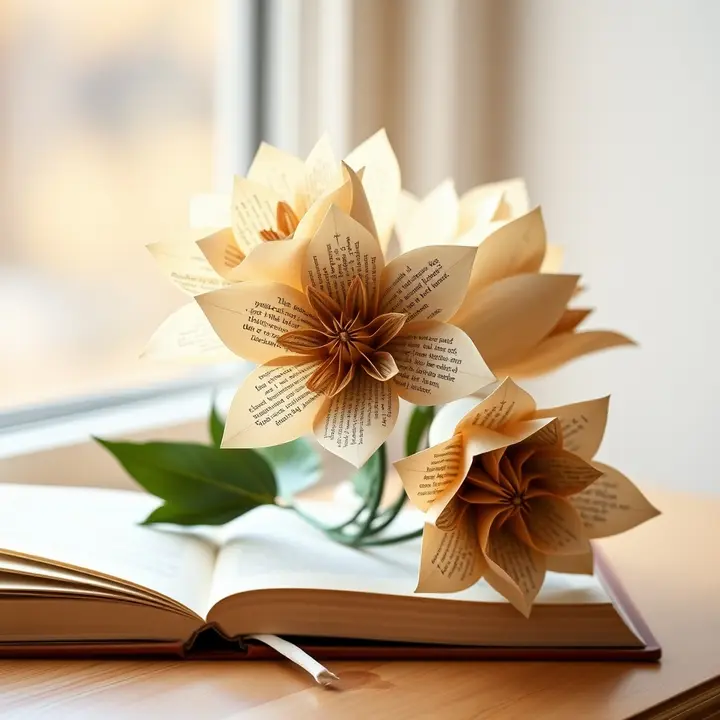
9. Sophisticated Book Page Flowers
- Old book pages
- Floral wire stems
- Hot glue gun
- Wire cutters
Upcycle old books into everlasting paper roses with vintage appeal. Each flower requires about six book pages. The printed text adds charming visual texture.
Cut pages into rough circles of varying sizes. Crumple slightly, then spiral from center outward. Layer multiple spirals together for full, realistic blooms.
Attach finished flowers to floral wire stems. Arrange in vases as permanent bouquets that never need water or replacement.
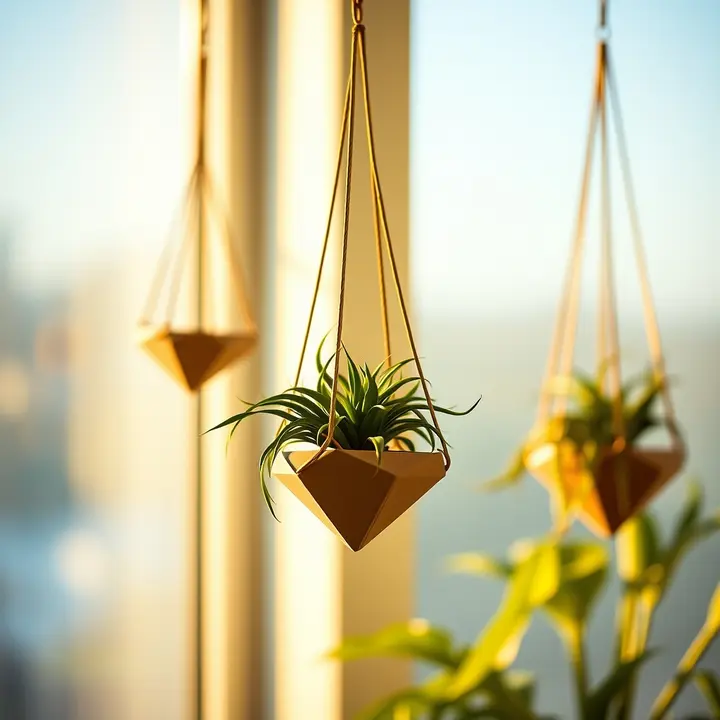
10. Geometric Hanging Planters
- Heavy waterproof paper
- Small succulent pots
- Macrame cord
- Waterproof sealant
Create angular paper holders for small plant pots. These modern geometric shapes complement contemporary decor perfectly. The origami box technique forms the structural base.
Fold large squares into sturdy boxes using the masu box technique. Seal thoroughly with waterproof coating. Punch holes in corners for hanging cords.
Place plastic-potted succulents inside your finished holders. The clean lines showcase plants beautifully while adding architectural interest.
11. Cascading Heart Curtain

- Pink and red paper squares
- Fishing line
- Curtain rod
- Needle
String dozens of folded paper hearts for a romantic room divider. This project works perfectly for bedrooms or reading nooks. Simple heart folds take just one minute each.
Fold traditional origami hearts in various sizes. Thread onto clear fishing line at regular intervals. Attach multiple strands to a tension rod for easy installation.
Hang in doorways or windows for dreamy filtered light. Red and pink gradient arrangements create especially stunning effects.
12. Modular Picture Frames

- Sturdy cardstock strips
- Photos or artwork
- Clear tape
- Bone folder
Frame small photos with interlocking paper modules. No glue needed for these clever frames. Four identical folded strips lock together securely at corners.
Fold each strip using the modular frame technique. Slide corners together in sequence. Insert photos from behind before closing the final corner.
These frames make wonderful home craft projects quick enough for any afternoon. Create matching sets for gallery wall displays.
13. Dramatic Spike Ball Ornaments

- Foam ball base
- Square paper pieces (100+)
- Straight pins
- Ribbon
Cover foam balls with pointed paper cones for dramatic sculptural ornaments. These spiky spheres create bold visual statements. Each cone takes just seconds to roll.
Roll small squares into tight cones and secure with pins. Push cones into foam balls in tight, overlapping rows. Cover the entire surface completely.
Hang finished ornaments from ceiling hooks or display in decorative bowls. Metallic papers create especially glamorous results.
14. Accordion Fold Vase Covers

- Long rectangular paper
- Glass cylinder vases
- Ribbon or twine
- Ruler
Transform plain glass vases with pleated paper wraps. Simple accordion folds create elegant textured covers instantly. Match paper colors to your existing decor palette.
Fold long paper strips in consistent one-inch pleats. Wrap around vases and secure with decorative ribbon. The pleats expand and contract for perfect fit.
Change covers seasonally for fresh new looks without buying new vases. Store flat when not in use.
15. Layered Flower Shadowbox

- Deep shadowbox frame
- Graduated paper squares
- Foam adhesive squares
- Background cardstock
Create dimensional paper flowers that pop from shadowbox frames. Layer multiple folded flowers at different depths. The result resembles expensive botanical art.
Fold flowers in three different sizes using simple petal techniques. Stack with foam adhesive between layers. Mount the largest flower at the back.
These handmade gift craft ideas impress recipients with their gallery-quality appearance. Create matching sets for coordinated room decor.
16. Modern Fan Medallions

- Long paper strips
- Hot glue gun
- Button or paper circle
- Command strips
Fold paper strips into large circular medallions for instant wall impact. These rosettes look expensive but cost almost nothing. Each medallion requires just one long strip.
Create accordion folds along the entire strip length. Join ends together and fan into a circle. Glue a decorative button or circle to hide the center.
Group medallions in varying sizes for dramatic gallery arrangements. Coordinate colors with existing room accents.
17. Tessellated Table Runner

- Heavy decorative paper
- Clear contact paper
- Ruler and pencil
- Craft knife
Fold interlocking geometric patterns into a stunning table runner. Tessellation creates repeating shapes that connect seamlessly. The mathematical precision looks incredibly impressive.
Mark fold lines carefully on large paper sheets. Create mountain and valley folds following tessellation patterns. Laminate with contact paper for durability.
Use your finished runner for special occasions and dinner parties. The textured surface catches candlelight beautifully.
18. Elegant Swan Centerpiece

- Large square paper (12 inches)
- White or silver metallic paper
- Small weight or pebbles
- Display mirror
The graceful paper swan makes a stunning table centerpiece. This classic design impresses guests at every gathering. White or silver paper creates the most elegant effect.
Follow the traditional swan folding sequence carefully. Shape the curved neck and tail with gentle curves. Add small weights inside the body for stability.
Display on a mirror surface to double the visual impact. Add scattered crystal beads around the base for extra sparkle.
These 18 origami home decor ideas that are actually easy to make prove that stunning decor doesn’t require expensive supplies or advanced skills. Paper folding transforms simple materials into extraordinary decorations. Grab your paper and scissors and start creating!
Share your favorite ideas in the comments below! Rate this post.