25 DIY Wall Art Ideas for Living Room That Cost Under $20
Are you staring at blank living room walls wondering how to add personality without breaking the bank? The good news is that stunning wall art doesn’t require an expensive shopping trip or professional skills. With just a few affordable supplies, you can create gallery-worthy pieces that reflect your unique style.
These 25 DIY wall art ideas for living room that cost under $20 will transform your space beautifully. Let’s dive in…
1. Geometric Tape Canvas

- Blank canvas
- Painter’s tape
- Acrylic paint (2-3 colors)
- Foam brush
Create a modern geometric masterpiece using simple painter’s tape and bold acrylic colors. Apply tape in angular patterns across your canvas, then paint each section with different shades. Once dry, peel away the tape to reveal crisp, clean lines.
This technique works beautifully with metallic gold or silver paint accents for added sophistication.
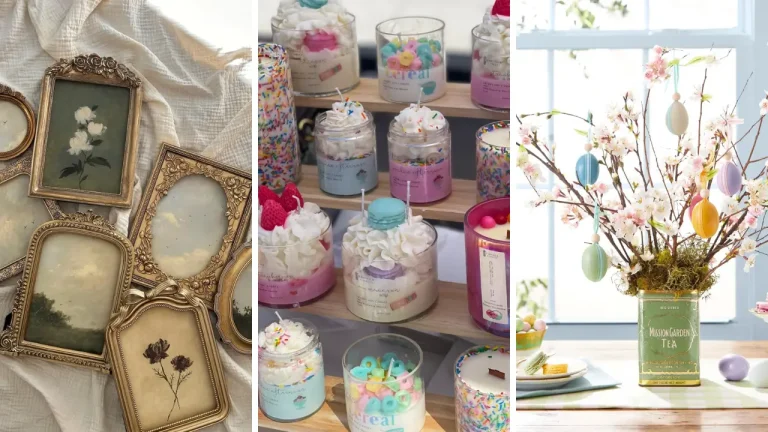
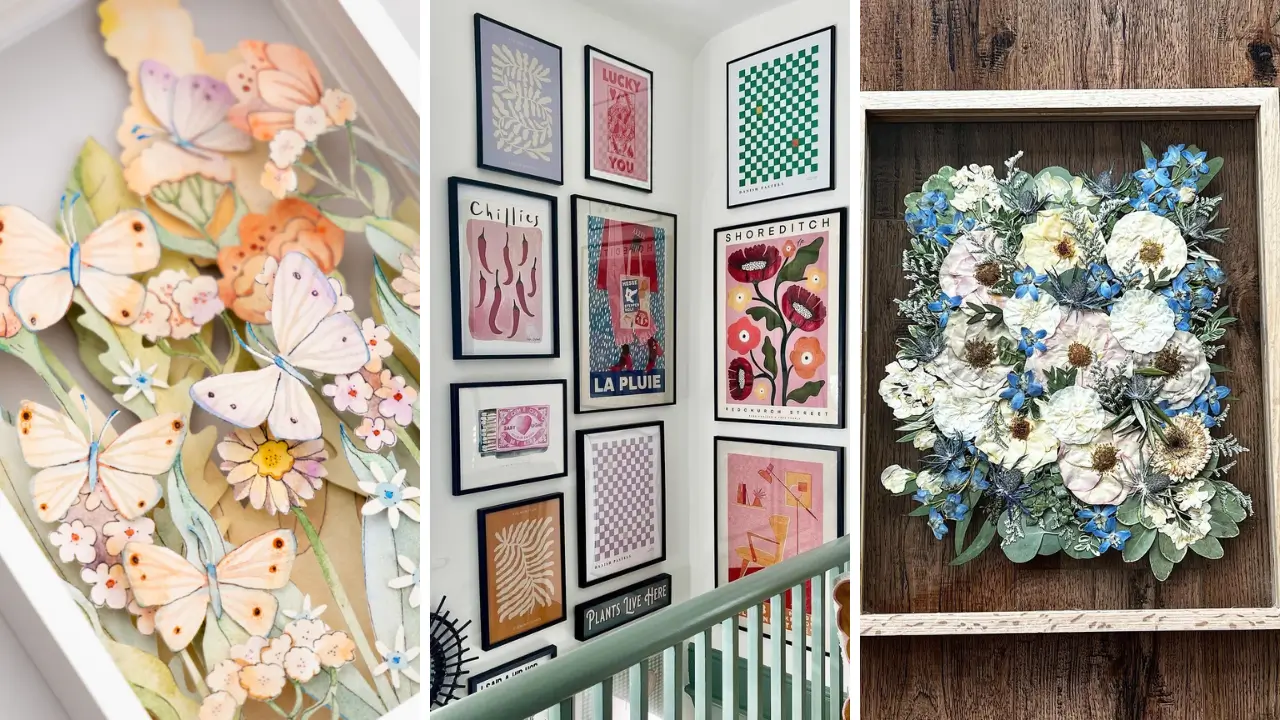
2. Pressed Flower Frames

- Glass floating frames
- Fresh flowers or leaves
- Heavy books
- Parchment paper
Transform garden blooms into elegant botanical displays that bring nature indoors. Press flowers between parchment paper under heavy books for two weeks until completely flat. Arrange your dried specimens inside floating glass frames for a delicate, sophisticated look.
Group three to five frames together for maximum visual impact on your living room wall.
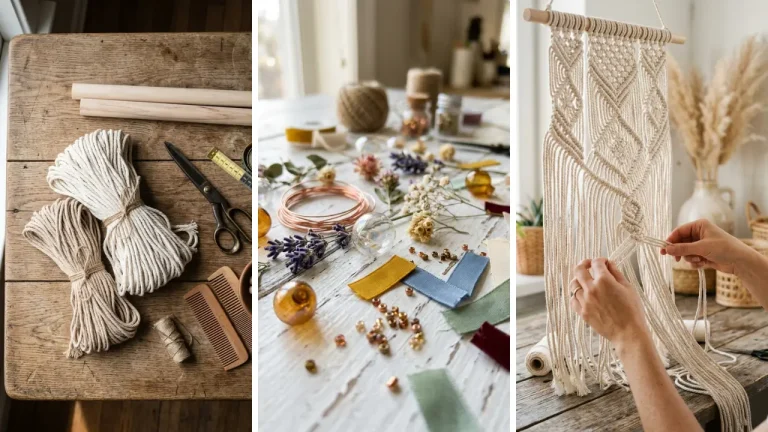
3. Woven Yarn Wall Hanging

- Wooden dowel or branch
- Various yarn colors
- Scissors
- Comb
This bohemian-style wall hanging adds incredible texture and warmth to any living space. Cut yarn strands double your desired length and attach them using simple lark’s head knots. Layer different yarn textures and colors to create depth and visual interest.
Use a wide-tooth comb to brush out yarn ends for that trendy frayed effect.
4. Abstract Brushstroke Art

- Large canvas
- Acrylic paints
- Wide brushes
- Palette knife
Channel your inner artist with bold, expressive brushstrokes that make a dramatic statement. There’s no wrong way to create abstract art, so embrace imperfection and paint freely. Use a palette knife technique to add thick texture and dimension to your piece.
Stick to three complementary colors plus white to maintain a cohesive, professional appearance. If you enjoy fun crafts to make at home, this project offers endless creative possibilities.
5. Rustic Wood Slice Display

- Wood slices (various sizes)
- Wood stain or paint
- Picture hangers
- Sandpaper
Bring organic beauty indoors with natural wood slice art that showcases beautiful grain patterns. Lightly sand each piece and apply clear sealant to preserve the wood’s natural character. Arrange multiple wood slices in clusters for a stunning nature-inspired gallery wall.
Add painted designs, quotes, or leave them beautifully bare for minimalist appeal.
6. Fabric Hoop Collection

- Embroidery hoops
- Fabric scraps
- Scissors
- Hot glue
Turn beautiful fabric remnants into striking wall decor using inexpensive embroidery hoops. Stretch patterned fabric tightly across hoops and secure with hot glue on the back. Mix different hoop sizes and fabric patterns that complement your living room color scheme.
This project gives new life to fabric scraps you already own.
7. Paper Fan Medallions

- Cardstock paper
- Hot glue gun
- Scissors
- Mounting tape
Create eye-catching dimensional paper medallions that add instant drama to any wall. Fold paper accordion-style, then connect ends to form circular fan shapes. Layer multiple fans in varying sizes and colors for a stunning sculptural effect.
These lightweight decorations work perfectly above sofas or as focal points.
8. String Art Designs

- Wood board
- Small nails
- Embroidery thread
- Hammer
This classic string art technique creates stunning geometric patterns that captivate attention. Hammer nails in your desired shape outline, then weave colorful thread between them. Start with simple heart or star shapes before attempting more complex designs.
The contrast between dark wood and bright thread creates dramatic visual appeal.
9. Ombre Painted Canvas

- Canvas
- Acrylic paint
- Wide brush
- Spray bottle
Achieve a beautiful gradient effect that transitions smoothly from dark to light tones. Start with your darkest shade at the bottom and gradually add white as you move upward. Work quickly and blend colors while wet for seamless transitions without harsh lines.
A light water mist keeps paint workable longer for easier blending.
10. Washi Tape Wall Mural

- Washi tape rolls
- Ruler
- Level
- Scissors
Create temporary geometric murals directly on your wall using colorful washi tape. This renter-friendly option removes cleanly without damaging paint or leaving residue. Design bold patterns like chevrons or abstract mountain silhouettes for maximum impact.
Layer different tape widths and colors for added dimension and interest.
11. Framed Fabric Art

- Thrifted frames
- Designer fabric
- Cardboard backing
- Staple gun
Transform expensive-looking designer fabric into framed masterpieces for a fraction of retail prices. Stretch fabric over cardboard and secure with staples on the back. Hunt for bold patterned remnants at fabric stores where clearance bins offer incredible deals.
Coordinating frames painted in a single color creates gallery cohesion.
12. Nature Print Artwork

- Fresh leaves
- Acrylic paint
- Cardstock
- Foam roller
Capture nature’s intricate details by printing directly from leaves onto quality paper. Apply paint to the textured underside of leaves using a foam roller. Press painted leaves firmly onto cardstock and peel away to reveal beautiful botanical prints.
Frame multiple prints in matching frames for a sophisticated collection.
13. Minimalist Line Art

- White cardstock
- Fine-tip marker
- Simple frame
- Pencil
Create trendy single-line drawings that look like expensive gallery pieces. Sketch faces, figures, or abstract shapes using one continuous flowing line. Practice on scrap paper before committing to final artwork with permanent marker.
The imperfect, hand-drawn quality adds authentic artistic charm. These projects make perfect DIY handmade gifts for friends who appreciate modern decor.
14. Cork Board Mosaic

- Wine corks
- Shadow box frame
- Hot glue
- Craft knife
Upcycle collected wine corks into textured wall art with incredible visual appeal. Slice corks in half lengthwise to maximize coverage and create a flat surface. Arrange cork halves in geometric patterns or random layouts inside a deep shadow box frame.
This functional art also serves as a handy memo board.
15. Painted Quote Canvas

- Canvas
- Acrylic paint
- Letter stencils
- Foam brush
Display meaningful quotes or lyrics that inspire you daily on custom painted canvases. Paint your background color first, then apply letter stencils for crisp text. Choose contrasting colors between background and letters for maximum readability.
Inspirational words become beautiful decor that motivates and uplifts.
16. Textured Plaster Art

- Canvas
- Joint compound
- Putty knife
- Acrylic paint
Create luxurious textured artwork using affordable joint compound from hardware stores. Apply compound to canvas using various tools to create peaks, swirls, and waves. Once dry, paint your textured surface in neutral tones or leave white for elegant simplicity.
This technique produces high-end looking art for minimal cost.
17. Photo Collage Grid

- Printed photos
- Foam board
- Spray adhesive
- Ruler
Design a modern photo display that showcases favorite memories in clean grid formation. Mount photos on lightweight foam board cut to uniform sizes. Arrange boards in perfectly spaced rows for contemporary gallery appeal.
Convert color photos to black and white for sophisticated, timeless elegance.
18. Beaded Wall Hanging

- Wooden beads
- Twine or leather cord
- Branch or dowel
- Scissors
String natural wooden beads onto cord for a minimalist Scandinavian-inspired wall piece. Mix bead sizes and shapes for visual interest and texture. Attach multiple beaded strands to a branch at varying lengths for organic movement.
This simple project takes under an hour to complete.
19. Mirror Mosaic Frame

- Plain frame
- Mirror tiles
- Strong adhesive
- Grout (optional)
Transform a basic frame into a glamorous mirrored masterpiece that reflects light beautifully. Apply small mirror tiles in patterns around your frame border. Space tiles evenly or create mosaic patterns for artistic effect.
The reflective surface brightens rooms and creates the illusion of more space. Looking for more large DIY wall art ideas? This technique scales beautifully for bigger frames.
20. Driftwood Wall Sculpture

- Driftwood pieces
- Strong wire
- Picture hanging hardware
- Drill
Arrange collected driftwood into sculptural compositions that bring coastal vibes indoors. Wire pieces together in flowing, organic arrangements. Display horizontally above sofas or vertically in corners for dramatic natural impact.
Each sculpture becomes completely unique based on your found materials.
21. Painted Record Art

- Old vinyl records
- Acrylic paint
- Small brushes
- Sealant spray
Give vintage records new artistic life with custom painted designs and patterns. Paint directly on the grooved surface for interesting texture. Create themed collections of painted records featuring silhouettes, landscapes, or abstract designs.
Group three to five records for a retro-inspired gallery wall.
22. Layered Paper Art

- Cardstock sheets
- Shadow box frame
- Craft knife
- Foam squares
Build dimensional paper sculptures by layering cut paper shapes at different depths. Cut identical shapes in graduating sizes from various colored papers. Stack layers using foam adhesive squares to create striking three-dimensional effects.
This technique works beautifully for butterflies, flowers, or geometric shapes. These make excellent home craft projects quick enough to finish in an afternoon.
23. Stenciled Canvas Set
- Small canvases (3-4)
- Decorative stencils
- Acrylic paint
- Stencil brush
Create a coordinated canvas collection using the same stencil pattern in different colorways. Paint backgrounds first, then apply stencil designs once dry. Use complementary color combinations across multiple canvases for gallery-style cohesion.
Mandala and medallion stencils create particularly stunning results.
24. Clipboard Gallery Wall

- Wooden clipboards
- Spray paint
- Artwork prints
- Wall hooks
Mount painted clipboards as interchangeable frames that let you rotate artwork easily. Spray paint clipboards in coordinating colors or metallics. Clip favorite prints, photos, or children’s artwork for displays you can change seasonally.
This functional solution keeps wall art fresh and interesting.
25. Tassel Wall Garland

- Yarn or cotton rope
- Scissors
- Cardboard
- Branch or dowel
Craft fluffy yarn tassels that add softness and movement to your living room walls. Wrap yarn around cardboard, tie one end, and cut the opposite end. Attach multiple tassels to a horizontal branch or create hanging garlands.
Mix colors and tassel sizes for playful, bohemian-inspired wall decor.
These 25 DIY wall art ideas for living room that cost under $20 prove that beautiful home decor doesn’t require a big budget. With basic supplies and a little creativity, you can transform blank walls into stunning focal points. Grab your craft supplies and start creating your masterpiece today!
Share your favorite project ideas in the comments below!