12 Large DIY Wall Art Ideas to Make a Statement in Any Room

Are your walls begging for a dramatic transformation? Blank spaces can make even the most beautiful rooms feel incomplete and uninspiring. The solution lies in creating oversized artwork that commands attention and reflects your personal style.
These large DIY wall art ideas will help you fill those empty spaces without breaking the bank. From abstract canvases to woven masterpieces, you’ll discover projects for every skill level. Let’s dive in…
1. Oversized Abstract Canvas

- Large canvas (36×48 inches or bigger)
- Acrylic paints in 3-4 colors
- Wide foam brushes
- Palette knife
- Drop cloth
Creating an oversized abstract canvas requires no artistic training whatsoever. Simply choose a color palette that complements your room and start layering paint with bold, confident strokes. The key is embracing imperfection and letting your intuition guide the process.
Work with acrylic paints because they dry quickly and allow for easy layering. Use a palette knife technique to add texture and dimension to your piece. Let each layer dry partially before adding the next for interesting depth effects.
2. Giant Geometric Wood Panels
- Plywood sheets (1/4 inch thick)
- Wood stain in various shades
- Jigsaw or circular saw
- Wood glue
- Sandpaper
Transform ordinary plywood sheets into a stunning geometric masterpiece that adds warmth to any space. Cut triangles, hexagons, or chevron shapes and arrange them in eye-catching patterns. This project works beautifully in living rooms, bedrooms, and even home offices.
Apply different wood stain shades to create visual interest and depth. The geometric arrangement creates a modern aesthetic that suits both contemporary and rustic interiors. Sand each piece thoroughly before staining for the smoothest finish.
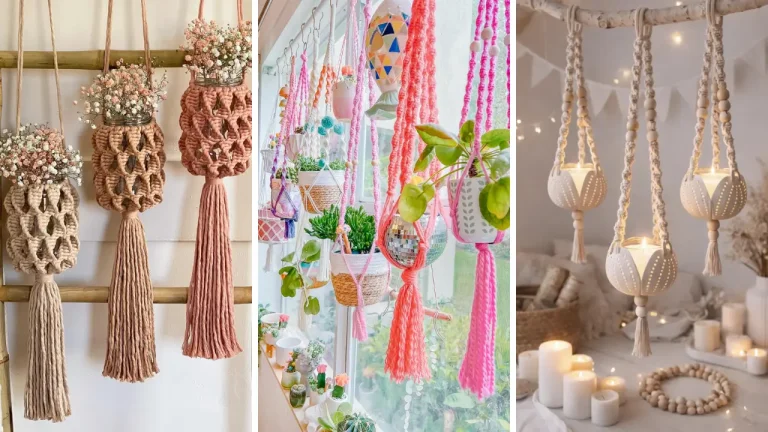
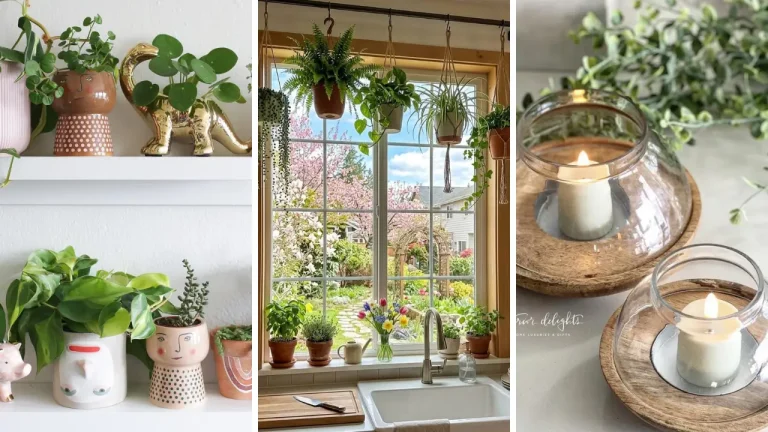
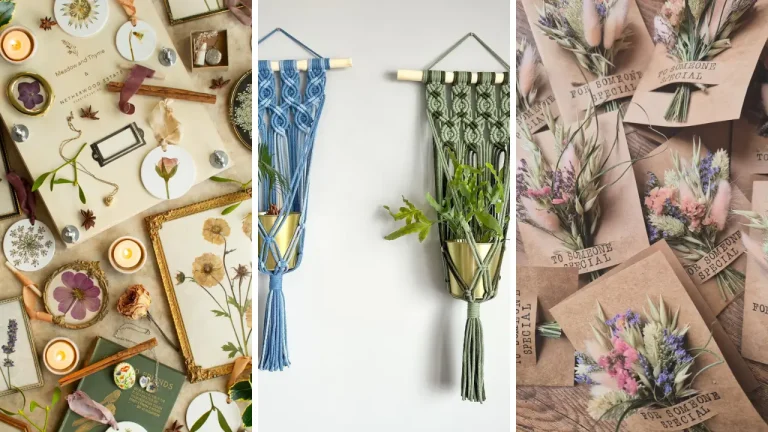
3. Massive Macrame Wall Hanging

- Macrame cord (500+ yards)
- Large wooden dowel or driftwood
- Scissors
- Measuring tape
- Comb for fringing
A massive macrame wall hanging brings incredible texture and bohemian charm to any room. Start with basic knots like square knots and half hitches before advancing to more complex patterns. The repetitive nature of macrame is surprisingly meditative and relaxing.
Choose thick macrame cord for faster progress and more dramatic results. Use a sturdy wooden dowel or natural driftwood as your anchor point. This project pairs perfectly with plants and natural wood furniture.
If you enjoy working with your hands, exploring fun crafts to make at home can introduce you to even more creative techniques. Macrame skills transfer beautifully to other fiber arts projects.
4. Dramatic Fabric Panel Display

- Large wooden frames (3-4 matching sizes)
- Statement fabric (2-3 yards)
- Staple gun
- Batting or foam
- Hanging hardware
Stretch beautiful statement fabric over large frames to create instant gallery-worthy art. This technique lets you incorporate bold patterns and colors without committing to permanent wallpaper. Choose fabrics that complement your existing decor palette.
Add a layer of batting or foam underneath the fabric for a luxurious, dimensional look. The upholstered panel effect adds acoustic benefits too, perfect for rooms with echo issues. Arrange multiple panels in a grid for maximum impact.
5. Sculptural Paper Installation

- Cardstock in various colors
- Hot glue gun
- Large backing board
- Scissors or cutting machine
- Ruler and pencil
Create breathtaking dimension with a sculptural paper installation that catches light beautifully throughout the day. Cut identical shapes like butterflies, circles, or geometric forms and arrange them in flowing patterns. This project costs almost nothing but delivers designer-level results.
Use cardstock paper for durability and crisp folds that hold their shape. The three-dimensional arrangement creates shadows and movement that flat artwork simply cannot achieve. Consider gradient color arrangements for extra visual appeal.
6. Woven Yarn Tapestry

- Large weaving loom or DIY frame
- Yarn in various textures
- Weaving shuttle or large needle
- Wooden dowel
- Scissors
Hand-woven tapestries bring artisanal warmth that mass-produced decor simply cannot replicate. A large weaving loom allows you to create substantial pieces that fill major wall space. Mix different yarn weights and textures for visual richness.
Combine chunky wool yarn with thinner cotton threads for interesting texture contrasts. The weaving process is meditative and allows complete creative freedom in color and pattern choices. Start with simple stripes before attempting complex designs.
7. Bold Painted Mural Effect

- Large plywood or MDF board
- Projector (optional)
- Interior latex paint
- Various brush sizes
- Painter’s tape
Create a bold painted mural on a removable board instead of directly on your wall. This approach allows renters to enjoy large-scale art without losing security deposits. Project your design onto the surface for easy tracing and perfect proportions.
Use interior latex paint for durability and easy cleanup during the painting process. The mural technique works wonderfully for botanical prints, abstract shapes, or landscape scenes. Consider your room’s lighting when choosing colors.
Many people discover that these home craft projects quick and easy to complete become their favorite weekend activities. Once you start, you’ll find endless inspiration for your next creation.
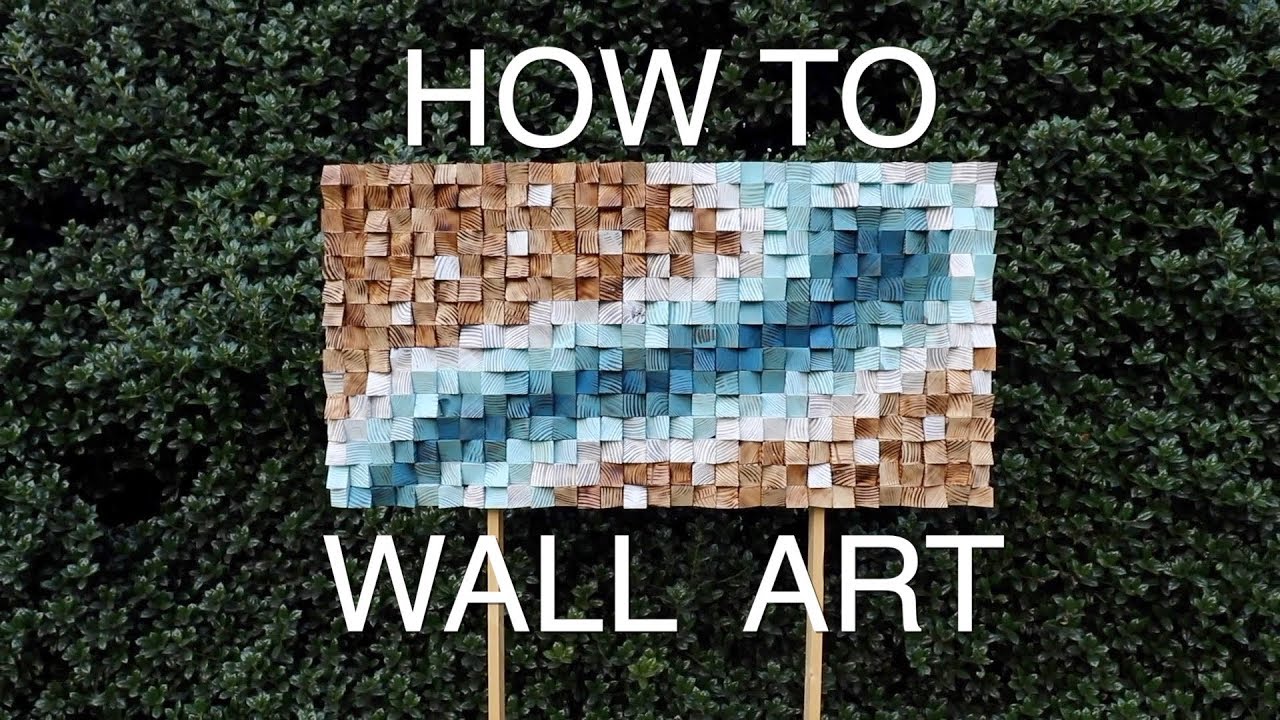
8. Rustic Reclaimed Wood Mosaic

- Reclaimed wood pieces
- Plywood backing board
- Wood glue and brad nails
- Sandpaper
- Optional: wood finish
A reclaimed wood mosaic celebrates natural beauty while adding incredible texture to your space. Collect wood scraps from pallets, old furniture, or construction sites for this eco-friendly project. Each piece tells a story through its unique grain and weathering.
Arrange pieces by color tone and wood type for cohesive results. The rustic mosaic pattern works in farmhouse, industrial, and coastal design styles. Leave edges rough for authentic character or sand smooth for a refined look.
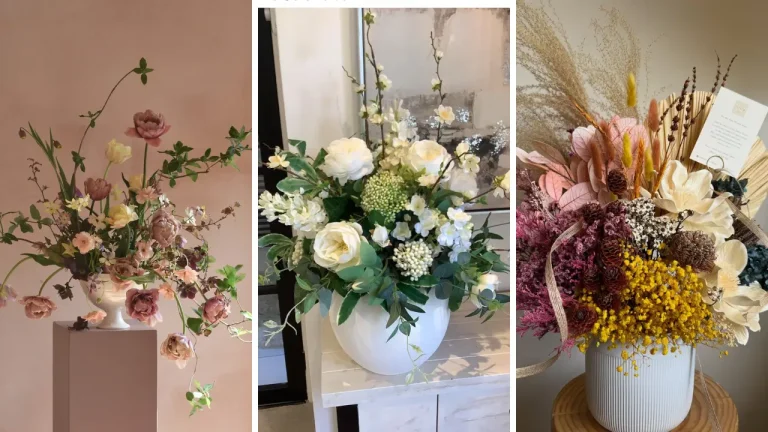
9. Elegant Pressed Flower Frame

- Oversized floating frame
- Pressed flowers and foliage
- Glass cleaner
- Tweezers
- Archival tape
Display nature’s beauty with an elegant pressed flower frame that becomes a conversation piece. Collect flowers from your garden, special occasions, or nature walks throughout the seasons. The preservation process transforms delicate blooms into lasting artwork.
Use oversized floating frames to showcase your botanical collection dramatically. The pressed flower arrangement looks stunning when backlit by natural window light. Group similar species together or create mixed wildflower meadow effects.
10. Contemporary Metal Sculpture

- Sheet metal or metal mesh
- Metal snips
- Work gloves
- Spray paint
- Mounting hardware
Create a contemporary metal sculpture that adds industrial edge to modern interiors. Cut sheet metal into organic shapes or geometric patterns that catch and reflect light. This project requires careful handling but delivers stunning professional results.
Wear proper work gloves throughout the cutting and bending process. The metal sculpture technique allows you to create three-dimensional pieces with incredible shadow play. Spray paint in metallics, black, or bold colors for different moods.
11. Textured Plaster Art Panel

- Large canvas or wood panel
- Joint compound or plaster
- Palette knives
- Acrylic paint
- Sealer
Build incredible dimension with a textured plaster art panel that looks like expensive gallery pieces. Apply joint compound in thick, sculptural layers using various tools for different textures. This technique creates museum-quality results at fraction of the cost.
Work with joint compound in thin layers to prevent cracking as it dries. The plaster texture technique pairs beautifully with neutral tones or can be painted any color. Consider adding metallic highlights for extra sophistication.
These textured creations also make thoughtful handmade gift craft ideas for friends who appreciate unique artwork. Personalize colors to match the recipient’s home decor for an extra special touch.
12. Statement Mirror Mosaic

- Large plywood backing
- Mirror tiles or broken mirror pieces
- Mirror adhesive
- Grout
- Safety glasses
A statement mirror mosaic bounces light around your room while serving as dramatic artwork. Arrange mirror pieces in sunburst patterns, abstract designs, or geometric shapes. This project makes small spaces feel larger and darker rooms brighter.
Always wear safety glasses when working with mirror pieces to protect your eyes. The mosaic arrangement can incorporate colored glass or tiles for added visual interest. Position your finished piece to reflect natural light or a beautiful view.
Creating DIY handmade gifts like smaller versions of this mirror mosaic makes wonderful presents for housewarming celebrations. Scale down the design for bathroom or entryway applications.
These 12 large DIY wall art ideas prove that creating statement pieces doesn’t require professional skills or expensive materials. Every project transforms ordinary supplies into extraordinary focal points that personalize your space beautifully. Grab your supplies and start creating today!
Share your favorite ideas in the comments below! We’d love to see which projects inspire your next wall transformation. Rate this post and help fellow crafters discover these stunning techniques.