15 Handmade Spring Home Decor Ideas to Freshen Up Every Room
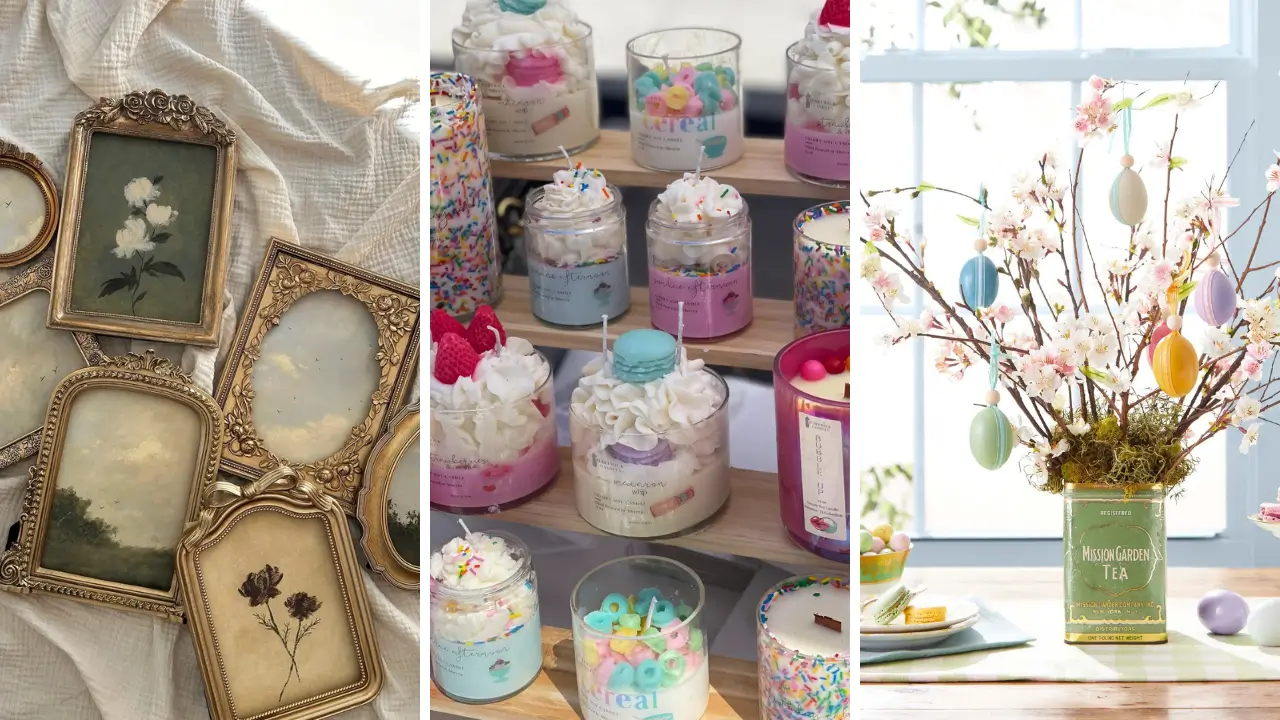
Is your home feeling a bit stale after the long winter months? Spring is the perfect time to breathe new life into your living spaces with cheerful, handcrafted decorations. From vibrant floral arrangements to cozy textile accents, these projects will transform every corner of your house.
You do not need professional skills or expensive supplies to create stunning seasonal decor. These 15 handmade spring home decor ideas to freshen up every room are budget-friendly and beginner-approved. Let’s dive in…
1. Cheerful Mason Jar Centerpiece

- Mason jars (various sizes)
- Acrylic paint in pastel colors
- Twine or ribbon
- Fresh or faux flowers
Transform ordinary mason jars into stunning table centerpieces with a simple paint technique. Apply two coats of pastel acrylic paint to the outside of each jar and let them dry completely. Wrap twine around the jar rim for a rustic touch.
Fill with fresh tulips, daffodils, or your favorite spring blooms for an instant pop of color.
2. Elegant Fabric Wreath

- Wire wreath frame
- Fabric strips in floral patterns
- Hot glue gun
- Decorative ribbon
Create a welcoming fabric wreath that greets guests at your front door. Cut fabric into strips approximately two inches wide and six inches long. Tie each strip onto the wire frame using simple knots.
Continue adding fabric until the entire frame is covered and fluffy. This project is perfect if you enjoy fun crafts to make at home that require no special skills. Attach a coordinating ribbon for hanging and add a few faux flowers for extra spring charm.
3. Pressed Flower Frame Art

- Floating glass frame
- Pressed flowers and leaves
- Tweezers
- Clear contact paper (optional)
Capture the beauty of spring with delicate pressed flower artwork. Collect flowers from your garden and press them between heavy books for two weeks. Use tweezers to carefully arrange your botanical specimens on the glass.
Floating frames create a modern, minimalist look perfect for any room. Group several frames together for a stunning gallery wall display that celebrates the season.
4. Decorative Bird Nest Bowl

- Natural twine or raffia
- Mod Podge or white glue
- Small balloon
- Decorative eggs
Craft an adorable bird nest bowl that serves as both decoration and functional storage. Blow up a small balloon and wrap glue-soaked twine around the bottom half. Let it dry overnight before popping the balloon.
The result is a charming woven nest shape perfect for holding decorative eggs or small trinkets. Place it on your coffee table or mantel for an instant spring focal point.
5. Bright Citrus Garland

- Oranges and lemons
- Oven or dehydrator
- Jute twine
- Large needle
Create a fragrant dried citrus garland that brings cheerful color to any space. Slice citrus fruits into quarter-inch rounds and bake at 200 degrees for several hours. The slices should be completely dry but still vibrant.
Thread the dried citrus onto jute twine using a large needle. Drape your finished garland across a mantel, window frame, or doorway for natural spring beauty.
6. Upcycled Tin Can Planters

- Clean tin cans
- Spray paint
- Chalkboard labels
- Small herbs or succulents
Give empty tin cans a second life as charming kitchen herb planters. Remove labels and spray paint cans in your favorite spring colors. Add drainage holes to the bottom using a hammer and nail.
Attach chalkboard labels to identify each herb variety. This project is ideal for those seeking dollar store crafts ideas that look expensive but cost almost nothing. Your windowsill herb garden will be both beautiful and functional.
7. Whimsical Paper Butterfly Mobile

- Cardstock in various colors
- Butterfly punch or template
- Clear fishing line
- Embroidery hoop
Bring movement and magic to any room with a delicate paper butterfly mobile. Punch or cut butterflies from colorful cardstock in various sizes. Fold each butterfly slightly along the center for a three-dimensional effect.
Attach butterflies to fishing line at varying lengths and tie them to a painted embroidery hoop. Hang your mobile near a window where gentle breezes create fluttering movement.
8. Natural Twig Picture Frame
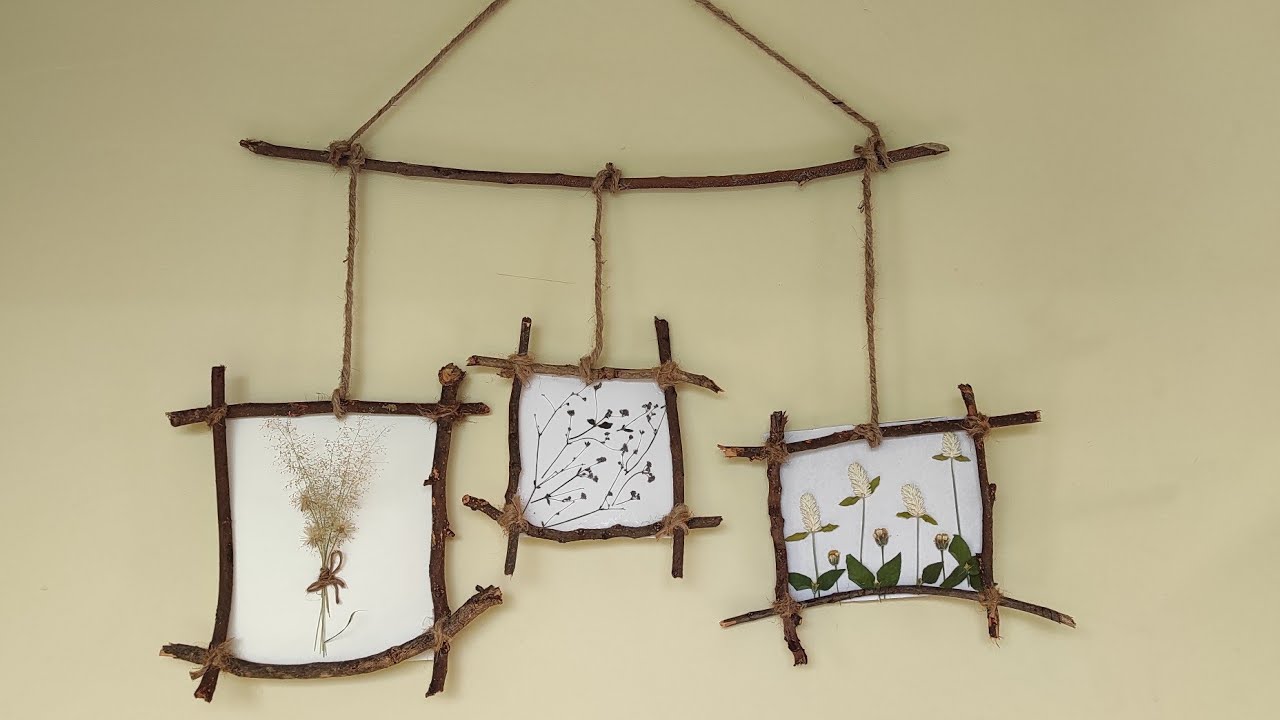
- Straight twigs or branches
- Hot glue gun
- Plain wooden frame
- Pruning shears
Create a rustic twig frame that brings outdoor beauty inside your home. Collect straight twigs from your yard and cut them to match your frame dimensions. Glue twigs side by side onto the frame surface.
The natural variation in twig sizes creates charming texture. Display your nature-inspired frame with a spring photo or botanical print for a cohesive woodland aesthetic.
9. Fragrant Lavender Sachets

- Dried lavender buds
- Fabric scraps
- Ribbon or twine
- Sewing supplies or fabric glue
Fill your home with calming scents using handmade lavender sachets. Cut fabric into small squares and sew or glue three sides together. Fill with dried lavender buds and close the final edge.
These make wonderful DIY handmade gifts for friends and family members. Tie a pretty ribbon around each finished sachet and tuck them into drawers, closets, or under pillows for aromatherapy benefits.
10. Colorful Tissue Paper Pom Poms

- Tissue paper sheets
- Floral wire or pipe cleaners
- Scissors
- Fishing line for hanging
Add instant celebration to any space with fluffy tissue paper pom poms. Stack eight to ten sheets of tissue paper and accordion fold the entire stack. Secure the center with wire and cut the ends into rounded or pointed shapes.
Carefully separate each tissue layer to create a full, fluffy ball. Hang multiple pom poms in varying sizes for a festive spring display perfect for parties or everyday decor.
11. Painted Rock Garden Markers

- Smooth river rocks
- Acrylic paint and brushes
- Paint pens for details
- Clear sealant spray
Create cheerful painted rock markers for your spring garden or indoor plant collection. Wash and dry smooth rocks before applying a base coat of white paint. Let dry completely before adding colorful designs.
Paint flowers, ladybugs, bees, or plant names on each rock. Seal with clear spray to protect your artwork from weather. These decorative stones also make excellent paperweights or tabletop accents.
12. Elegant Lace Doily Bowls

- Paper or fabric doilies
- Fabric stiffener or Mod Podge
- Balloon or bowl mold
- Plastic wrap
Transform vintage doilies into stunning decorative bowls with this simple technique. Soak doilies in fabric stiffener until completely saturated. Drape over an inverted bowl covered with plastic wrap.
Let dry for twenty-four hours before carefully removing from the mold. These delicate lace bowls are perfect for holding jewelry, potpourri, or small treasures. The vintage aesthetic adds instant charm to any dresser or shelf.
13. Fresh Herb Wreath

- Grapevine wreath base
- Fresh herb bundles
- Floral wire
- Pruning shears
Create a fragrant kitchen herb wreath that looks beautiful and smells amazing. Gather fresh herbs like rosemary, thyme, sage, and oregano into small bundles. Attach bundles to a grapevine base using floral wire.
Work around the wreath in one direction for a cohesive look. As herbs dry, they remain decorative and aromatic for months. Snip herbs directly from your wreath for cooking to enjoy dual functionality.
14. Decorative Rope Basket

- Cotton rope or clothesline
- Hot glue gun
- Fabric dye or paint (optional)
- Scissors
Craft a stylish rope basket for storing blankets, magazines, or spring accessories. Start by coiling rope into a flat circle for the base, securing with hot glue as you work. Build up the sides by continuing the coil vertically.
If you love home craft projects quick and satisfying, this one delivers beautiful results fast. Dip-dye the bottom portion in spring colors for an ombre effect that adds modern artistic flair.
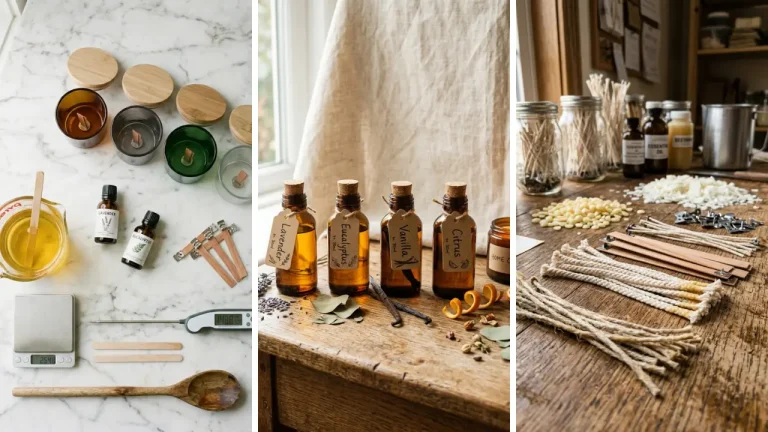
15. Charming Teacup Candles

- Vintage teacups and saucers
- Soy wax flakes
- Candle wicks
- Essential oils for fragrance
Repurpose thrift store teacups into beautiful scented candles perfect for spring. Melt soy wax flakes according to package directions and add your favorite spring scents. Center a wick in each teacup using a pencil laid across the rim.
Pour melted wax carefully and let cool completely before trimming wicks. These vintage teacup candles make excellent handmade gift craft ideas for special occasions. Group several together for a stunning tablescape display.
These 15 handmade spring home decor ideas to freshen up every room prove that beautiful seasonal style does not require a big budget. From simple painted jars to elegant lace bowls, there is a project for every skill level and space. Grab your craft supplies and start creating your own spring refresh today.
Share your favorite ideas in the comments below and rate this post!