20 Paper Craft Ideas for Home Decor You Can Make This Weekend

Are you looking for affordable ways to refresh your living space without breaking the bank? Paper crafts offer endless possibilities for creating stunning home decorations. With just a few supplies and some creative inspiration, you can transform ordinary paper into extraordinary decor pieces.
These 20 paper craft ideas for home decor you can make this weekend require minimal materials and basic skills. Whether you prefer modern geometric designs or vintage-inspired pieces, there’s something here for every style. Let’s dive in…
1. Geometric Wall Sculpture

- Cardstock paper in various colors
- Craft glue
- Ruler and pencil
- Scissors
Create a stunning three-dimensional wall display using folded cardstock triangles. This project adds instant modern appeal to any blank wall in your home. The geometric shapes catch light beautifully throughout the day.
Start by cutting equal-sized triangles and folding each piece to create depth. Arrange them in a gradient pattern or random configuration. Use strong craft glue to attach each piece to a backing board.
If you enjoy exploring DIY wall art ideas for living room projects, this geometric sculpture makes an excellent starting point for beginners.
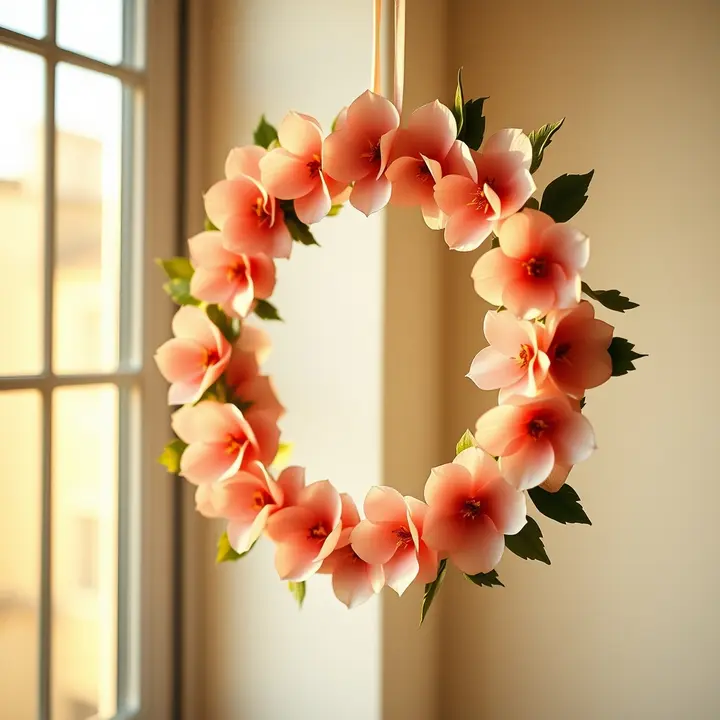
2. Delicate Paper Flower Wreath
- Crepe paper in pastel shades
- Wire wreath frame
- Floral wire
- Hot glue gun
A paper flower wreath brings everlasting beauty to your front door or interior walls. Unlike real flowers, these blooms never wilt or require watering. You can customize colors to match any season or occasion.
Roll and shape crepe paper petals using the stretch technique for realistic curves. Layer smaller petals inside larger ones to build dimension. Attach completed flowers around the wire frame using hot glue.
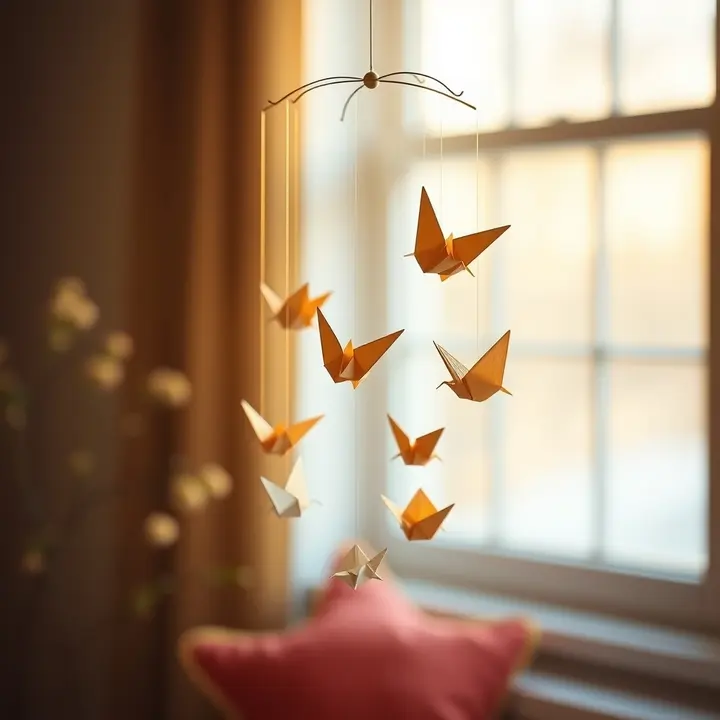
3. Elegant Origami Mobile
- Origami paper squares
- Clear fishing line
- Wooden dowel or embroidery hoop
- Small beads
An origami mobile creates gentle movement and visual interest in nurseries or reading nooks. The folded paper shapes spin gracefully with air currents. This project combines traditional Japanese art with modern decor sensibilities.
Fold classic shapes like cranes, butterflies, or stars using square origami paper. Thread each piece onto fishing line at varying heights. Balance the mobile carefully before hanging.
4. Textured Paper Bowl

- Newspaper or book pages
- Mod Podge or paper mache paste
- Balloon
- Acrylic sealer
Transform old newspapers into a decorative paper bowl perfect for holding keys or small trinkets. This upcycling project gives new life to materials destined for recycling. The textured finish adds artisanal charm to any surface.
Blow up a balloon to your desired bowl size and layer paper strips with paste. Apply at least five layers for durability. Pop the balloon once completely dry and trim edges evenly.
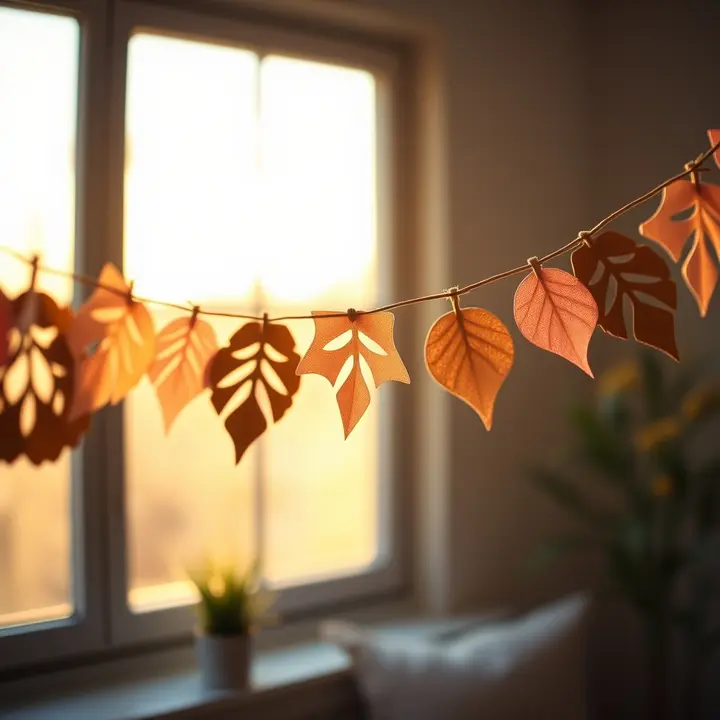
5. Whimsical Paper Garland
- Scrapbook paper
- Circle punch or scissors
- Sewing machine or needle and thread
- String
A colorful paper garland instantly brightens mantels, doorways, or party spaces. This versatile decoration works for everyday display or special celebrations. Choose coordinating patterns for a cohesive designer look.
Punch circles from various scrapbook paper patterns and stitch them together using a sewing machine. Leave spaces between circles for movement and dimension. Create multiple strands for dramatic impact.
This project is perfect if you’re searching for fun crafts to make at home that don’t require advanced skills or expensive supplies.
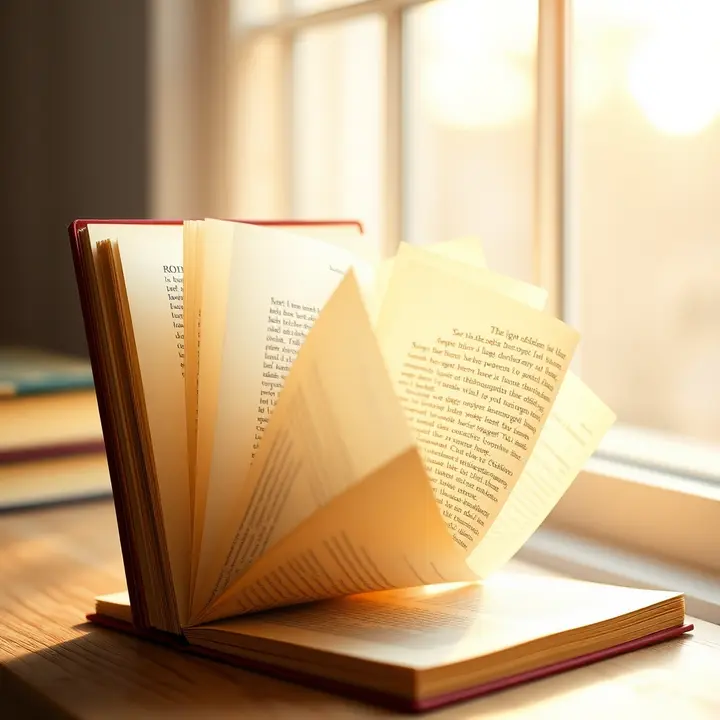
6. Vintage Book Page Art
- Old book pages
- Picture frame
- Stamps or stencils
- Ink pads
Create literary-inspired wall art using pages from damaged or discarded books. This project appeals to book lovers and vintage decor enthusiasts alike. The aged paper provides beautiful natural texture and warmth.
Select pages with interesting text or illustrations as your background canvas. Add stamped images, hand-drawn elements, or inspirational quotes. Frame your creation for a polished presentation.
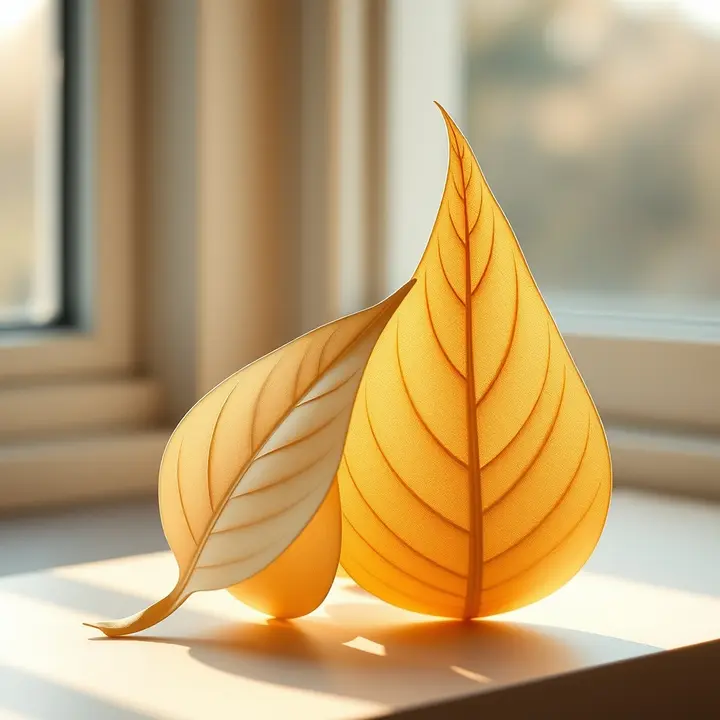
7. Sculptural Paper Leaves
- Watercolor paper
- Watercolor paints
- Wire stems
- Green floral tape
Craft realistic paper leaves to fill empty vases or create botanical wall displays. These never-wilting greenery pieces add natural beauty without maintenance requirements. Mix different leaf shapes for visual variety.
Cut leaf shapes from watercolor paper and add painted vein details using various green tones. Score center lines to create natural curves. Attach wire stems wrapped in floral tape.
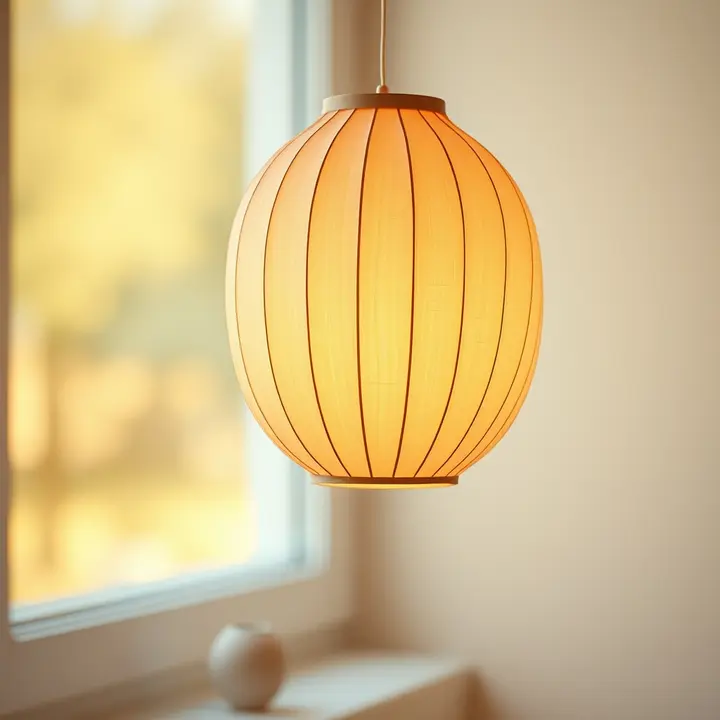
8. Modern Paper Lantern
- Vellum or translucent paper
- LED tea light candles
- Double-sided tape
- Decorative punch
A handmade paper lantern casts beautiful shadows and creates cozy ambiance in any room. This project transforms ordinary paper into functional lighting decor. Use battery-operated candles only for complete safety.
Fold vellum into a simple box or cylinder shape using precise measurements. Punch decorative patterns that allow light to shine through. Secure edges with double-sided tape for clean lines.
9. Quilled Wall Monogram

- Quilling paper strips
- Quilling tool
- Canvas or cardstock backing
- Craft glue
A quilled monogram makes a personalized statement piece for bedrooms or nurseries. This intricate paper art technique creates stunning dimensional designs. The coiled paper strips catch light beautifully from every angle.
Roll paper strips into tight coils using a quilling tool, then shape into teardrops, marquises, or circles. Arrange shapes to form your chosen letter. Glue pieces together and attach to your backing.
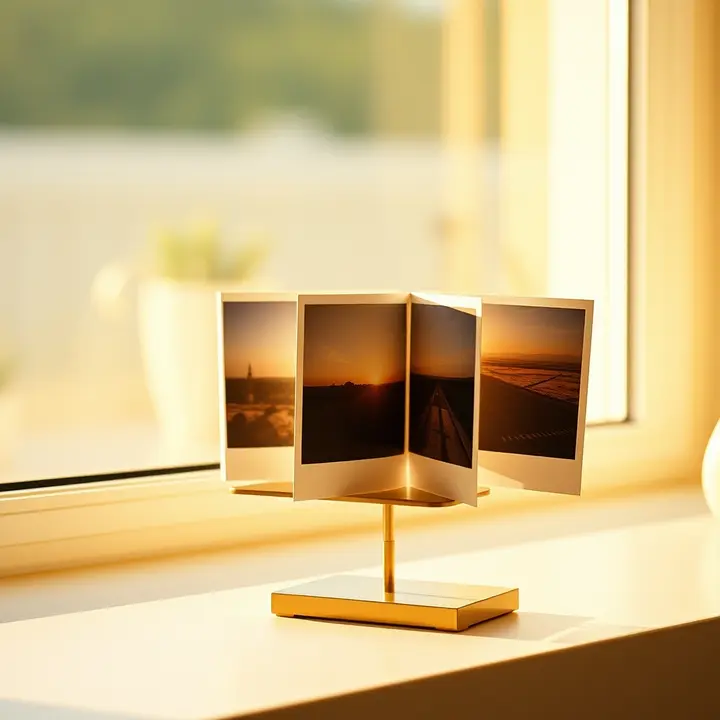
10. Accordion Photo Display
- Heavy cardstock
- Printed photos
- Ribbon
- Decorative tape
An accordion photo display showcases multiple memories in one compact piece. This foldable design allows easy storage when not displayed. Place it on shelves, desks, or mantels for personalized decor.
Cut cardstock panels slightly larger than your photos and score fold lines between each section. Attach photos using photo corners or decorative tape. Add ribbon ties to keep it closed when stored.
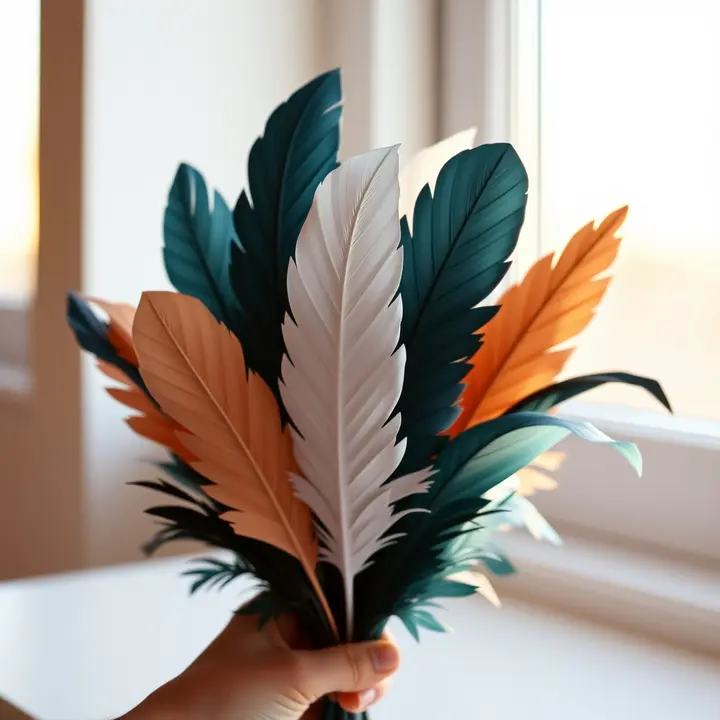
11. Paper Feather Bouquet
- Patterned paper
- Floral wire
- Scissors
- Vase
Craft delicate paper feathers for an unconventional bouquet that never sheds. This bohemian-inspired project adds whimsy to any room. Mix patterns and sizes for an eclectic collected look.
Cut feather shapes from patterned paper and fringe the edges with small scissors cuts. Attach wire stems to the back using glue. Arrange in a vase with dried branches for added texture.
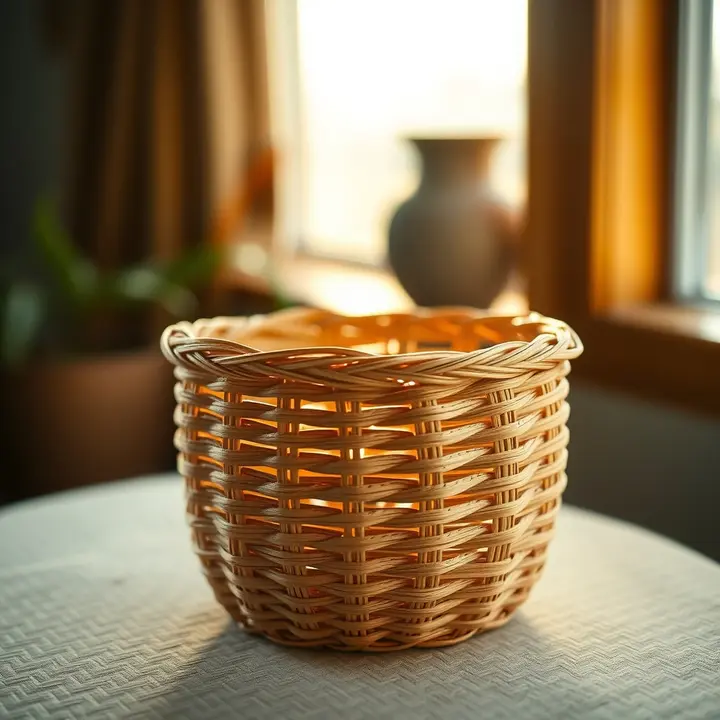
12. Woven Paper Basket
- Kraft paper or paper bags
- Ruler
- Clothespins
- Mod Podge
A woven paper basket provides stylish storage for bathroom essentials or craft supplies. This technique transforms flat paper into sturdy functional containers. The natural kraft color complements farmhouse and minimalist decor styles.
Cut paper into long strips of equal width and weave them using an over-under pattern. Use clothespins to hold pieces while working. Seal the finished basket with Mod Podge for durability.
Looking for more ideas? Discover additional home craft projects quick enough to complete in a single afternoon.
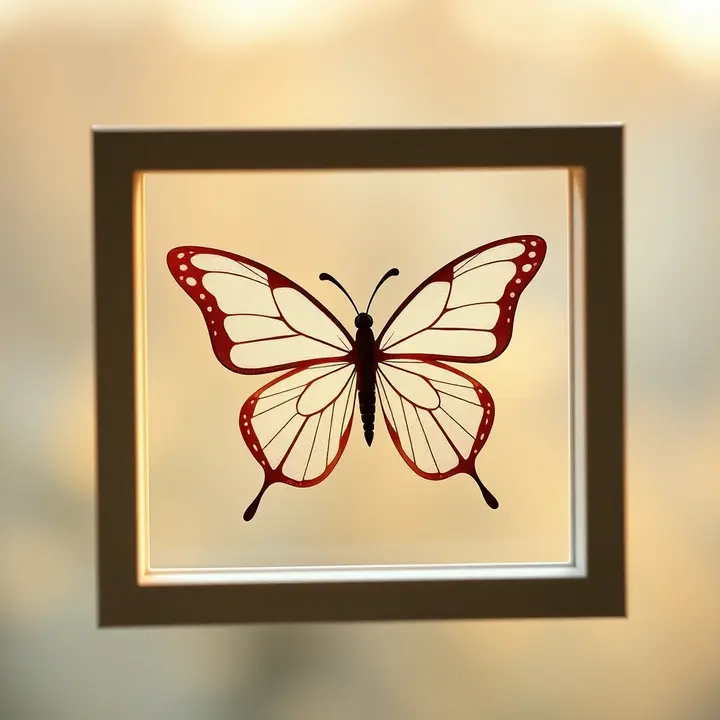
13. Layered Paper Butterfly Frame
- Cardstock in gradient colors
- Shadow box frame
- Foam adhesive squares
- Butterfly template
Create a three-dimensional butterfly display that appears to flutter off the wall. This shadow box project makes an impressive focal point for bedrooms or hallways. The layered technique adds remarkable depth and movement.
Cut butterflies from gradient-colored cardstock and fold wings slightly upward. Attach to the shadow box backing using foam squares at varying heights. Arrange in a scattered flight pattern.
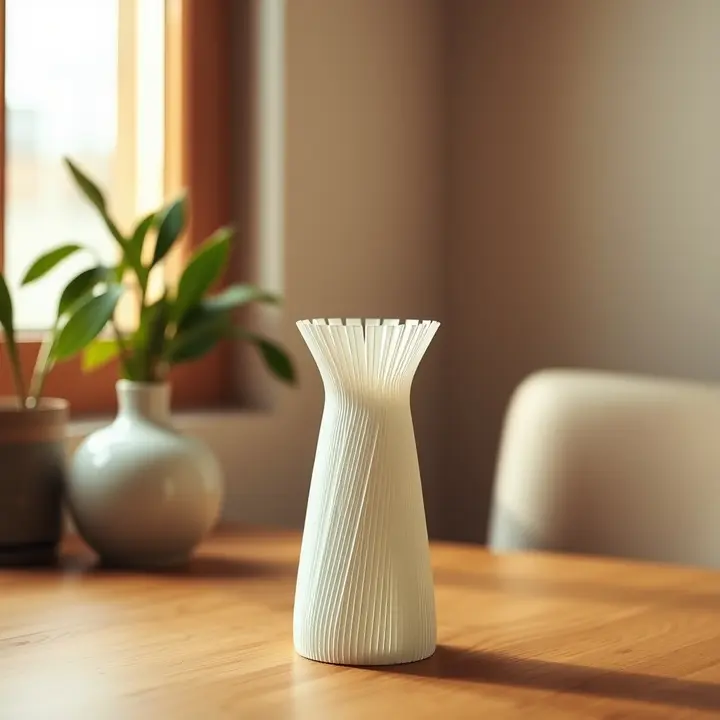
14. Paper Strip Vase Cover
- Magazine pages or decorative paper
- Plain glass vase
- Decoupage glue
- Foam brush
Transform a plain glass vase into a colorful statement piece using paper strips. This upcycling project breathes new life into thrift store finds. The layered strips create interesting texture and pattern combinations.
Tear or cut paper into irregular strips and apply to the vase exterior using decoupage glue. Overlap pieces randomly for complete coverage. Seal with additional glue layers once dry.
15. Honeycomb Paper Orbs

- Tissue paper
- Glue stick
- String for hanging
- Cardboard template
Honeycomb paper orbs add festive flair to parties or everyday room decor. These expandable decorations store flat and open into impressive spheres. Create various sizes for visual impact when grouped together.
Stack tissue paper layers and apply glue lines in alternating patterns. Cut your desired shape through all layers. Open carefully to reveal the honeycomb structure.
16. Rolled Paper Frame

- Old magazines
- Plain picture frame
- Hot glue gun
- Clear sealer spray
A rolled paper frame adds colorful dimension to boring store-bought frames. This eco-friendly project recycles magazines into eye-catching decor. Each frame becomes a unique one-of-a-kind creation.
Roll magazine pages into tight tubes and glue ends to secure. Cut tubes to frame width and attach in rows using hot glue. Spray with clear sealer for protection.
17. Paper Rosette Medallions

- Scrapbook paper
- Brads or buttons
- Scissors
- Hot glue
Paper rosette medallions create stunning wall groupings or party backdrops. These accordion-folded circles add instant vintage charm. Mix sizes and patterns for maximum visual impact.
Accordion-fold paper strips and join ends together to form circles. Flatten into rosette shapes and add decorative centers. Group multiple medallions for dramatic wall displays.
These medallions also make wonderful handmade gift craft ideas when attached to wrapped presents as toppers.
18. Paper Succulent Arrangement

- Cardstock in green shades
- Small pot or container
- Floral foam
- Hot glue
Craft realistic paper succulents that never need watering or sunlight. This low-maintenance alternative brings greenery indoors without plant care worries. Place on windowsills, desks, or shelving units.
Cut petal shapes in various sizes and curl edges for dimension. Layer petals from large to small, gluing as you build. Insert finished succulents into foam-filled containers.
19. Fringed Paper Chandelier

- Crepe paper streamers
- Embroidery hoop
- Scissors
- Hot glue
A fringed paper chandelier makes a show-stopping statement over dining tables or in entryways. This dramatic piece costs pennies but looks like a designer installation. The movement creates gentle visual interest.
Cut crepe paper into long strips and fringe one edge of each piece. Wrap and glue fringed strips around the embroidery hoop in layers. Add hanging strings at multiple points for balance.
20. Paper Tile Backsplash Art

- Cardstock squares
- Canvas or foam board
- Ruler and pencil
- Craft glue
Create faux decorative tile art using precisely cut paper squares in coordinating colors. This budget-friendly alternative mimics expensive tile installations. Display in kitchens, bathrooms, or anywhere you want pattern.
Cut cardstock into uniform small squares and arrange in geometric patterns. Glue pieces to backing with consistent spacing between tiles. Frame or mount directly for clean modern presentation.
This project shows that DIY handmade gifts and home decor pieces can be both beautiful and budget-friendly with simple materials.
These 20 paper craft ideas for home decor you can make this weekend prove that beautiful interiors don’t require expensive purchases. With basic supplies and a few hours of creative time, you can transform your space completely. Grab your paper, scissors, and glue, then start creating!
Share your favorite ideas in the comments below and rate this post!