25 Handmade Home Decor Ideas That Look Like They Cost a Fortune
Want your home to look expensive without draining your bank account? The secret lies in creating handmade decor that mimics luxury designs. With simple materials and clever techniques, you can craft stunning pieces that impress every guest.
These 25 handmade home decor ideas that look like they cost a fortune will transform your space completely. Each project uses affordable supplies yet delivers designer-worthy results. Let’s dive in…
1. Elegant Marble Tray Display

- Wooden tray base
- Contact paper with marble pattern
- Gold spray paint
- Clear sealant
Transform a basic wooden tray into a luxurious marble masterpiece using contact paper. Simply cover the tray surface and wrap edges smoothly for a seamless finish. This technique creates an authentic stone appearance instantly.
Spray the handles with gold metallic paint to elevate the overall aesthetic. Apply two coats for best coverage and durability. Seal everything with clear coat for lasting protection.
2. Sculptural Plaster Vases

- Glass vases or jars
- Joint compound or plaster
- Matte white paint
- Sandpaper
Create stunning textured plaster vases that resemble expensive ceramic art pieces. Apply joint compound in irregular layers using your hands or a spatula. Allow each layer to dry before adding texture.
Sand rough edges once completely dry for a smooth organic look. Finish with matte white paint to achieve that coveted museum-quality appearance. These look incredible grouped together on shelves.
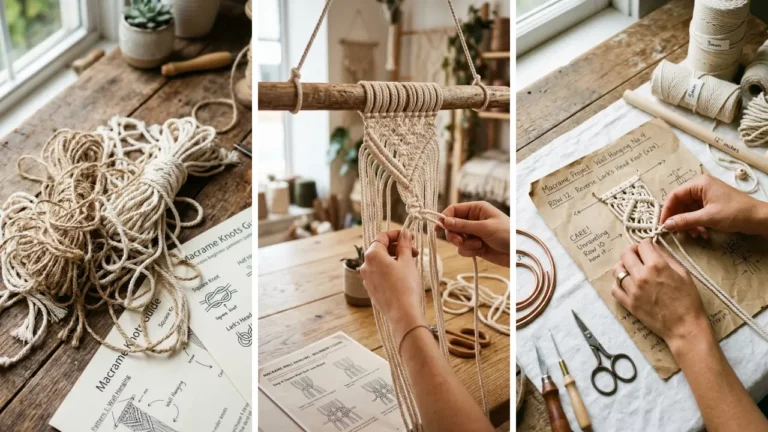
3. Woven Wall Tapestry
- Wooden dowel or branch
- Various yarn textures
- Copper pipe pieces
- Scissors
Craft a bohemian woven tapestry that adds instant warmth to any wall space. Cut yarn strands twice the desired length and fold over the dowel. Mix different textures and neutral tones for visual interest.
Add copper pipe accents by threading yarn through small sections randomly. This creates an elevated artisan look worth hundreds. Trim the bottom at angles for modern asymmetry.
4. Faux Concrete Planters

- Plastic containers
- Gray chalk paint
- Baking soda
- Matte sealant
Turn cheap plastic containers into faux concrete planters using a simple paint mixture. Combine gray chalk paint with baking soda until slightly gritty. This creates authentic concrete texture instantly.
Apply using a stippling brush motion for realistic stone-like appearance. Layer different gray tones for depth and dimension. Seal with matte finish to protect your creation from moisture.
5. Gilded Mirror Frame

- Basic mirror
- Gold leaf sheets
- Adhesive sizing
- Soft brush
Transform a plain mirror into an antique gilded statement piece using gold leaf application. Apply sizing adhesive to the frame and wait until tacky. Carefully press gold leaf sheets onto the surface.
Brush away excess with a soft makeup brush for beautiful results. Leave some areas imperfect for authentic antique character. This technique works on any frame material wonderfully.
6. Floating Wooden Shelves

- Solid wood boards
- Wood stain
- Hidden shelf brackets
- Polyurethane finish
Install custom floating shelves that appear to hover magically on your walls. Select wood with beautiful natural grain patterns for character. Sand thoroughly before applying your chosen stain color.
Use hidden metal brackets for that seamless floating effect everyone loves. Multiple coats of polyurethane protect the surface beautifully. If you enjoy home craft projects quick completions, this weekend project delivers stunning results fast.
7. Linen Lampshade Cover

- Existing lampshade
- Natural linen fabric
- Fabric glue
- Decorative trim
Update tired lampshades with luxurious linen fabric for an instant designer upgrade. Cut fabric slightly larger than needed and wrap smoothly. Secure with fabric glue along inside edges carefully.
Add velvet ribbon trim along the top and bottom for polish. This simple update makes inexpensive lamps look high-end immediately. Choose neutral tones for timeless elegant appeal.
8. Terrazzo Style Coasters

- Air dry clay
- Acrylic paint chips
- Rolling pin
- Resin or sealant
Create trendy terrazzo coasters that rival expensive designer versions perfectly. Roll white air dry clay flat and embed colorful clay chips randomly. Press gently to secure all pieces together.
Cut circles using a glass or round cookie cutter for uniform shapes. Seal with clear resin for waterproof durability and shine. These make incredible DIY handmade gifts for any occasion.
9. Velvet Throw Pillows
- Velvet fabric
- Pillow inserts
- Sewing machine or fabric tape
- Matching thread
Sew custom velvet pillows in rich jewel tones for luxurious sofa styling. Cut fabric squares slightly larger than your insert dimensions. Sew three sides and turn right-side out carefully.
Insert the pillow form and hand stitch closed for invisible seams. Velvet instantly elevates any seating area dramatically. Choose emerald, navy, or burgundy for maximum impact.
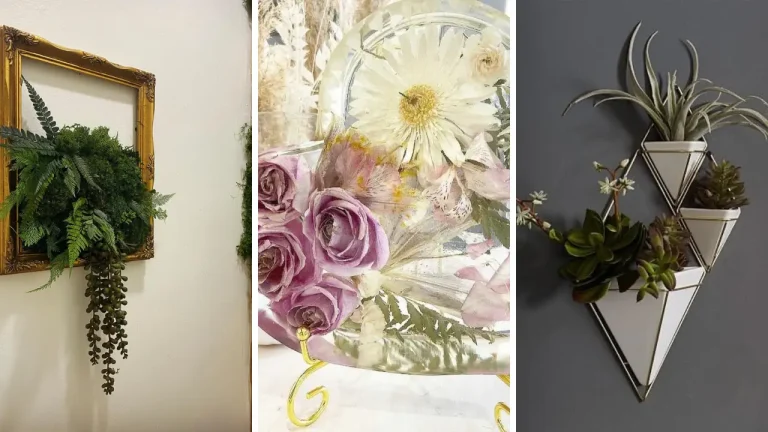
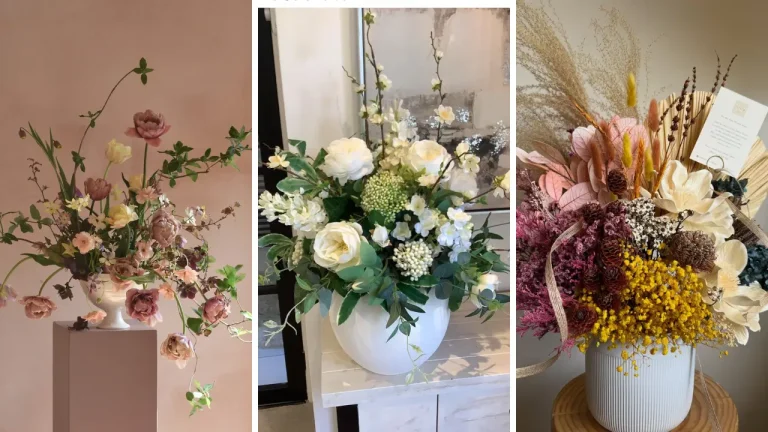
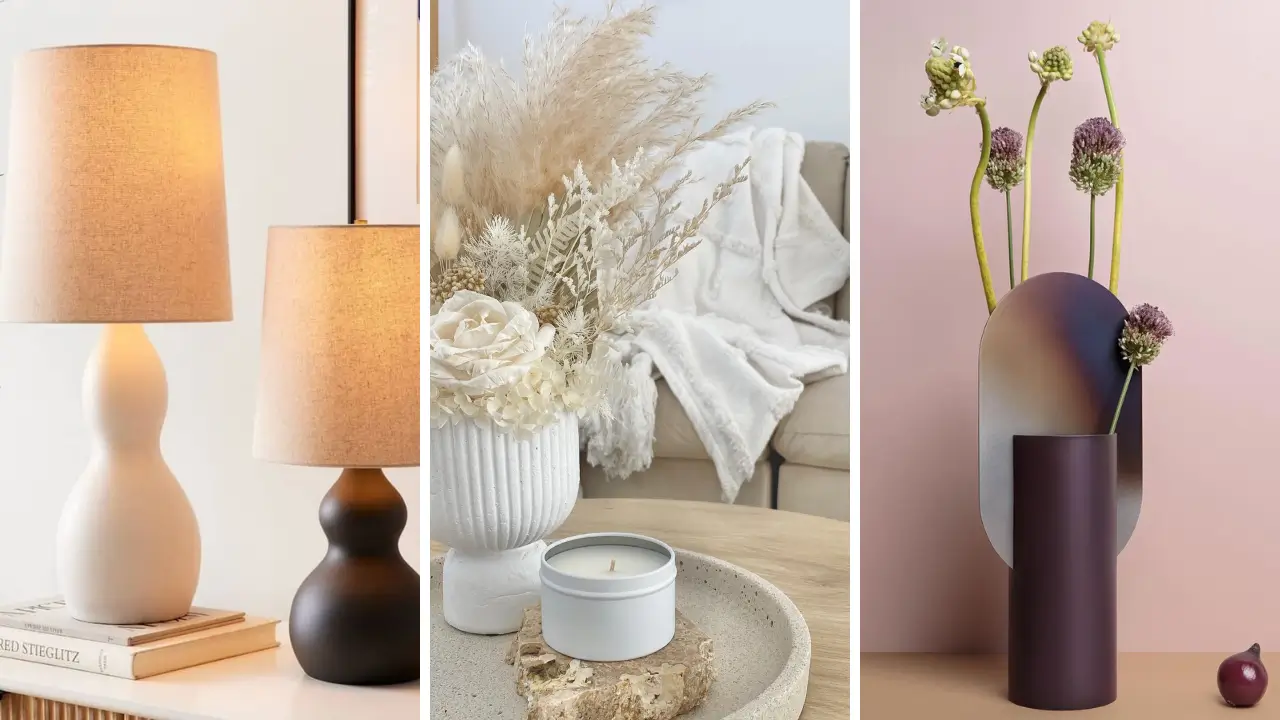
10. Dried Flower Arrangements

- Fresh flowers or foliage
- Rubber bands
- Decorative vase
- Hairspray sealant
Arrange dried botanical displays that last forever without maintenance costs. Bundle fresh stems and hang upside down for two weeks. Pampas grass, eucalyptus, and bunny tails work beautifully.
Display in ceramic or glass vessels for timeless sophisticated arrangements. Spritz with hairspray to reduce shedding over time. These never need watering or replacement like fresh flowers.
11. Rope Wrapped Basket

- Cotton rope coils
- Hot glue gun
- Bowl for shaping
- Leather strap handles
Build stunning coiled rope baskets perfect for stylish storage solutions anywhere. Start by coiling rope flat and gluing as you go. Use a bowl as guide to shape the sides upward.
Attach leather strap handles for an expensive artisan touch instantly. These organize blankets, toys, or magazines beautifully. Exploring fun crafts to make at home has never been more rewarding.
12. Abstract Canvas Art

- Blank canvas
- Acrylic paints
- Palette knife
- Texture medium
Paint your own abstract textured artwork that commands attention on any wall. Mix texture medium with neutral paint colors for dimensional effects. Apply using a palette knife in bold sweeping motions.
Layer colors while wet for organic blending effects that look gallery-worthy. Let some areas build up thickly for drama. Frame in simple floater frames for polished presentation.
13. Beaded Chandelier Upgrade

- Existing light fixture
- Wooden beads
- Strong jewelry wire
- Wire cutters
Transform basic lighting into a boho beaded chandelier worth hundreds instantly. String wooden beads onto wire and create multiple strands. Attach strands around the existing fixture frame evenly.
Vary bead sizes and natural wood tones for organic visual interest. This works on pendant lights or flush mounts equally well. The result looks incredibly expensive and custom-made.
14. Faux Aged Terracotta

- New terracotta pots
- White chalk paint
- Moss or lichen
- Spray bottle
Age new terracotta pots to look like antique European garden finds instantly. Apply white chalk paint in random patches using a dry brush technique. Focus on rims and raised areas naturally.
Attach dried moss or lichen pieces with craft glue for authenticity. Mist with water to encourage natural patina development over time. These look stunning displayed indoors or outdoors.
15. Brass Hardware Update

- Existing hardware
- Brass spray paint
- Sandpaper
- Painter’s tape
Update cabinet hardware with brushed brass finishes for instant kitchen or bathroom elegance. Remove all hardware and clean thoroughly before painting. Sand lightly for better paint adhesion results.
Apply multiple thin coats of metallic brass spray paint for durability. Allow proper drying time between each application layer. This affordable update creates designer-level transformation quickly.
16. Woven Leather Basket

- Leather strips
- Basket frame
- Rivets or glue
- Leather punch
Weave luxurious leather baskets that elevate any room’s storage game dramatically. Cut leather into uniform strips and weave through basket frames. Secure ends with rivets or strong adhesive.
Choose cognac or black leather for timeless sophisticated appeal anywhere. These store magazines, blankets, or bathroom essentials beautifully. The handcrafted quality shines through every woven detail.
17. Geometric Metal Sculpture

- Metal straws or tubes
- Strong wire
- Metallic spray paint
- Wire cutters
Construct modern geometric sculptures that look like pricey art gallery pieces. Connect metal tubes at angles using wire threading through ends. Create triangles, cubes, or abstract shapes freely.
Spray paint entirely in matte black or gold for cohesive elegant finishes. Display on shelves or mantels as stunning focal points. These conversation starters cost almost nothing to create.
18. Linen Table Runner

- Natural linen fabric
- Fabric scissors
- Iron
- Fringe tool or needle
Create a raw edge linen runner that brings organic elegance to dining tables. Cut linen to desired length plus extra for fringe. Pull threads carefully from edges to create natural frayed details.
Iron flat and fold edges under for clean finished sides if preferred. This simple project takes under an hour to complete. Style with candles and greenery for magazine-worthy tablescapes.
19. Decorative Book Bundles

- Old hardcover books
- Linen fabric or twine
- Acrylic paint
- Sandpaper
Style vintage book bundles as sophisticated coffee table or shelf decor. Remove dust jackets and sand covers lightly for aged appearance. Paint covers in coordinating neutral tones if desired.
Stack and tie with linen ribbon or jute twine for rustic charm. Top with small objects like brass figurines or crystals. These add instant intellectual elegance anywhere displayed.
20. Arched Wall Mirror

- Rectangular mirror
- Plywood
- Jigsaw
- Wood stain or paint
Build an architectural arched mirror that makes dramatic wall statements instantly. Cut plywood into arch shape larger than your mirror. Create a frame by attaching mirror to the plywood backing.
Stain or paint the visible wooden frame to match your existing decor. Hang securely using appropriate wall anchors for safety. This designer look costs a fraction of retail prices.
21. Clay Jewelry Dish

- Air dry clay
- Small bowl for shaping
- Gold paint
- Rolling pin
Mold beautiful catchall jewelry dishes perfect for nightstands and vanities. Roll clay flat and drape over inverted bowl for shape. Smooth edges and let dry completely for several days.
Paint edges with metallic gold accents for luxurious finishing touches. These organize rings, earrings, and small treasures elegantly. Consider checking out dollar store crafts ideas for more budget-friendly projects.
22. Fabric Wrapped Vases

- Glass bottles or vases
- Fabric scraps
- Mod Podge
- Foam brush
Wrap plain glass vessels in beautiful fabric patterns for instant decorative impact. Cut fabric to fit around containers with slight overlap. Apply Mod Podge and smooth fabric onto surfaces carefully.
Seal with additional Mod Podge topcoat for durability and protection. Mix patterns and sizes for eclectic grouped displays. These transform recycled bottles into stunning decor pieces instantly.
23. Minimalist Clock Design

- Wood round or canvas
- Clock mechanism kit
- Drill
- Paint or stain
Create a sleek minimalist wall clock that doubles as modern art. Prepare your wood round with stain or paint in desired finish. Drill center hole sized for clock mechanism shaft.
Install simple clock hands without number markers for contemporary aesthetic. Choose contrasting hand colors for visibility and style. This functional art piece enhances any modern space beautifully.
24. Tassel Garland Display

- Yarn or embroidery floss
- Scissors
- Twine or cord
- Cardboard template
String colorful handmade tassel garlands for festive or everyday wall decor. Wrap yarn around cardboard, tie top, and cut bottom loops. Fluff and trim each tassel for uniform fullness.
Thread tassels onto natural twine spacing evenly along the length. Hang above beds, mantels, or doorways for whimsical charm. These bring instant personality to any space affordably.
If you love creating handmade gift craft ideas, these garlands make perfect presents too.
25. Sculptural Branch Display

- Interesting tree branches
- Heavy vase or pot
- River rocks
- White paint optional
Display dramatic sculptural branches as striking natural art installations. Collect fallen branches with interesting shapes and angles. Clean thoroughly and dry completely before bringing indoors.
Anchor in heavy vessels using river rocks for stability and weight. Paint white for Scandinavian minimalist aesthetic if desired. These cost nothing yet create magazine-worthy visual impact effortlessly.
These 25 handmade home decor ideas that look like they cost a fortune prove that luxury aesthetics are achievable on any budget. Each project transforms affordable materials into stunning designer-worthy pieces for your home. Grab your supplies and start creating today!
Share your favorite ideas in the comments below! Which project will you tackle first? Rate this post and inspire others to craft their dream spaces.