How to Make No-Sew Pillow Covers: 7 Easy Methods
Have you ever spotted a gorgeous throw pillow at a home décor store, checked the price tag, and walked away disappointed? You’re not alone. The good news is that you can create stunning decorative pillow covers without threading a single needle.
Learning how to make decorative throw pillow covers without sewing opens up a world of creative possibilities while saving you money and time. Whether you’re a complete beginner or someone who simply doesn’t own a sewing machine, this guide will walk you through multiple no-sew techniques. You’ll discover how to transform plain pillow inserts into statement pieces using fabric glue, iron-on tape, and clever folding methods.
By the end of this article, you’ll have all the knowledge needed to refresh your living space with custom pillow covers that look professionally made.
Why Choose No-Sew Pillow Covers?

No-sew pillow covers offer incredible advantages that make them perfect for crafters of all skill levels. First, they require minimal investment in tools and materials. You won’t need expensive equipment or years of practice to achieve beautiful results.
The time savings are remarkable too. While traditional sewing projects might take hours, most no-sew methods can be completed in under thirty minutes. This makes them ideal for quick room makeovers or last-minute décor updates.
If you enjoy fun crafts to make at home, pillow covers are an excellent starting point. Another benefit is the freedom to experiment without fear. Made a mistake?
Simply remove the fabric glue or reposition the iron-on tape. There’s no seam ripping required, and you can try again without wasting materials.
Essential Materials for No-Sew Decorative Throw Pillow Covers

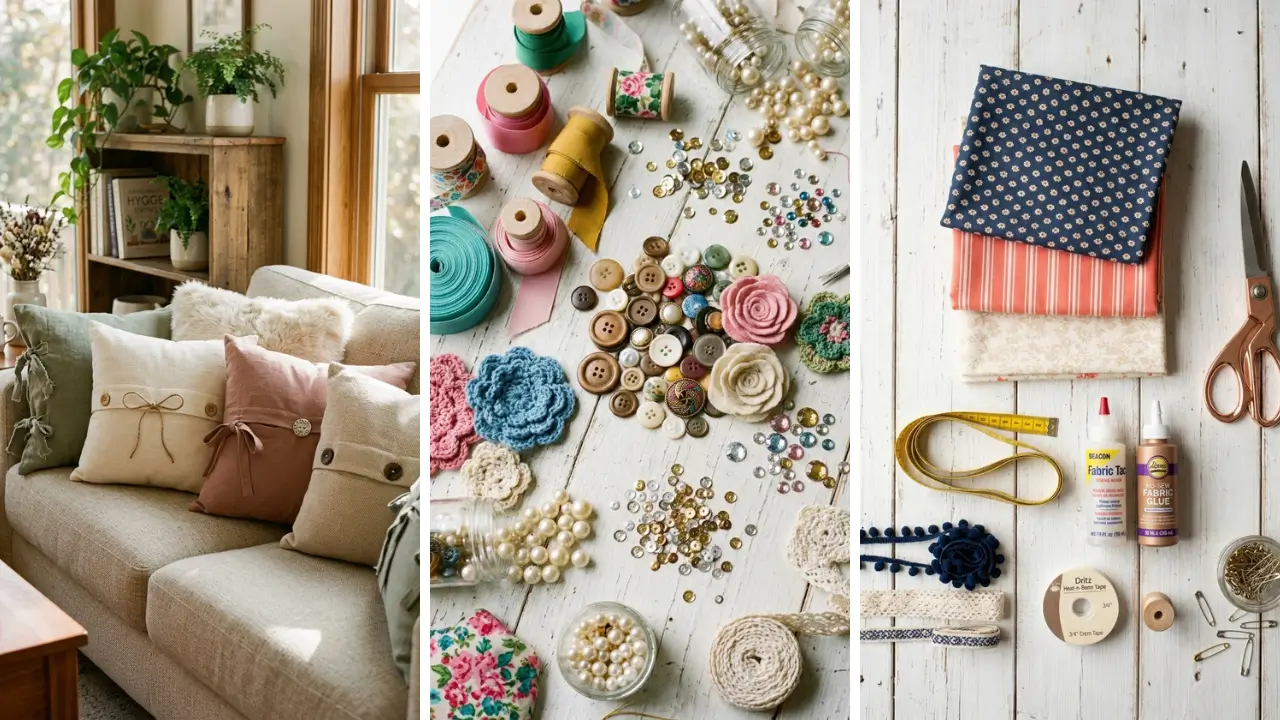
Before diving into techniques, gather these basic supplies. Having everything ready makes the process smooth and enjoyable. Fabric choices: Cotton, linen, fleece, and felt work exceptionally well for no-sew projects.
Avoid slippery fabrics like silk or satin, which can be tricky to handle without stitching. Thicker materials like upholstery fabric provide durability and a high-end look.
Adhesive options:
- Fabric glue (washable formula recommended)
- Iron-on hem tape or fusible webbing
- Double-sided fabric tape
- Hot glue gun with fabric-safe sticks
Additional tools:
- Sharp fabric scissors or rotary cutter
- Measuring tape or ruler
- Fabric marking pen or chalk
- Iron and ironing board
- Pillow inserts in your desired size
Looking for budget-friendly materials? Check out these dollar store crafts ideas that can help you source affordable supplies without compromising quality.
How to Make Decorative Throw Pillow Covers Without Sewing: 7 Methods

Method 1: The Envelope Fold Technique
This classic method creates a professional-looking cover with an overlapping back panel. It’s the most versatile technique and works with any fabric type. Step-by-step instructions:
- Measure your pillow insert and add two inches to both dimensions for seam allowance
- Cut one piece of fabric for the front matching these measurements
- Cut two back panels, each the same width but about 60% of the height
- Apply iron-on hem tape around all edges to prevent fraying
- Overlap the two back panels by several inches
- Bond the front piece to the back panels using fabric glue or fusible webbing
- Allow to dry completely before inserting your pillow
The envelope opening allows easy removal for washing while keeping the pillow securely inside.
Method 2: Tie-Corner Pillow Cover

This charming style adds decorative ribbon or fabric ties to each corner. It’s perfect for bohemian or farmhouse aesthetics. Cut your fabric with extra length on each corner for tying.
Fold the fabric around the pillow insert and secure by tying the corners with coordinating ribbon, twine, or fabric strips. This method requires zero adhesive and can be changed seasonally with different tie materials.
Method 3: Hot Glue Construction
Hot glue creates strong bonds quickly, making it ideal for heavier fabrics and embellishments. This technique is particularly useful when adding decorative elements like pom-poms, tassels, or appliqués. Work in small sections to prevent the glue from cooling before you press the fabric together.
Apply thin, even lines rather than thick blobs to avoid visible bumps. Allow the cover to cool completely before handling.
Method 4: Iron-On Fusible Webbing
Fusible webbing creates the most durable no-sew bond. It’s essentially a thin adhesive sheet that melts when heated, fusing two pieces of fabric together permanently. Place the webbing between fabric layers, cover with a pressing cloth, and apply firm pressure with a hot iron.
Hold for 10-15 seconds per section. This method produces results nearly indistinguishable from sewn seams.
Method 5: Fabric Wrap Method
Perhaps the simplest approach, this method requires just a square of fabric and your pillow insert. Cut fabric about three times the size of your pillow. Place the pillow in the center, fold opposite corners to meet in the middle, and secure with a decorative knot or pin.
It resembles a fabric gift wrap and takes less than five minutes.
Method 6: Button-Back Cover
Add sophistication with a button closure on the back panel. Use fabric glue to create the main pillow cover, leaving an opening. Attach fabric button loops and decorative buttons for a closure that looks custom-made.
Method 7: Bandana or Scarf Transformation
Repurpose bandanas or scarves into instant pillow covers. For a standard 18-inch pillow, use two large bandanas. Align them with wrong sides facing out, apply fabric adhesive around three edges, flip right-side out, insert the pillow, and seal the final edge with more adhesive or fabric tape.
Pro Tips for Professional-Looking Results

Achieving that store-bought appearance requires attention to detail. These expert tips will elevate your no-sew pillow covers from amateur to artisan quality. Prewash your fabric before starting.
This prevents shrinkage after your cover is complete and removes any sizing that might interfere with adhesive bonds. Press fabric thoroughly before cutting. Wrinkles create measurement errors and affect the final appearance.
A crisp, smooth fabric is much easier to work with. Cut precisely using sharp scissors or a rotary cutter with a mat. Jagged or uneven edges are the quickest way to make a project look homemade in a bad way.
Test adhesives first on fabric scraps. Different materials react differently to glues and heat. Ensure your chosen adhesive won’t discolor or damage the fabric before committing to the entire project.
These pillow covers make wonderful DIY handmade gifts for housewarmings, holidays, or just because. Personalize them with recipients’ favorite colors or patterns for truly thoughtful presents.
Creative Embellishment Ideas

Plain pillow covers are beautiful, but embellishments take them to the next level. All these additions can be applied without sewing. Pom-pom trim: Hot glue colorful pom-pom fringe around the edges for a playful, boho vibe.
This simple addition transforms basic fabric into something eye-catching. Stenciled designs: Use fabric paint and stencils to add patterns, monograms, or quotes. Allow paint to cure fully before using the pillow.
Iron-on transfers: Print designs onto iron-on transfer paper for custom graphics. This works especially well for photo pillows or intricate patterns. Layered textures: Combine different fabrics by gluing textured patches, ruffles, or pleated sections onto a base cover.
Mixing velvet, linen, and cotton creates visual interest. Tassel corners: Attach handmade or purchased tassels to each corner using hot glue. This detail adds movement and sophistication.
For more inspiration on creating beautiful handmade gift craft ideas, explore various embellishment techniques that work across different craft projects.
Caring for Your No-Sew Pillow Covers

Proper maintenance extends the life of your creations. While no-sew covers require slightly different care than sewn versions, they can last for years with proper treatment. Most fabric glue and fusible webbing withstand gentle machine washing.
Use cold water and a delicate cycle. Place covers in a mesh laundry bag for extra protection. For covers with heavy embellishments or hot glue applications, spot cleaning is safer.
Dab stains with mild detergent and water, then air dry completely. Avoid high heat in the dryer, as it may weaken adhesive bonds over time. Air drying or tumbling on low heat preserves your covers longer.
Iron on low settings if needed, but never directly over glued seams. The heat can reactivate adhesives and cause shifting.
Budget-Friendly Fabric Sources

You don’t need expensive designer fabrics to create beautiful pillow covers. Here are smart sourcing strategies. Thrift stores offer incredible fabric options.
Look for tablecloths, curtains, duvet covers, and large clothing items that can be repurposed. You’ll often find high-quality materials at a fraction of retail prices. Clearance sections at fabric stores frequently have remnants perfect for pillow covers.
Since you need relatively small pieces, these discounted fabrics work perfectly. Old clothing provides unique textures. Transform beloved but worn sweaters, denim jackets, or vintage dresses into pillow covers that carry sentimental value.
These projects fit perfectly into home craft projects quick weekend activities. You can complete several covers in an afternoon and completely refresh your living room aesthetic.
Conclusion
Learning how to make decorative throw pillow covers without sewing empowers you to customize your home décor affordably and creatively. From simple envelope folds to elaborate embellished designs, the possibilities are endless when you master these no-sew techniques. The seven methods outlined in this guide provide options for every skill level and aesthetic preference.
Whether you prefer the durability of fusible webbing or the simplicity of the fabric wrap method, you now have the knowledge to create professional-looking results without a single stitch. Remember that practice improves results. Your first pillow cover might not be perfect, but each project builds your confidence and skills.
Start with an inexpensive fabric and simple technique, then graduate to more complex designs as you become comfortable with the process. Ready to transform your space? Gather your materials, choose your favorite method, and create your first no-sew pillow cover today.
Your couch is waiting for its beautiful new accessories!
Frequently Asked Questions
Q: How long does it take to make decorative throw pillow covers without sewing? A: Most no-sew pillow cover methods take between 15 to 45 minutes, depending on the technique and embellishments. Simple wrap methods require just 5 minutes, while iron-on fusible webbing projects may take 30-45 minutes including drying time.
Q: Can I wash pillow covers made with fabric glue? A: Yes, most washable fabric glues withstand machine washing on gentle cycles with cold water. Always check the adhesive label for specific care instructions and allow covers to cure fully (usually 24-72 hours) before the first wash.
Q: What’s the best no-sew method for beginners learning how to make decorative throw pillow covers without sewing? A: The fabric wrap method or tie-corner technique is perfect for beginners since they require no adhesives and can be adjusted easily. Once comfortable, progress to iron-on tape or fabric glue methods for more permanent results.
Q: How durable are no-sew pillow covers compared to sewn ones? A: When made properly with quality adhesives, no-sew covers can last several years with proper care. Fusible webbing creates the strongest bond, often matching sewn seams in durability.
Covers used primarily for decoration last longer than those receiving heavy daily use. Q: What fabrics work best for no-sew pillow cover projects? A: Medium-weight cotton, linen, canvas, and fleece work exceptionally well for no-sew projects.
Avoid slippery fabrics like silk or satin, which don’t bond well with most adhesives. Felt and flannel are excellent choices for beginners due to their forgiving nature and non-fraying edges.