6 Outdoor DIY Mistakes That Ruin Projects Within One Season
Have you ever spent an entire weekend building something beautiful for your backyard, only to watch it fall apart before winter arrives? You are not alone in this frustrating experience. The truth is, outdoor DIY projects require specific techniques that differ dramatically from indoor work.
Ignoring these crucial steps leads to cracked paint, rotting wood, and wasted money. This guide reveals the 6 outdoor DIY mistakes that ruin projects within one season and shows you exactly how to avoid them. Let’s dive in…
1. Skipping Wood Treatment

- Exterior wood sealer
- Pressure-treated lumber
- Paintbrush or sprayer
- Sandpaper (120-grit)
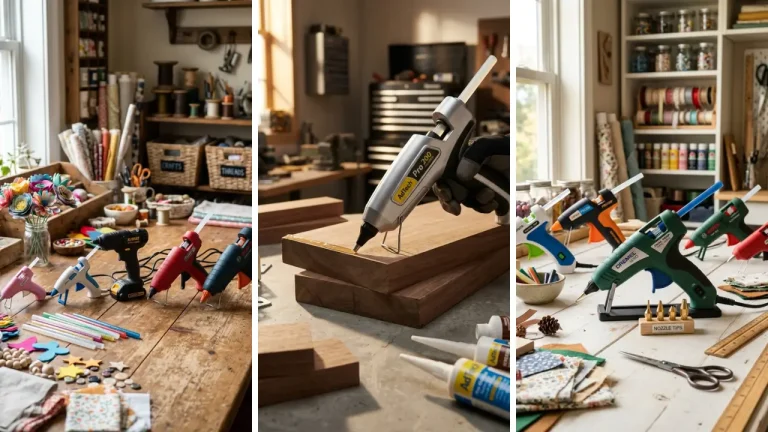
Using untreated wood outdoors is the fastest path to project failure. Moisture penetrates unprotected fibers within weeks, causing warping and rot that cannot be reversed. Always apply a quality exterior wood sealer before installation.
This creates a protective barrier against rain, humidity, and ground moisture that would otherwise destroy your work. Consider using pressure-treated lumber for any project touching soil or exposed to constant moisture. The chemical treatment penetrates deep into wood fibers for long-lasting protection.
2. Wrong Paint Selection

- Exterior-grade paint
- Quality primer for outdoors
- Paint with UV protection
- Angled brush set
Interior paint fails dramatically when exposed to outdoor conditions. Within months, you will notice peeling, bubbling, and fading that makes your project look abandoned. Exterior paints contain special additives that resist UV rays and temperature fluctuations.
These formulations also include mildewcides that prevent ugly black spots from forming on surfaces. Always apply a bonding primer designed for outdoor use before your topcoat. This step alone can double the lifespan of your paint job.
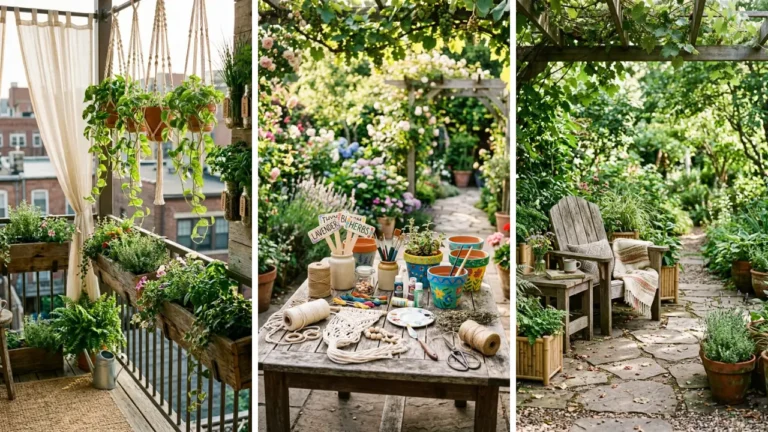
If you enjoy fun crafts to make at home, bringing that same attention to detail outdoors ensures success.
3. Ignoring Drainage Issues

- Gravel or crushed stone
- Landscape fabric
- Post brackets or anchors
- Level tool
Standing water is the silent killer of outdoor projects. When structures sit directly on soil, moisture wicks upward through capillary action and begins destroying materials from below. Create proper drainage by placing gravel beds beneath planters, benches, and other ground-level items.
This allows water to flow away rather than pooling against your work. Use elevated post brackets that keep wood several inches above ground level. This small investment prevents the rot that commonly affects fence posts and deck supports within their first year.
4. Cheap Hardware Choices

- Stainless steel screws
- Hot-dipped galvanized nails
- Exterior-rated brackets
- Weatherproof hinges
Standard hardware from the bargain bin starts rusting within weeks of outdoor exposure. Those orange streaks running down your beautiful white fence are impossible to remove completely. Invest in stainless steel or hot-dipped galvanized fasteners for every outdoor project.
The extra cost represents perhaps five percent of your total budget but prevents years of frustration. Pay special attention to hinges, brackets, and decorative hardware that remain visible. Rust stains spread beyond the metal itself, discoloring surrounding wood and paint permanently.
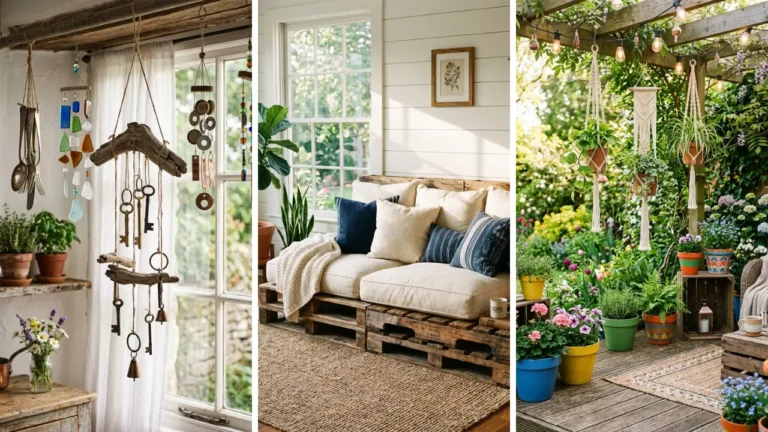
Many home craft projects quick enough for a weekend still require this attention to hardware quality.
5. Inadequate Foundation Work

- Concrete mix
- Post hole digger
- Compactable gravel base
- Spirit level
- Measuring tape
Shallow foundations shift dramatically during freeze-thaw cycles. Your perfectly level project becomes crooked and unstable as soil expands and contracts with temperature changes. Dig below the frost line for any permanent structure in your yard.
This depth varies by region but typically ranges from eighteen to forty-two inches depending on your climate zone. Use a compacted gravel base beneath concrete footings to improve drainage and stability. This extra step prevents the settling that causes gates to stick and fences to lean.
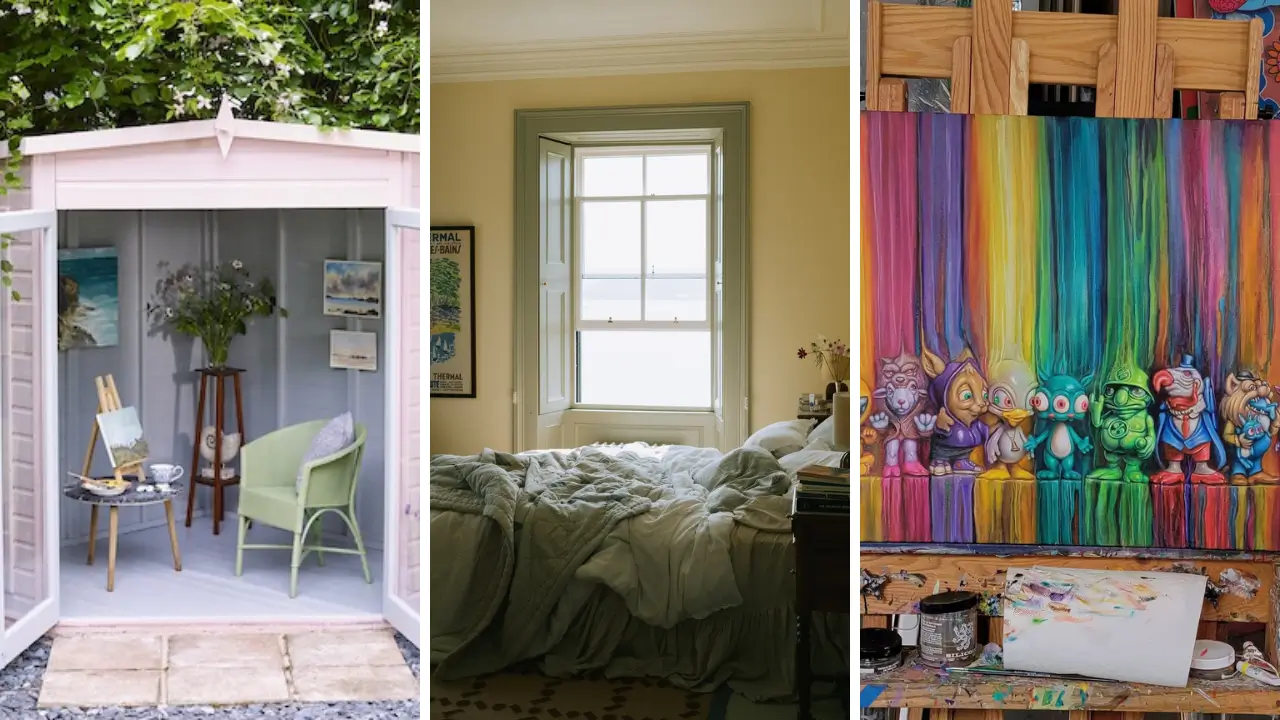
When creating DIY handmade gifts for outdoor display, proper mounting foundations matter equally.
6. Rushing Dry Times

- Patience
- Plastic sheeting for rain protection
- Humidity meter (optional)
- Timer or calendar
Applying second coats too quickly traps moisture between layers. This creates adhesion failures that cause entire paint jobs to peel away in sheets rather than individual flakes. Follow manufacturer instructions for cure times between coats religiously.
These recommendations assume ideal conditions, so add extra time during humid or cool weather. Protect fresh work from unexpected rain with temporary plastic coverings. Even morning dew can damage surfaces that have not fully cured, especially water-based stains and sealers.
Outdoor projects require more patience than DIY wall art ideas for living room displays that cure in climate-controlled spaces.
Understanding these 6 outdoor DIY mistakes that ruin projects within one season transforms your results dramatically. Your hard work deserves protection from weather, moisture, and preventable failures. Grab your quality materials and start creating projects that last for years!
Share your favorite outdoor DIY tips in the comments below and rate this post to help others discover these essential techniques.