21 Thrift Store Furniture Makeover Ideas That Will Blow Your Mind

Have you ever walked past a beat-up dresser at a thrift store and imagined its hidden potential? Those dusty, forgotten furniture pieces are actually goldmines waiting to be transformed into stunning statement pieces for your home.
With some creativity and basic supplies, you can turn bargain finds into designer-worthy furniture.
These 20 thrift store furniture makeover ideas that will blow your mind prove that style doesn’t require a hefty budget. Let’s dive in…
1. Chalk-Painted Vintage Dresser

Materials Needed:
- Chalk paint in desired color
- Wax sealant
- Sandpaper (220-grit)
- New drawer pulls
- Clean cloth
A worn-out vintage dresser becomes an instant focal point with chalk paint. This technique requires no priming and creates a beautiful matte finish that screams sophistication. Sand the surface lightly to remove rough patches.
Apply two coats of paint, letting each dry completely before proceeding. Finish with clear or dark wax to seal and protect your masterpiece. Swap out old hardware for modern pulls to complete the transformation.
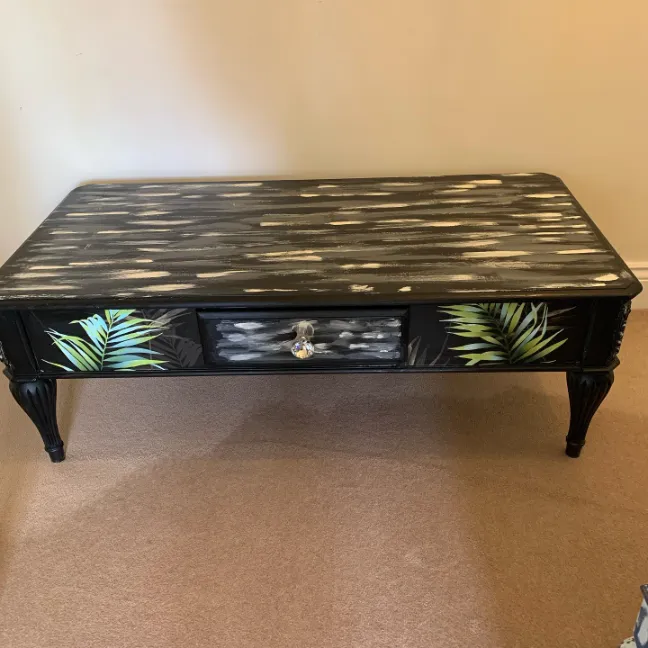
2. Decoupage Coffee Table
Materials Needed:
- Mod Podge or decoupage glue
- Decorative paper or fabric
- Foam brush
- Polyurethane sealant
- Scissors
Transform a plain wooden coffee table into an artistic conversation starter. Decoupage allows you to apply maps, book pages, or fabric directly onto surfaces. Cut your chosen material to fit the tabletop precisely.
Apply a generous layer of Mod Podge, smooth out air bubbles carefully, and let it cure overnight. Seal with multiple coats of polyurethane for durability. This technique works beautifully on end tables and nightstands too.
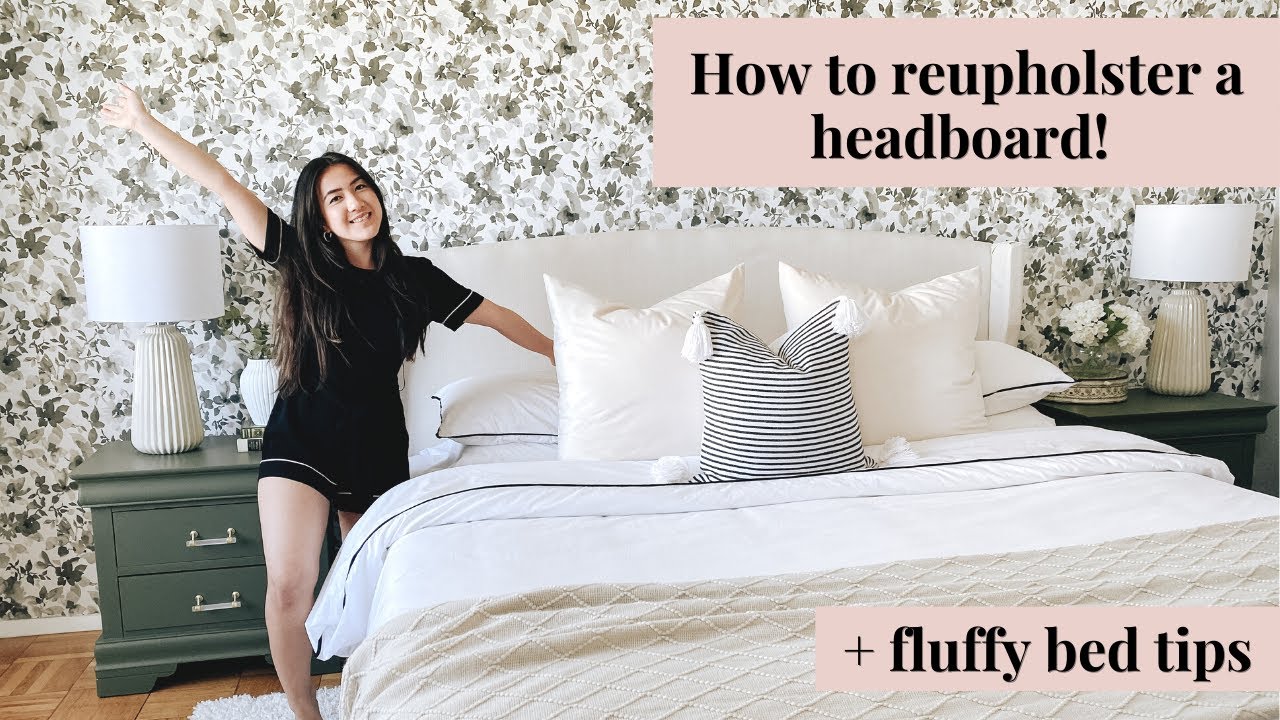
3. Upholstered Headboard Refresh
Materials Needed:
- Upholstery fabric (3 yards)
- Batting or foam padding
- Staple gun and staples
- Scissors
- Decorative nail heads
That outdated thrift store headboard deserves new life with fresh fabric. Choose a pattern that complements your bedroom color scheme perfectly. Layer batting over the existing surface for added cushioning.
Stretch your upholstery fabric tightly across the front, securing it on the back with staples. Add decorative nail head trim around the edges for a professional, high-end appearance. This project takes one afternoon and saves hundreds compared to buying new.
4. Ombre Painted Bookshelf

Materials Needed:
- Three shades of same color paint
- Painter’s tape
- Small foam rollers
- Sandpaper
- Primer
Create a stunning ombre effect on a basic bookshelf using graduated paint colors. Start with the darkest shade at the bottom shelf. Progress to medium tones in the middle sections.
Finish with the lightest shade at the top for a beautiful gradient transition. This technique adds visual interest and draws the eye upward. Your transformed bookshelf becomes functional art that showcases your style.
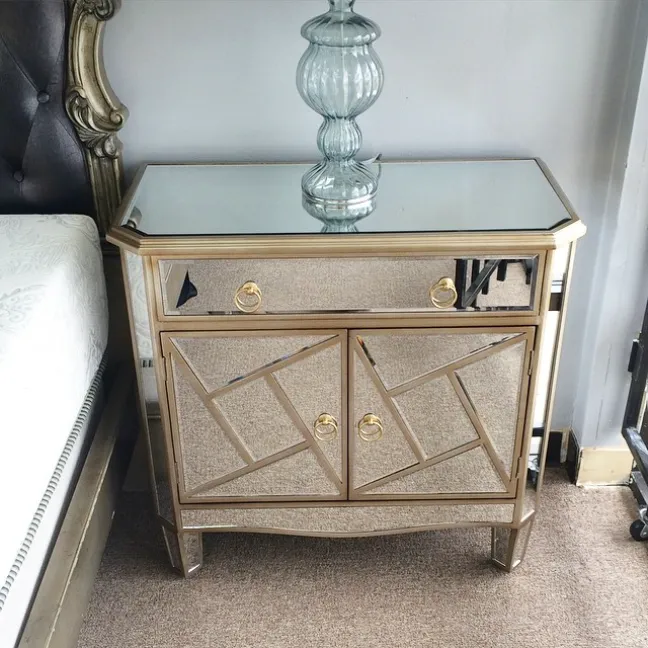
5. Mirrored Nightstand Glamour
Materials Needed:
- Mirror tiles or panels
- Mirror adhesive
- Glass cutter (optional)
- Crystal drawer pulls
- Measuring tape
Turn an ordinary nightstand into Hollywood glamour with mirror panels. This look costs a fraction of buying mirrored furniture retail. Measure each surface carefully and cut mirror tiles to fit precisely.
Apply strong adhesive and press firmly into place. Replace existing hardware with crystal knobs for maximum sparkle. This makeover reflects light beautifully and makes small bedrooms appear larger.
If you enjoy transforming furniture, you might also love exploring fun crafts to make at home for more creative projects.
6. Farmhouse Bench Restoration
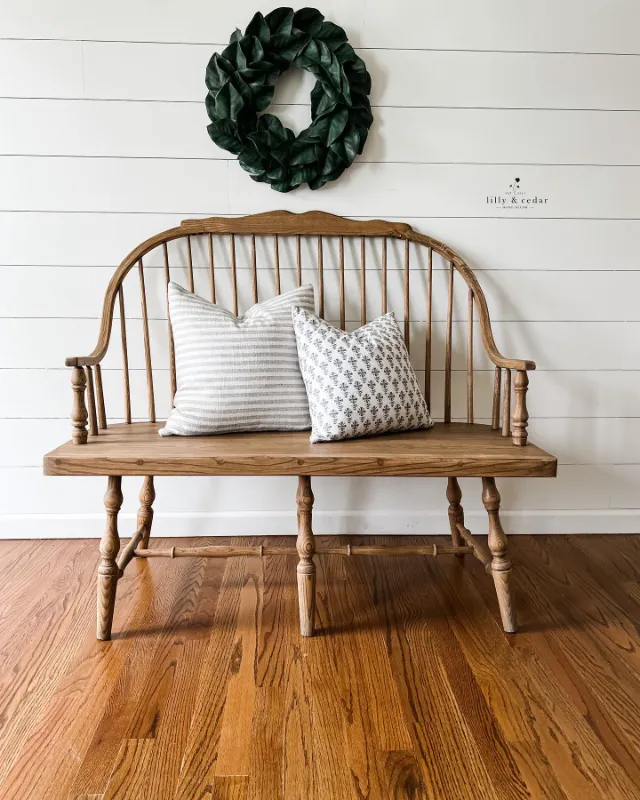
Materials Needed:
- Wood stain in weathered gray
- White paint
- Wire brush
- Polyurethane finish
- Clean rags
A simple wooden bench transforms into farmhouse perfection with the right technique. Start by wire brushing the wood to raise the grain texture. Apply weathered gray stain to the seat surface for a rustic appearance.
Paint the legs and base in crisp white for contrast. Lightly distress painted areas to reveal wood underneath. This two-tone finish creates authentic farmhouse charm that looks professionally done.
7. Mid-Century Modern Cabinet

Materials Needed:
- Tapered wooden legs
- Leg mounting plates
- Teak oil or stain
- Screwdriver
- Level
Add tapered legs to a boxy thrift store cabinet for instant mid-century modern style. This simple swap completely changes the furniture silhouette. Remove existing legs or base if present.
Attach mounting plates to the bottom corners and screw in your new tapered legs. Apply teak oil to enhance wood grain and achieve that authentic 1960s aesthetic. The elevated profile also makes cleaning underneath much easier.
8. Fabric-Wrapped Dresser Drawers

Materials Needed:
- Coordinating fabric quarters
- Spray adhesive
- Clear acrylic sealer
- Utility knife
- Brayer or roller
Give a plain dresser personality by wrapping drawer fronts in fabric. Choose patterns that coordinate for an eclectic, designer look. Remove drawers and hardware before starting.
Apply spray adhesive evenly to both the drawer front and fabric backing. Smooth fabric carefully using a brayer to eliminate bubbles. Seal with clear acrylic spray for protection against wear and cleaning.
9. Stenciled Accent Table
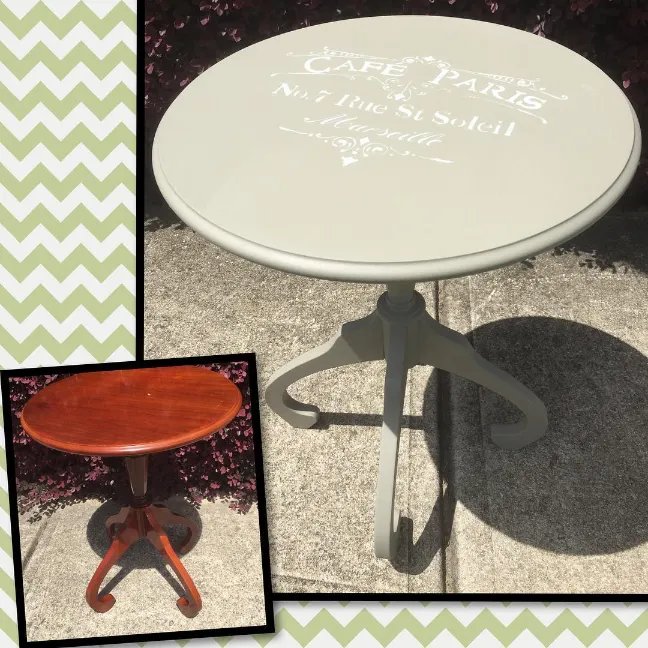
Materials Needed:
- Large mandala or moroccan stencil
- Contrasting paint colors
- Stencil brush
- Painter’s tape
- Base coat paint
A boring side table becomes bohemian beautiful with decorative stenciling. Choose intricate patterns like mandalas or moroccan tiles. Paint your base coat and let it dry completely.
Secure your stencil firmly with painter’s tape before applying contrasting color. Use a nearly dry brush in dabbing motions to prevent paint bleeding under edges. Remove the stencil immediately after finishing each section.
10. Leather-Wrapped Drawer Pulls
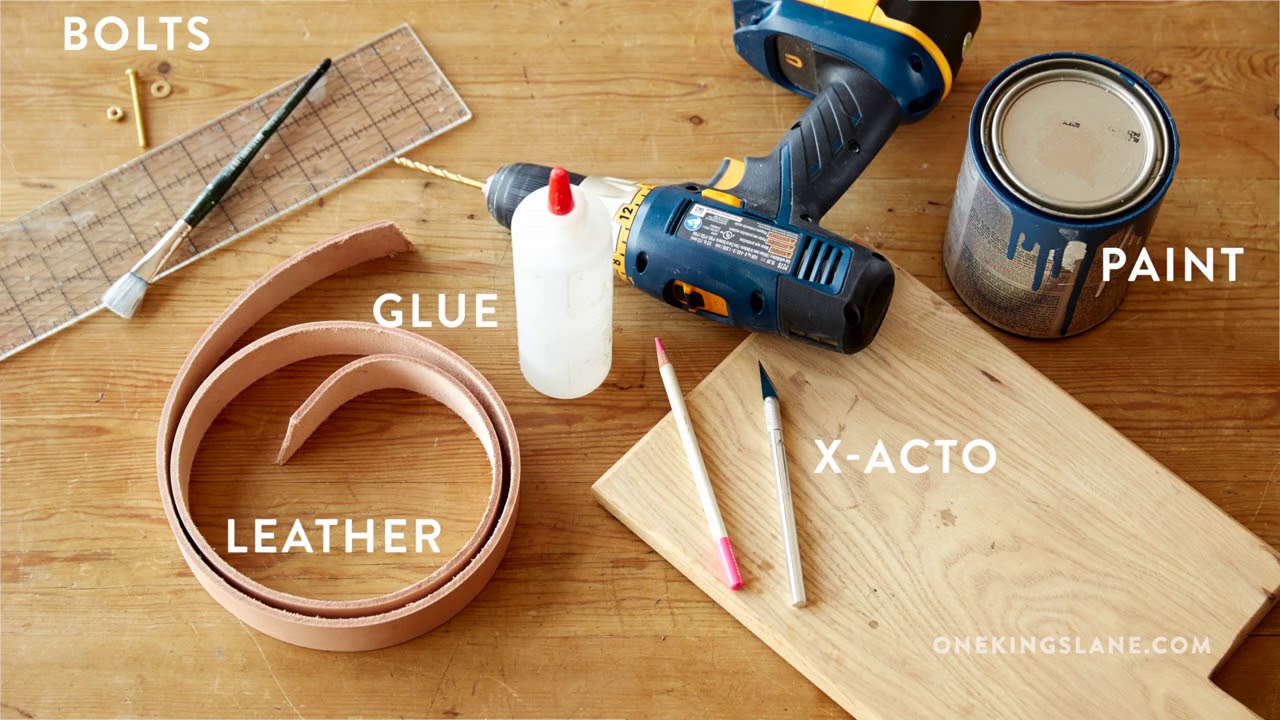
Materials Needed:
- Leather strips or old belts
- Leather hole punch
- Chicago screws
- Scissors
- Ruler
Update any dresser or cabinet with handmade leather pulls. Old leather belts from thrift stores work perfectly for this project. Cut leather into strips and fold to create loops.
Punch holes through both ends using a leather punch tool. Secure with Chicago screws through existing hardware holes. This rustic detail adds warmth and character to any furniture piece instantly.
11. Two-Tone Dining Chairs
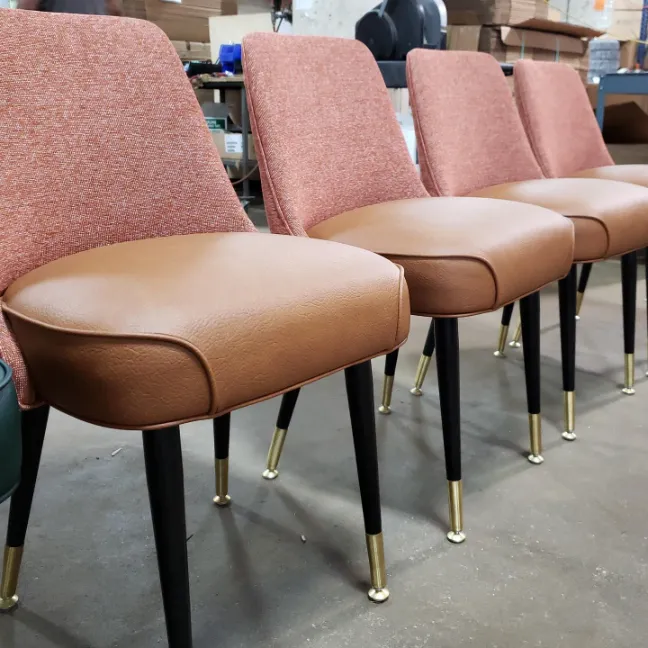
Materials Needed:
- Two complementary paint colors
- Painter’s tape
- Spray paint or brush-on paint
- Sandpaper
- Primer
Mismatched thrift store dining chairs become a cohesive set with strategic painting. Choose two colors that complement your dining space. Paint chair backs in one color and seats in another.
Alternatively, paint alternating chairs in different colors for playful variety. This technique works especially well with Windsor or ladder-back styles. The unified color scheme ties random finds together beautifully.
These projects make excellent DIY handmade gifts for housewarming celebrations too.
12. Gilded Frame Mirror
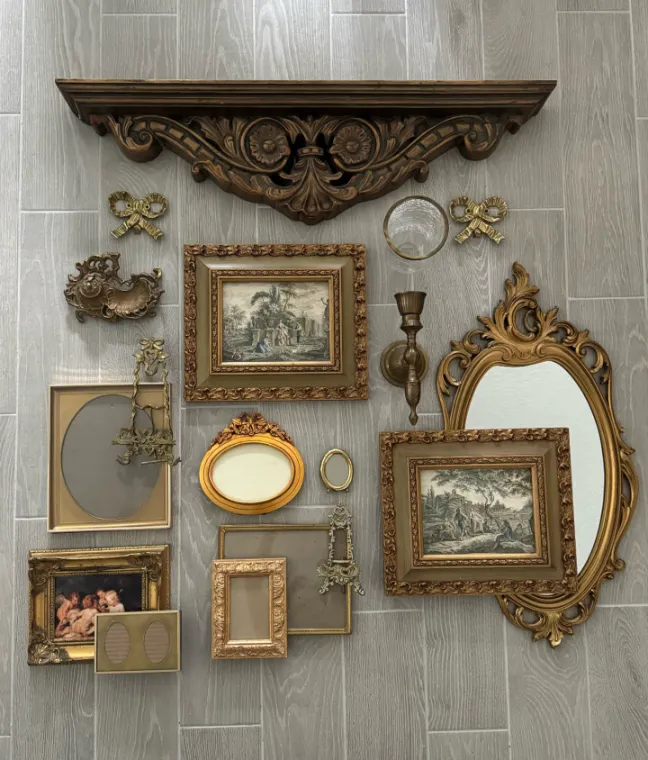
Materials Needed:
- Gold leaf sheets or gilding wax
- Adhesive sizing
- Soft brush
- Sealer
- Base coat paint
Transform a dated framed mirror into an elegant statement piece with gilding techniques. Gold leaf creates an authentically luxurious appearance. Apply red or black base coat to the frame first.
Brush on adhesive sizing and wait until tacky before applying gold leaf. Gently press gold leaf sheets onto the surface and brush away excess. Seal to protect the delicate finish from tarnishing.
13. Cane Webbing Cabinet Doors
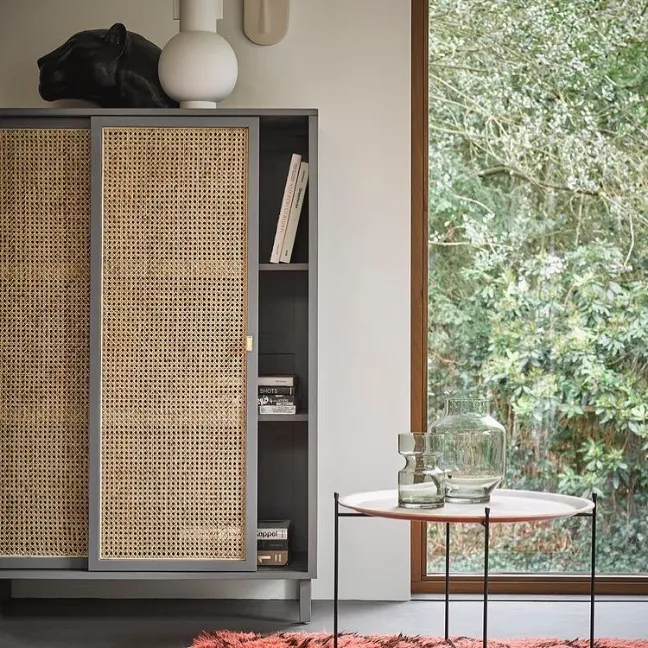
Materials Needed:
- Pre-woven cane webbing
- Staple gun
- Wood spline and glue
- Jigsaw
- Sandpaper
Add trendy cane webbing to cabinet doors for instant boho-coastal vibes. This natural material transforms basic storage into stylish display. Cut out the center panel of solid doors carefully.
Soak cane webbing in warm water for thirty minutes to make it pliable. Stretch cane across the opening and secure with wood spline pressed into routed channels. The result looks like expensive designer furniture.
14. Color-Blocked Bookcase

Materials Needed:
- Three to four paint colors
- Painter’s tape
- Small foam rollers
- Drop cloth
- Primer
Create a modern art statement by color-blocking sections of a plain bookcase. Choose colors that repeat throughout your room decor. Tape off geometric sections on the back panel.
Paint each blocked area in different coordinating colors for graphic impact. Extend color blocking to shelves or side panels for added drama. This technique turns basic furniture into sculptural art instantly.
15. Reclaimed Wood Tabletop
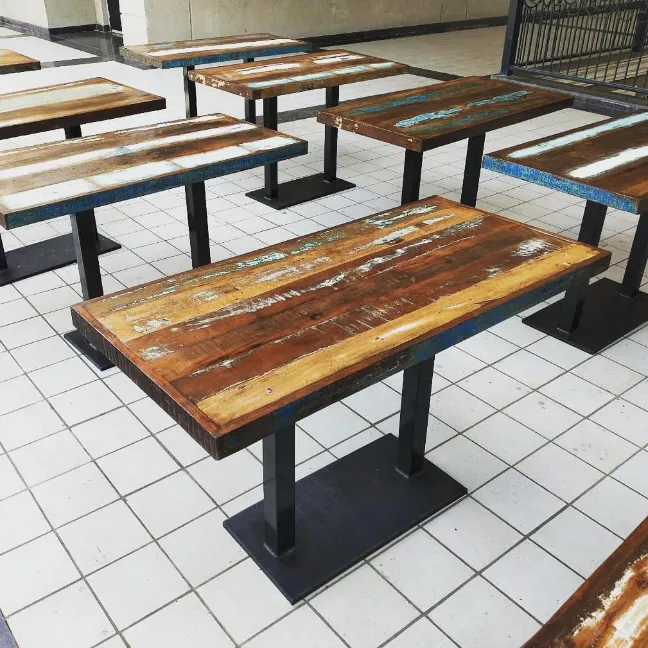
Materials Needed:
- Reclaimed wood planks
- Wood glue
- Clamps
- Sandpaper
- Polyurethane or wax finish
Replace a damaged tabletop with beautiful reclaimed wood planks. This upgrade adds rustic character and tells a unique story. Arrange planks on the existing table base until satisfied.
Glue and clamp pieces together securely, letting adhesive cure overnight. Sand the surface smooth and apply your preferred finish. This technique works for dining tables, coffee tables, and desks equally well.
16. Moroccan-Inspired Carved Panel

Materials Needed:
- Decorative wood overlay panel
- Wood glue or construction adhesive
- White paint
- Sandpaper
- Measuring tape
Attach a decorative carved panel to plain dresser fronts or headboards. These overlays are available at craft stores in various patterns. Cut panels to fit your furniture dimensions precisely.
Adhere using strong wood glue and clamp until fully set. Paint everything white for a Moroccan-inspired look that appears custom-made. This simple addition creates expensive designer appeal instantly.
17. Industrial Pipe Shelving Unit
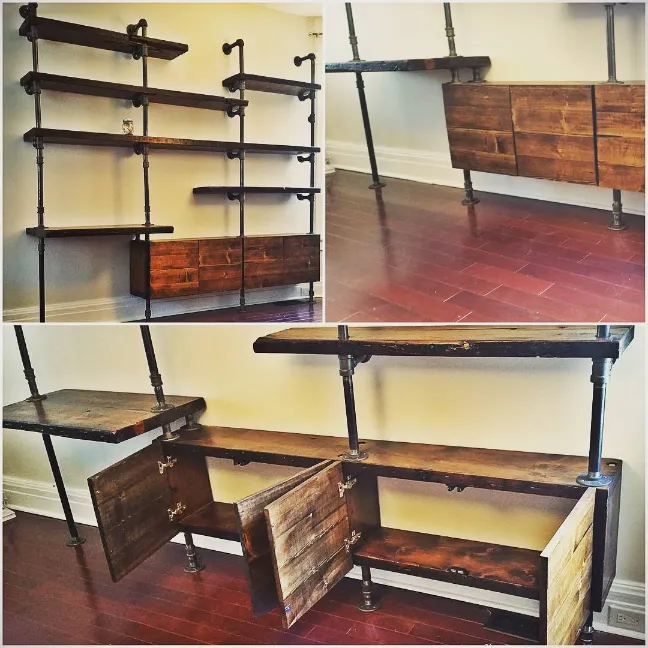
Materials Needed:
- Black iron pipe fittings
- Reclaimed wood boards
- Pipe flanges
- Screws and anchors
- Level
Convert a basic bookshelf into industrial-style shelving using pipe fittings. Remove existing sides and attach pipe supports instead. Assemble pipe framework using flanges, elbows, and straight sections.
Mount flanges to wall studs for maximum stability. Rest reclaimed wood shelves on pipe supports or drill holes for pipes to pass through. This look suits modern lofts and rustic spaces alike.
For more creative ideas, check out these home craft projects quick that transform any space.
18. Velvet Upholstered Bench

Materials Needed:
- Velvet fabric (2 yards)
- High-density foam
- Batting
- Staple gun
- Spray adhesive
Elevate a wooden bench with luxurious velvet upholstery. This fabric adds instant glamour and sophisticated texture to any piece. Cut foam to match your bench seat dimensions exactly.
Wrap with batting and then stretch velvet tightly over everything. Staple fabric underneath the bench, pulling firmly for a smooth professional finish. Jewel tones like emerald or sapphire create stunning impact.
19. Painted Floral Dresser

Materials Needed:
- Base coat paint
- Acrylic craft paints
- Various artist brushes
- Clear topcoat sealer
- Transfer paper (optional)
Hand-paint floral designs on dresser fronts for one-of-a-kind artistic furniture. Even simple flower shapes create beautiful results. Paint your base coat and let it dry completely.
Sketch or transfer floral patterns lightly in pencil before painting. Use various brush sizes for petals, stems, and leaves. Seal finished artwork with clear topcoat to protect your masterpiece from wear.
You can also apply similar artistic techniques when creating DIY canvas wall art ideas for coordinating room decor.
20. Whitewashed Pine Armoire
Materials Needed:
- White latex paint
- Water for diluting
- Clean rags
- Sandpaper
- Clear wax finish
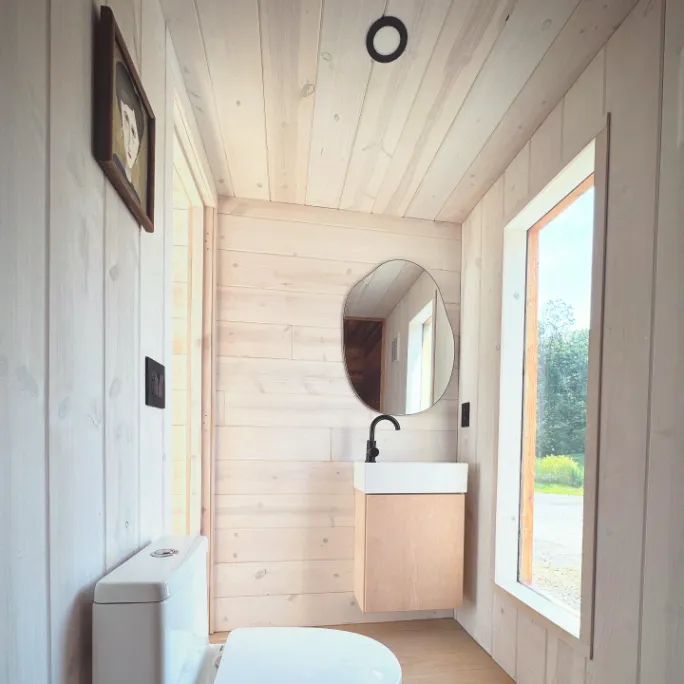
Create coastal cottage charm by whitewashing a dark wood armoire. This technique allows wood grain to show through beautifully. Mix paint with water at a 1:1 ratio for translucent coverage.
Brush mixture onto wood following the grain direction. Wipe away excess immediately with clean rags. Apply additional coats for more opacity or leave lighter for rustic appeal.
Seal with clear wax for protection. These transformations also make wonderful handmade gift craft ideas for friends who love unique furniture.
These 20 thrift store furniture makeover ideas that will blow your mind prove that stunning home decor doesn’t require expensive shopping trips. With creativity and basic supplies, you can transform forgotten pieces into treasured furniture. Grab your paintbrushes and sandpaper and start creating!
Share your favorite makeover ideas in the comments below!

21. Three Finishes That Show Age Instead of Hiding It
Paint is not the only route. These three finishes work on any solid wood piece you pull out of a thrift store.
Strip Back to Natural Wood
Plenty of vintage dressers and cabinets hide solid wood under dated finishes. Strip the old paint, then apply wood conditioner before the stain so softer species like pine absorb evenly instead of going blotchy. Seal with several coats of polyurethane for a surface that survives daily use.
Coastal Weathered Layers
Rub Vaseline or candle wax onto the spots you want to wear through, then paint over everything in light blue and white. Sanding afterwards lifts the paint only where the resist sat, so the layer underneath shows and the piece reads like sun-bleached driftwood. Rope hardware completes the nautical look.
Antique Glaze
Brush antiquing glaze over cured paint and work it into grooves and carvings with a small detail brush, then wipe the flat surfaces clean with a soft cotton rag. The glaze stays in the detail and gives a carved or moulded piece instant age. Finish with a protective topcoat.