25 DIY Wreath Ideas for Front Door (Every Style and Season)
Want to give your front door an instant makeover without spending a fortune? A beautiful handmade wreath is the perfect solution to boost your curb appeal and showcase your personal style. Whether you love rustic farmhouse vibes, modern minimalist designs, or seasonal decorations, there’s a wreath project waiting for you.
These 25 DIY wreath ideas for front door displays will inspire you year-round. Let’s dive in…
1. Rustic Grapevine Base

- Grapevine wreath base
- Burlap ribbon
- Faux greenery sprigs
- Hot glue gun
The grapevine wreath serves as a versatile foundation for countless designs. Start by wrapping burlap ribbon loosely around the base, securing it with hot glue at intervals. Add faux eucalyptus or olive branch sprigs to one side for an asymmetrical look.
This creates a beautiful farmhouse aesthetic that works in any season.
2. Colorful Spring Tulip

- Wire wreath frame
- Artificial tulips (various colors)
- Green floral tape
- Wire cutters
Nothing says spring like a vibrant tulip wreath bursting with color. Trim your artificial tulip stems to about 4 inches and begin attaching them to the wire frame. Work in one direction, layering the blooms tightly together.
Use floral tape to secure stems and create a full, lush appearance. Mix pink, yellow, and white tulips for a cheerful rainbow effect. This wreath pairs wonderfully with other fun crafts to make at home during springtime weekends.
3. Elegant Boxwood Circle

- Foam wreath form
- Preserved boxwood branches
- Floral pins
- Satin ribbon
The classic boxwood wreath brings timeless elegance to your entryway. Push preserved boxwood sprigs into the foam form, overlapping them slightly for full coverage. Work around the entire form until no foam shows through.
Secure any loose pieces with floral pins for extra stability. Finish with a simple satin bow at the top for a sophisticated touch that transitions beautifully between seasons.
4. Summer Sunflower Burst

- Straw wreath base
- Large artificial sunflowers
- Raffia ribbon
- Hot glue gun
Create a stunning sunflower wreath that captures summer’s warmth and energy. Position your largest sunflower as the focal point, then arrange smaller blooms around it. Hot glue each flower head directly to the straw base for a secure hold.
Add raffia bows to enhance the country charm. This cheerful design works perfectly as one of your home craft projects quick to complete in under an hour.
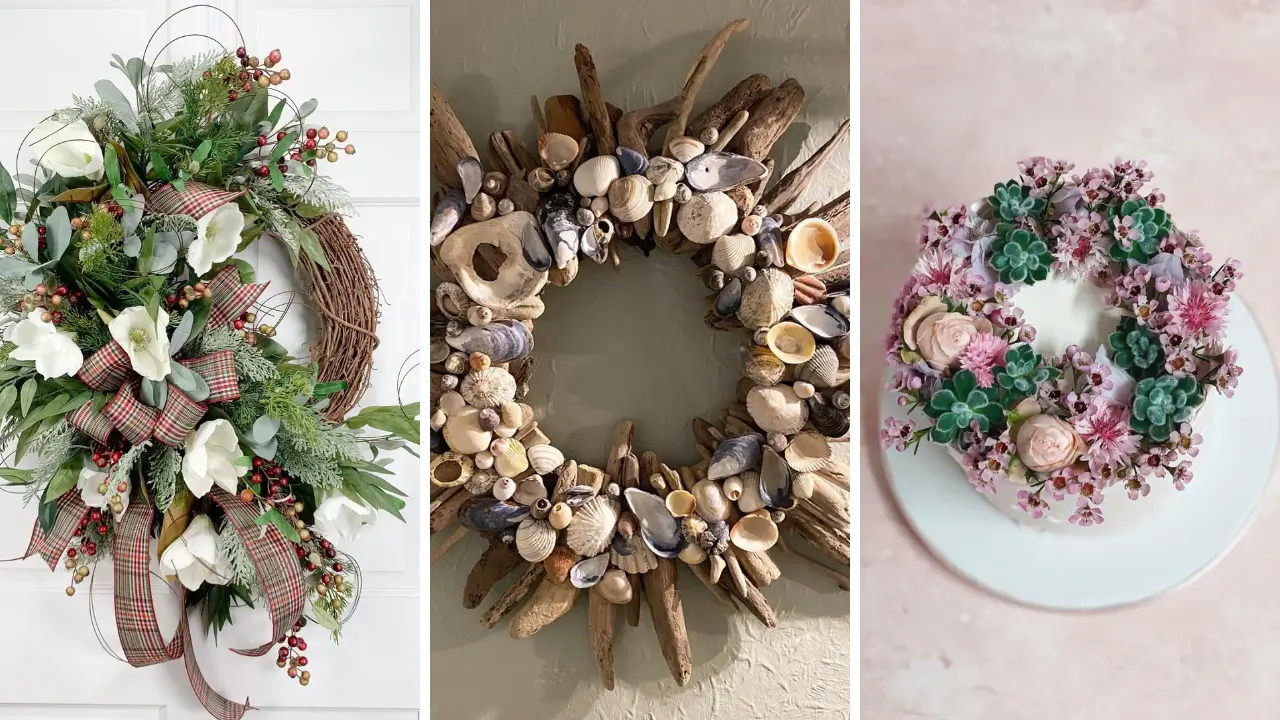
5. Coastal Driftwood Beauty

- Small driftwood pieces
- Heavy-duty wire
- Seashells
- Starfish accents
Bring beach vibes to your doorstep with a natural driftwood wreath. Arrange driftwood pieces in a circular pattern, wiring them together at connection points. Attach seashells and starfish using hot glue for coastal decoration.
Leave some natural gaps to showcase the organic beauty of the wood. This wreath makes an excellent year-round statement for coastal or nautical-themed homes.
6. Patriotic Red White Blue

- Foam wreath form
- Red, white, blue burlap
- Star ornaments
- Straight pins
Celebrate Independence Day with a festive patriotic wreath. Cut burlap strips about 3 inches wide and scrunch them into ruffles. Pin alternating colors onto the foam form in sections.
Add metallic star ornaments throughout for sparkle and shine. This flag-inspired design looks stunning from Memorial Day through Labor Day celebrations.
7. Autumn Harvest Bounty

- Grapevine wreath
- Mini pumpkins and gourds
- Fall leaves
- Berry sprigs
Welcome fall with a bountiful harvest wreath featuring seasonal favorites. Wire mini pumpkins and faux gourds onto your grapevine base. Tuck colorful fall leaves and orange berry sprigs between the vegetables.
Create visual interest by varying heights and textures. This design celebrates the autumn season while maintaining an elegant farmhouse feel.
8. Spooky Halloween Spider
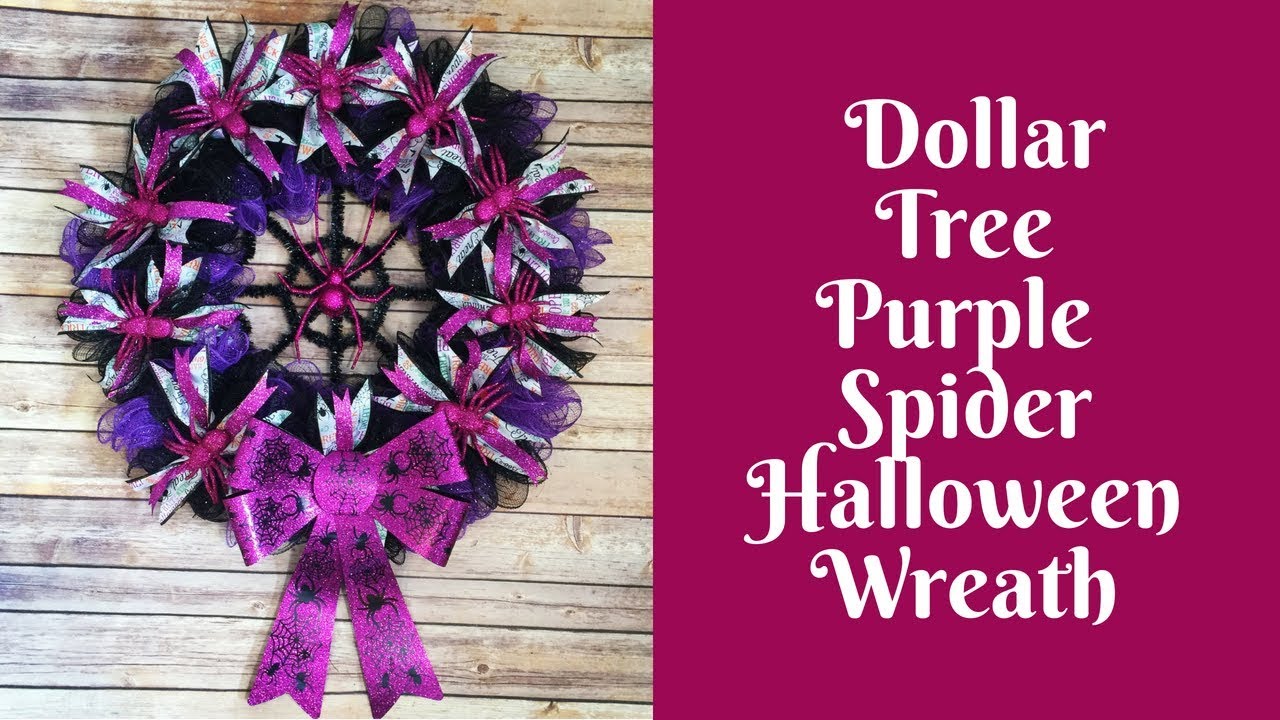
- Black wreath form
- Stretchy spider web
- Plastic spiders
- Orange LED lights
Create a creepy spider web wreath that thrills trick-or-treaters. Stretch white spider web material across and around your black wreath form. Position plastic spiders strategically throughout the webbing.
Weave battery-operated orange LED lights for an eerie nighttime glow. This Halloween statement piece adds instant spooky atmosphere to your front door.
9. Classic Evergreen Christmas

- Fresh pine branches
- Wire wreath frame
- Floral wire
- Red berries and pinecones
Nothing beats a traditional evergreen wreath for holiday charm. Bundle fresh pine branches and wire them to your frame, overlapping layers. Continue adding bundles until the frame is completely covered.
Attach natural pinecones and red berry clusters for classic decoration. The fresh pine scent welcomes guests with holiday warmth. This timeless design also makes beautiful handmade gift craft ideas for neighbors.
10. Modern Hoop Minimalist

- Gold or brass hoop
- Faux eucalyptus stems
- Velvet ribbon
- Floral tape
Embrace contemporary style with a sleek hoop wreath. Attach eucalyptus stems to one section of the hoop using floral tape. Leave most of the metallic hoop visible for modern appeal.
Add a velvet ribbon hanger at the top. This minimalist design suits modern farmhouse and Scandinavian decor perfectly.
11. Romantic Peony Dream

- Wire wreath frame
- Large faux peonies
- Rose stems
- Floral wire
Design a romantic floral wreath featuring lush peonies in soft pink and white. Arrange your largest blooms first, spacing them evenly around the frame. Fill gaps with smaller roses and greenery sprigs.
Wire each stem securely to prevent movement. This feminine design creates an enchanting welcome for spring and summer months.
12. Lavender Provence Style

- Foam wreath form
- Dried lavender bundles
- Purple ribbon
- Floral pins
Create a fragrant lavender wreath inspired by French countryside gardens. Pin small lavender bundles onto the foam form, angling them in one direction. Continue around the entire wreath until fully covered.
Add a flowing purple ribbon bow as the finishing touch. This wreath brings natural fragrance and beautiful purple color to your entryway.
13. Succulent Garden Ring

- Moss-covered wreath form
- Faux succulent picks
- Floral pins
- Hot glue gun
Design an eye-catching succulent wreath that looks alive without any watering. Push faux succulents into the moss form, varying colors and sizes. Create clusters of different succulent varieties for realistic garden appeal.
Secure loose pieces with additional hot glue. This low-maintenance design thrives outdoors in any weather condition.
14. Rustic Cotton Boll

- Grapevine wreath
- Cotton boll stems
- Eucalyptus leaves
- Burlap bow
Achieve farmhouse perfection with a cotton boll wreath. Insert cotton stems into the grapevine, clustering them on one side. Add silvery eucalyptus leaves around the cotton for contrast.
Finish with an oversized burlap bow. This neutral design complements any exterior color scheme beautifully.
15. Winter Wonderland White

- White flocked branches
- Wire wreath frame
- Silver ornaments
- Glitter spray
Create a snowy winter wreath using flocked white branches. Wire branches to the frame, building outward for fullness. Nestle silver ornament balls throughout the branches.
Spray lightly with glitter for icy sparkle. This elegant winter design transitions beautifully from Christmas through February.
16. Citrus Slice Summer

- Foam wreath form
- Dried citrus slices
- Yellow ribbon
- Greenery sprigs
Dry orange and lemon slices in your oven for this cheerful citrus wreath. Attach dried slices with hot glue, overlapping them slightly around the form. Tuck fresh greenery between the fruit slices for color contrast.
Add a bright yellow bow at the top. This summer celebration wreath smells wonderful and looks incredibly unique.
17. Magnolia Leaf Elegance

- Wire wreath frame
- Faux magnolia leaves
- Floral wire
- Magnolia bloom
Layer glossy magnolia leaves for a sophisticated Southern-inspired wreath. Wire individual leaves to the frame, overlapping them in the same direction. Continue until the frame is fully covered with lush greenery.
Add one large magnolia bloom as a stunning focal point. This timeless design works beautifully year-round for traditional homes.
18. Yarn Wrapped Rainbow

- Foam wreath form
- Colorful yarn skeins
- Scissors
- Hot glue gun
Wrap vibrant yarn around your foam form in rainbow color sections. Secure yarn ends with hot glue to prevent unraveling. Create smooth, even wrapping by keeping yarn tight and overlapping edges slightly.
Transition between colors for gradient effect. This playful design adds instant color and texture to any front door.
19. Vintage Book Page

- Foam wreath form
- Old book pages
- Straight pins
- Tea stain (optional)
Transform old books into a literary masterpiece wreath. Roll or fold book pages into cones and pin them into the foam form. Work in rows, layering pages tightly together until fully covered.
Tea-stain pages beforehand for vintage appeal. This upcycled creation pairs perfectly with thrift store furniture makeover ideas for cohesive vintage decor.
20. Felt Flower Garden

- Foam wreath form
- Wool felt sheets
- Hot glue gun
- Sharp scissors
Cut and roll wool felt into roses, peonies, and dahlias of various sizes. Glue felt flowers onto the wreath form, clustering colors together. Add felt leaves between flowers for realistic garden appeal.
Layer different flower sizes for depth and interest. This handcrafted design showcases your creativity beautifully. It also makes wonderful DIY handmade gifts for friends.
21. Natural Pinecone Cluster

- Wire wreath frame
- Various sized pinecones
- Hot glue gun
- Jute twine
Gather pinecones in different sizes from small to large for this natural wreath. Glue largest pinecones to the frame first as your base layer. Fill gaps with medium and small cones until no wire shows.
Add jute twine hanger for rustic completion. This woodland-inspired design brings natural beauty to your doorstep.
22. Ribbon Loop Explosion

- Wire wreath frame
- Wired ribbon (multiple patterns)
- Pipe cleaners
- Scissors
Create fluffy ribbon loops and attach them with pipe cleaners to your wire frame. Mix coordinating ribbon patterns for visual interest. Work around the frame, fluffing loops as you go for maximum fullness.
Layer loops in different directions. This festive design works for any holiday by simply changing ribbon colors.
23. Seashell Beach Memory

- Foam wreath form
- Collected seashells
- Craft sand
- Hot glue gun
Cover your foam form with craft sand using spray adhesive for beach texture. Glue seashells in clusters, layering different sizes together. Include starfish and sand dollars as statement pieces throughout your design.
Fill small gaps with tiny shells. This coastal keepsake preserves vacation memories beautifully on your front door.
24. Hydrangea Cloud Ring

- Grapevine wreath
- Faux hydrangea heads
- Hot glue gun
- Floral wire
Attach large faux hydrangea heads to your grapevine base using hot glue. Position blooms close together for cloud-like fullness. Use blue, purple, or pink hydrangeas depending on your color scheme preference.
Secure with additional wire if needed. This romantic statement wreath creates instant elegance at your entryway.
25. Monogram Initial Letter

- Large wooden letter
- Faux moss
- Small flowers
- Hot glue gun
Cover a wooden initial letter with faux moss using hot glue. Add small flowers and greenery to one corner for accent. Choose your family initial for personalized front door decoration.
Attach ribbon or wire hanger to the back. This personalized design makes your home uniquely yours while welcoming all guests warmly.
These 25 DIY wreath ideas for front door decorating offer endless possibilities for every style and season. From rustic farmhouse to modern minimalist, you now have inspiration to transform your entryway year-round. Grab your supplies and start creating today!
Share your favorite wreath ideas in the comments below! Rate this post and let us know which design you’ll try first.