25 DIY Storage Ideas Small Spaces That Work

Are you constantly battling clutter in your tiny apartment or cramped bedroom? Living in a small space doesn’t mean you have to sacrifice organization. The secret lies in creative storage solutions that maximize every inch of your home.
These 25 DIY storage ideas for small spaces that actually work will transform your cluttered corners into functional, stylish areas. From vertical solutions to hidden compartments, you’ll find projects for every skill level. Let’s dive in…
1. Floating Corner Shelves

Materials Needed:
- Plywood or MDF boards
- L-brackets or floating shelf hardware
- Wood stain or paint
- Sandpaper
- Wall anchors and screws
Transform wasted corner space into valuable storage with floating corner shelves. These shelves utilize awkward angles that typically collect dust. Cut your plywood into triangular shapes and sand the edges smooth.
Mount the brackets at your desired height, ensuring they’re level. Apply your chosen finish before installation for a polished look. These shelves work perfectly for displaying plants, books, or decorative items.
2. Pegboard Organization Wall

Materials Needed:
- Pegboard panel
- Pegboard hooks and accessories
- Spacers or furring strips
- Paint (optional)
- Mounting hardware
A pegboard organization system offers incredibly versatile storage for any room. Mount it in your craft room, kitchen, or garage for instant organization. The holes allow endless configurations as your needs change.
Paint the pegboard before installation to match your decor. Add baskets, hooks, and shelves to create a customized storage solution. This project is one of many fun crafts to make at home that delivers practical results.
3. Under-Bed Rolling Drawers

Materials Needed:
- Plywood sheets
- Caster wheels
- Wood glue
- Screws
- Drawer pulls
The space under your bed is prime real estate for storage. Build rolling drawers that slide out easily for quick access. Measure your bed height carefully before cutting materials.
Attach four caster wheels to each drawer bottom for smooth movement. Add decorative pulls that match your bedroom style. These drawers are perfect for storing seasonal clothing, extra bedding, or shoes.
4. Magnetic Spice Rack System

Materials Needed:
- Magnetic sheet or strip
- Small magnetic containers
- Labels
- Double-sided mounting tape
Free up cabinet space with a magnetic spice rack on your refrigerator or wall. This system keeps spices visible and within reach while cooking. Purchase small magnetic tins or add magnets to existing containers.
Mount a magnetic sheet inside a cabinet door for hidden storage. Label each container clearly for quick identification. This solution works equally well for craft supplies or office items.
5. Rope-Wrapped Basket Shelving

Materials Needed:
- Plastic bins or cardboard boxes
- Thick jute or cotton rope
- Hot glue gun
- Scissors
Transform dollar store bins into stylish rope-wrapped baskets for a fraction of retail prices. Start at the bottom and coil rope tightly around each container. Apply hot glue every few inches to secure.
These baskets add texture while hiding clutter beautifully. Use them on open shelving in bathrooms, closets, or living areas. The natural rope aesthetic complements farmhouse and coastal decor perfectly.
6. Vertical Ladder Blanket Rack

Materials Needed:
- Wooden ladder or lumber for building
- Sandpaper
- Wood stain or paint
- Wall anchors
A decorative ladder rack stores blankets vertically while adding rustic charm. Lean an old wooden ladder against your wall or build one from scratch. Sand rough edges and apply your preferred finish.
Drape throws and blankets over each rung for instant access. Secure the top to the wall for safety with small L-brackets. This storage solution doubles as eye-catching decor in any living space.
If you enjoy upcycling, explore thrift store furniture makeover ideas for more inspiration.
7. Over-Door Pocket Organizer

Materials Needed:
- Fabric (canvas or cotton)
- Sewing machine or fabric glue
- Dowel rod
- Over-door hooks
Create a custom pocket organizer that fits your specific storage needs. Sew fabric pockets onto a backing material in rows. Size pockets based on what you plan to store.
Slide a dowel rod through a top hem for hanging support. Hang it over any door using standard hooks. These organizers work wonderfully for shoes, accessories, cleaning supplies, or toiletries.
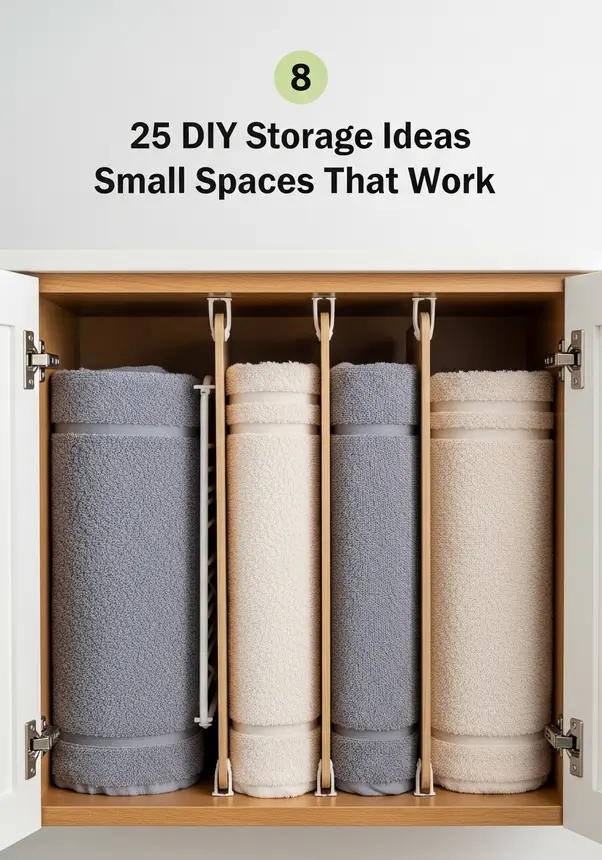
8. Tension Rod Dividers

Materials Needed:
- Adjustable tension rods
- Measuring tape
Tension rods create instant dividers without any tools or installation. Use them vertically in cabinets to organize cutting boards, baking sheets, and trays. Install them horizontally under sinks for spray bottle storage.
These versatile rods work in closets to double hanging space. Add them to drawer interiors for customizable compartments. The best part is they’re completely removable and adjustable.
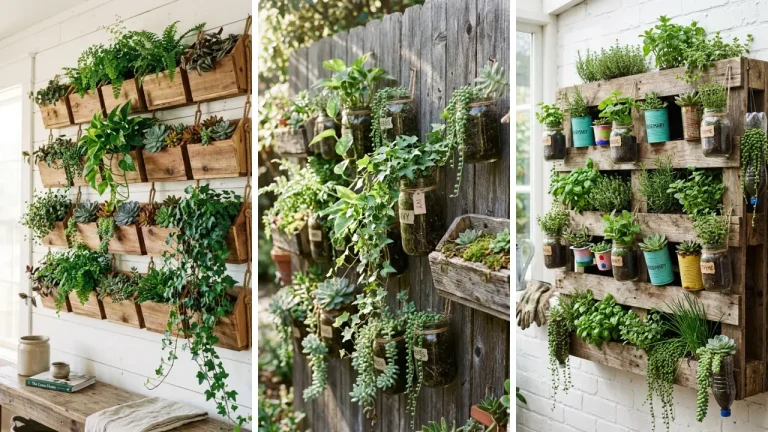
9. Mason Jar Wall Organizer

Materials Needed:
- Mason jars (various sizes)
- Wood board or plank
- Hose clamps
- Screws
- Paint or stain
This charming organizer uses mason jars to store bathroom essentials, craft supplies, or kitchen utensils. Attach hose clamps to a painted wood board at even intervals. Tighten jars into each clamp securely.
Mount the board horizontally or vertically depending on your space. The transparent jars let you see contents at a glance. This project makes excellent handmade gift craft ideas for friends who love organization.
10. Drawer Organizer Inserts

Materials Needed:
- Cardboard or thin plywood
- Fabric or contact paper
- Hot glue
- Ruler
Custom drawer dividers cost nothing when made from cardboard. Measure your drawer dimensions and plan compartment sizes. Cut pieces to fit and cover with decorative contact paper.
Glue pieces together to create a grid system that fits perfectly. These inserts transform chaotic junk drawers into organized spaces. Replace them whenever your storage needs change.
11. Hanging Fabric Storage Pods

Materials Needed:
- Embroidery hoops
- Fabric scraps
- Ribbon or rope
- Sewing supplies
Create adorable hanging storage pods using embroidery hoops and fabric. Sew a fabric pouch that gathers at the bottom. Secure the top edge inside the hoop.
Hang multiple pods at different heights for visual interest. These soft containers are perfect for small items like hair accessories, toys, or craft supplies. The fabric options allow endless customization possibilities.
12. PVC Pipe Shoe Rack

Materials Needed:
- Wide PVC pipes
- PVC pipe cutter or saw
- Sandpaper
- Spray paint
- Construction adhesive
Build a modern shoe rack from large PVC pipes cut into equal lengths. Stack and glue pipes in a honeycomb pattern. Each tube holds one pair of shoes neatly.
Spray paint the assembled rack in any color to match your space. Mount it on the wall or let it stand freely. This solution keeps shoes visible while maximizing closet floor space.
Looking for more home craft projects quick to complete? This one takes under an hour.
13. Clipboard Gallery Wall Storage

Materials Needed:
- Clipboards (various sizes)
- Paint or decorative paper
- Command strips or screws
Transform ordinary clipboards into a functional gallery wall with storage. Paint them in coordinating colors or cover with decorative paper. Arrange them in a grid pattern on your wall.
Clip important papers, to-do lists, or inspirational photos. This system keeps paper clutter off counters while creating visual interest. Swap contents easily for seasonal updates or changing priorities.
14. Crate Modular Shelving

Materials Needed:
- Wooden crates
- Wood screws
- Sandpaper
- Paint or stain
- Wall mounting hardware
Stack wooden crates to create customizable modular storage. Sand rough surfaces and apply your chosen finish. Arrange crates in configurations that fit your space and needs.
Secure crates together with screws through the interior corners. Anchor stacked units to the wall for safety. These rustic shelves add character while providing substantial storage capacity.
15. Magnetic Makeup Board

Materials Needed:
- Metal sheet or cookie sheet
- Decorative fabric or paper
- Frame (optional)
- Small magnets
- Hot glue
Free up bathroom counter space with a magnetic makeup board. Cover a metal sheet with fabric and frame it decoratively. Glue small magnets to the back of makeup compacts and containers.
Mount the board on your wall at eye level for easy access. All your cosmetics stay visible and organized vertically. This solution works beautifully for nail polishes too.
16. Tiered Lazy Susan Organizer

Materials Needed:
- Round wood boards
- Lazy Susan hardware
- Wood dowels or legs
- Wood glue
- Paint
Build a tiered lazy Susan for corner cabinets or countertops. Stack progressively smaller round platforms with dowel supports. Add spinning hardware to the base for full rotation.
This organizer eliminates the frustration of reaching into deep cabinets. Everything spins forward for easy visibility and access. Use it for spices, craft supplies, or bathroom products.
17. Suitcase Side Table Storage

Materials Needed:
- Vintage suitcase
- Hairpin legs or table legs
- Screws and drill
Convert a vintage suitcase into a side table with hidden storage. Attach hairpin legs to the bottom of a sturdy suitcase. The interior provides concealed space for blankets, books, or remotes.
This project adds unique vintage charm to any room. Find suitcases at thrift stores or estate sales for budget-friendly materials. The unexpected function sparks conversation while solving storage challenges.
18. Ceiling-Mounted Bike Storage

Materials Needed:
- Heavy-duty ceiling hooks
- Rope or bike pulley system
- Wall studs finder
- Carabiners
Reclaim floor space by storing bikes on the ceiling. Install heavy-duty hooks into ceiling joists for secure hanging. Use a pulley system for easy raising and lowering.
This solution works perfectly in garages, balconies, or even apartments. Keep bikes accessible yet out of the way when not in use. Always verify weight capacity before installation.
19. Fabric Resistance Band Holder

Materials Needed:
- Sturdy fabric
- Elastic bands
- Sewing supplies
- Hanging rod or hook
Keep workout equipment organized with a fabric resistance band holder. Sew elastic loops onto a fabric backing at intervals. Each loop holds one resistance band or yoga strap.
Roll it up for compact storage or hang it openly in your workout space. This prevents tangled bands and makes quick selection easy. Add pockets for small accessories like grip gloves.
20. Window Frame Jewelry Organizer

Materials Needed:
- Old window frame
- Small hooks
- Wire mesh or fabric
- Paint
Repurpose an old window frame into a stunning jewelry display. Remove glass and add wire mesh or fabric backing. Screw small hooks along the bottom frame for necklaces.
Use the mesh section for earrings with post backs. Paint the frame to match your bedroom decor. This organizer keeps jewelry tangle-free while serving as wall art.
21. Door-Mounted Ironing Board

Materials Needed:
- Narrow ironing board
- Heavy-duty door hooks
- Fabric cover
- Mounting bracket
Save closet space with a door-mounted ironing board. Mount folding hardware on the back of a door. The board folds flat when not in use.
Create a slim profile that disappears behind the door. Add a small hook nearby for iron storage. This keeps ironing supplies accessible without dedicating floor space.
22. Floating Nightstand Shelf

Materials Needed:
- Wood plank
- Floating shelf brackets
- Small drawer or box
- Paint or stain
Replace bulky nightstands with floating shelves in tight bedrooms. Mount a single shelf at bed height for essentials. Add a small mounted drawer underneath for concealed storage.
This solution provides necessary function without floor footprint. Choose a width that suits your needs and space. The open area below makes cleaning effortless.
23. Toilet Paper Roll Cable Organizer

Materials Needed:
- Empty toilet paper rolls
- Decorative tape or paper
- Shoebox or small box
Organize charging cables with toilet paper tubes standing in a box. Wrap tubes with decorative paper for an attractive look. Each tube holds one coiled cable neatly.
Label tubes for quick cable identification. This zero-cost solution ends the frustration of tangled cords. Place the box in a drawer for hidden organization.
This pairs well with DIY handmade gifts you might create using crafting cables.
24. Vertical Garden Tool Rack

Materials Needed:
- Wooden pallet or board
- Large hooks or tool clips
- Paint or wood sealer
- Wall mounting hardware
Mount garden tools vertically on a pallet rack in your garage or shed. Add sturdy hooks spaced for different tool widths. This keeps tools visible and prevents damage from pile storage.
Seal wood properly for moisture resistance in outdoor areas. Leave space at the bottom for larger items like rakes. Everything stays organized and within easy reach.
25. Under-Sink Pull-Out Baskets

Materials Needed:
- Wire baskets
- Drawer slides
- Plywood base
- Screws
Transform cluttered under-sink cabinets with pull-out baskets. Attach drawer slides to a plywood base that fits your cabinet. Mount wire baskets to the slides for smooth operation.
Items in the back become instantly accessible with a simple pull. This maximizes awkward plumbing spaces effectively. Use tiered baskets to work around pipes without wasting space.
These 25 DIY storage ideas for small spaces that actually work prove that limited square footage doesn’t mean limited organization. Every corner, wall, and door offers hidden storage potential waiting to be discovered. Grab your tools and materials, then start creating your customized storage solutions today!
Share your favorite ideas in the comments below and rate this post to help other small-space dwellers find these helpful projects.