How to Make Giant Paper Flowers Wall Decor (Step-by-Step)
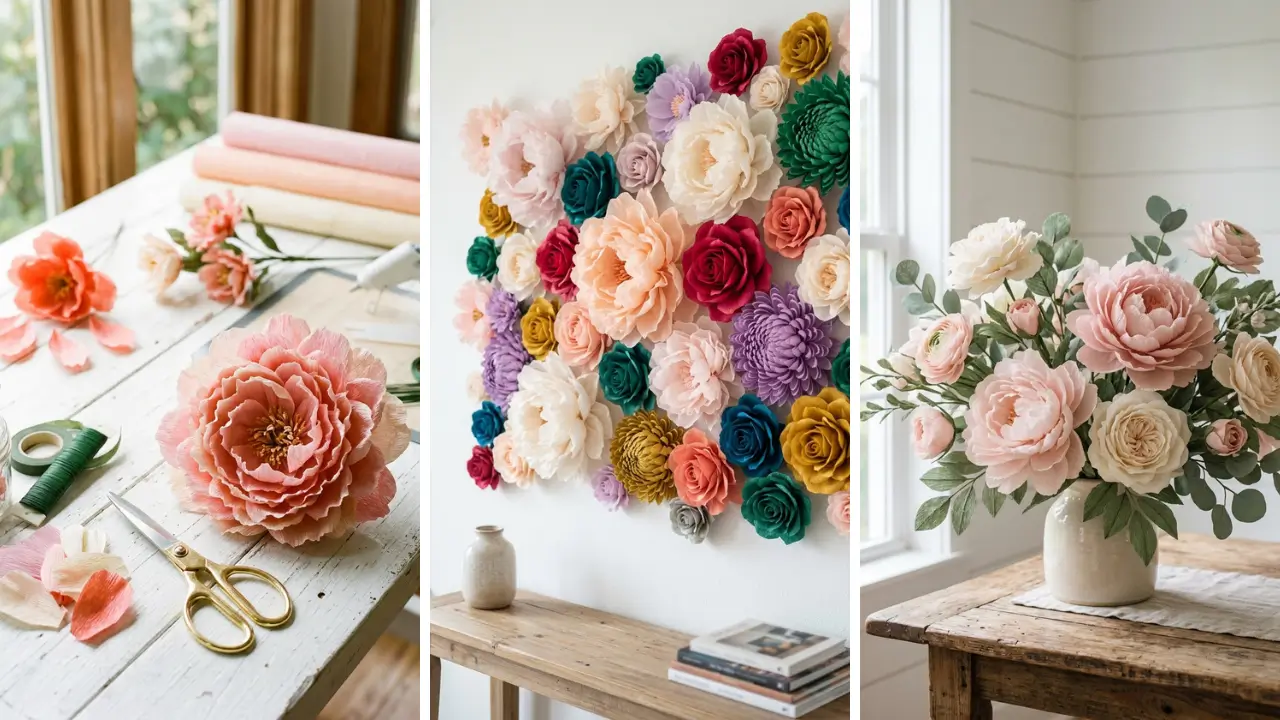
Have you ever walked into a room and felt instantly drawn to a stunning floral wall display — only to realize it was made entirely from paper? Learning how to make giant paper flowers for wall decor (step-by-step) is one of those surprisingly satisfying crafts that turns a blank wall into a showstopper. Whether you’re decorating for a party, a nursery, or just want to refresh your living space, oversized paper flowers deliver maximum visual impact with minimal cost.
The best part? You don’t need to be an artist or have fancy supplies. With a few basic materials and a little patience, you can create blooms that look like they belong in a high-end boutique — for just a fraction of the price.
In this guide, you’ll get a full step-by-step walkthrough, material tips, design ideas, and display advice to help you nail this project from start to finish.
What You Need to Make Giant Paper Flowers for Wall Decor

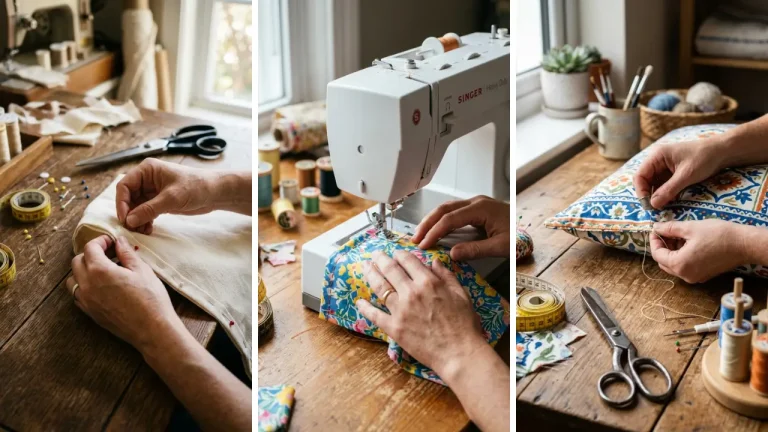
Before jumping into the steps, let’s talk supplies. Having the right materials on hand makes the whole process smoother and more enjoyable. Essential materials:
- Large cardstock or tissue paper (any color you love)
- Scissors or a craft knife
- Hot glue gun and glue sticks
- Pencil and ruler
- Floral wire or pipe cleaners (optional, for stems)
- Command strips or push pins for wall mounting
You can find most of these items at your local craft store, or even repurpose what you have at home. Looking for budget-friendly options? There are tons of dollar store crafts ideas that work perfectly for this project — tissue paper from dollar stores is especially great for giant flowers.
Cardstock is ideal if you want stiffer, more structured petals. Tissue paper, on the other hand, gives you that soft, airy look that’s perfect for nurseries or romantic bedroom decor. Pick your paper based on the vibe you’re going for.
Step-by-Step: How to Make Giant Paper Flowers for Wall Decor

Now for the main event. Follow these steps carefully and you’ll have a beautiful bloom ready to hang in no time.
Step 1: Cut Your Petal Templates
Start by drawing a petal shape on cardstock — think of a rounded teardrop. Cut out one template petal, then use it to trace and cut multiple petals. For a large flower, you’ll typically need 8 to 14 petals, depending on how full you want it to look.
Make two sizes: larger petals for the outer layer and slightly smaller ones for the inner layers. This layering technique is what gives the flower that realistic, dimensional look.
Step 2: Shape the Petals

Lay each petal flat and curl the top edge gently around a pencil or dowel. This gives the petal a natural curve. For tissue paper flowers, you can softly scrunch and then smooth out the paper for a more organic texture.
You can also fold the base of each petal slightly inward to create a cup shape. This helps the petals stand out from the center when assembled.
Step 3: Build the Flower Base
Cut a circle from cardstock — about 4 to 6 inches in diameter. This will be the base that holds all your petals together. Using your hot glue gun, start attaching the largest petals around the outer edge of the circle, overlapping them slightly.
Work your way inward, layering smaller petals as you go. Press each petal firmly into the glue and hold for a few seconds until set. Take your time here — the layering is what makes the flower look lush and full.
Step 4: Create the Center

The flower center is the finishing touch that ties everything together. You can make a rolled paper rosette by cutting a long strip of paper, making small snips along one edge, and then rolling it tightly from one end. Glue the end to secure it, then glue the whole rosette into the center of your flower.
Another fun option: crumple a small piece of tissue paper into a ball and glue it in the center for a softer, more casual look. Get creative — this is your flower!
Step 5: Mount Your Flower on the Wall
Once your flower is fully assembled and the glue has dried, it’s time to hang it. Use Command strips on the back for a damage-free option, or simply push a pin through the center of the base into the wall. Arrange multiple flowers in a cluster at varying heights for a dramatic gallery-style display.
For an eye-catching arrangement, mix different sizes and colors. Try a gradient from blush pink to deep burgundy, or go bold with tropical colors like coral, yellow, and teal.
Design Tips to Elevate Your Giant Paper Flower Wall

Making the flowers is just the beginning. How you arrange them on the wall is what really brings the whole look together. Try these layout ideas:
- Asymmetric cluster: Group flowers of different sizes on one side of the wall for a modern, organic feel.
- Full backdrop: Cover an entire wall or section with flowers for a dramatic photo wall or party backdrop.
- Garland style: Hang flowers along a string of fairy lights for a dreamy bedroom look.
- Staircase accent: Line flowers along a staircase wall for a whimsical touch.
Color choice matters a lot. Monochromatic arrangements feel elegant and cohesive, while multi-color displays feel festive and fun. Think about the existing colors in your room and build your palette from there.
This project is also a wonderful option if you’re exploring fun crafts to make at home on a weekend — even beginners can pull it off with satisfying results.
Making Giant Paper Flowers as Gifts and Special Occasion Decor

Giant paper flowers aren’t just for home decor — they make incredible gifts and event decorations too. A custom paper flower backdrop for a baby shower, bridal shower, or birthday party is guaranteed to impress guests and photograph beautifully. You can personalize flowers by matching them to the event’s color theme, or even write names or messages on the petals with a fine-tip marker.
These kinds of thoughtful, handcrafted touches are exactly what makes DIY handmade gifts so special and memorable compared to store-bought alternatives. Paper flowers also hold up surprisingly well. Unlike fresh flowers, they won’t wilt — so your decor can stay up for weeks or even be saved as a keepsake after the event.
Common Mistakes to Avoid When Making Paper Flowers

Even simple crafts have their pitfalls. Here’s what to watch out for so your flowers come out looking polished. Using too little glue: Petals can fall off if not properly secured.
Apply glue generously and press firmly for a few seconds each time. Skipping the petal shaping step: Flat petals make flat-looking flowers. Always curl or cup your petals before gluing for that beautiful 3D effect.
Making all petals the same size: Real flowers have varied petal sizes. Using two or three different sizes creates a much more realistic and visually interesting result. Rushing the assembly: Hot glue cools fast, but not instantly.
Give each layer a moment to set before adding the next. Patience here pays off big time. If you enjoy projects like this, there are plenty of other home craft projects quick enough to finish in an afternoon that can completely transform your space.
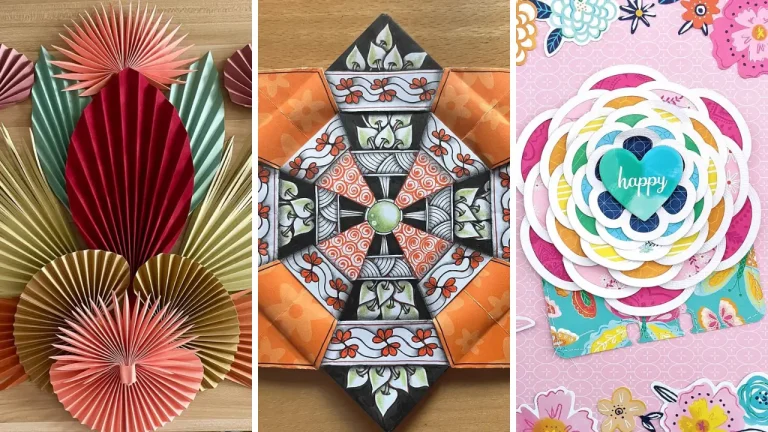
Variations and Creative Twists on Paper Flower Wall Art

Once you’ve mastered the basic technique, the creative possibilities are endless. Here are some fun variations to try. Ombre flowers: Use multiple shades of the same color — lightest on the outer petals, darkest at the center — for a stunning gradient effect.
Metallic flowers: Use gold or silver cardstock for an elegant, eye-catching look that works beautifully for holiday decor or glam parties. Mixed media: Combine paper flowers with real dried leaves, ribbon, or fabric flowers for a textured, bohemian wall display. Miniature versions: Scale down the template for smaller flowers and use them to create a detailed, intricate wall collage.
These also make great handmade gift craft ideas that recipients will actually treasure.
Conclusion
Now you know exactly how to make giant paper flowers for wall decor (step-by-step) — from cutting and shaping petals to assembling a full bloom and displaying it with style. It’s a craft that’s accessible to beginners, endlessly customizable, and delivers results that genuinely look impressive. The key takeaways: use layered petals for dimension, shape them before gluing, and take your time with assembly.
Whether you’re creating a single statement flower or an entire floral wall, the process is just as enjoyable as the final result. Paper flower walls have become one of the most popular DIY decor trends for good reason — they’re affordable, reusable, and completely unique to you. Once you finish your first flower, you’ll want to keep making them.
And honestly? That’s a very good problem to have. Ready to start crafting?
Grab your cardstock and glue gun, pick your colors, and give this project a try this weekend. Share a photo of your finished flower wall in the comments — we’d love to see what you create!
Frequently Asked Questions
Q: What is the best paper to use when learning how to make giant paper flowers for wall decor? A: Cardstock is the most popular choice because it holds its shape well and is easy to cut and curl. Tissue paper works beautifully for a softer, more delicate look.
For beginners, cardstock is generally easier to handle and gives cleaner results. Q: How long does it take to make a giant paper flower for wall decor step-by-step? A: A single large paper flower typically takes 30 to 60 minutes once you’re familiar with the process.
Your first flower might take a bit longer as you get the hang of shaping and layering the petals, but it gets faster with each one you make. Q: How do I hang paper flowers on the wall without damaging it? A: Command strips are the safest option for damage-free hanging.
Attach a strip to the back of the flower base and press it firmly against the wall. For lighter tissue paper flowers, a single push pin through the center of the base also works well. Q: Can I make giant paper flowers with kids?
A: Absolutely — this is one of the most kid-friendly crafts around. Children can help trace and cut petals (with supervision), choose colors, and decorate the petals with markers or glitter. Just handle the hot glue gun yourself to keep little ones safe.
Q: How many flowers do I need for a full paper flower wall display? A: It depends on the size of your wall and the flowers themselves. For a party backdrop or full accent wall, plan for 15 to 30 flowers in a variety of sizes.
For a smaller accent arrangement, 5 to 10 flowers is usually enough to make a bold statement.