17 Creative DIY Home Organization for Beginners: Where to Start When Everything Is Chaos Ideas
Does your home feel like a tornado just swept through every single room? You are not alone. Clutter can overwhelm even the most determined homeowner, but the solution is simpler than you think.
Home organization for beginners: where to start when everything is chaos begins with small, manageable projects that build momentum. These 17 creative DIY ideas will help you reclaim your space without breaking the bank. Let’s dive in…
1. Simple Declutter Command Center

- Cork board or magnetic board
- Picture frame
- Small baskets or containers
- Labels and markers
- Command hooks
A command center becomes your household’s organizational brain. Mount it near your entryway where everyone passes daily. This central hub keeps keys, mail, and schedules visible and accessible.
Use the cork board for pinning important documents and reminders. Attach small baskets below for storing sunglasses, wallets, and everyday essentials. The labeling system ensures every family member knows exactly where items belong.
2. Repurposed Mason Jar Storage

- Mason jars (various sizes)
- Wooden board or metal rack
- Hose clamps
- Screws and screwdriver
- Chalkboard paint
Transform ordinary mason jars into stunning bathroom or kitchen organizers. These versatile containers work perfectly for cotton balls, hair ties, spices, or craft supplies. The transparent glass lets you see contents instantly.
Attach hose clamps to a wooden board, then secure jars within them. Paint jar lids with chalkboard paint for easy labeling. If you enjoy fun crafts to make at home, this project takes under an hour to complete.
3. Vertical Closet Maximizers

- Tension rods
- Shelf dividers
- Hanging organizers
- Storage bins
Most closets waste precious vertical space above and below hanging clothes. Install tension rods to create double-hanging sections for shirts and pants. This simple change instantly doubles your storage capacity.
Add shelf dividers to keep sweater stacks from toppling over. Use hanging organizers on doors for shoes, scarves, and accessories. Clear storage bins on upper shelves keep seasonal items accessible yet contained.
4. Drawer Divider Systems
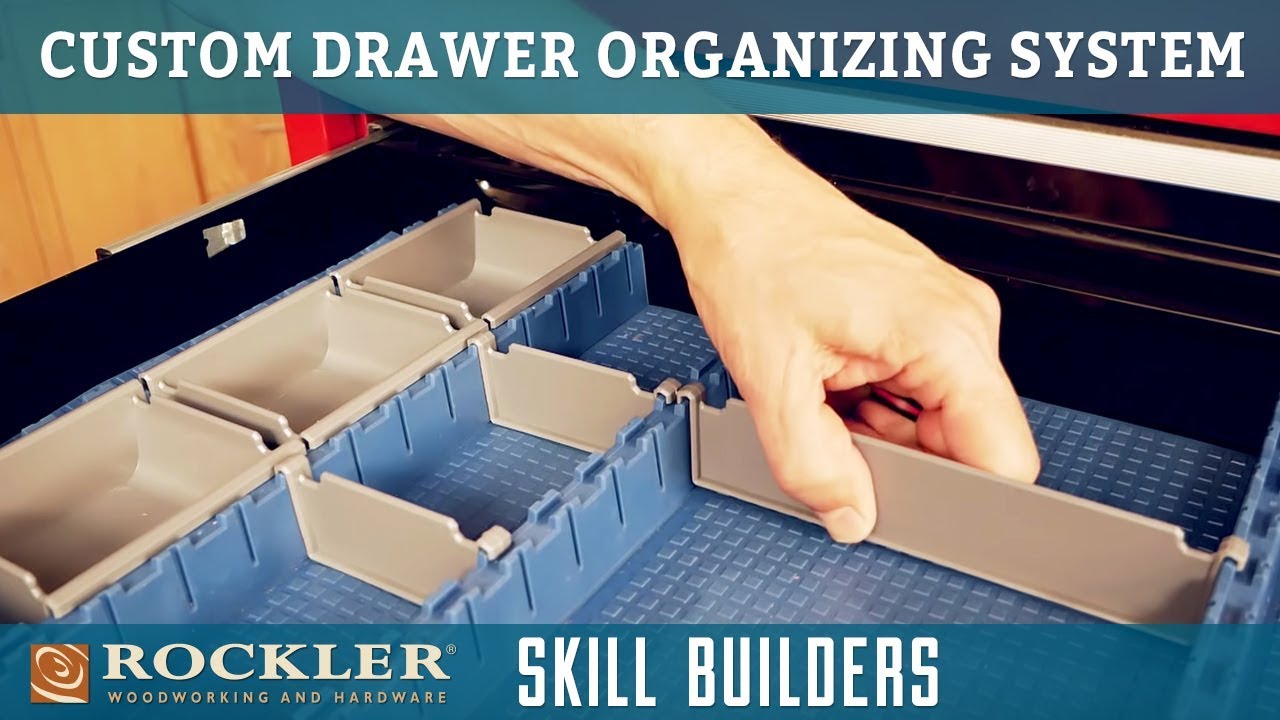
- Cardboard or foam board
- Fabric or contact paper
- Scissors and ruler
- Hot glue gun
Chaotic drawers transform into organized havens with custom divider systems. Measure your drawer interior precisely before cutting materials. Create compartments sized specifically for your belongings.
Cover cardboard dividers with decorative contact paper for a polished appearance. The hot glue secures pieces together permanently. These custom solutions cost almost nothing compared to store-bought alternatives.
5. Pegboard Wall Organizer

- Pegboard panel
- Pegboard hooks and accessories
- Spray paint
- Wall mounting hardware
- Small containers
A pegboard system offers infinitely customizable storage solutions. Install one above your desk, in the garage, or inside closets. The holes accommodate hooks, shelves, and containers that rearrange effortlessly.
Spray paint the pegboard to match your room’s color scheme before mounting. Add hooks for hanging tools, scissors, and frequently used items. Small containers attached to the board hold tiny supplies like paper clips and rubber bands.
This is one of the home craft projects quick enough to complete in one afternoon.
6. Under-Sink Cabinet Solutions

- Tension rod
- Stackable bins
- Over-cabinet-door organizer
- Lazy Susan turntable
The space beneath sinks often becomes a cluttered nightmare of cleaning supplies. A tension rod installed at the top holds spray bottles by their triggers. This simple hack frees up valuable floor space below.
Use stackable bins to corral similar products together. A lazy Susan in the corner makes reaching items at the back effortless. Door-mounted organizers add extra storage without consuming any interior space.
7. Fabric Storage Cube Makeover

- Plain fabric bins
- Fabric paint or stencils
- Iron-on labels
- Decorative ribbon
Transform boring fabric storage cubes into personalized organizers. Paint patterns using stencils for a coordinated look throughout your home. Match colors to your existing decor scheme.
Add iron-on labels to identify contents without opening each bin. Attach decorative ribbon handles for easier pulling from shelves. These customized bins make excellent DIY handmade gifts for friends who need organizing help.
8. Entry Zone Boot Tray

- Large plastic tray or boot tray
- Decorative river rocks
- Waterproof mat
- Hooks for wall mounting
Create a designated boot tray zone that catches dirt and moisture at your door. Fill a large tray with river rocks for drainage beneath wet shoes. This prevents muddy footprints from spreading throughout your home.
Install wall hooks above the tray for coats and umbrellas. The waterproof mat underneath protects flooring from any overflow. This entry system takes minutes to assemble but saves hours of cleaning.
9. Kitchen Pantry Door Rack

- Over-door wire rack
- Clear storage containers
- Label maker
- Small tension rods
Your pantry door hides valuable storage real estate that most people ignore. Install an over-door rack to hold spices, snacks, and frequently used items. This keeps everyday ingredients at eye level.
Transfer bulk items into matching clear containers for a uniform appearance. Use your label maker to identify contents and expiration dates. Small tension rods between shelves prevent items from falling when the door swings.
10. Bathroom Basket Stackers

- Woven baskets (graduated sizes)
- Wooden dowels
- Small command hooks
- Decorative tags
Stack woven baskets vertically in bathroom corners to maximize limited space. Choose graduated sizes that nest together attractively when not in use. Fill each basket with specific categories like toiletries, towels, or hair supplies.
Attach decorative tags to basket handles for quick identification. Use command hooks on walls to hang additional baskets for towels. Finding dollar store crafts ideas helps you source affordable baskets that look expensive.
11. Cable Management Box

- Decorative box with lid
- Power strip
- Cable ties
- Drill or hole punch
Tangled cords behind desks and entertainment centers create visual chaos instantly. A cable management box hides power strips and excess cord length elegantly. Drill holes in the sides for cables to enter and exit.
Place your power strip inside and route all cords through designated holes. Use cable ties to bundle wires together before they enter the box. The decorative exterior blends seamlessly with your room’s design.
12. Magazine Holder Repurposing

- Magazine holders
- Spray paint
- Adhesive labels
- Mounting tape
Standard magazine holders organize far more than just reading materials. Mount them inside cabinet doors for storing aluminum foil and plastic wrap boxes. Place them horizontally in freezers to sort frozen items vertically.
Use spray paint to unify mismatched holders into a coordinated collection. Attach adhesive labels to identify contents without searching. These versatile organizers work in offices, kitchens, bathrooms, and closets.
13. Jewelry Display Board

- Picture frame
- Decorative fabric or burlap
- Small hooks and knobs
- Wire mesh or string
Transform tangled jewelry boxes into an organized display board. Remove the glass from an old picture frame and cover the backing with fabric. This creates a decorative background for hanging accessories.
Install small hooks and knobs for necklaces and bracelets. Stretch wire mesh across the frame for earring storage. Consider creating similar pieces as handmade gift craft ideas for jewelry-loving friends.
14. Toy Rotation System

- Labeled storage bins
- Clear plastic containers
- Shelf unit
- Picture labels for children
Children overwhelmed by too many toys often play with nothing at all. A toy rotation system displays only select items while others stay stored away. This reduces clutter and renews interest in forgotten toys.
Use picture labels on bins so even pre-readers can locate and return toys properly. Keep rotation bins in clear containers stored in closets or basements. Swap toy collections weekly or monthly to maintain novelty.
15. Laundry Sorting Station

- Multiple laundry bags or baskets
- Clothing rod or hooks
- Labels
- Small shelf
Stop sorting laundry before washing by creating a sorting station in your laundry room. Hang multiple bags labeled for whites, darks, and colors. Family members sort as they undress throughout the week.
Install a clothing rod above the washer for hang-dry items. Add a small shelf for stain removers and detergent. This streamlined system eliminates sorting sessions entirely.
16. Floating Shelf Clusters

- Floating shelves (various sizes)
- Level
- Wall anchors
- Decorative boxes and baskets
Install floating shelf clusters in asymmetrical arrangements for visual interest and storage. Vary shelf lengths and heights to create dynamic wall displays. These shelves work in every room from bathrooms to living areas.
Use a level to ensure perfectly straight installation. Place decorative boxes on shelves to hide less attractive items. Mix open storage with closed containers for balanced aesthetics.
17. Daily Reset Basket System

- Large decorative baskets
- One basket per room
- Timer
- Family assignment chart
End each day with a quick reset basket routine that prevents clutter accumulation. Place one basket in every main room for collecting items that belong elsewhere. Set a timer for ten-minute family tidying sessions.
Each person grabs their assigned basket and redistributes items to proper locations. The family assignment chart rotates responsibilities weekly for fairness. This simple daily habit maintains organization without overwhelming cleaning marathons.
Home organization for beginners: where to start when everything is chaos becomes manageable with these 17 creative DIY ideas. Each project tackles a specific problem area while building your confidence and skills. Grab your baskets, bins, and labels and start creating today!
Share your favorite ideas in the comments below and rate this post to help others discover these solutions!