How to Make a Macrame Plant Hanger in 5 Simple Steps
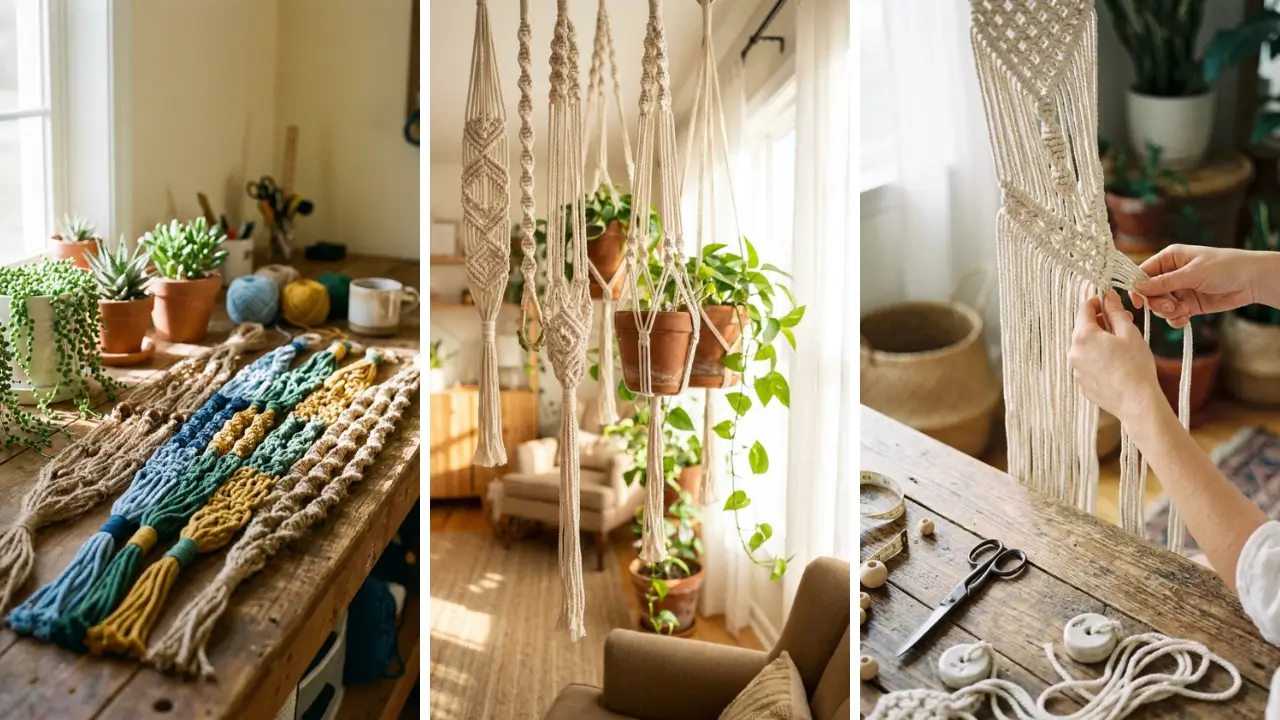
Have you ever scrolled through Instagram and wondered how those gorgeous, boho-chic plant hangers seem to effortlessly transform any space? Here’s a secret: they’re surprisingly easy to make yourself. Learning how to make a macrame plant hanger in 5 simple steps is one of the most rewarding craft projects you can tackle, even if you’ve never tied anything more complicated than your shoelaces.
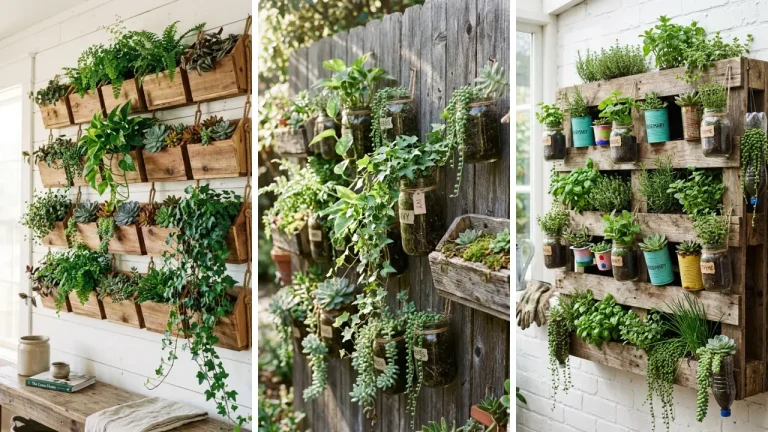
Macrame plant hangers have made a massive comeback in recent years, and for good reason. They’re affordable, customizable, and add instant character to any room. Plus, there’s something deeply satisfying about creating functional art with your own hands.
In this guide, you’ll discover everything you need to know about crafting your first macrame plant hanger. From gathering materials to mastering essential knots, I’ll walk you through each step with clear instructions that actually make sense.
By the end, you’ll have a beautiful handmade piece that’ll make your friends ask, “Wait, you made that?”
Why Macrame Plant Hangers Are Perfect for Beginners

Before diving into the steps, let’s talk about why macrame is such an accessible craft. Unlike knitting or crochet, macrame doesn’t require needles or hooks. You’re working with your hands and a few basic knots—that’s it.
Macrame is incredibly forgiving. Made a mistake? Simply untie the knot and try again.
There’s no unraveling an entire project like you might with yarn crafts. This makes it one of the most fun crafts to make at home for anyone who’s new to DIY projects. The materials are also budget-friendly.
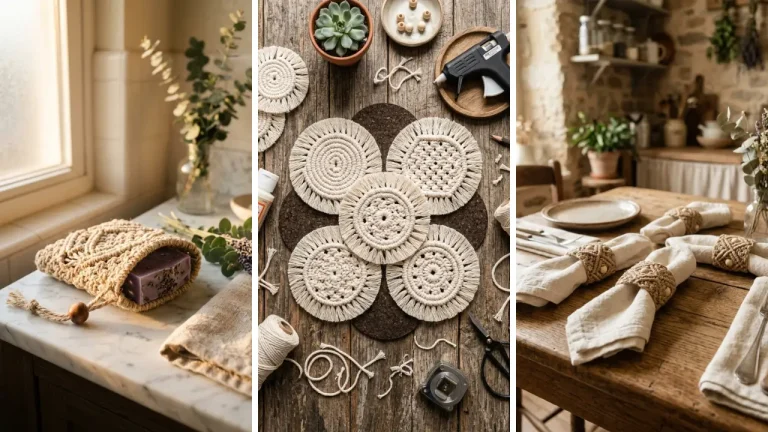
You can find macrame cord at most craft stores, dollar stores, or even repurpose cotton rope from hardware stores. A single spool can make multiple hangers, giving you plenty of room for experimentation.
Materials You’ll Need for Your Macrame Plant Hanger
Gathering the right supplies is half the battle. Here’s what you’ll need to get started: Essential materials:
- Macrame cord (3mm-5mm thickness works best for beginners)
- A wooden ring or metal hoop (2-3 inches in diameter)
- Scissors
- A tape measure or ruler
- A plant pot (to size your hanger correctly)
Optional but helpful:
- A comb or brush for creating fringe
- Masking tape (to secure your work surface)
- Beads for decoration
- A clipboard or hook to hold your project
For your first project, stick with natural cotton cord in the 4mm range. It’s easy to work with, photographs beautifully, and the knots hold securely without slipping. Looking for budget-friendly supply options?
Check out these dollar store crafts ideas that can help you save money on materials.
How to Make a Macrame Plant Hanger in 5 Simple Steps

Now for the main event. Follow these five steps carefully, and you’ll have a stunning plant hanger in about an hour.
Step 1: Cut and Prepare Your Cord

Start by cutting eight pieces of cord, each measuring approximately 8-10 feet long. Yes, this seems like a lot—but macrame knots eat up length quickly. It’s always better to have extra than to run short halfway through.
Find the center of all eight cords and fold them in half. This gives you 16 working strands hanging down from a central point. Take your wooden or metal ring and pull the folded loops through the center.
Secure the cords to the ring using a gathering knot (also called a wrap knot). Take a separate piece of cord about 2 feet long, create a loop at the top, and wrap it tightly around all the strands just below the ring. Thread the end through the bottom loop and pull the top end to secure.
Trim any excess.
Step 2: Create the First Row of Square Knots
Divide your 16 strands into four groups of four cords each. These groups will form the “arms” of your plant hanger. The square knot is the foundation of most macrame projects.
Here’s how to tie one: Take your four cords. The two middle cords are “filler” cords—they stay still. The outer cords are your “working” cords.
- Cross the left working cord over the filler cords and under the right working cord
- Take the right working cord under the filler cords and up through the loop on the left
- Pull both sides evenly to tighten
- Now reverse: cross the right cord over fillers and under the left cord
- Take the left cord under fillers and up through the loop on the right
- Pull tight—you’ve completed one square knot!
Create 4-6 square knots on each of your four cord groups, leaving about 8-10 inches of space below the gathering knot. Keep your knots consistent in tightness for a professional look.
Step 3: Form the Net Pattern with Alternating Knots

This is where the magic happens. You’ll create the “basket” that holds your plant pot using alternating square knots. Leave about 3-4 inches of space below your first row of knots.
Now, take two cords from one group and two cords from the adjacent group. Tie them together with a square knot. Repeat this around all four groups, essentially connecting them in a circle.
Leave another 3-4 inches and repeat the alternating pattern. This time, you’re reconnecting the original groups. Continue for 2-3 rows depending on how deep you want your plant basket.
Pro tip: Place your plant pot inside periodically to check the fit. The net should cradle the pot snugly without gaps that might let it slip through.
Step 4: Tie the Bottom Gathering Knot
Once you’ve created enough rows to hold your pot securely, it’s time to close the bottom. Gather all 16 cords together and tie them with another gathering knot, exactly like you did at the top. Make this knot tight and secure—it’s bearing the weight of your plant.
Some crafters add a drop of clear glue inside the knot for extra security, especially for heavier pots. This step is crucial for the structural integrity of your hanger. Take your time and ensure all cords are evenly positioned before tightening.
Step 5: Add Finishing Touches and Fringe

Trim the remaining cords below your gathering knot to your desired length. Most plant hangers look best with 6-12 inches of fringe. For a boho look, unravel each cord strand by strand and brush them out with a comb.
This creates that feathery, textured fringe you see in professional macrame pieces. Alternatively, leave the cords as-is for a cleaner, more minimalist aesthetic. You can also add wooden beads by threading them onto individual cords before creating the fringe.
Congratulations! You’ve just learned how to make a macrame plant hanger in 5 simple steps. Hang it from a ceiling hook, curtain rod, or wall bracket and admire your handiwork.
Common Mistakes to Avoid When Making Macrame Plant Hangers
Even simple projects have pitfalls. Here are the most common mistakes beginners make: Cutting cords too short. This is the number one frustration for new crafters.
Always err on the side of too long—you can trim excess, but you can’t add length. Inconsistent knot tension. Some knots tight, others loose?
Your hanger will look uneven. Practice maintaining the same pull pressure on every knot. Forgetting to measure spacing.
Eyeballing the gaps between knots often leads to an unbalanced result. Use a ruler for consistent spacing, especially while you’re learning. Ignoring cord quality.
Cheap, rough cord can fray excessively and hurt your hands. Invest in decent quality cotton cord for a better crafting experience.
Creative Variations to Try After Your First Hanger

Once you’ve mastered the basic design, the possibilities are endless. Consider these variations for your next project: Double tier hangers hold two plants at different heights. Simply create two separate baskets along the same set of cords.
Dyed cord adds vibrant color to your designs. You can dip-dye finished hangers or use pre-colored cord for a rainbow effect. Mixed materials like incorporating driftwood, copper pipe, or crystals create unique statement pieces.
If you enjoy this project, exploring more home craft projects quick enough to complete in a single afternoon is a great way to expand your creative skills. Macrame opens doors to wall hangings, keychains, jewelry, and more.
Turning Your Macrame Skills Into Meaningful Gifts

One of the best things about learning how to make a macrame plant hanger in 5 simple steps is the gift-giving potential. Handmade plant hangers make thoughtful presents for housewarmings, birthdays, or holidays. Pair your hanger with a small potted plant for a complete gift that shows real effort and care.
Succulents, pothos, and spider plants are all excellent choices that thrive in hanging positions. Looking for more inspiration? Browse these handmade gift craft ideas that complement your new macrame skills perfectly.
Combining multiple handmade items creates gift sets that feel extra special. Consider making several hangers at once—you’ll get faster with practice, and having extras on hand means you’re always prepared with a meaningful gift.
Caring for Your Macrame Plant Hanger
Your beautiful creation needs minimal maintenance, but a few tips will keep it looking fresh: Dust regularly. Macrame collects dust over time. A gentle shake or light vacuum with a brush attachment works wonders.
Keep away from moisture. While cotton cord can handle occasional splashes, constant dampness leads to mildew. Choose plants that don’t require frequent misting.
Protect from direct sunlight. UV rays can fade and weaken natural fibers over time. If possible, hang your creation in bright but indirect light.
Check knots periodically. Heavy plants can cause knots to loosen over time. Give them a gentle tug every few months to ensure everything stays secure.
The Therapeutic Benefits of Macrame Crafting

Beyond creating beautiful decor, macrame offers genuine mental health benefits. The repetitive motion of tying knots has a meditative quality that many crafters find deeply relaxing. Studies show that engaging in creative activities reduces cortisol levels and promotes mindfulness.
When you’re focused on your knots, work stress and daily worries fade into the background. This is one reason macrame has become such a popular form of DIY handmade gifts and personal crafting. It’s not just about the end product—the process itself is rewarding.
Conclusion: Start Your Macrame Journey Today
Learning how to make a macrame plant hanger in 5 simple steps is just the beginning of what could become a lifelong creative passion. You’ve now got the knowledge to create beautiful, functional art that transforms any space. Remember, perfection isn’t the goal with your first project.
Each hanger you make will be better than the last as your skills develop. The slight imperfections in handmade items are what give them character and charm. Whether you’re looking for a relaxing weekend activity, a unique gift idea, or a way to beautify your home on a budget, macrame delivers on all fronts.
The supplies are affordable, the techniques are accessible, and the results are genuinely impressive. Your turn: Gather your materials this weekend and give it a try. Once you’ve completed your first plant hanger, come back and share your experience in the comments below.
What plant will you feature? What color cord are you using? I’d love to hear about your macrame adventures!
Frequently Asked Questions
Q: How long does it take to learn how to make a macrame plant hanger in 5 simple steps? A: Most beginners complete their first plant hanger in 1-2 hours. The square knot takes about 15 minutes to master, and the rest is repetition.
With practice, you can finish a basic hanger in under 45 minutes. Q: What size cord is best for macrame plant hangers? A: For beginners, 4mm cotton cord is ideal.
It’s thick enough to see your knots clearly and strong enough to support most plant pots. Thinner 3mm cord works for smaller, decorative hangers, while 5-6mm creates a chunkier look. Q: Can I make a macrame plant hanger without a ring at the top?
A: Absolutely! You can replace the ring with a wooden dowel, driftwood, or even a simple loop knot. Some designs skip the hardware entirely and hang directly from a ceiling hook using the gathered cords.
Q: How much weight can a macrame plant hanger hold? A: A well-made hanger using quality 4mm cord can support 10-15 pounds easily. For heavier plants, use thicker cord (6mm+), double up your strands, or add extra gathering knots for reinforcement.
Q: How to make a macrame plant hanger in 5 simple steps if I’ve never done any crafts before? A: This project is perfect for complete beginners! The only skill you need is tying basic knots.
Start with a simple design, follow each step slowly, and don’t worry about perfection. Many first-time crafters surprise themselves with how quickly they pick up macrame techniques.