How to Refinish Outdoor Wood Furniture (Step-by-Step)
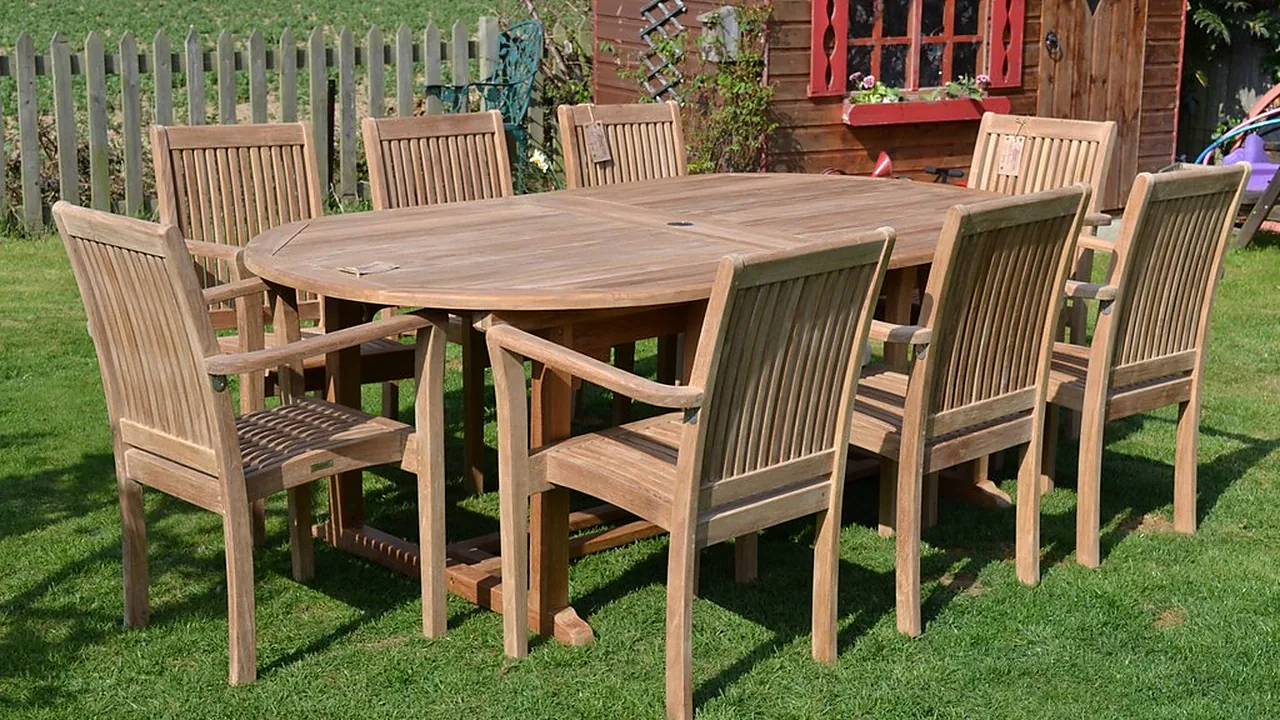
Have you ever pulled the patio chairs out in spring and found them grey, rough, and splintering at the edges? You’re not alone. Sun, rain, and big temperature swings strip the protection from outdoor wood far faster than most people expect, and a table that looked warm and honey-toned two summers ago can turn silver and fuzzy in a single season.
The good news is that weathered wood is rarely ruined wood. To refinish outdoor wood furniture, you need four jobs done in the right order: clean it, sand it, let it dry, and choose a finish that survives outside. This guide covers each step, the right sandpaper grits and finishes, and the mistakes that make a fresh finish peel early.
Why Outdoor Wood Furniture Needs a Different Approach
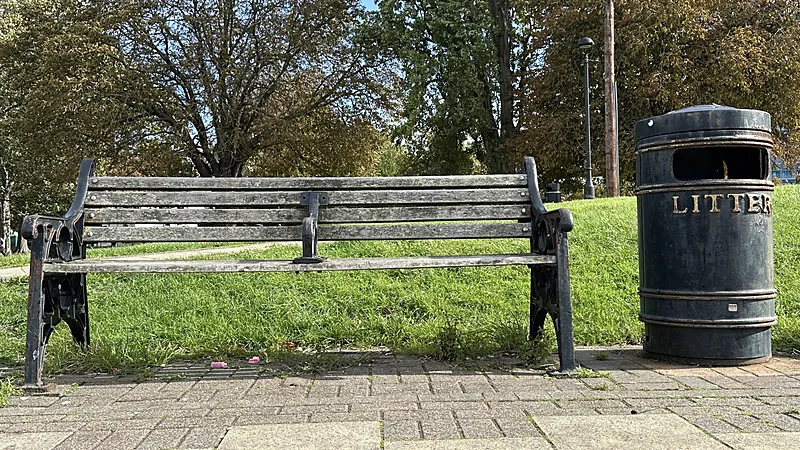
Indoor furniture mostly deals with scratches and spills. Outdoor furniture fights three things at once. Ultraviolet light breaks down lignin, the natural glue that holds wood fibers together, which is why sun-exposed surfaces turn grey and feel slightly furry. Rain and dew make the wood swell, then dry sun makes it shrink, and that constant movement opens small checks and cracks. Damp shaded spots add a third problem: mildew, which shows up as black speckles that sit on the surface and inside the loose grey fibers.
That is why indoor methods, like the ones used to refinish wood furniture without stripping, often fail outside. Outdoors, the grey layer must come off completely, the wood must be properly dry, and the finish must flex with the wood and block UV light.
Signs Your Patio Furniture Is Ready for Refinishing
Not every tired-looking piece needs a full sanding. Look for these signs before you plan a weekend around it:
- The splash test fails. Sprinkle a little water on the flattest surface. If it beads up, the old finish is still working. If it darkens the wood and soaks in within a minute, the protection is gone.
- The surface is grey and fuzzy. Run your palm along a slat. Raised, rough fibers mean the top layer has broken down.
- Film finishes are flaking. Varnish or paint that has lifted at the edges lets water creep underneath and will keep peeling.
- Black spots do not wipe off. Mildew in the grain needs a proper clean before any new coat goes on.
Also press a screwdriver tip into the feet and any joint that stays damp. If it sinks in easily, that wood is rotting and needs repair first, because no finish will save it.
Tools and Supplies You’ll Need
Gathering everything first keeps the project moving once the wood is clean and dry:
- Stiff nylon scrub brush and a bucket (not a wire brush, which leaves rust stains in the grain)
- Oxygen bleach cleaner (sodium percarbonate) or a wood or teak cleaner
- Garden hose with a spray nozzle
- Sandpaper in 80, 120, and 150 or 180 grit
- A sanding block or random orbital sander, plus flexible sanding sponges for slats and curves
- Microfiber cloths or a tack cloth
- An exterior-rated finish (more on choosing one below)
- A natural bristle brush or lint-free rags, depending on the finish
- Drop cloth, dust mask, gloves, and safety glasses
- A metal can with a tight lid for oily rags
Step-by-Step: How to Refinish Outdoor Wood Furniture
Step 1: Check Old Paint and Tighten the Frame
If the piece is painted and could be older than 1978, test the paint with a lead test kit before you sand. Sanding lead paint releases dust that is dangerous to breathe. Then tighten every bolt and screw. Rusted hardware is worth swapping for stainless steel now, since rust streaks will bleed into a fresh finish.
Step 2: Deep Clean the Wood
Mix oxygen bleach cleaner with warm water following the label, then scrub along the grain, one section at a time. Keep the surface wet while the cleaner works and rinse thoroughly. Oxygen bleach lifts grey fibers and mildew without the harshness of chlorine bleach, which can damage wood fibers and leave blotchy color.
If you use a pressure washer, choose the lowest setting and a wide fan tip, and keep it well back. Up close, the spray tears soft wood and leaves a furry texture that needs far more sanding.
Step 3: Let It Dry Completely
This is the step most people rush. Wood soaks up a lot of water during cleaning, and a finish applied over damp wood will not absorb properly, will stay tacky, or will peel. Give the furniture at least two full days of dry weather, and longer for thick table tops or in humid climates. A basic moisture meter takes out the guesswork if you have one.
Step 4: Sand in Stages
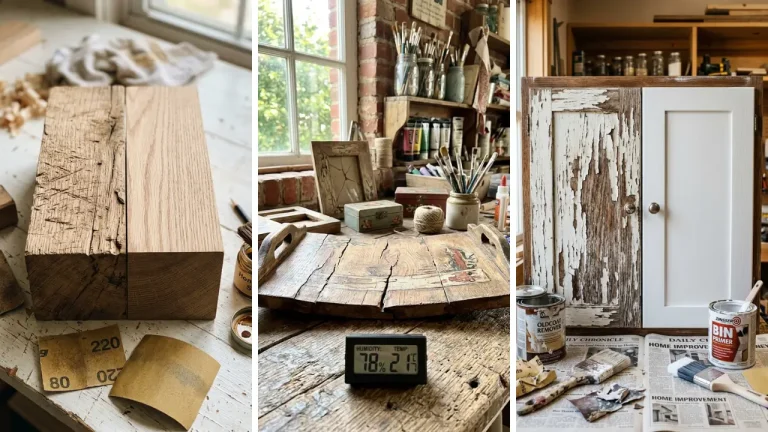
Start with the coarsest grit the surface actually needs, sand along the grain, and move up through the grits without skipping more than one step. The grit guide in the next section explains exactly where to start and where to stop. Sanding sponges work much better than flat paper on rounded arms and between slats.
Step 5: Remove Every Trace of Dust
Brush off loose dust, then wipe every surface with a tack cloth or a barely damp microfiber cloth. Trapped dust makes the finish gritty and uneven.
Step 6: Apply the Finish
Work in the shade on a mild, dry day with no rain forecast for a day or two, since direct sun leaves lap marks. Apply thin coats, and with penetrating oils, wipe off whatever has not soaked in after the time on the label. Finish the undersides, feet, and cut ends too, because end grain pulls in water like a straw.
Step 7: Let It Cure Before Use
Dry to the touch is not the same as cured. Follow the recoat and cure times on the product, keep cushions off the furniture until then, and cover it if an unexpected shower rolls in.
Choosing the Right Sandpaper Grit for Outdoor Wood
So what grit should you use to sand outdoor furniture? It depends on how weathered the wood is, but most pieces follow this progression:
- 60 to 80 grit: only for deeply grey, rough, or cracked surfaces and for removing flaking varnish or paint. Use it until the grey is gone and clean wood color shows through, and no longer.
- 100 to 120 grit: the main smoothing pass. It removes the scratches from coarse paper and is the starting point for furniture that is only lightly faded.
- 150 to 180 grit: the final pass before oil or stain.
For outdoor finishes, stop at 180. Sanding much finer polishes the surface and closes the pores, so penetrating oils and stains soak in less and wear away sooner. That is the opposite of indoor work, where finer sanding is often the goal. For more detail on grit numbers and wood types, the complete guide to sandpaper grits for furniture refinishing covers the full range.
On painted pieces with sound paint, a scuff sand at 120 to 150 grit is enough for new paint to grip, much like when you sand and repaint a thrift store chair.
Oil, Stain, Sealer, or Paint: Picking a Finish That Lasts Outside
Every finish is a trade-off between looks, protection, and how much maintenance you are willing to do. These are the four main options for outdoor wood furniture.
Penetrating Exterior Oil
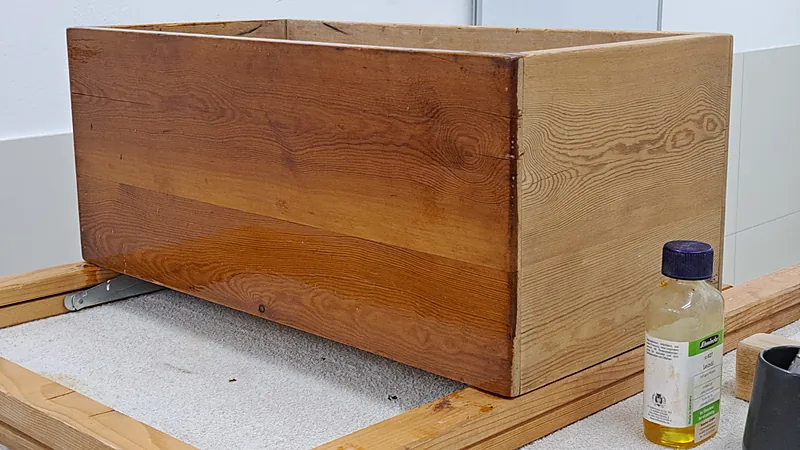
Oils soak into the wood instead of sitting on top, so they bring out the grain and never peel. When the wood looks dry, clean it and add another coat. The trade-off is frequency: expect to re-oil once or twice a year in full sun. Choose an exterior oil with UV inhibitors and a mildewcide, because plain linseed oil can feed mildew and darken outdoors.
Semi-Transparent Exterior Stain
Stain carries pigment, and pigment is what blocks UV light. A semi-transparent exterior stain still shows the grain, adds color, and usually lasts longer between coats than clear oil. It is a good middle ground for pine, cedar, and mismatched boards.
Spar Urethane or Marine Varnish
These film-forming finishes flex as wood moves and give a glossy look. Once the film cracks, though, water gets underneath and the surface must be sanded back before recoating, so they suit covered porches better than open sun. Interior polyurethane is not a substitute: it lacks UV protection and turns cloudy and brittle outside.
Exterior Paint
Paint gives the strongest UV protection and hides patched or mismatched wood. Start with an exterior primer. The guide to the best outdoor paint for garden decor explains which paint types hold up in all weather, and chalk paint vs latex paint for furniture helps if you are deciding between the two.
Special Care for Teak, Cedar, and Pine
Teak is naturally oily and rot-resistant, so its silver patina is cosmetic, not damage, and leaving it grey is a valid choice. To restore the golden color, clean it and sand lightly from 120 grit unless the surface is badly checked. Many teak makers recommend a teak sealer over teak oil outdoors, since heavy oil can stay sticky and invite mildew.
Cedar is soft, and coarse paper or power sanders dig grooves in it. Hand sand with 120 to 150 grit using light pressure, and use a UV-blocking stain if you want to keep its reddish tone.
Pine and pressure-treated wood need protection the most. New pressure-treated lumber is often still wet, so wait until water soaks in during the splash test before finishing. Pigmented stain or paint gives pine the longest outdoor life.
Common Mistakes That Ruin a Fresh Finish
- Finishing damp wood. The finish cannot soak in, so it stays tacky or lifts within weeks.
- Sanding too fine. Going to 220 grit or beyond leaves outdoor wood too smooth for oil and stain to grip.
- Leaving thick oil on the surface. Excess oil turns gummy, collects pollen and dust, and invites mildew.
- Working in direct sun. Fast drying causes streaks, lap marks, and poor absorption.
- Skipping the undersides and feet. Unsealed end grain wicks water up into the whole piece.
- Balling up oily rags. Rags soaked with oil-based finishes can heat up and catch fire on their own as they dry. Lay them flat outdoors to dry completely, or store them in a sealed metal can filled with water, and follow your local disposal rules.
See also these outdoor DIY mistakes that ruin projects.
How to Keep Outdoor Furniture Looking Fresh
A little maintenance stretches the time between full refinishing jobs by years:
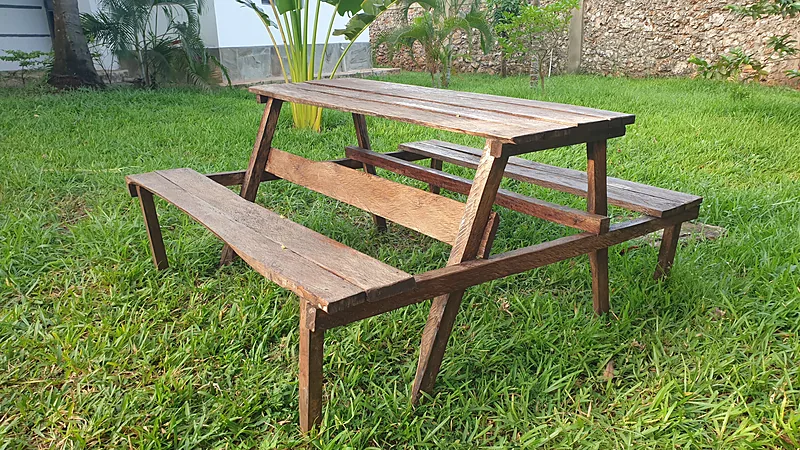
- Wash the furniture with mild soap and water a couple of times each season to remove pollen, bird droppings, and mildew spores.
- Repeat the splash test every spring. When water stops beading, apply a maintenance coat before the wood turns grey again.
- Use breathable covers. Plastic tarps trap moisture and can cause more mildew than rain itself.
- Lift feet off wet soil or grass with small furniture pads so the end grain is not sitting in water.
- Store pieces under cover through winter if you have space.
Ready to style the rest of the space? Try these spring patio refresh projects or DIY patio ideas for small spaces.
Conclusion
Refinishing outdoor wood furniture is more about patience and order than special skills. Clean away the grey fibers and mildew, let the wood dry longer than feels necessary, sand no finer than 180 grit, and choose a finish made for sun and rain. One careful weekend can turn a splintering patio set into furniture you enjoy for seasons to come.
Frequently Asked Questions
What grit sandpaper should I use on outdoor wood furniture?
Start with 80 grit only if the wood is deeply grey, rough, or covered in flaking finish. Move to 120 grit for the main smoothing pass, and finish with 150 or 180 grit. Stop at 180 so oils and stains can still soak into the wood.
Do I have to sand outdoor furniture before re-oiling it?
Not always. If the wood is still smooth and only slightly faded, a thorough clean and a new coat of oil is often enough. Sanding becomes necessary once the surface turns grey and fuzzy, or when an old film finish is peeling.
Can I use regular polyurethane on patio furniture?
It is not a good idea. Interior polyurethane has little UV protection and cannot flex with wood that swells and shrinks outdoors, so it tends to crack, cloud, and peel. Use a spar urethane, an exterior oil, an exterior stain, or exterior paint instead.
Featured photo: shai aharony / Wikimedia Commons, CC BY-SA 4.0