How to Refinish Wood Furniture Without Stripping at Home
That beautiful antique dresser you inherited looks tired and worn. The dining table you found at a garage sale has great bones but terrible finish. You want to restore them, but the thought of dealing with harsh chemical strippers, endless scraping, and toxic fumes makes you want to abandon the project entirely.
Here’s the good news: learning how to refinish wood furniture at home without stripping is entirely possible, and the results can be absolutely stunning. This comprehensive guide will walk you through proven techniques that skip the messy stripping process while delivering professional-looking results. You’ll discover which methods work best for different furniture conditions, the exact supplies you need, and step-by-step instructions anyone can follow.
Whether you’re rescuing a thrift store find or refreshing a family heirloom, you’re about to transform tired furniture into showpiece items.
Why Refinishing Without Stripping Makes Sense

Traditional furniture stripping involves harsh chemicals, extensive labor, and significant skill to avoid damaging the wood underneath. Chemical strippers release toxic fumes, require careful disposal, and can take days to complete properly. For many DIY enthusiasts, this creates an unnecessary barrier to furniture restoration.
Refinishing without stripping offers several compelling advantages. First, you’ll save significant time—what might take a weekend with strippers can often be accomplished in just a few hours. Second, you reduce exposure to harmful chemicals, making it safer for you and your family.
Third, you preserve more of the original wood character, which is especially valuable for antique pieces. This approach works exceptionally well when the existing finish is in decent condition without deep gouges, extensive water damage, or multiple layers of failing paint. If you enjoy fun crafts to make at home, furniture refinishing without stripping is an accessible project that delivers dramatic results.
How to Refinish Wood Furniture at Home Without Stripping: Essential Methods

Several proven techniques allow you to refresh wood furniture while keeping the original finish intact. The method you choose depends on your furniture’s current condition and your desired final look.
The Deglosser Method
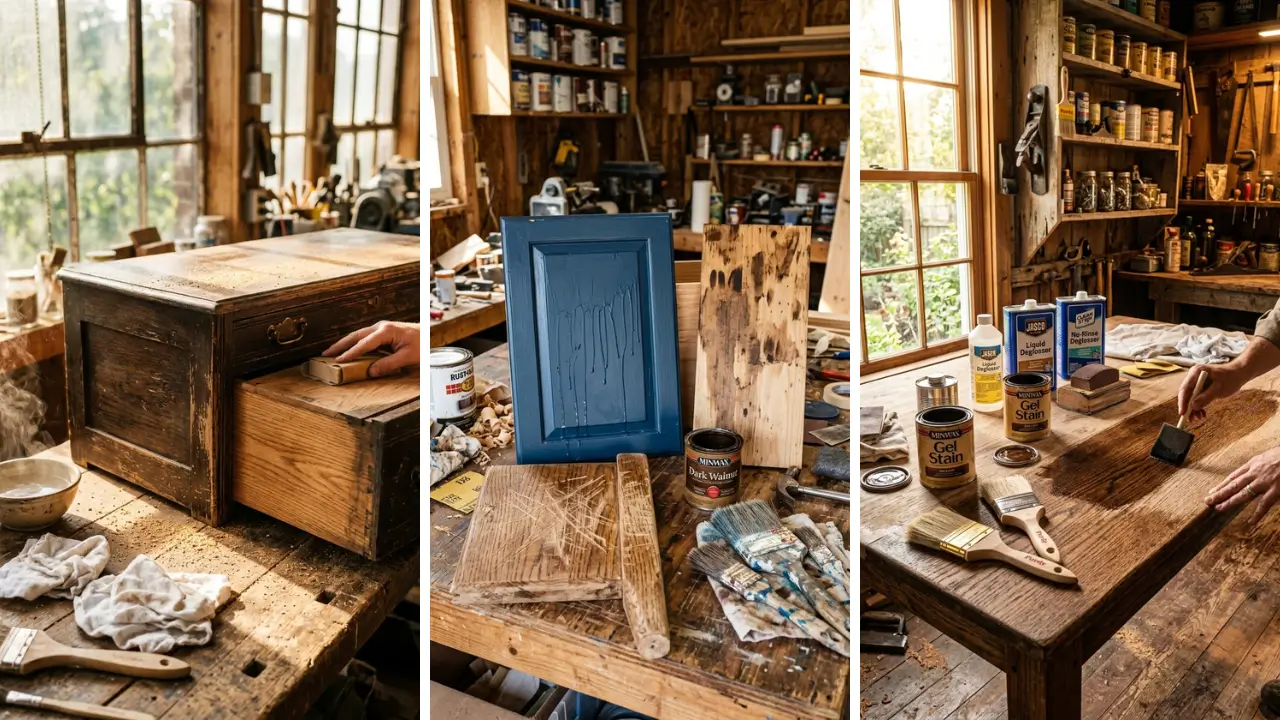
Liquid deglosser, also called liquid sandpaper, chemically etches the existing finish to create a surface that new paint or stain can grip. This is perhaps the easiest method for refinishing wood furniture without stripping. Apply deglosser with a clean cloth, working in small sections.
The surface will appear dull and slightly tacky when ready—usually within 15-30 minutes. No rinsing required with most products. This method works brilliantly for pieces you plan to paint, though it’s less ideal for natural wood finishes.
Light Sanding Technique

Sometimes all furniture needs is a thorough scuff-sanding to accept new finish. Using 150-220 grit sandpaper, lightly sand the entire surface in the direction of the wood grain. You’re not removing the finish—just creating microscopic scratches for adhesion.
This technique preserves the wood’s patina while preparing it for fresh topcoat. It’s particularly effective for pieces with minor wear that just need refreshing rather than complete transformation.
The Clean and Recoat Approach
For furniture with solid finish that simply looks dull, cleaning and adding a new topcoat may be all you need. Mix equal parts white vinegar and olive oil, then rub into the wood with a soft cloth. This removes grime while conditioning the wood.
After cleaning, apply a compatible topcoat—polyurethane over polyurethane, lacquer over lacquer. The existing finish provides the foundation while fresh product restores shine and protection.
Step-by-Step Guide: Refinishing Wood Furniture Without Chemicals

Ready to tackle your project? Follow this detailed process for consistent, professional results every time.
Step 1: Assess Your Piece
Examine the furniture carefully under good lighting. Look for loose joints, missing hardware, deep scratches, or areas where finish has completely failed. These issues need addressing before refinishing begins.
Determine the existing finish type by dabbing denatured alcohol on an inconspicuous spot. If it dissolves, you have shellac. Lacquer thinner identifies lacquer finishes.
If neither affects it, you likely have polyurethane or varnish.
Step 2: Deep Clean the Surface
Remove hardware and set aside in labeled bags. Clean every surface with TSP substitute or strong degreaser to remove decades of wax, polish, and grime. This step is crucial—new finish won’t adhere to dirty surfaces.
Pay special attention to carved details, edges, and corners where residue accumulates. Use an old toothbrush for intricate areas. Rinse with clean water and allow to dry completely—at least 24 hours.
Step 3: Repair and Fill
Fill small scratches, dents, and nail holes with wood filler matching your intended final color. For pieces you’ll paint, any color filler works. Sand filled areas smooth once dry.
Tighten loose joints with wood glue and clamps. Replace damaged hardware now or plan for new pieces that fit existing holes.
Step 4: Prepare the Surface
Using your chosen method—deglosser or light sanding—prepare the entire surface. Work systematically to ensure complete coverage. Wipe away all dust with a tack cloth before proceeding.
This preparation stage determines your final results. Rushing here leads to adhesion problems and peeling later. If you enjoy home craft projects quick completion times, remember that proper prep actually speeds up overall project time by preventing do-overs.
Step 5: Apply Primer (If Painting)
For painted finishes, apply bonding primer designed for slick surfaces. Brands like Zinsser BIN or KILZ Adhesion handle previously finished surfaces without stripping. Apply thin, even coats and allow proper drying time between applications.
Two thin coats outperform one thick coat every time. Thick applications trap solvents, leading to bubbling, peeling, and extended dry times.
Step 6: Apply Your Finish
For paint, apply two to three thin coats with light sanding (320 grit) between coats. Use quality brushes or foam rollers for smooth results. Chalk paint offers excellent adhesion on prepared surfaces and creates beautiful matte finishes.
For clear finishes, wipe-on polyurethane provides the easiest application with minimal brush marks. Apply in thin coats, sanding lightly with 320-400 grit between applications. Three to four coats ensure durability.
Best Products for Refinishing Without Stripping

Choosing quality products makes your project easier and produces better results. Here are proven options for each category: Deglossers: Klean-Strip Easy Liquid Sander Deglosser works quickly and effectively. For low-VOC options, try Krud Kutter Gloss-Off.
Primers: Zinsser BIN Shellac-Based Primer blocks stains and adheres to slick surfaces. KILZ Adhesion provides excellent grip for challenging pieces. Paints: Benjamin Moore Advance offers self-leveling properties for smooth finishes.
Annie Sloan Chalk Paint requires minimal prep and creates beautiful distressed looks. Clear Finishes: General Finishes High Performance Topcoat provides durable protection in various sheens. Minwax Wipe-On Poly offers foolproof application for beginners.
Many of these supplies can be found affordably if you know where to look. Checking out dollar store crafts ideas can help you find budget-friendly tools like brushes, drop cloths, and cleaning supplies.
Common Mistakes to Avoid When Refinishing Furniture

Even experienced DIYers make these errors. Avoid them for professional-quality results. Skipping the cleaning step: Wax and silicone residue from furniture polish causes “fish eyes” in new finish.
Always degrease thoroughly before any other preparation. Applying finish too thick: Thick coats trap solvents, causing bubbles, drips, and extended cure times. Multiple thin coats always outperform single heavy applications.
Not testing first: Always test your chosen method on an inconspicuous area—the underside of a table or inside a drawer. This reveals any compatibility issues before committing to visible surfaces. Ignoring temperature and humidity: Most finishes require temperatures between 50-85°F with moderate humidity.
Applying outside these ranges causes curing problems and poor results. Rushing between coats: Follow manufacturer’s recommended dry times exactly. Rushing leads to adhesion failure and wasted effort.
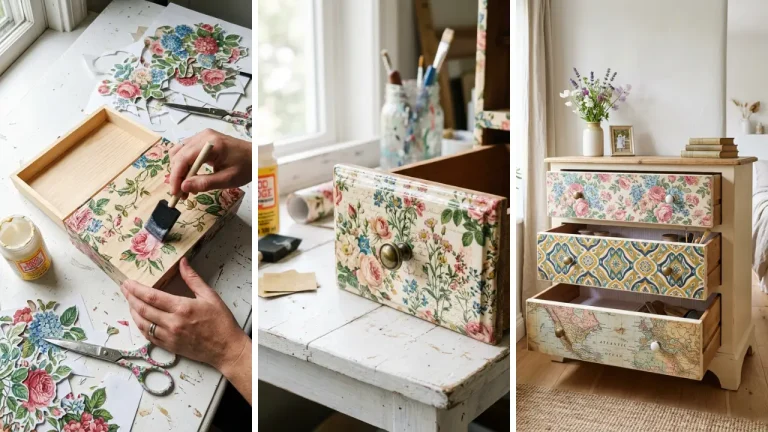
Creative Finishing Techniques for Unique Results

Once you’ve mastered basic refinishing, explore these creative approaches for truly unique pieces.
Two-Tone Finishes
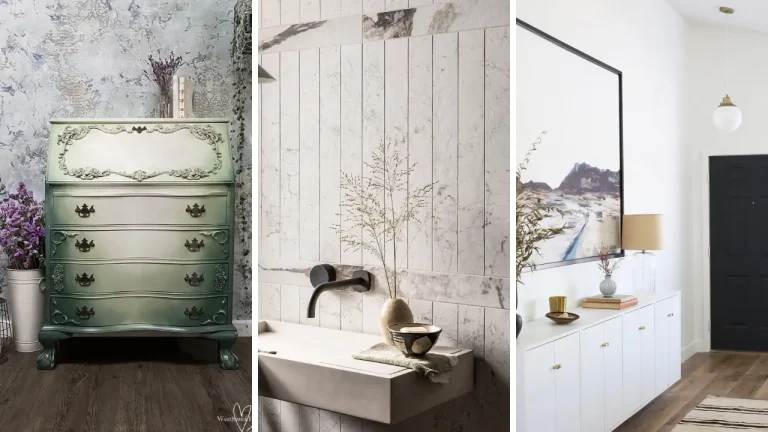
Paint the body one color while staining the top natural wood. This popular technique highlights beautiful wood grain while adding contemporary appeal. Works especially well on dressers, dining tables, and desks.
Distressed and Antiqued Looks
After painting, strategically sand edges and high-wear areas to reveal wood or primer beneath. Apply antiquing glaze to carved details for aged character. This technique transforms ordinary pieces into conversation starters.
Color Washing
Dilute paint with water (roughly 1:1 ratio) and brush onto wood, wiping excess with clean cloth. This creates a weathered, Scandinavian look while letting wood grain show through. Refinished furniture makes excellent DIY handmade gifts for housewarmings, weddings, or holidays.
A restored piece carries more meaning than anything store-bought.
When Stripping Is Actually Necessary

While this guide focuses on how to refinish wood furniture at home without stripping, some situations require the traditional approach. Recognize these scenarios to avoid wasted effort. Multiple layers of failing paint: When old paint is actively peeling, flaking, or bubbling, new finish cannot adhere properly.
Stripping is necessary for stable results. Deep stains or water damage: Penetrating stains and water rings often require complete finish removal to address. Surface treatments cannot reach damage that extends into the wood itself.
Changing from dark to natural: If furniture has been previously stained dark and you want natural wood appearance, stripping is your only option. No amount of surface preparation can lighten existing stain. Severe finish degradation: When finish is completely crazed, alligatored, or breaking down throughout, building over it creates unstable foundation for new finish.
Conclusion
Learning how to refinish wood furniture at home without stripping opens up a world of possibilities for transforming tired pieces into stunning focal points. By using deglosser, light sanding, or simple clean-and-recoat techniques, you bypass the messy, toxic process of traditional stripping while achieving beautiful, lasting results. Remember the keys to success: thorough cleaning, proper surface preparation, quality products, and patience between coats.
These fundamentals apply whether you’re refreshing a single side table or tackling an entire dining set. Start with a small piece to build confidence, then work your way up to larger projects. The satisfaction of rescuing neglected furniture never gets old.
Each piece you restore saves money, reduces waste, and creates something uniquely yours. If you’re looking for more creative projects, explore handmade gift craft ideas that let you share your DIY skills with others. Ready to start your furniture transformation journey?
Grab that neglected piece from your garage or basement and give these techniques a try. Share your before-and-after photos in the comments below—we love seeing your refinishing success stories!
Frequently Asked Questions
Can you refinish wood furniture without sanding or stripping? Yes, liquid deglosser chemically prepares surfaces for new finish without any sanding. Simply wipe on, wait for the surface to become dull and tacky, then apply primer and paint.
This method works best for painted finishes rather than clear wood stains. What is the easiest way to refinish wood furniture at home without stripping? The easiest method combines thorough cleaning with deglosser application, followed by bonding primer and paint.
This approach requires minimal tools, no special skills, and produces professional results. Most pieces can be completed in a single weekend using this technique. How do you know if furniture can be refinished without stripping?
Furniture is a good candidate if the existing finish is intact without major peeling, flaking, or alligatoring. Run your hand across the surface—if it feels smooth and solid, no-strip methods will work. Extensive damage or multiple failing paint layers require traditional stripping.
What primer works best for refinishing furniture without stripping? Shellac-based primers like Zinsser BIN provide excellent adhesion to previously finished surfaces. Bonding primers like KILZ Adhesion also work well.
These products grip slick surfaces and block stains from bleeding through your final finish. How long does refinished furniture need to cure before use? While paint may feel dry within hours, full curing takes 2-4 weeks depending on the product.
Avoid placing heavy objects or using the piece intensively during this time. Gentle use can begin after 72 hours, but treat surfaces carefully until fully cured.