Crochet for Beginners: How to Hold the Hook and Start Your First Row
Have you ever watched someone crochet and thought, “That looks impossible”? Here’s the truth: crochet for beginners — how to hold the hook and start your first row is actually one of the most approachable craft skills you can learn at home. Millions of people around the world pick up a crochet hook every year, and most of them start from absolute zero.
The hardest part isn’t the stitches — it’s knowing where to begin. In this guide, you’ll learn exactly how to grip your crochet hook correctly, how to create your very first foundation chain, and how to work your first row of stitches with confidence. Whether you want to make cozy scarves, decorative home accents, or even DIY handmade gifts for your loved ones, mastering these fundamentals is your launchpad.
Let’s break everything down step by step so you can start creating something beautiful today.
Why Crochet Is the Perfect Craft for Absolute Beginners

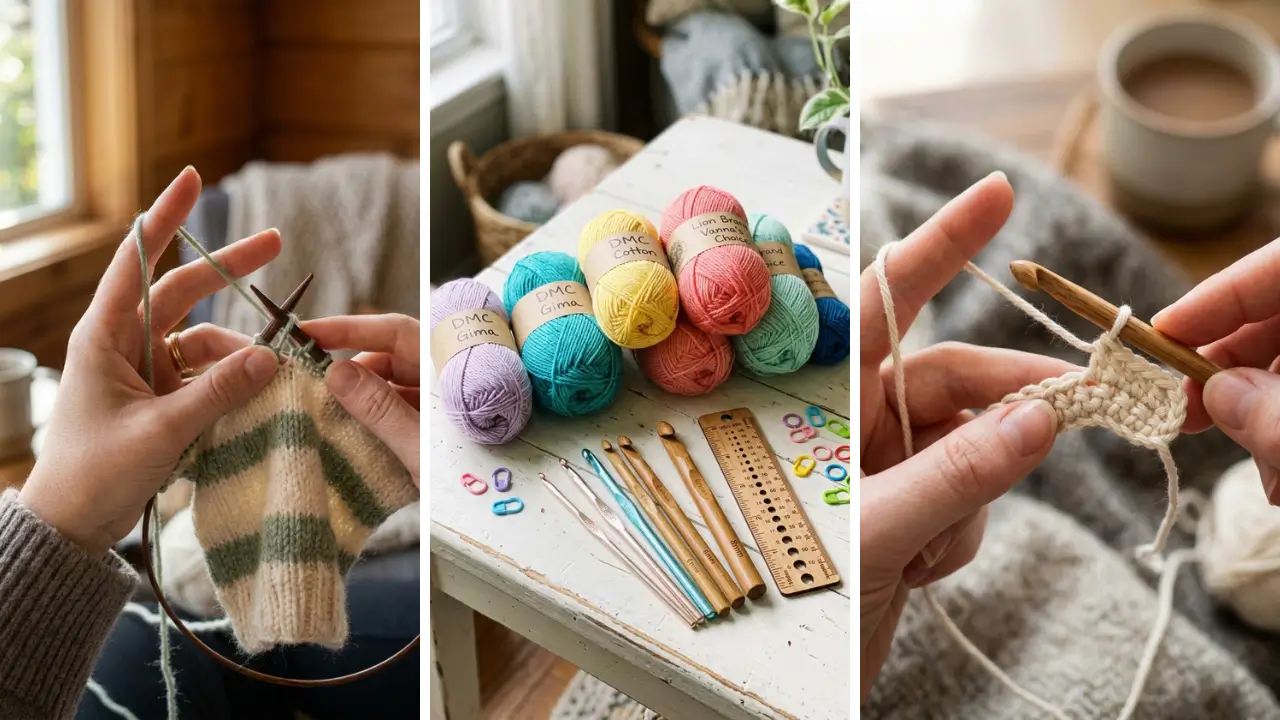
Crochet only requires two things to get started: a hook and yarn. Unlike knitting, which uses two needles and a different looping technique, crochet uses a single hook — making it easier to control tension and fix mistakes. That’s a huge win when you’re just starting out.
It’s also incredibly versatile. You can crochet amigurumi toys, dishcloths, hats, blankets, and more. If you’re looking for fun crafts to make at home without needing prior experience, crochet is one of the best options on the list.
Plus, the supplies are affordable. Basic yarn and a beginner-friendly hook can cost just a few dollars, especially if you’re smart about shopping. Many beginners even find great yarn and accessories at dollar stores — which pairs perfectly with exploring dollar store crafts ideas that look far more expensive than they are.
Choosing the Right Hook and Yarn Before You Start

Before you can master crochet for beginners: how to hold the hook and start your first row, you need the right tools. Hook sizes are measured in millimeters (mm), and for beginners, a 5.0mm (H/8) hook is widely recommended. It’s comfortable to hold and works well with medium-weight (worsted) yarn.
When choosing yarn, look for Category 4 (Medium/Worsted weight) yarn in a light or solid color. Light colors make it much easier to see your stitches, which matters a lot when you’re learning. Avoid fuzzy or textured yarns for now — they hide your loops and make counting difficult.
Quick Beginner Supply List

- One 5.0mm crochet hook (ergonomic handle is a bonus)
- One skein of worsted weight yarn (light color preferred)
- A pair of scissors
- A yarn needle for weaving in ends
That’s it. You don’t need a big investment to start. Many of these supplies overlap with other home craft projects quick enough to finish in a single afternoon.
How to Hold the Crochet Hook: Two Main Methods

One of the most overlooked parts of crochet for beginners is how to hold the hook. Poor grip leads to hand fatigue, uneven tension, and frustration. There are two standard ways to hold a crochet hook, and neither is wrong — it’s about what feels natural to you.
1. The Pencil Grip
Hold the hook between your thumb and index finger, just like you’d hold a pencil. Your middle finger rests lightly on the flat thumb rest of the hook. This grip gives you good control and is preferred by many beginners because it feels familiar right away.
2. The Knife Grip
Hold the hook with your hand over the top of it, similar to how you’d hold a dinner knife. Your thumb presses against the flat section from below while your fingers drape over the top. This grip is great for those who crochet for long sessions because it reduces wrist strain.
Pro tip: If your hand cramps after 10 minutes, switch to the other grip and see if it feels better. Many experienced crocheters naturally switch between the two depending on the stitch they’re working.
How to Hold the Yarn for Consistent Tension

Your non-dominant hand controls the yarn, and this hand is just as important as the one holding the hook. Yarn tension determines how tight or loose your stitches are. Too tight and your hook won’t slide through; too loose and your stitches will look sloppy.
A simple beginner tension method: drape the yarn over your index finger, under your middle and ring fingers, and wrap it once around your pinky. Your index finger lifts to feed yarn smoothly while your other fingers create gentle resistance. It feels awkward at first — that’s completely normal.
After 15–20 minutes of practice, it becomes muscle memory. Keep a loose, relaxed grip and let the yarn flow rather than gripping it tightly.
How to Make a Slip Knot (Your Very First Step)
")
Every crochet project begins with a slip knot. This is the anchor that attaches your yarn to the hook. Here’s how to do it:
- Create a loop with your yarn, leaving about a 6-inch tail.
- Bring the working yarn (the yarn connected to the ball) through the loop from behind.
- Place the new loop onto your hook and gently pull both ends to snug it — but not too tight.
The knot should slide easily on the hook. If it’s stuck, it’s too tight. If it slips off without pulling, it’s too loose.
Aim for a loop that moves freely but stays on.
Creating Your Foundation Chain

The foundation chain is the row of interlocked loops that forms the base of almost every crochet project. Once you understand crochet for beginners: how to hold the hook and start your first row, the chain is where everything begins. With your slip knot on the hook, hold the knot lightly between your thumb and middle finger of your yarn hand. Now:
- Push the hook forward slightly and rotate it under the working yarn (this is called a yarn over).
- Pull the yarn through the loop already on your hook.
- One chain stitch made! Repeat for your desired length.
For a practice swatch, chain 15–20 stitches. Don’t count the loop currently on your hook — only count the V-shapes below it. Each V equals one chain.
Starting Your First Row: The Single Crochet Stitch

The single crochet (sc) is the most beginner-friendly stitch and the perfect way to start your first actual row. Here’s how to work it into your foundation chain:
- Skip the first chain from the hook (this gives your row height).
- Insert your hook into the second chain stitch.
- Yarn over and pull up a loop — you now have 2 loops on the hook.
- Yarn over again and pull through both loops.
- That’s one single crochet! Move to the next chain and repeat.
Work single crochets across your entire foundation chain. At the end of the row, chain 1 and turn your work around. That chain-1 is your turning chain — it lifts your hook to the correct height for the next row.
Repeat this process for 5–10 rows and you’ll have a small practice swatch. This is how dishcloths, pot holders, and simple patches are made — and once you’re comfortable, this same skill opens the door to dozens of handmade gift craft ideas you can make for friends and family.
Common Beginner Mistakes and How to Fix Them
Every beginner makes the same mistakes — and that’s totally okay. Knowing what to watch for saves hours of frustration.
Accidentally Adding Stitches
If your rows keep getting wider, you’re likely inserting your hook into the turning chain from the previous row (treating it as a stitch). Count your stitches at the end of each row — if the number grows, that’s your culprit.
Stitches That Are Too Tight to Work Into
This happens when your tension is too tight. Consciously relax your grip on the yarn and hook. Practice on larger hook sizes temporarily to build looser muscle memory.
Losing Count of Your Stitches
Use stitch markers (or paper clips) every 10 stitches. Counting out loud also helps during the first few weeks of practice.
Conclusion: You’re Ready to Start Crocheting
Learning crochet for beginners: how to hold the hook and start your first row doesn’t require special talent — just a little patience and the right guidance. You now know how to grip your hook, manage your yarn tension, make a slip knot, build a foundation chain, and work your very first row of single crochets. These are the building blocks of every crochet project you’ll ever make.
Once you’ve practiced the basics, you’ll be amazed at how quickly more complex stitches start to click. Crochet is not just a craft — it’s a creative outlet, a stress reliever, and a skill that lets you produce something genuinely beautiful with your own hands. Whether you’re crocheting your first dishcloth or working toward a full blanket, every stitch you make builds confidence.
The key is to start — even imperfectly. Ready to keep creating? Grab your hook, find a cozy spot, and practice your foundation chain today.
Share your first swatch in the comments below — we’d love to see where your crochet journey begins!
Frequently Asked Questions
Q: What hook size should I use for crochet for beginners? A: A 5.0mm (H/8) hook is the most recommended size for beginners. It works well with medium-weight worsted yarn, gives you good visibility of your stitches, and is comfortable to hold for extended practice sessions.
As you progress, you’ll naturally experiment with different sizes based on your projects. Q: How do I know if I’m holding the crochet hook correctly? A: If your hand doesn’t cramp and your stitches look relatively even, your grip is working.
Both the pencil grip and knife grip are correct — the right one is simply whichever feels more natural and comfortable to you. Experiment with both in your first practice session and see which allows smoother movement. Q: How long does it take to complete your first row in crochet for beginners?
A: Most beginners can complete a foundation chain and their first row of single crochets within 30–60 minutes. The chain itself might take 10–15 minutes the very first time. Once your hands understand the motions, rows get faster with every practice session — some people find a noticeable improvement within just a few hours of total practice time.
Q: Can I learn crochet without taking a class? A: Absolutely. Crochet is one of the most self-teachable crafts available, especially with the wealth of free video tutorials and written guides online.
Many beginners master the basics entirely at home, which makes it a great addition to any list of fun crafts to make at home. The key is practicing consistently rather than trying to rush through every stitch type at once. Q: What’s the easiest first crochet project for beginners?
A: A simple dishcloth or flat practice swatch is the ideal first project — it uses only the foundation chain and single crochet stitch you just learned. Once you’re comfortable, a basic scarf is a fantastic second project since it’s just rows of the same stitch repeated. Both make wonderful handmade gifts and help you build consistent tension before moving on to more complex patterns.