12 DIY Halloween Decor Ideas for Indoor Spaces (Spooky but Stylish)
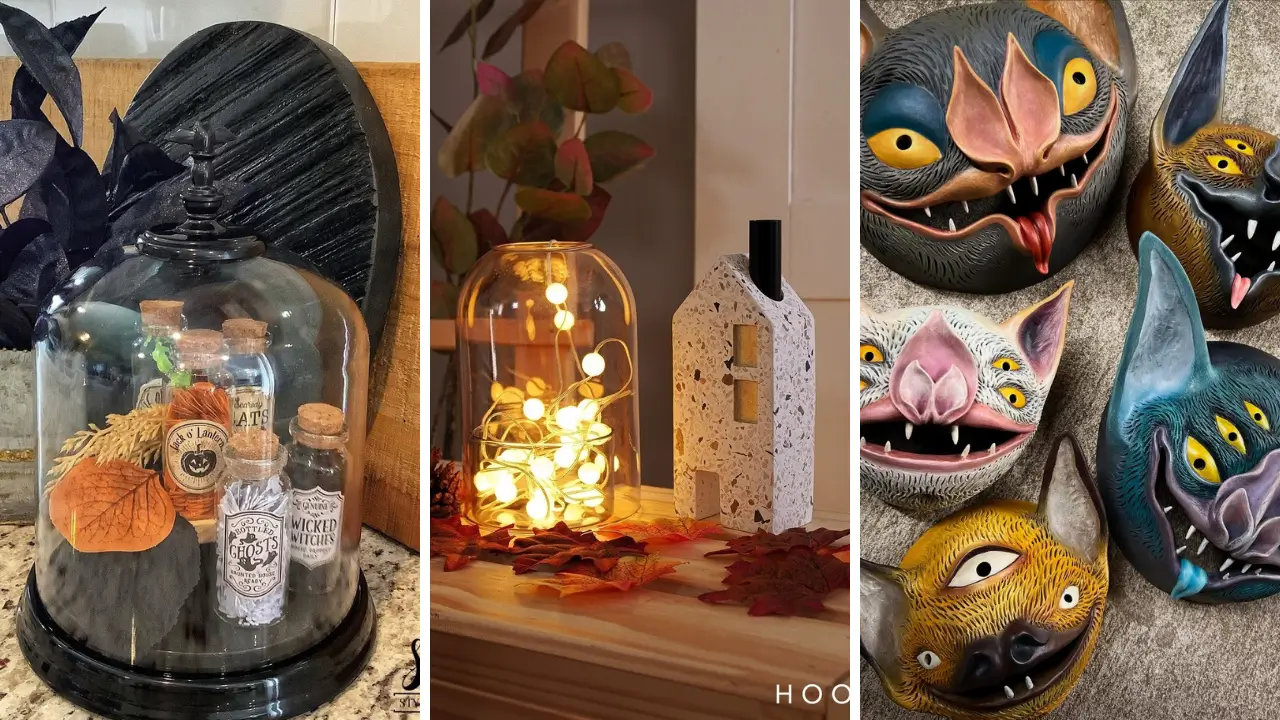
Want to transform your home into a hauntingly beautiful space this Halloween season? Creating impressive indoor decorations doesn’t require expensive store-bought items or professional skills. With simple materials and creative techniques, you can craft stunning pieces that balance spooky vibes with sophisticated style.
This guide features twelve unique projects perfect for every room in your home. From elegant candle holders to eerie wall art, each idea offers step-by-step guidance for crafters of all skill levels. Let’s dive in…
1. Elegant Floating Candle Display
- LED taper candles
- Hot glue gun
- Fishing line
- Ceiling hooks
- Black spray paint
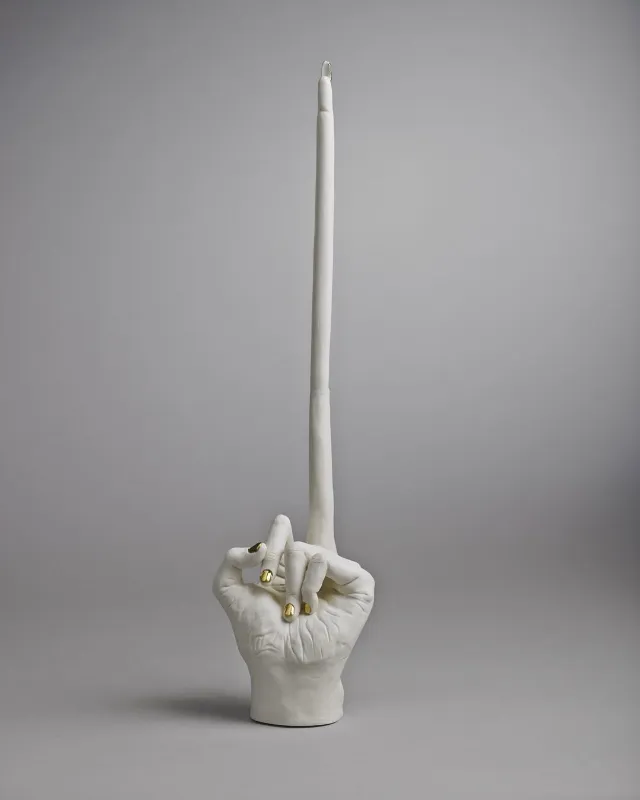
This floating candle display creates a magical Great Hall atmosphere inspired by wizarding worlds. Start by painting your LED candles with black spray paint for a dramatic aged effect. Let them dry completely before the next step.
Attach fishing line to each candle using hot glue at the base. The invisible thread technique makes candles appear genuinely suspended in mid-air. Hang them at varying heights for maximum visual impact.
Group fifteen to twenty candles together in your entryway or dining room. This creates a stunning focal point that impresses guests instantly. If you enjoy fun crafts to make at home, this project offers spectacular results with minimal effort.
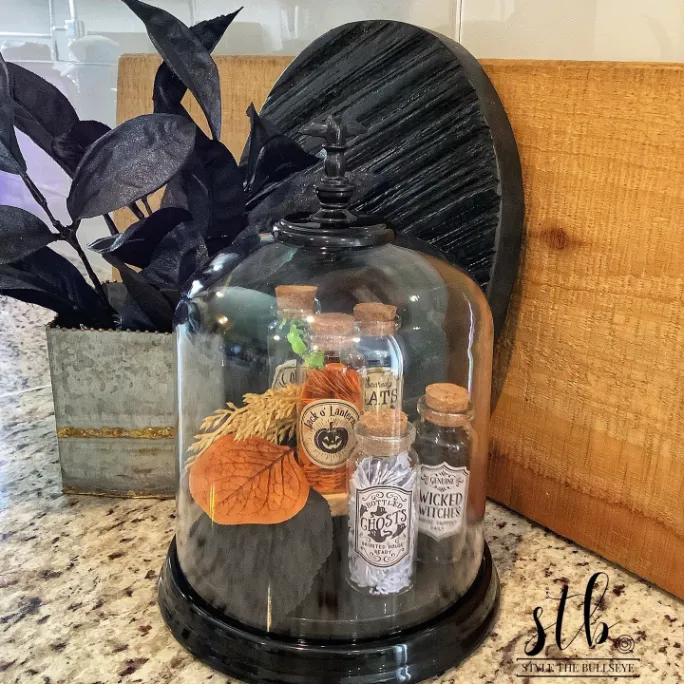
2. Mysterious Potion Bottle Collection
- Assorted glass bottles
- Acrylic paint
- Printable vintage labels
- Cork stoppers
- Colored water
Transform ordinary glass bottles into a mysterious apothecary collection for your shelves. Gather bottles of different shapes and sizes from thrift stores or recycling bins. Clean them thoroughly before starting your project.
Print vintage-style labels featuring ingredients like “Eye of Newt” or “Dragon’s Breath” on aged paper. Use tea-staining technique for authentic weathered appearance. Attach labels with decoupage glue for durability.
Fill bottles with colored water mixtures using food coloring and glycerin for cloudy effects. Add plastic insects, fake eyeballs, or dried herbs inside select bottles. Arrange your collection on a wooden tray with scattered dried leaves.
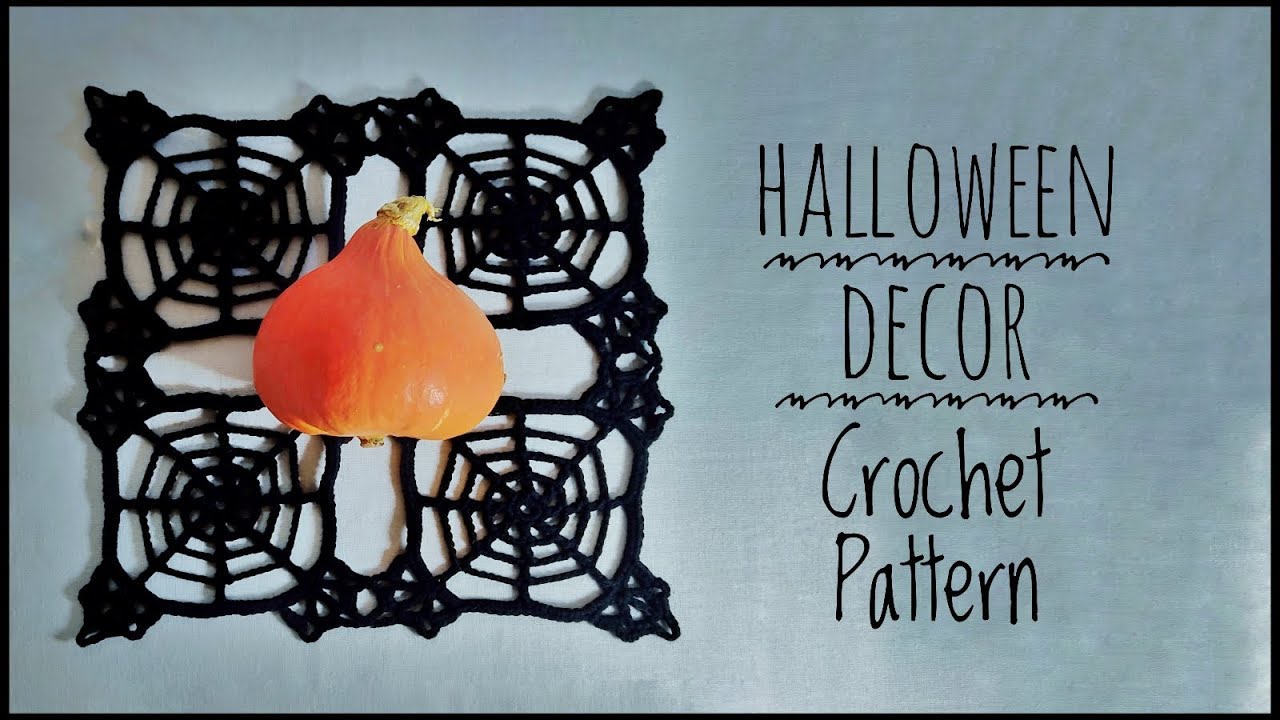
3. Spiderweb Lace Tablecloth
- Black trash bags
- Scissors
- Double-sided tape
- White chalk marker
Create a stunning spiderweb lace tablecloth that looks professionally made. This budget-friendly project uses basic trash bags transformed into intricate designs. The technique mimics paper snowflake cutting methods.
Fold your trash bag into triangles, then sketch web pattern guidelines with chalk marker. Cut carefully along your drawn lines, making curved cuts for organic web shapes. Unfold slowly to reveal your masterpiece.
Layer your web over a solid black or purple tablecloth for maximum contrast. The layered textile approach adds depth and sophistication to your table setting. This pairs beautifully with your potion bottle collection centerpiece.
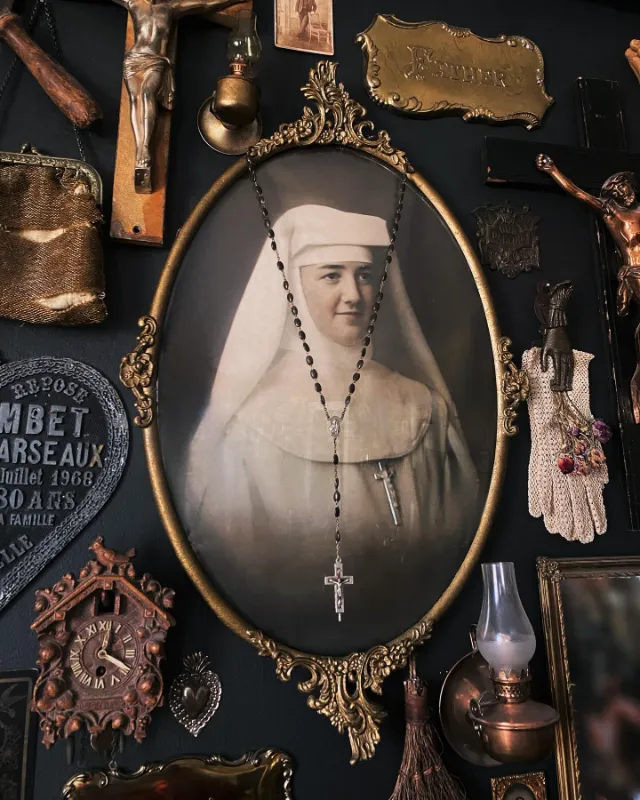
4. Haunted Portrait Gallery
- Thrift store frames
- Printed vintage portraits
- Black acrylic paint
- Crackle medium
- Lenticular paper
Build a haunted portrait gallery that transforms any wall into a spooky masterpiece. Find ornate frames at thrift stores regardless of their current condition. Mismatched styles actually enhance the haunted aesthetic.
Paint frames with black acrylic, then apply crackle medium technique for aged appearance. Print Victorian-era portraits from public domain sources. Add scratches and aging effects using photo editing software before printing.
For truly interactive displays, use lenticular prints that change when viewed from different angles. This optical illusion method makes eyes appear to follow viewers around the room. These creative projects make wonderful DIY handmade gifts for Halloween-loving friends.
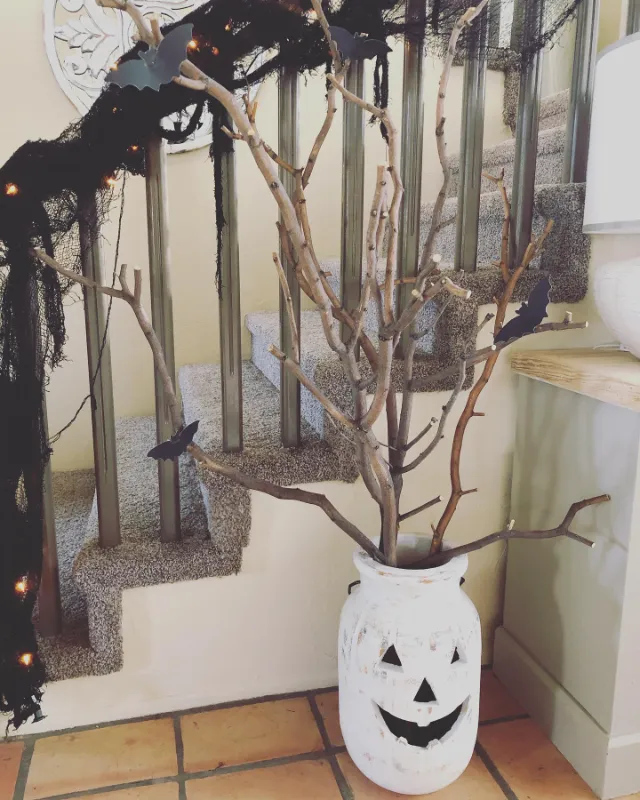
5. Creepy Cloth Draped Mantel
- Cheesecloth
- Strong tea or coffee
- Large container
- Spray bottle
Transform your fireplace mantel with creepy cloth drapery that screams abandoned mansion vibes. Standard white cheesecloth becomes hauntingly beautiful after tea-staining treatment. This aging process takes just thirty minutes.
Brew extra-strong tea or coffee, then soak your cheesecloth for twenty minutes. Wring out excess liquid and air dry outdoors for authentic uneven coloring. The random staining creates realistic aged fabric appearance.
Drape your treated fabric across mantels, bookshelves, and doorways. Strategically tear sections for a weathered tattered look. Stretch pieces thin in some areas to create web-like transparency effects.
6. Glowing Mason Jar Luminaries
- Mason jars
- Orange and black tissue paper
- Mod Podge
- LED tea lights
- Black permanent marker
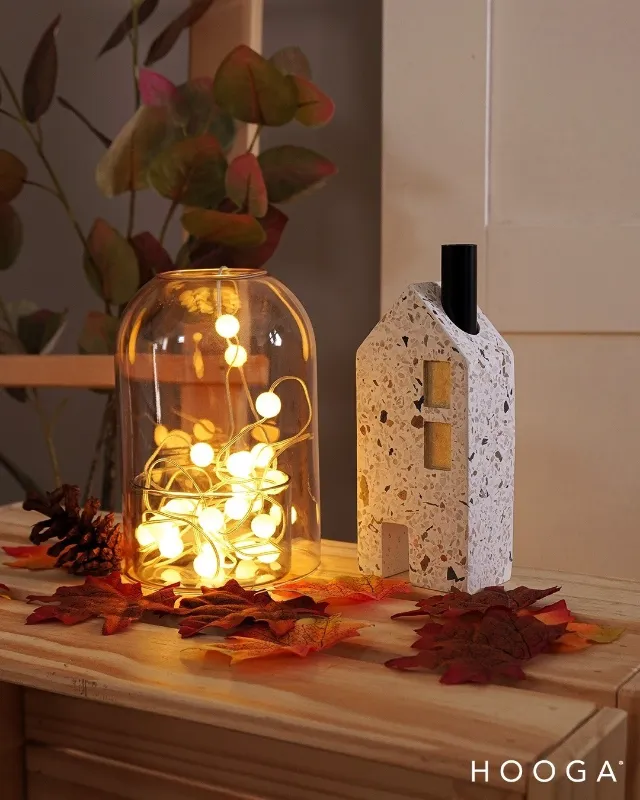
Craft enchanting glowing mason jar luminaries featuring jack-o-lantern faces or haunted silhouettes. These versatile decorations work on tables, windowsills, or outdoor pathways. The soft glow creates perfect ambient Halloween lighting.
Apply torn tissue paper pieces to jars using decoupage adhesive method. Layer orange pieces for pumpkin luminaries or purple for mystical effects. Let dry completely between layers for best results.
Draw spooky faces or haunted house silhouettes with black permanent marker once tissue paper is sealed. Insert LED tea lights for safe, flameless illumination. These are perfect home craft projects quick enough to complete in one afternoon.
7. Skeleton Hand Jewelry Display

- Plastic skeleton hands
- Wooden plaque base
- Metallic spray paint
- E6000 glue
Turn plastic skeleton hands into a sophisticated jewelry display that functions year-round. This dual-purpose decoration organizes rings, bracelets, and necklaces stylishly. The gothic aesthetic works beyond Halloween season.
Spray skeleton hands with metallic gold or silver paint for an elegant sculptural appearance. Apply multiple thin coats rather than one thick layer. This prevents drips and ensures even coverage.
Mount painted hands onto wooden plaques using industrial-strength adhesive. Position fingers in various graceful gesture poses for different jewelry types. One hand can hold multiple rings while another displays dangling earrings.
8. Witch’s Broom Corner Display
- Cinnamon broom
- Artificial fall foliage
- Ribbon
- Miniature witch accessories
- Twine
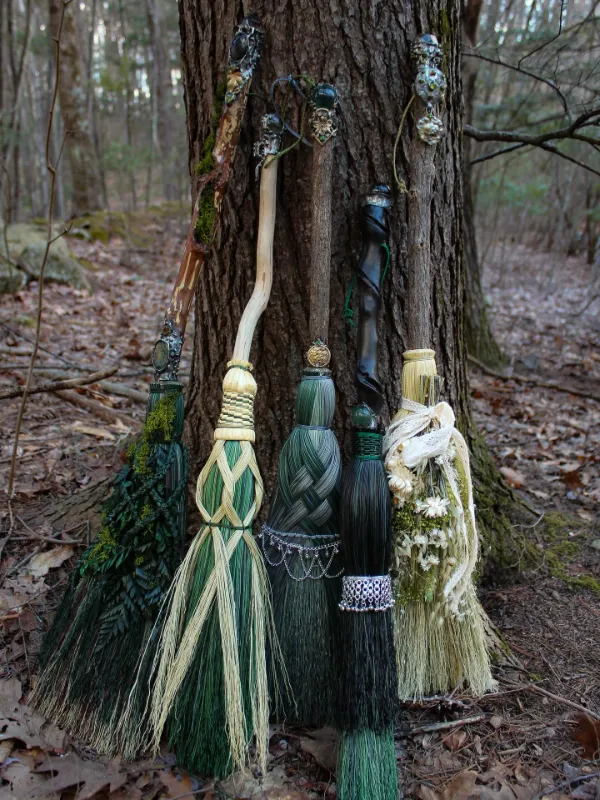
Create a charming witch’s broom corner display that adds whimsy to any room corner. Cinnamon brooms from craft stores provide wonderful fragrance alongside visual appeal. The natural scent enhances your Halloween atmosphere significantly.
Wrap your broom handle with autumn-colored ribbon using spiral wrapping technique. Tuck artificial leaves and small pumpkins into the bristle section. Secure embellishments with twine for rustic appearance.
Add miniature witch hats, tiny cauldrons, or small potion bottles to complete the scene. This vignette styling approach tells a story within your decoration. Lean finished brooms against walls or hang from decorative hooks.
Finding affordable supplies at budget stores makes exploring dollar store crafts ideas incredibly rewarding.
9. Velvet Pumpkin Arrangement
- Velvet fabric
- Polyester filling
- Real pumpkin stems
- Needle and thread
- Hot glue
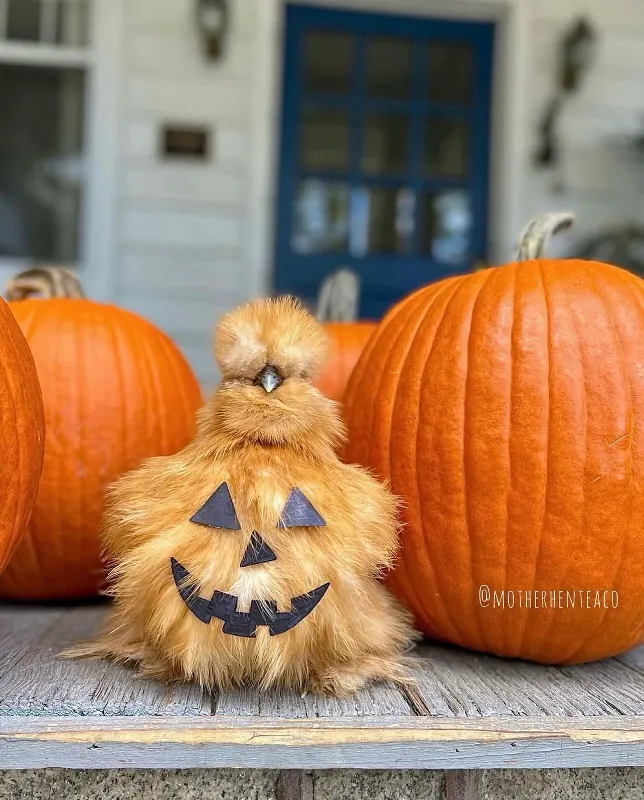
Sew luxurious velvet pumpkin arrangements in rich jewel tones for sophisticated fall decor. These elegant pieces transition beautifully from September through November. Jewel-toned velvet adds glamour to any space.
Cut velvet circles, then sew running stitches around the edges. Pull thread tight after adding polyester filling stuffing to create the gathered pumpkin shape. Secure with several knots.
Attach real dried pumpkin stems using hot glue for authentic organic finishing touch. Collect stems from carved pumpkins and let them dry for several weeks. Group various sizes and colors together for stunning tablescapes.
10. Bat Swarm Wall Installation
- Black cardstock
- Bat templates
- Scissors
- Double-sided foam tape
- Pencil
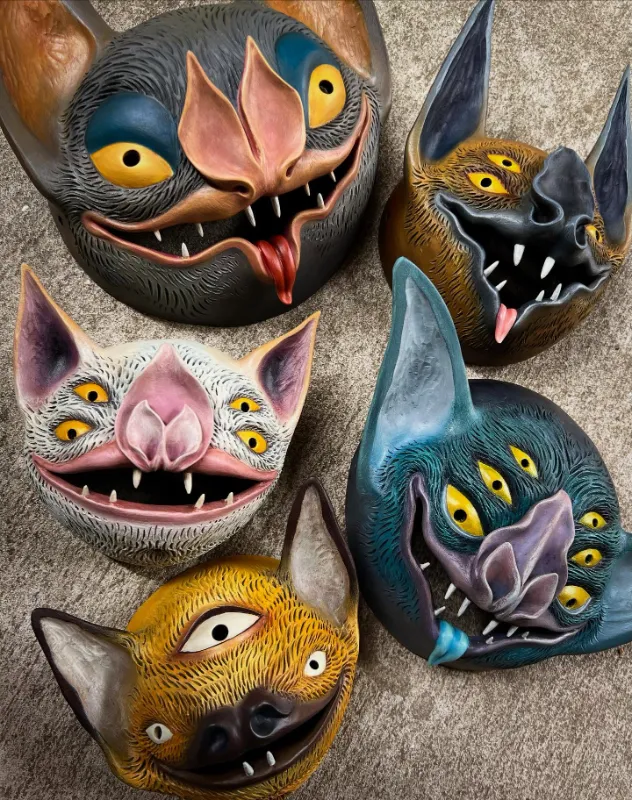
Design a dramatic bat swarm wall installation that creates stunning visual movement. This budget-friendly project uses simple cardstock transformed into dimensional art. The cascading pattern draws immediate attention.
Print or draw bat templates in three different sizes for variety. Trace onto black cardstock and cut carefully around detailed wing edges. Fold each bat slightly along the body center.
Attach bats to walls using foam tape for three-dimensional shadow effect. Start with a cluster near a corner, then spread outward in a flowing pattern. Vary the angles and heights for natural flying appearance.
11. Spell Book Stack Centerpiece
- Old hardcover books
- Leather or faux leather paint
- Hot glue gun
- Decorative embellishments
- Gold acrylic paint
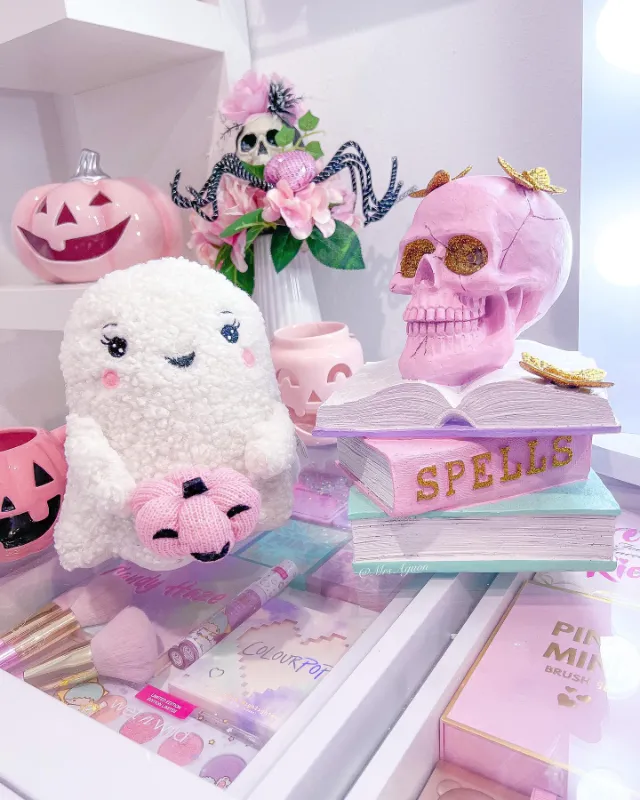
Construct an impressive spell book stack centerpiece using repurposed hardcover books. Thrift stores offer perfect candidates for this transformation project. Choose books with interesting spine widths for visual variety.
Paint book covers with textured leather paint technique in dark brown, burgundy, or black. Add dimensional elements like plastic insects or skull embellishments using hot glue. Create fake clasps with painted cardboard.
Highlight raised details with dry brush gold accenting for aged magical appearance. Stack finished books with a decorative skull or crystal ball on top. This makes exploring handmade gift craft ideas exciting for book lovers.
12. Ethereal Ghost Garland
- White cheesecloth
- Styrofoam balls
- Black felt
- String lights
- Fishing line
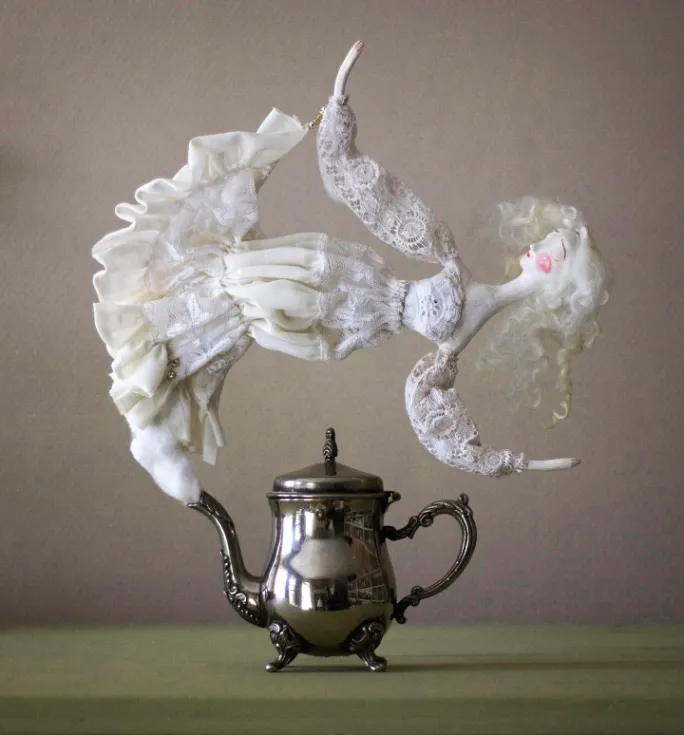
Create an ethereal ghost garland that floats gracefully across any room. This whimsical decoration suits family-friendly spaces while maintaining sophisticated appeal. The flowing fabric captures light beautifully.
Wrap Styrofoam balls with cheesecloth, securing at the neck with tight string technique. Cut and glue small black felt circles for simple ghost faces. Keep expressions cute rather than scary.
Thread ghosts onto string lights or fishing line at even intervals. The backlit illumination method makes ghosts glow from within when using lights. Drape your finished garland across mantels, doorways, or staircases for maximum impact.
These twelve DIY Halloween decor ideas for indoor spaces prove that spooky and stylish can coexist beautifully. Each project transforms ordinary materials into extraordinary decorations that elevate your home’s seasonal atmosphere. From floating candles to ethereal ghost garlands, your creativity brings these ideas to life uniquely.
Grab your crafting supplies and start creating your haunted masterpiece today! Share your favorite ideas and finished projects in the comments below. Rate this post and inspire fellow decorators with your spooky creations!