How to Paint a Lamp Base to Completely Change Its Look
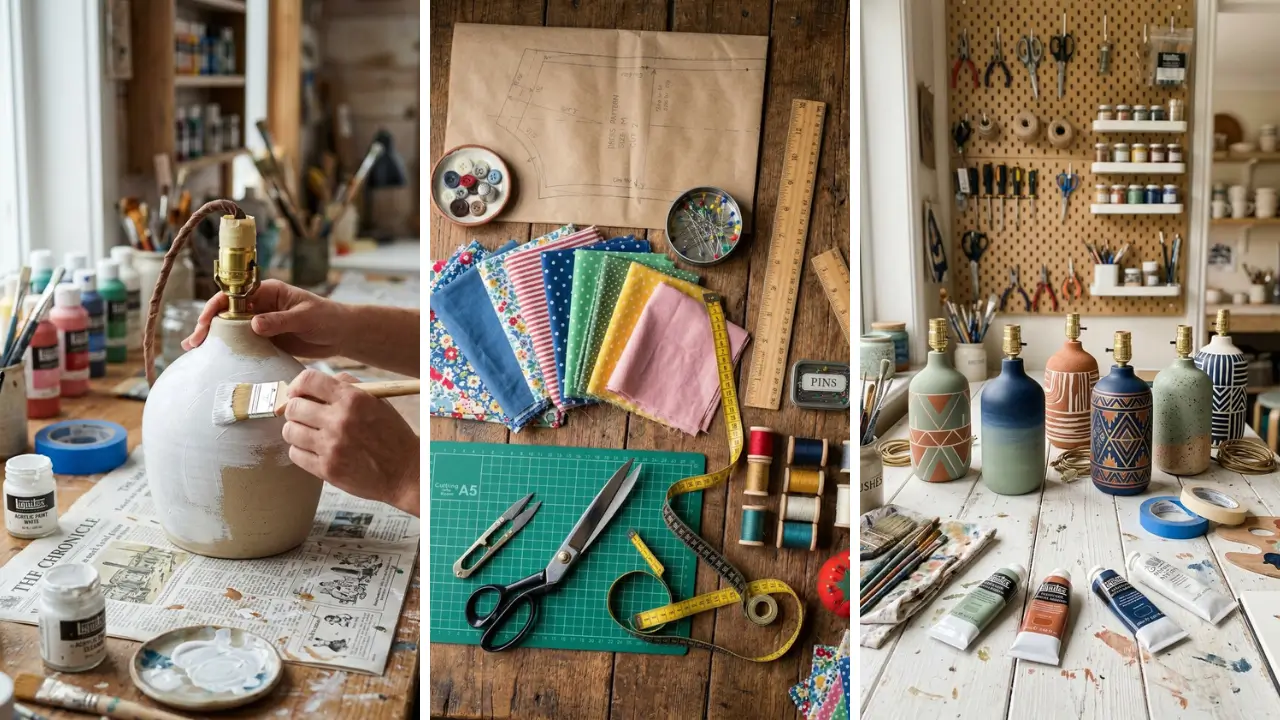
Have you ever looked at an old, tired lamp sitting in the corner and thought, “That thing needs to go”? Before you toss it out or spend money on a brand-new one, consider this: learning how to paint a lamp base to completely change its look is one of the easiest and most budget-friendly home refresh tricks out there. With just a few supplies and an afternoon of your time, you can transform a dull, outdated lamp into a stylish statement piece that looks like it came straight from a boutique home décor store.
In this guide, you’ll discover exactly what materials you need, how to prep the surface properly, which paints work best, and how to add finishing touches that make your lamp look professionally done.
Why Painting a Lamp Base Is Worth Your Time

Lamps are one of those home accessories that quietly shape the entire mood of a room. A dated brass lamp from the 90s or a chipped ceramic base can drag down even the most beautifully decorated space. But replacing lamps can get expensive fast — a quality designer lamp can cost anywhere from $80 to $300 or more.
Painting a lamp base costs as little as $10 to $20, depending on the supplies you already own. It’s also a fantastic way to match your lighting to a new color scheme without buying anything new. If you enjoy fun crafts to make at home, this project is genuinely satisfying from start to finish.
Beyond the savings, there’s a real creative reward. You get full control over color, finish, and style — matte, glossy, metallic, distressed, or even ombre. No two painted lamp bases look exactly the same, which means your piece will always be one-of-a-kind.
Materials You’ll Need Before You Start

Getting your supplies ready before you begin is the key to a smooth, stress-free project. Running out of primer halfway through is the kind of thing that ruins an otherwise great afternoon craft session. Here’s what you’ll want to gather:
- Sandpaper (120-grit and 220-grit)
- Painter’s tape (to protect the cord, socket, and harp)
- Primer suited to your lamp’s material (plastic, ceramic, metal, or wood)
- Paint — chalk paint, spray paint, or acrylic craft paint all work well
- Paintbrushes or a foam roller for smooth application
- Sealer or topcoat (matte, satin, or gloss polyurethane)
- Drop cloth or newspaper to protect your workspace
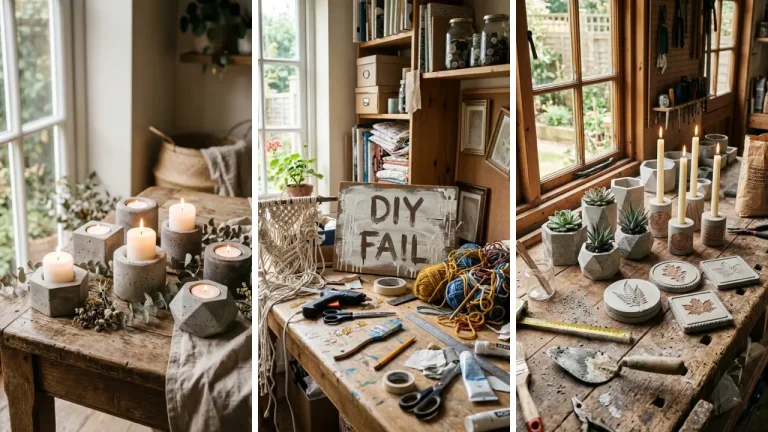
If you’re working on a budget, dollar store crafts ideas can point you toward surprisingly affordable materials that still deliver great results. Dollar stores often carry foam brushes, small paint bottles, and sandpaper packs that are perfect for this kind of project.
How to Paint a Lamp Base to Completely Change Its Look: Step-by-Step

Follow these steps carefully and you’ll end up with a lamp base that looks intentional, polished, and completely transformed.
Step 1 — Disassemble and Clean the Lamp
Start by unplugging the lamp and removing the shade, bulb, and harp. Use painter’s tape to cover the socket, cord, and any parts you don’t want painted. Then clean the base thoroughly with a damp cloth and a little dish soap to remove dust, oils, and grime.
Let it dry completely — at least 30 minutes — before moving on.
Step 2 — Sand the Surface

Lightly sand the lamp base with 120-grit sandpaper to help the primer adhere. This step is especially important for shiny or glazed surfaces like ceramics and metals. After the initial sanding, wipe away the dust with a tack cloth or slightly damp rag.
Finish with 220-grit sandpaper for a smoother texture that will hold paint beautifully.
Step 3 — Apply Primer
Primer is non-negotiable if you want your paint to last. Choose a primer that matches your lamp’s material — a bonding primer works great for slick surfaces like ceramic or glass, while a standard spray primer is ideal for wood or metal. Apply one to two thin, even coats and let each coat dry fully before continuing.
Rushing this step is the number one reason DIY paint jobs chip and peel.
Step 4 — Paint Your Lamp Base

Now for the fun part. Apply your chosen paint in thin, even layers rather than one thick coat. Two to three coats usually give the best coverage and depth of color.
If you’re using spray paint, hold the can about 10–12 inches away and use sweeping, overlapping strokes. For brush painting, use a foam brush or a soft bristle brush to minimize visible brushstrokes. Want a trendy look?
Try a two-tone effect by painting the bottom two-thirds one color and the top a complementary shade. Metallic accents like gold or copper on the neck of a lamp look incredibly chic. These are the kinds of home craft projects quick transformations that genuinely impress visitors.
Step 5 — Seal and Protect
Once your final paint coat is fully dry (usually 24 hours for best results), apply a clear sealer or topcoat. This protects the paint from scratches, moisture, and everyday wear. A satin or matte finish gives a more modern, designer look, while a gloss finish feels more classic and polished.
Two thin coats of sealer are better than one thick one.
Best Paint Types for Different Lamp Materials

Not all paints work equally well on all surfaces, and choosing the wrong type can lead to peeling within weeks. Here’s a quick breakdown:
- Ceramic lamps: Chalk paint or spray paint with a bonding primer works best. Chalk paint in particular adheres well and gives a gorgeous matte finish.
- Metal lamps: Rust-oleum spray paint or any oil-based paint designed for metal is your best bet. Always use a rust-inhibiting primer first.
- Wooden lamps: Standard acrylic or chalk paint works perfectly. Wood is the most forgiving surface to paint.
- Plastic lamps: Use plastic-specific spray paint or adhesion-promoting primer before applying any color. Skipping primer here almost guarantees peeling.
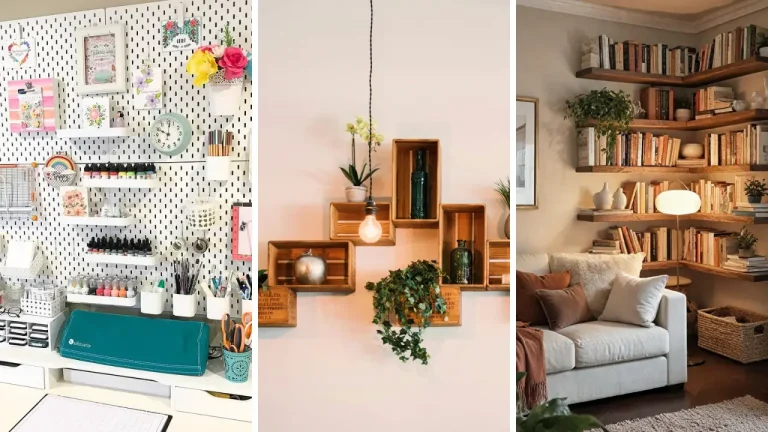
Creative Ideas to Make Your Painted Lamp Base Stand Out

Once you’ve mastered the basics, there’s a whole world of decorative techniques to explore. A plain painted surface is just the starting point. Here are some ideas to take your lamp to the next level: Color blocking: Use painter’s tape to create crisp geometric sections in two or three contrasting colors.
This works especially well on tall, cylindrical lamp bases. Faux marble or stone effect: Use a feathering technique with a thin brush and slightly diluted white paint over a gray base. It sounds intimidating but the results are stunning.
Ombre gradient: Blend two related colors from dark at the bottom to light at the top. Wet-blend the transition zone while the paint is still tacky for a seamless fade. A painted lamp also makes a thoughtful, personalized present.
If you’re into creating DIY handmade gifts, a custom-painted lamp base tailored to a friend’s home décor style is something truly special — and far more memorable than anything from a store. You can also find inspiration by browsing handmade gift craft ideas that combine painting techniques with other decorative methods like decoupage, stenciling, or even adding hardware accents.
Common Mistakes to Avoid

Even seasoned crafters run into issues when painting lamp bases. Here are the most common pitfalls and how to sidestep them:
- Skipping primer: Paint will peel, especially on ceramic and metal. Always prime.
- Painting in thick coats: Thin coats dry evenly and look professional. Thick coats drip, bubble, and crack.
- Not letting each layer dry fully: Impatience is the enemy of a clean finish. Give each coat adequate drying time.
- Forgetting to seal: Without a topcoat, your beautiful paint job won’t survive daily handling and cleaning.
- Choosing the wrong paint for the material: Always check that your paint is rated for the lamp’s surface type.
Conclusion
Knowing how to paint a lamp base to completely change its look is a genuinely valuable skill that pays off every time you look around your home and spot something that feels outdated or mismatched. The process is straightforward, affordable, and deeply satisfying. You don’t need professional experience or expensive tools — just a little patience, the right materials, and a clear vision for what you want the finished piece to look like.
The real magic is in the transformation. What starts as a $5 thrift store find or a forgotten lamp in storage can become the focal point of an entire room. Whether you go bold with metallics, serene with neutrals, or artistic with patterns, the result is always something uniquely yours.
So pull that old lamp out of the closet, gather your supplies, and give it a fresh start. Your room — and your creative spirit — will thank you for it. Ready to get started?
Share your painted lamp base in the comments below — we’d love to see your transformation! And if you found this guide helpful, share it with a friend who could use a little home décor inspiration this weekend.
Frequently Asked Questions
Q: What is the best paint to use when learning how to paint a lamp base to completely change its look? A: Chalk paint is one of the most popular choices because it adheres to almost any surface with minimal prep, dries quickly, and gives a beautiful matte finish. Spray paint is another great option, especially for metal or plastic bases, as it provides smooth, even coverage without brushstrokes.
Always follow up with a clear sealer to protect the finish. Q: Do I need to remove the lamp shade before painting the base? A: Yes, always remove the shade, bulb, and harp before you begin.
This protects the shade from accidental paint splatters and gives you full access to the base for an even, thorough paint job. Use painter’s tape to cover the socket and cord opening as well. Q: How long does it take to paint a lamp base from start to finish?
A: The actual hands-on painting time is usually just one to two hours. However, you should factor in drying time between coats — plan for a full day or even overnight. If you apply primer, two coats of paint, and a sealer, you’re looking at 24 to 48 hours total before the lamp is ready to use safely.
Q: Can I paint a lamp base without sanding it first? A: You can, but it’s not recommended. Sanding creates a slightly rough surface that helps primer and paint grip better, especially on slick surfaces like ceramic, glass, and shiny metal.
If you skip sanding on these materials, you’re much more likely to experience chipping and peeling down the road. A quick once-over with 120-grit sandpaper takes less than five minutes and makes a big difference in durability. Q: How to paint a lamp base to completely change its look on a very tight budget?
A: You can absolutely do this project for under $15. Pick up a small can of spray paint, a bottle of sealer, and some painter’s tape — that’s really all you need if the lamp is already in decent condition. Thrift stores and dollar stores are great sources for both lamps to upcycle and affordable painting supplies.
The key is to use what you have creatively and focus on technique over expensive materials.