How to Make a Solar-Powered Garden Light Mason Jars: A Complete DIY Guide
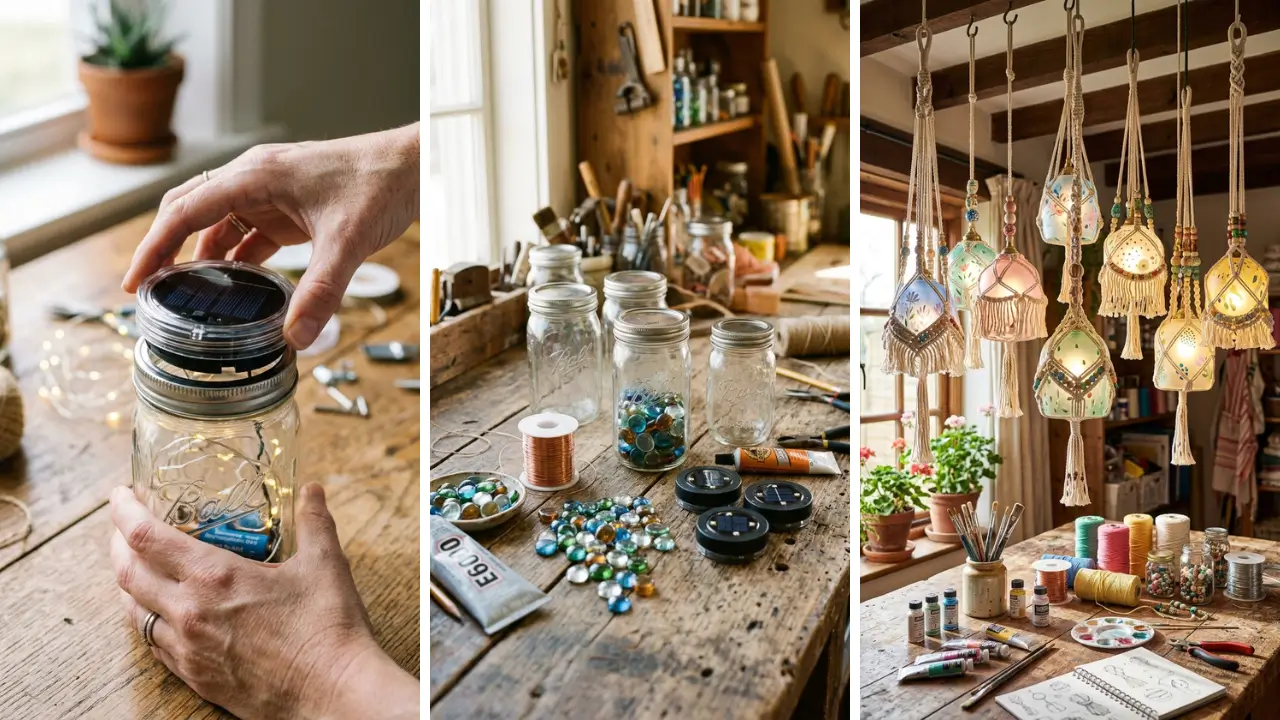
What if you could light up your garden every night for free — using nothing but sunlight and a few simple supplies? Learning how to make a solar-powered garden light from mason jars is one of those satisfying weekend projects that looks impressive, costs very little, and actually works. Whether you want to line a garden path, decorate a patio, or add a warm glow to your backyard, this DIY is beginner-friendly and endlessly customizable.
The best part? You don’t need any electrical wiring knowledge. These lights charge during the day and automatically glow at night, making them as practical as they are beautiful.
In this guide, you’ll get everything — the materials list, step-by-step instructions, customization ideas, and tips to make your lights last longer.
Ready to transform a simple glass jar into a glowing garden accent? Let’s get into it.
Why Solar Mason Jar Lights Are Worth Making
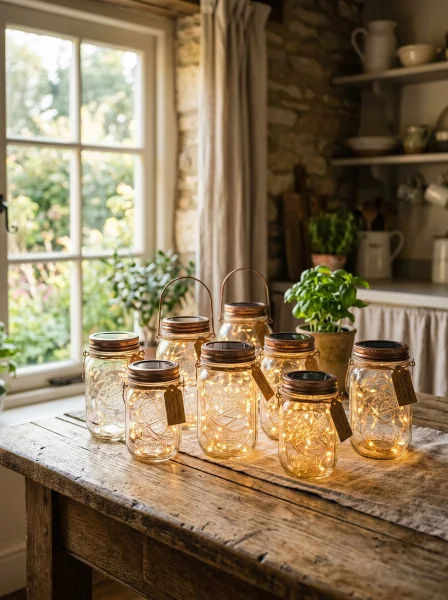
Solar garden lights from the store are fine, but they tend to look generic and break easily. Mason jar solar lights, on the other hand, have a rustic charm that store-bought versions just can’t replicate. They’re also surprisingly durable when made correctly.
From a cost perspective, you can make one of these lights for under $5 each if you already have mason jars at home. Even buying everything from scratch keeps the project well under $10 per light. Compare that to decorative solar lanterns that can run $20–$40 each in garden stores.
These lights also make wonderful presents. They’re among the most popular DIY handmade gifts you can put together for birthdays, housewarmings, or holiday celebrations. People love receiving something handcrafted that’s also genuinely useful.
Beyond cost, there’s a real environmental benefit. Solar-powered lights use zero electricity from the grid, and repurposing glass jars reduces waste. It’s a small but meaningful step toward a more sustainable home and garden.
Materials You’ll Need to Make Solar-Powered Garden Lights From Mason Jars
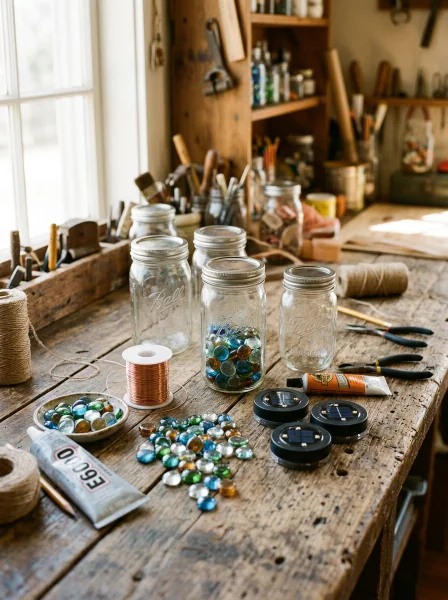
Gathering your supplies before you start makes the whole process smoother. Most of these items are easy to find at dollar stores, craft shops, or online. Here’s what you’ll need:
- Mason jars (wide-mouth quart size works best)
- Solar-powered LED lights (the kind designed for garden stakes — you’ll just use the solar lid portion)
- Wire or twine for hanging or wrapping
- Decorative elements (optional): glass pebbles, river stones, sand, dried flowers, or glitter
- Waterproof sealant or silicone (if placing outdoors permanently)
- Pliers and wire cutters if you plan to hang the jars
The solar light component is the key piece here. Look for solar garden stake lights — the top cap (which contains the solar panel and LED) is usually the right diameter to fit a standard mason jar lid ring. Some are sold specifically as mason jar solar lids, which makes things even easier.
If you’re working on a budget, this is one of those perfect dollar store crafts ideas projects — most of the supplies can be found for a dollar or two each, and the results look anything but cheap.
Step-by-Step: How to Make a Solar-Powered Garden Light From Mason Jars
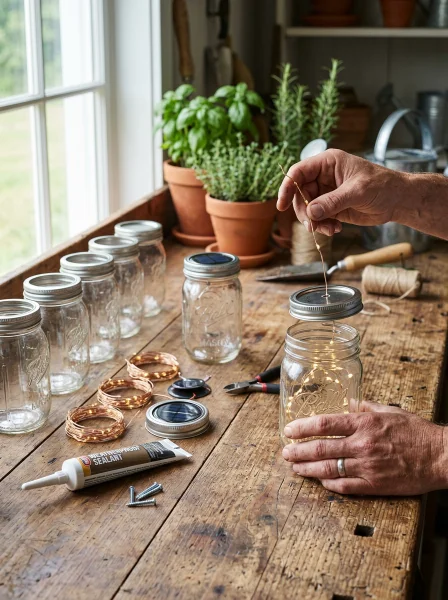
Follow these steps carefully and you’ll have a working, beautiful solar light in about 30 minutes per jar.
Step 1: Prepare Your Mason Jar
Start with a clean, dry mason jar. If you want a frosted or colored effect, now is the time to apply frosted glass spray paint or diluted Mod Podge mixed with food coloring to the inside of the jar. Let it dry completely before moving on.
You can also add decorative fillers to the bottom of the jar — a layer of sand and small pebbles looks stunning when lit from above and gives the jar some weight so it won’t tip over easily outdoors.
Step 2: Fit the Solar Lid
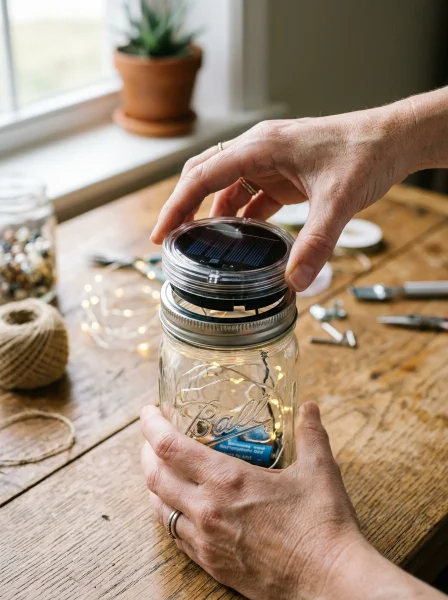
Remove the flat lid from your mason jar but keep the metal ring. Take your solar garden light and unscrew or pull apart the solar cap from the stake. The solar cap — which holds the panel and LED bulb — should fit snugly inside the mason jar’s metal ring.
If the fit is loose, use a small amount of waterproof silicone sealant around the edge to secure it. This also helps weatherproof the light if you’re leaving it outside year-round. Let the sealant cure for the time recommended on the packaging before use.
Step 3: Screw the Lid Ring onto the Jar
Once the solar cap is positioned in the ring, screw the ring assembly back onto the mason jar. Make sure it’s tight and secure. Flip the jar over gently to confirm the solar panel is facing upward — this is critical for the light to charge properly during the day.
Step 4: Add a Hanger (Optional)
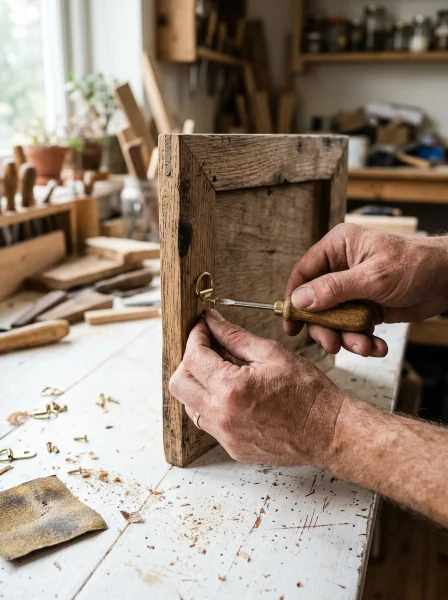
If you want to hang your solar lights rather than place them on the ground, wrap sturdy wire or heavy-gauge twine around the neck of the jar just below the lid ring. Twist the wire securely and create a loop at the top for hanging. Pliers help make this process cleaner and safer.
Hanging lights look especially magical when strung from tree branches, pergola beams, or shepherd’s hooks placed around a garden bed.
Step 5: Charge and Test
Place your finished light in direct sunlight for a full day before the first use. Most solar garden lights need 6–8 hours of direct sun to reach a full charge. Once the sun sets, the LED should automatically activate.
If it doesn’t, check that the small on/off switch (often found under the solar cap) is in the ON position.
Customization Ideas to Make Your Lights Unique
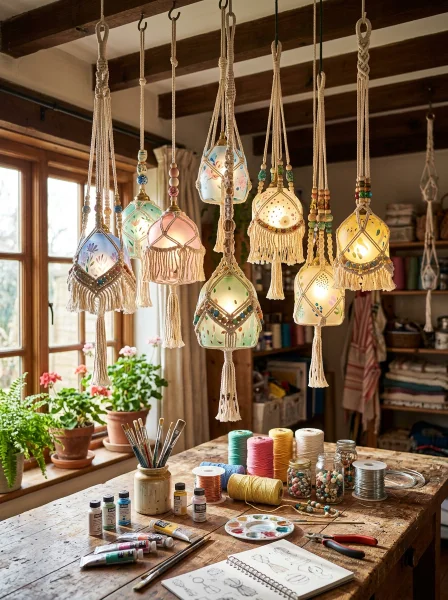
One of the best things about this project is how easy it is to personalize. A few small changes can completely transform the look of your lights.
- Colored jars: Use blue, green, or amber mason jars for a stained-glass effect at night.
- Lace or burlap wrap: Tie a strip of lace or burlap around the jar’s neck for a rustic farmhouse vibe.
- Painted designs: Use outdoor-safe glass paint to add patterns like stars, dots, or botanical designs directly onto the jar.
- Seasonal themes: Fill the jar base with pinecones for winter, shells for summer, or dried lavender for a garden-party look.
- Monograms or labels: Add adhesive letters or a chalkboard label to personalize jars as gifts.
These variations make the project feel fresh every time you make a new batch. It’s one of those fun crafts to make at home that you can easily adapt to any season or occasion without needing new skills or tools.
Tips for Making Your Solar Mason Jar Lights Last Longer
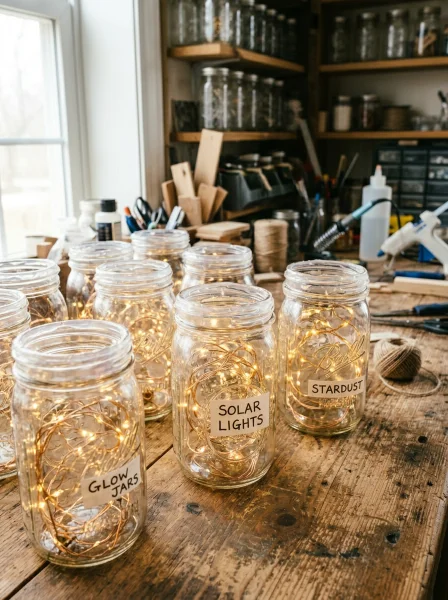
With a little care, these lights can last multiple seasons outdoors. Here are some practical tips:
- Use waterproof sealant around the lid-to-jar connection to keep moisture out.
- Bring the lights indoors during heavy storms or harsh winter conditions to protect the solar panel.
- Clean the solar panel surface every few weeks with a damp cloth — dust and grime reduce charging efficiency significantly.
- Replace the rechargeable battery inside the solar cap annually. Most use a standard AA NiMH rechargeable battery, which costs less than $2 to replace.
- Avoid placing jars under tree canopies or in heavily shaded spots — they need direct sun to charge properly.
If you enjoy making these and want to explore more home craft projects quick enough for a weekend, there are dozens of similar solar and lighting DIYs that use the same basic techniques.
Turning This Project Into Thoughtful Gifts
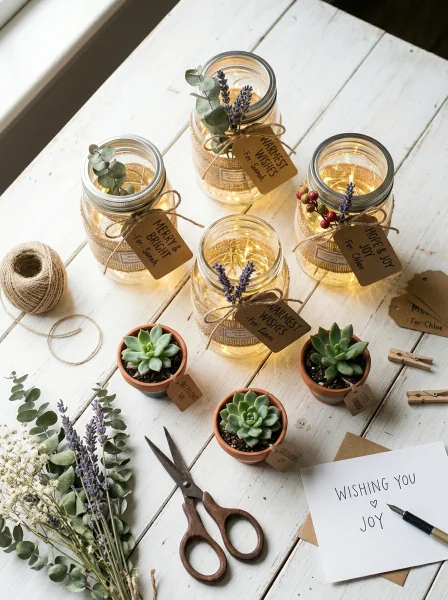
Solar mason jar lights aren’t just for your own garden — they make genuinely thoughtful, personalized gifts. Set them as a pair or trio, wrap them in a wooden crate with some twine, and you have a housewarming or birthday present that feels luxurious and personal.
Pair them with other garden-themed handmade items for a gift set. If you’re looking for more handmade gift craft ideas, combining solar lights with hand-painted plant pots or seed packets makes a complete, cohesive present that any home or garden lover will appreciate.
The key to giving handmade gifts well is presentation. Use kraft paper, natural twine, and a small handwritten tag. The packaging effort signals that the gift was made with intention — which makes it feel even more special to the recipient.
Conclusion
Knowing how to make a solar-powered garden light from mason jars opens up a world of creative, budget-friendly outdoor decorating possibilities. With materials that cost just a few dollars per jar and a process that takes under an hour, this is one of those DIY projects where the payoff far exceeds the effort.
You get lights that charge for free every day, glow beautifully every night, and can be customized to match any aesthetic or season. Whether you line a garden path, hang them from a pergola, or give them away as gifts, these solar mason jar lights genuinely impress.
The project is also endlessly scalable — make two for yourself or twenty for a backyard party. Each jar is a chance to try a new color, filling, or design. Once you make your first batch, it’s hard to stop.
Give it a try this weekend and light up your garden the sustainable, handmade way.
Did you make your own solar mason jar lights? Drop a comment below and share what decorative fillers or customizations you used — we’d love to see your creative spin on this project! Tag a friend who’d love to try this too.
Frequently Asked Questions
Q: How long do solar-powered mason jar lights stay lit at night?
A: After a full day of direct sunlight (6–8 hours), most solar mason jar lights will stay illuminated for 6 to 10 hours. The actual runtime depends on the capacity of the rechargeable battery inside the solar cap and the brightness setting of the LED.
Q: Can I learn how to make a solar-powered garden light from mason jars without any tools?
A: Yes, absolutely. The basic version of this project requires no tools at all — you simply fit the solar cap into the mason jar ring and screw it on. Tools like pliers and wire cutters are only needed if you want to add a hanging wire.
It’s one of the most accessible DIY projects available.
Q: What type of solar light works best for mason jar garden lights?
A: Look for solar garden stake lights where the solar cap has a diameter of approximately 2.5 to 3 inches, which fits standard wide-mouth mason jars. Some brands sell caps specifically designed as mason jar solar lids, which are the easiest option. Warm white LEDs tend to look the most atmospheric at night.
Q: How do I weatherproof my solar mason jar lights for outdoor use?
A: Apply a thin bead of waterproof silicone sealant around the junction between the solar cap and the metal lid ring. This prevents moisture from entering and damaging the electronics. For extra protection, consider spraying the outside of the jar with a clear outdoor sealant, especially if you’ve painted or decorated the glass.
Q: How to make a solar-powered garden light from mason jars that works in partly cloudy climates?
A: In cloudy climates, position your jars in the sunniest spot available — even indirect light charges the battery slowly. Choose solar caps with higher-capacity batteries (look for 600mAh or above) and use energy-efficient warm-white LEDs rated at lower lumens. These small upgrades make a noticeable difference in performance on overcast days.