18 Creative DIY Spring Pressed Flower Projects to Make When the Garden Blooms Ideas

Have you ever wished you could capture the fleeting beauty of spring flowers forever? When your garden bursts into colorful bloom, it presents the perfect opportunity to preserve those delicate petals through the timeless art of flower pressing. Spring pressed flower projects to make when the garden blooms allow you to transform fresh blossoms into stunning artwork, jewelry, and home decor.
These 18 creative ideas range from beginner-friendly to advanced techniques. Let’s dive in…
1. Elegant Resin Coasters

- Pressed flowers
- Clear epoxy resin
- Silicone coaster molds
- Mixing cups and sticks
- Tweezers
Transform your pressed spring flowers into functional art pieces that protect your furniture. Resin coasters showcase delicate petals suspended in crystal-clear epoxy, creating conversation starters for any room. Arrange your flowers face-down in the mold before pouring the first resin layer.
Allow each layer to cure completely before adding more. The layering technique prevents flowers from floating to the surface.
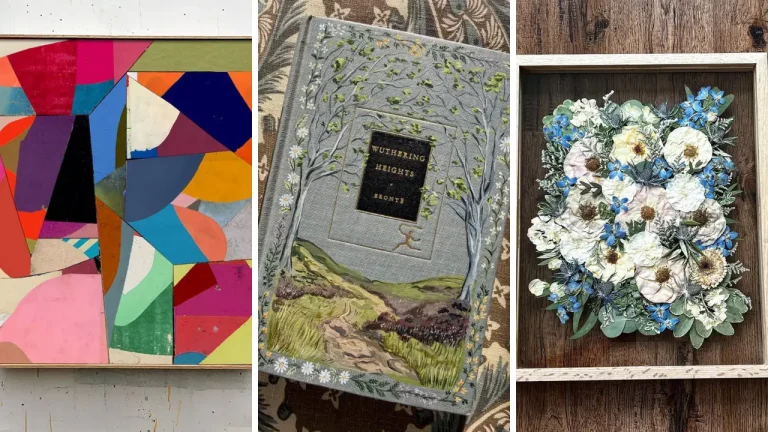
2. Vintage Framed Botanicals

- Pressed flowers and leaves
- Float frames or shadow boxes
- Acid-free cardstock
- Craft glue
Create museum-worthy botanical displays that bring garden beauty indoors year-round. Vintage-style framed arrangements add sophisticated charm to any wall space. Choose a color theme that complements your room decor.
Arrange flowers symmetrically for traditional appeal or asymmetrically for modern flair. The float frame technique makes specimens appear suspended in air.
3. Delicate Bookmark Creations

- Small pressed flowers
- Clear laminating pouches
- Cardstock strips
- Ribbon or tassel
- Hole punch
These charming floral bookmarks make perfect gifts for book lovers in your life. The laminating process protects delicate petals while creating a durable reading companion. Arrange tiny blooms on cardstock before sealing them in laminating pouches.
Trim edges with decorative scissors for added elegance. Add a silk ribbon tassel through a punched hole for the finishing touch. If you enjoy creating DIY handmade gifts, these bookmarks are wonderfully personal presents.
4. Stunning Phone Cases

- Clear phone case
- Tiny pressed flowers
- Clear-drying craft glue
- Clear nail polish or resin
Personalize your tech accessories with nature-inspired designs using miniature pressed blooms. This project transforms ordinary phone cases into wearable garden art. Arrange flowers on the inside surface of a clear case for protection.
Apply thin glue layers between each element. Seal everything with clear topcoat to prevent shifting during daily use.
5. Romantic Candle Decorations

- Plain white pillar candles
- Pressed flowers
- Wax paper
- Heat gun or embossing tool
Wrap ordinary candles in botanical beauty using this heat transfer method. The gentle warmth embeds flowers directly into the wax surface without damaging petals. Hold pressed flowers against the candle with wax paper.
Apply heat evenly until the outer wax melts slightly. The flowers become permanently fused to the candle surface once cooled.
6. Whimsical Greeting Cards

- Blank cardstock cards
- Pressed flowers and ferns
- Glue dots or craft adhesive
- Vellum paper
Handmade cards featuring real pressed flowers convey heartfelt sentiments that store-bought options simply cannot match. Each creation becomes a unique piece of art. Layer vellum over delicate arrangements for a soft, dreamy effect.
Use glue dots for secure adhesion without visible residue. Add handwritten messages to complete these botanical masterpieces. These make wonderful handmade gift craft ideas for any occasion.
7. Dainty Pendant Jewelry

- Tiny pressed flowers
- Glass pendant bezels
- Clear resin or glass cabochons
- Jewelry chains
- E6000 glue
Wear spring’s beauty close to your heart with botanical pendant necklaces. These dainty jewelry pieces showcase individual blooms as wearable garden treasures. Select flowers small enough to fit within bezel frames.
Layer petals carefully using tweezers for precise placement. Seal with dome-shaped glass cabochons or clear resin for professional results.
8. Artistic Sun Catchers

- Pressed flowers
- Contact paper or laminate sheets
- Embroidery hoops
- Ribbon for hanging
Capture sunlight through translucent floral arrangements that dance with color when hung in windows. Sun catchers bring garden magic indoors during every season. Sandwich flowers between two sheets of clear contact paper.
Trim to fit inside embroidery hoops for a polished frame. The natural light illuminates delicate petal details beautifully throughout the day.
9. Personalized Stationery Sets

- Pressed flowers
- Plain notepads and envelopes
- Clear adhesive sheets
- Decorative paper
Elevate correspondence with custom botanical stationery that makes every note special. Pressed flower designs add elegance to everyday writing supplies. Apply small blooms to envelope corners and notepad headers.
Cover with clear adhesive sheets for durability. Create matching sets featuring consistent color palettes for cohesive presentation.
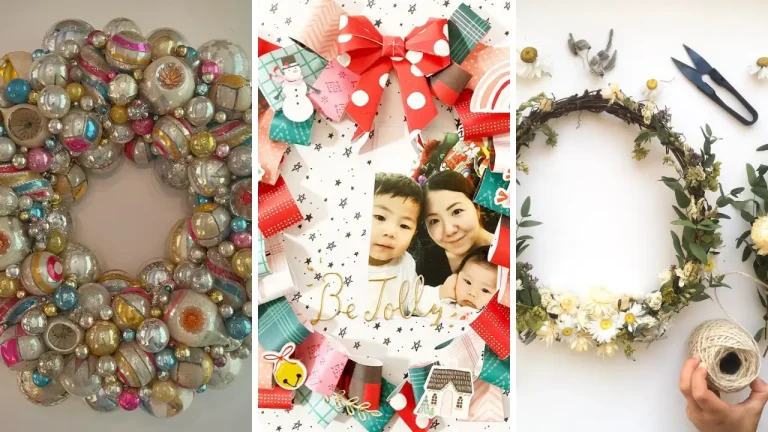
10. Charming Ornament Spheres

- Clear glass or plastic ornament balls
- Small pressed flowers
- Fine tweezers
- Ribbon
Create timeless keepsakes by suspending pressed spring blooms inside clear ornament spheres. These make cherished gifts or seasonal decorations year after year. Remove ornament caps carefully before inserting flowers with long tweezers.
Shake gently to distribute blooms naturally inside the sphere. Add decorative ribbon hangers for displaying these botanical treasures.
11. Lovely Serving Trays

- Wooden serving tray
- Pressed flowers
- Mod Podge
- Clear resin or glass insert
Transform plain trays into functional floral artwork perfect for entertaining or display. Resin-sealed designs withstand regular use while showcasing garden beauty. Arrange flowers directly on the tray bottom using mod podge to secure.
Pour clear resin over the entire surface for a waterproof finish. The glass-like coating protects delicate blooms from damage. This makes excellent fun crafts to make at home during lazy weekends.
12. Elegant Lamp Shades

- Plain paper or fabric lamp shade
- Pressed flowers and leaves
- Spray adhesive
- Clear acrylic sealer
Add botanical charm to lighting fixtures with pressed flower lamp shades. When illuminated, the flowers create gorgeous silhouettes and ambient garden atmosphere. Apply light spray adhesive to flower backs before positioning on the shade surface.
Overlap edges of larger blooms for seamless coverage. Seal with acrylic spray to protect your design from dust.
13. Sweet Hair Accessories

- Small pressed flowers
- Hair clips or bobby pins
- Clear resin
- Small silicone molds
Create wearable garden accessories with resin-encased floral hair clips. These dainty pieces add natural elegance to any hairstyle throughout the seasons. Pour thin resin layers in molds, adding flowers face-down.
Attach cured resin pieces to hair clip blanks using strong adhesive. The lightweight design stays secure without pulling delicate strands.
14. Beautiful Wall Letters

- Wooden or cardboard letters
- Pressed flowers
- Mod Podge
- Foam brush
Spell out names or words using flower-covered dimensional letters. These personalized pieces make thoughtful nursery decor or wedding display items. Apply base coat of mod podge to letter surfaces.
Press flowers firmly into the wet adhesive layer. Add additional sealing coats once the initial layer dries completely.
15. Rustic Picture Frames

- Wooden picture frames
- Pressed flowers and greenery
- Hot glue gun
- Clear spray sealer
Embellish plain frames with dimensional pressed flower arrangements. The three-dimensional effect creates eye-catching displays for cherished photographs. Position flowers along frame corners or edges using hot glue.
Build layers starting with greenery as the base. Finish with delicate blooms as focal points for maximum visual impact.
16. Decorative Glass Votives

- Clear glass votive holders
- Pressed flowers
- Mod Podge or spray adhesive
- Tea light candles
Transform simple votives into glowing botanical lanterns that cast enchanting shadows. These romantic pieces create perfect ambiance for any gathering. Apply flowers to the outside surface of glass holders using thin adhesive layers.
The candlelight shines through, illuminating petal details beautifully. Group multiple votives for dramatic tablescape effects. Consider adding dollar store crafts ideas by starting with inexpensive glass holders.
17. Unique Soap Bars

- Clear melt-and-pour soap base
- Small pressed flowers
- Soap molds
- Essential oils (optional)
Embed garden blooms in handmade soap bars for luxurious bathroom decor or gift-giving. The clear base showcases flowers suspended in gentle cleansing beauty. Melt soap base according to package directions, adding essential oils if desired.
Pour thin layers, positioning flowers between each addition. The layering method keeps blooms centered within finished bars.
18. Stunning Resin Trays

- Pressed flowers in various sizes
- Deep-pour resin
- Silicone tray molds
- Heat gun for bubbles
- Mixing supplies
Create statement pieces with large-scale resin trays featuring elaborate floral arrangements. These functional art pieces serve as jewelry organizers or decorative catchalls. Arrange flowers face-down in molds before any resin is poured.
Add thin resin layers gradually to prevent floating. Use a heat gun to remove bubbles from each layer before it cures. These projects are perfect for home craft projects quick weekend sessions.
These 18 spring pressed flower projects to make when the garden blooms offer endless creative possibilities for preserving nature’s fleeting beauty. From jewelry to home decor, each project captures seasonal magic in lasting form. Grab your flower press and freshly picked blooms, then start creating today!
Share your favorite pressed flower ideas in the comments below! Rate this post and inspire fellow crafters with your botanical creations.