15 DIY Paper Flower Ideas to Decorate Your Home (Stunning and Easy)
Want to add a touch of natural beauty to your home without the hassle of wilting petals? Paper flowers offer the perfect solution for lasting elegance that never fades. These versatile creations bring color and charm to any space while being incredibly budget-friendly.
From simple roses to intricate peonies, you can craft stunning botanical displays in just minutes. Below, you will find 15 DIY paper flower ideas to decorate your home with ease. Let’s dive in…
1. Classic Crepe Paper Roses

Materials Needed:
- Crepe paper in desired colors
- Floral wire (18 gauge)
- Green floral tape
- Scissors
- Hot glue gun
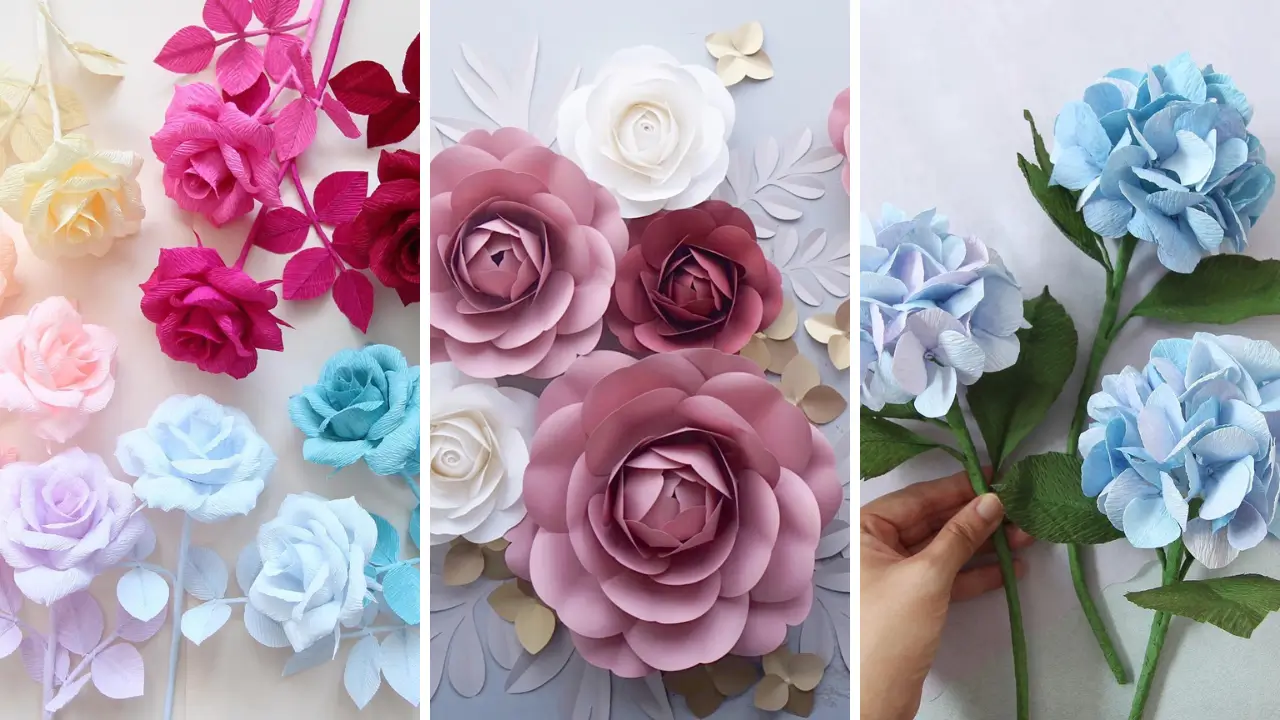
Nothing beats the timeless elegance of a handmade crepe paper rose. The natural stretch of crepe paper allows you to shape realistic petals with beautiful curved edges. These roses work perfectly as centerpieces or single stem displays.
Start by cutting petal shapes in varying sizes. Use the cupping technique to stretch the center of each petal, creating that signature rose curve. Layer petals around your wire stem, securing with floral tape.
The beauty of crepe paper roses lies in their versatility. You can create tight buds or full blooms depending on how many petals you add.
2. Giant Tissue Paper Blooms

Materials Needed:
- Tissue paper (10-12 sheets per flower)
- Pipe cleaners or wire
- Scissors
- Ribbon for hanging
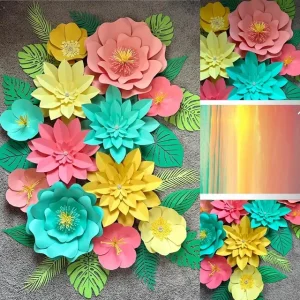
Create show-stopping giant tissue paper flowers that instantly transform any wall or party space. These oversized blooms make dramatic statement pieces for bedrooms, nurseries, or living areas. Stack multiple tissue sheets together for full, fluffy results.
Fold your tissue paper accordion-style, then secure the center with a pipe cleaner. Round or point the edges before carefully separating each layer. Pull layers toward the center to create volume.
These dramatic wall decorations are perfect if you enjoy fun crafts to make at home on weekends. The accordion folding technique takes just minutes to master.
3. Delicate Cherry Blossoms

Materials Needed:
- Pink and white tissue paper
- Real tree branches
- Yellow stamens or beads
- Hot glue gun
- Wire cutters
Bring the beauty of spring indoors year-round with delicate cherry blossom branches. Gather real branches from your yard and transform them into stunning floral displays. The combination of natural wood and paper petals creates an authentic look.
Cut small five-petal flowers from pink tissue paper. Attach yellow stamens to each flower center using hot glue. Secure flowers along your branches, clustering some together while leaving space between others.
Display your finished branches in a tall vase for maximum impact. These make beautiful DIY handmade gifts for friends who love botanical decor.
4. Rustic Book Page Flowers

Materials Needed:
- Old book pages or sheet music
- Scissors or craft punch
- Hot glue gun
- Wooden dowels or twigs
- Brown floral tape
Give old books new life by transforming their pages into vintage-style paper flowers. The printed text adds unique character and visual interest to each bloom. This eco-friendly project keeps beloved books out of landfills.
Cut or punch circular shapes from book pages. Crumple each circle slightly before layering and gluing them together. The crinkled texture adds dimension and prevents a flat appearance.
These rustic flowers complement farmhouse and vintage decor styles beautifully. Arrange them in mason jars or antique vases for a cohesive shabby-chic look.
5. Vibrant Coffee Filter Dahlias

Materials Needed:
- White coffee filters (basket style)
- Liquid watercolors or food coloring
- Spray bottle with water
- Cardboard circles for base
- Hot glue gun
Transform humble coffee filters into stunning dahlia blooms with incredible color gradients. The filters absorb dye beautifully, creating watercolor effects that mimic real flower petals. This technique produces professional-looking results with minimal effort.
Dye your filters by dipping edges in diluted colors or spraying them lightly. Once dry, fold each filter into quarters and cut petal shapes. Unfold and pinch at the base before gluing to a cardboard circle.
Layer filters from outside to center, gradually using smaller pieces. These colorful creations are among the most popular home craft projects quick enough for any skill level.
6. Elegant Cardstock Peonies

Materials Needed:
- Cardstock in pink, cream, or white
- Peony petal templates
- Bone folder or pencil
- Hot glue gun
- Styrofoam ball (optional)
Craft luxurious cardstock peonies that rival real flowers in beauty and elegance. The sturdy paper holds its shape well, making these blooms perfect for long-term displays. Peonies feature layered, ruffled petals that create stunning visual depth.
Cut multiple petal shapes in three or four sizes. Use a bone folder technique to curl petal edges gently. Layer petals from largest to smallest, gluing each layer slightly offset from the previous one.
These sophisticated flowers elevate any space with their romantic, full-bodied appearance. Display them in elegant vases or attach them to wreath frames.
7. Tropical Paper Hibiscus
Materials Needed:
- Bright colored cardstock or paper
- Yellow pipe cleaners
- Green paper for leaves
- Scissors
- Glue stick
Add tropical vibes to your home with vibrant paper hibiscus flowers. These bold, colorful blooms instantly brighten bathrooms, kitchens, or sunrooms. The distinctive stamen makes hibiscus flowers easily recognizable and fun to create.
Cut five large overlapping petals from bright paper. Create the signature hibiscus stamen by wrapping small yellow paper pieces around a pipe cleaner tip. Attach petals around the base of your stamen.
The large, simple petal shapes make this project ideal for beginners. Your tropical paper hibiscus will bring vacation vibes to any corner of your home.
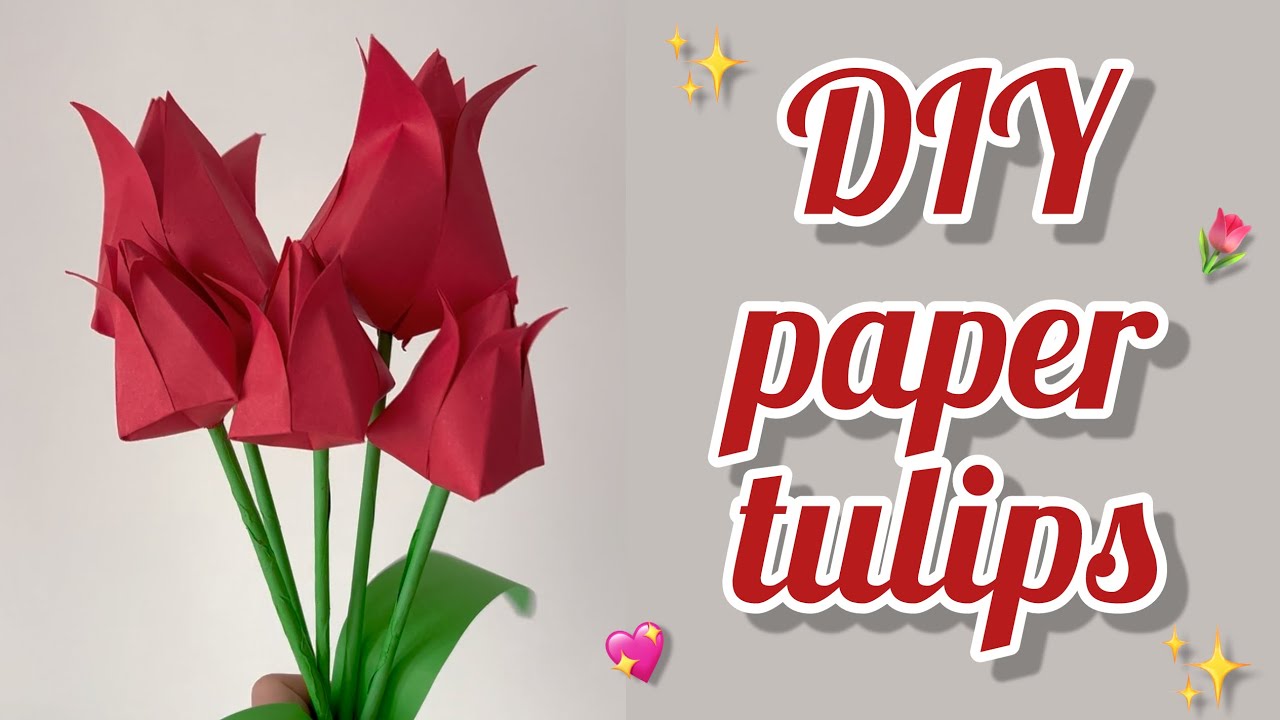
8. Minimalist Origami Tulips
Materials Needed:
- Origami paper squares
- Green paper for stems
- Wooden skewers
- Clear tape
Create sleek, modern origami tulips using the ancient Japanese paper folding art. No glue required for this clean, geometric approach to paper flowers. The crisp folds give tulips their distinctive cup shape.
Start with a square of paper folded into a water bomb base. Continue folding sides inward, tucking flaps into pockets. Blow gently into the bottom hole to inflate your tulip shape.
Roll green paper diagonally to create stems. Insert stems into the inflated tulip base and display in clear glass vases. These minimalist flowers suit contemporary and Scandinavian decor styles.
9. Romantic Paper Ranunculus

Materials Needed:
- Thin tissue or crepe paper
- Small styrofoam balls
- Floral wire and tape
- Scissors
- Hot glue gun
Ranunculus flowers feature dozens of delicate, layered petals creating a romantic, rose-like appearance. These elegant blooms add sophistication to bedroom decor or wedding-inspired displays. The tight petal arrangement looks complex but is surprisingly achievable.
Cut many small rectangular petals from thin paper. Wrap each petal around a styrofoam ball base, overlapping in a spiral pattern. Continue adding petals until your ball is completely covered.
The key to realistic ranunculus is using many small petals rather than fewer large ones. Patience with layering produces the most stunning results.
10. Whimsical Cupcake Liner Flowers

Materials Needed:
- Colorful cupcake liners
- Buttons or brads
- Green pipe cleaners
- Scissors
- Hot glue gun
Raid your baking supplies for this clever cupcake liner flower project. The pleated edges of liners create natural petal textures without any cutting. Kids love helping with this simple, budget-friendly craft.
Flatten two or three liners and stack them together. Pinch at the center and secure with a decorative button or brad. Attach a pipe cleaner stem through the center back.
Mix patterns and solid colors for playful, eclectic bouquet arrangements. These cheerful flowers brighten kitchen windowsills or children’s rooms perfectly. They also make wonderful handmade gift craft ideas for teachers and friends.
11. Sculptural Paper Calla Lilies

Materials Needed:
- White or colored cardstock
- Yellow pipe cleaners
- Floral wire
- Green floral tape
- Bone folder
Calla lilies feature elegant, trumpet-shaped blooms that add sophisticated drama to any arrangement. Their simple single-petal design makes them perfect for beginners seeking impressive results. The graceful curves create stunning silhouettes.
Cut a large heart-shaped petal from cardstock. Wrap the pointed end around itself to form the signature calla lily funnel shape. Secure the overlap with glue at the base.
Insert a yellow pipe cleaner spadix into the center. Wrap your stem with green floral tape for a polished finish. Group several lilies together for maximum impact.
12. Cheerful Gerbera Daisies

Materials Needed:
- Colored cardstock in bright shades
- Brown or black paper for centers
- Scissors with fringe-cutting option
- Hot glue gun
- Green floral tape
Bright, happy gerbera daisies bring instant cheerfulness to kitchens, offices, and living spaces. Their bold colors and distinctive fringed centers make them eye-catching statement flowers. Multiple layers create that full, lush appearance.
Cut two daisy shapes with pointed petals. Layer them offset for fullness. Create the fringed center by cutting thin strips into a paper circle, then rolling tightly.
Attach your fringed center and fluff the strips outward. These vibrant flowers work beautifully as DIY wall art ideas for living room displays when mounted on canvas or frames.
13. Vintage Newspaper Flowers

Materials Needed:
- Newspaper pages
- Wire or wooden skewers
- Hot glue gun
- Spray paint (optional)
- Scissors
Upcycle yesterday’s news into artistic newspaper flowers with vintage charm. The black and white print creates graphic, modern appeal that suits industrial and eclectic spaces. Add spray paint touches for color pops if desired.
Cut spiral shapes from newspaper sheets. Roll the spiral tightly from the outer edge, creating a rosette shape. Secure the base with hot glue and attach to stems.
The newspaper texture adds interesting visual variety to mixed arrangements. Group multiple newspaper roses together for impactful centerpieces with sustainable style.
14. Sweet Paper Hydrangeas

Materials Needed:
- Pastel cardstock or tissue paper
- Small flower punches
- Styrofoam balls
- Straight pins
- Green paper for leaves
Hydrangeas feature clusters of many tiny flowers creating full, rounded blooms. These classic flowers suit traditional, cottage, and romantic decor styles beautifully. The repetitive assembly is meditative and relaxing.
Punch or cut many small four-petal flower shapes. Attach each tiny flower to a styrofoam ball using straight pins through flower centers. Continue until the ball is completely covered.
Use varying shades of blue, pink, or purple for realistic hydrangea color gradients. Add large green leaves at the base to complete your stunning bloom cluster.
15. Modern Geometric Paper Flowers

Materials Needed:
- Colored cardstock
- Geometric petal templates
- Scoring tool
- Strong adhesive
- Wire for stems
Break from traditional flower shapes with angular geometric paper blooms. These contemporary creations suit modern, minimalist, and mid-century decor styles perfectly. Sharp folds and clean lines create architectural interest.
Cut petals with straight edges and angular points. Score along fold lines using a bone folder or scoring tool. Fold precisely along scored lines before assembling layers.
The structured appearance of geometric paper flowers makes bold statements in contemporary spaces. Display them in sleek vases or mount directly on walls as sculptural art pieces.
These 15 DIY paper flower ideas to decorate your home offer endless possibilities for adding beauty to any space. From simple tissue blooms to elegant cardstock peonies, there is a project for every skill level and decor style. Grab your scissors, paper, and glue gun and start creating your own everlasting botanical displays today!
Share your favorite paper flower ideas in the comments below, and rate this post if you found it helpful.