18 DIY Textile Wall Art Ideas to Add Softness to Any Room
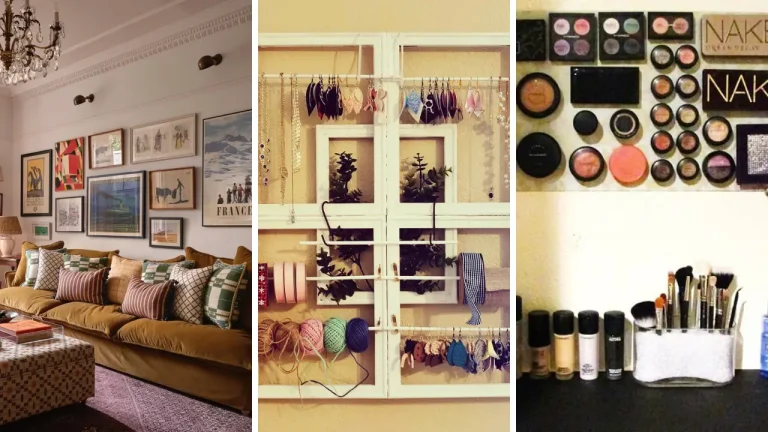
Are your walls feeling cold and uninspiring? Adding textile elements instantly transforms harsh surfaces into cozy, inviting spaces. Fabric wall art brings warmth, texture, and personality that painted canvases simply cannot match.
From simple no-sew projects to intricate woven masterpieces, these 18 DIY textile wall art ideas offer something for every skill level. Whether you prefer bohemian macrame or modern geometric designs, you will find the perfect project here. Let’s dive in…
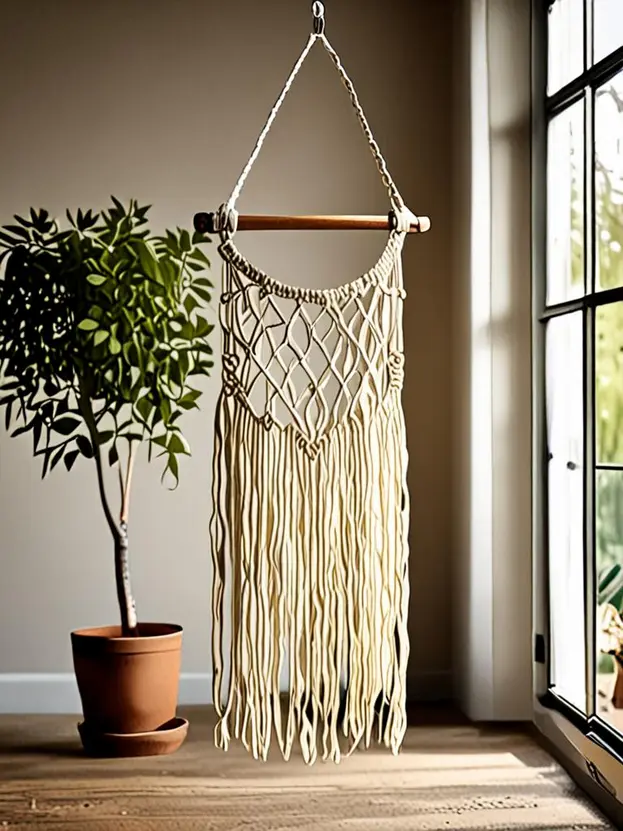
1. Bohemian Macrame Hanging
Materials Needed:
- Cotton macrame cord (5mm)
- Wooden dowel or driftwood
- Scissors
- Measuring tape
Create a stunning bohemian macrame wall hanging using basic knots like square knots and spiral hitches. This timeless piece adds instant texture to bedrooms, living rooms, or entryways. The natural cotton cord creates a soft, organic aesthetic.
Start by cutting cords twice your desired length plus extra for knotting. Attach each cord to your wooden dowel using lark’s head knots. Practice your knotting technique on scrap pieces before starting your main project.
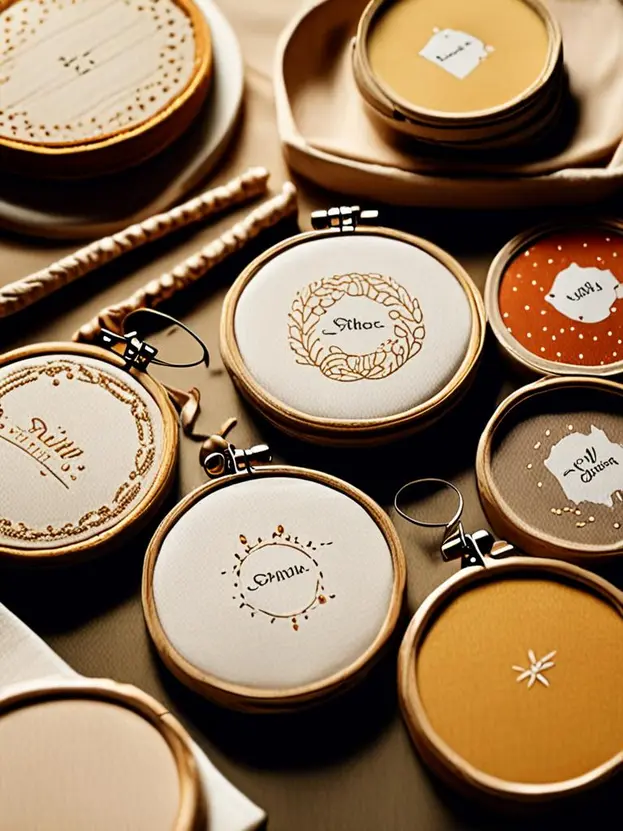
2. Embroidery Hoop Collection
Materials Needed:
- Wooden embroidery hoops (various sizes)
- Patterned fabric scraps
- Scissors
- Hot glue gun
Transform vintage embroidery hoops into a gorgeous gallery wall display. Simply stretch colorful fabric inside each hoop and secure it at the back. Group multiple hoops together for maximum visual impact.
Mix different fabric patterns like florals, stripes, and geometric prints for an eclectic look. Consider using fabrics with sentimental value such as baby clothes or vintage linens. This project makes excellent DIY handmade gifts for housewarmings.
3. Woven Wall Tapestry
Materials Needed:
- Simple frame loom or cardboard
- Cotton warp thread
- Assorted yarn in various textures
- Tapestry needle
- Comb or fork
Weaving creates beautiful textured wall tapestries that showcase your color preferences and artistic vision. You can purchase an inexpensive frame loom or make one from sturdy cardboard. The weaving process itself becomes meditative and relaxing.
Begin with simple tabby weave patterns before advancing to more complex techniques. Incorporate different yarn weights, roving wool, and even fabric strips for added dimension. Your finished piece becomes a unique conversation starter in any room.
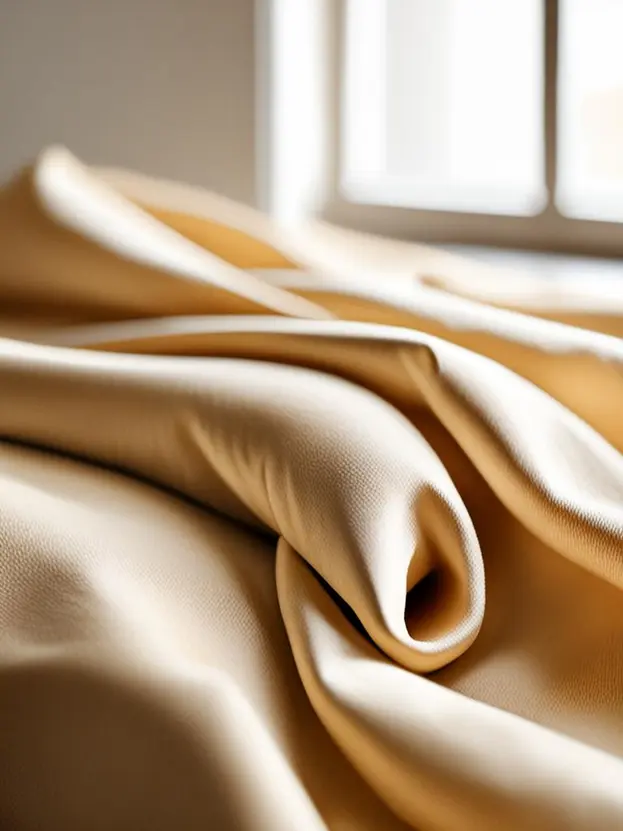
4. Fabric Wrapped Canvas
Materials Needed:
- Blank canvas frames
- Coordinating fabrics
- Staple gun
- Scissors
This beginner-friendly project produces professional-looking results in under thirty minutes. Simply wrap your chosen fabric around a canvas frame and staple it securely at the back. No sewing or special skills required.
Select fabrics that complement your existing decor or introduce new accent colors. Create a cohesive gallery wall using fabrics from the same collection. This technique works wonderfully for DIY wall art ideas for living room makeovers.
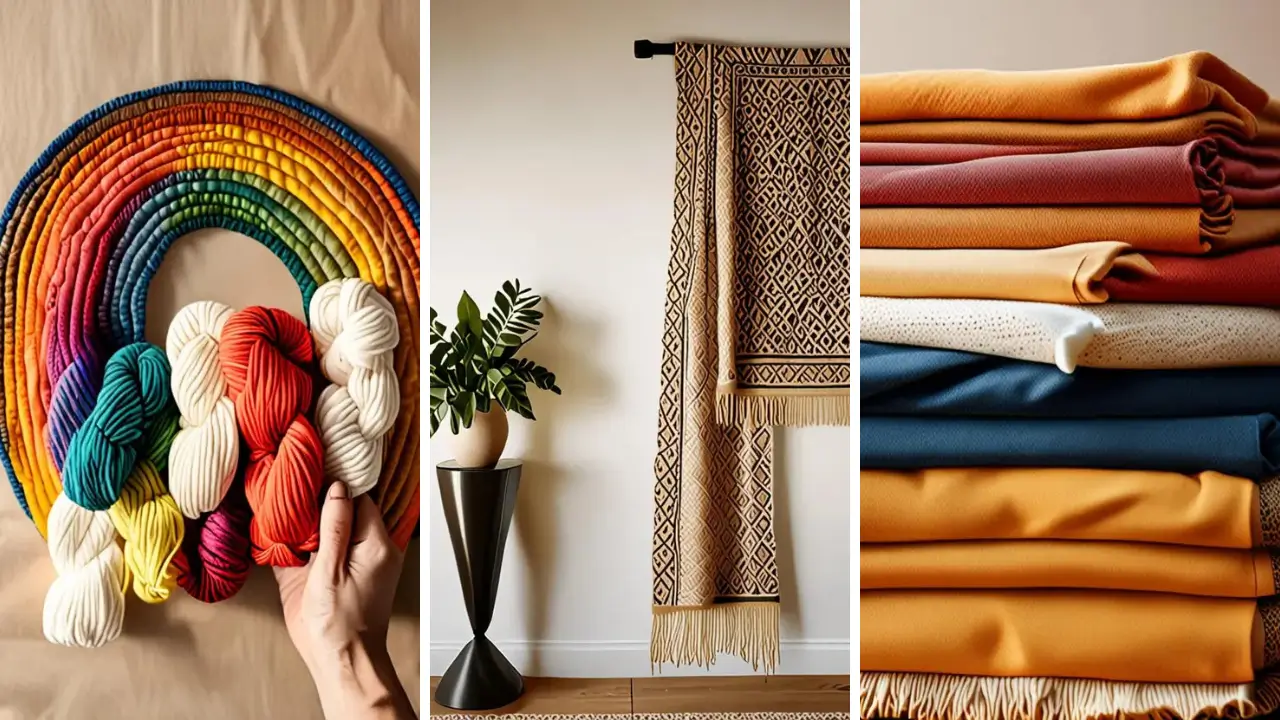
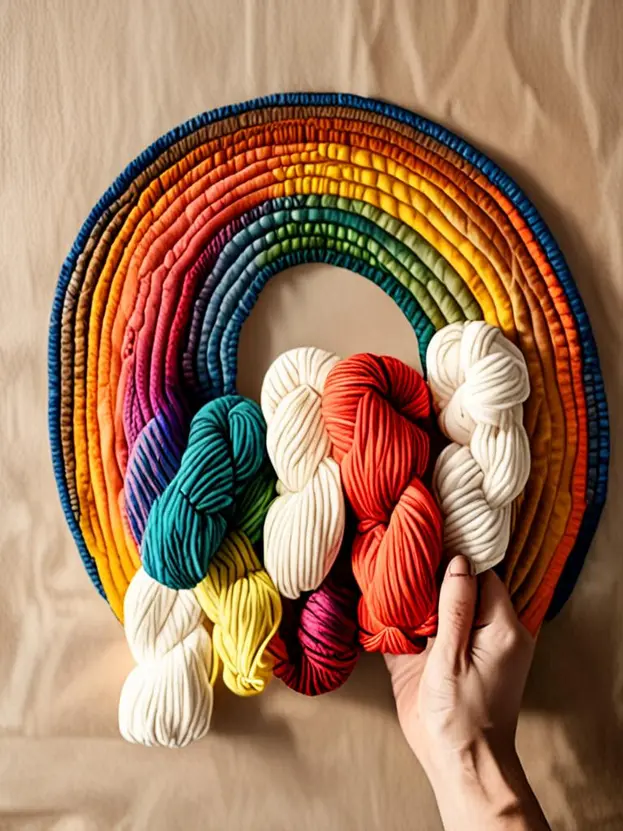
5. Yarn Rainbow Arc
Materials Needed:
- Rope or thick cord
- Assorted yarn colors
- Wire or pipe cleaners
- Hot glue gun
Create an adorable fiber rainbow perfect for nurseries, playrooms, or cheerful spaces. Wrap different colored yarns around rope sections, then bend them into rainbow arcs. This whimsical piece brings instant joy to any wall.
Choose colors that match your room’s palette or go bold with full spectrum rainbow hues. Layer multiple arcs for a dramatic three-dimensional effect. These rainbows make perfect handmade baby shower gifts too.
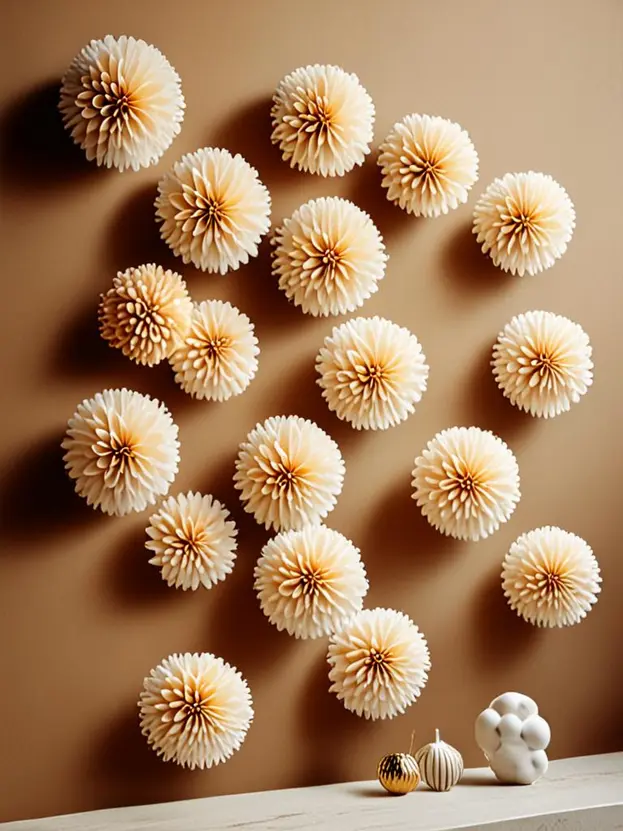
6. Pom Pom Wall Display
Materials Needed:
- Yarn in multiple colors
- Pom pom maker or cardboard
- Scissors
- Canvas or branch for mounting
Nothing adds softness quite like fluffy handmade pom poms clustered together on your wall. Make dozens of pom poms in coordinating colors, then arrange them into abstract shapes or patterns. The result feels playful yet sophisticated.
Use a pom pom maker tool for consistent sizing, or cut cardboard circles for a budget-friendly option. Trim your pom poms carefully for a dense, professional appearance. Attach them to stretched canvas or hang them from a decorative branch.
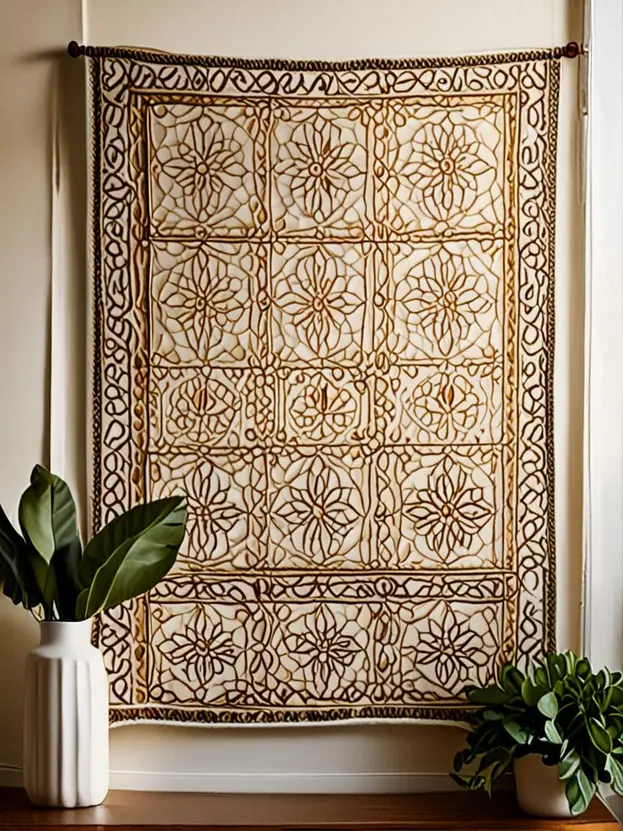
7. Quilted Wall Hanging
Materials Needed:
- Quilting cotton fabrics
- Batting
- Backing fabric
- Sewing machine
- Hanging sleeve materials
Modern quilted wall hangings showcase geometric patterns and bold color combinations beautifully. Unlike bed quilts, wall quilts can feature more intricate designs since they won’t face heavy wear. This project suits intermediate sewers seeking a rewarding challenge.
Choose a simple patchwork pattern like half-square triangles or log cabin blocks for your first attempt. Add minimal quilting to let the fabric patterns shine. Finish with a hanging sleeve that keeps your quilt flat against the wall.
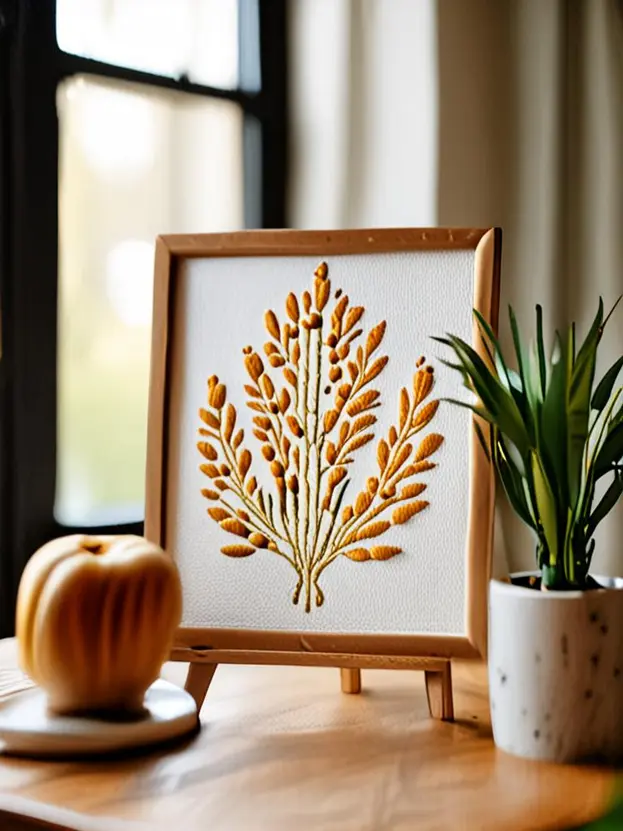
8. Tufted Punch Needle Art
Materials Needed:
- Punch needle tool
- Monk’s cloth or weavers cloth
- Embroidery hoop
- Yarn or embroidery floss
- Frame for display
The punch needle technique creates gorgeous tufted designs that feel irresistibly soft. This centuries-old craft has gained renewed popularity for its meditative process and stunning results. Perfect for creating abstract art or illustrated motifs.
Stretch your monk’s cloth tightly in an embroidery hoop before punching. Work from the back of your design, following simple line drawings. The front reveals beautiful looped textures that catch light beautifully.
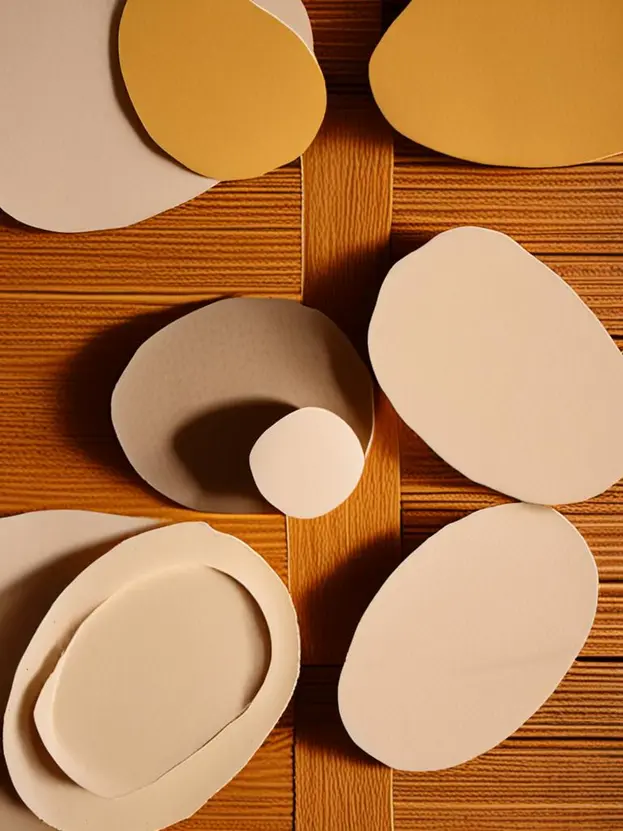
9. Layered Felt Shapes
Materials Needed:
- Wool felt sheets
- Sharp scissors
- Canvas or wooden panel
- Fabric glue
Create dimensional artwork by layering cut felt shapes onto a canvas background. This no-sew project produces striking modern art with minimal effort. Felt’s soft edges and matte finish add warmth without overwhelming your space.
Cut geometric shapes, organic forms, or botanical silhouettes from wool felt in graduated sizes. Layer them with foam adhesive squares for shadow effects. Choose a monochromatic palette for sophistication or bright colors for playful energy.
10. Knotted Rope Sculpture
Materials Needed:
- Cotton rope (various thicknesses)
- Wooden base or frame
- Hot glue gun
- Scissors
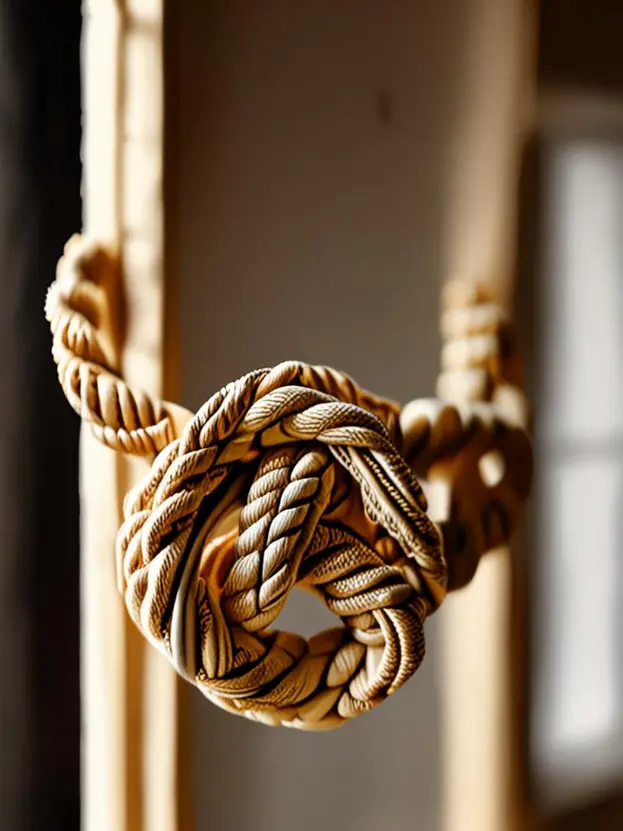
Sculptural knotted rope art brings nautical charm or modern minimalism to your walls. Coil, loop, and knot rope into abstract shapes mounted on wooden panels. The natural cotton texture adds subtle warmth to contemporary spaces.
Experiment with different coiling techniques to create spirals, waves, or organic blob shapes. Mix rope thicknesses for added visual interest. Paint your wooden base a contrasting color to make the rope sculpture pop.
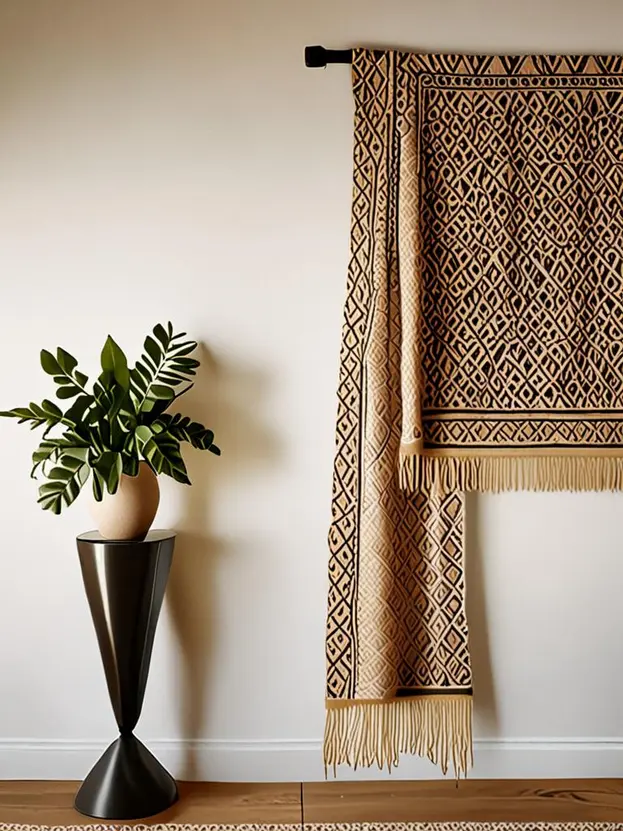
11. Vintage Scarf Gallery
Materials Needed:
- Vintage silk or cotton scarves
- Wooden frames or pants hangers
- Small nails or picture hooks
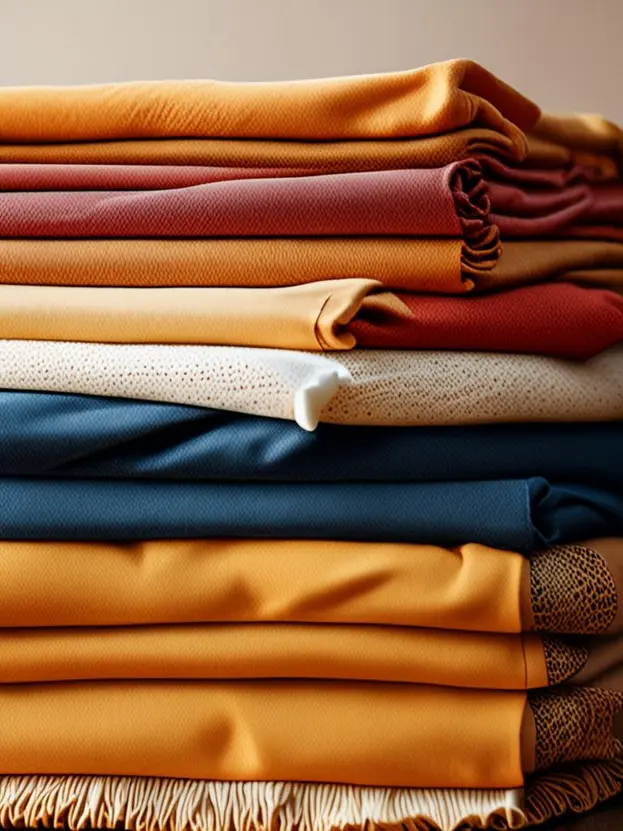
Display vintage scarves as instant artwork with this clever upcycling project. Thrift stores and estate sales offer beautiful scarves with intricate patterns at affordable prices. Simply frame them or hang them from decorative clips.
Look for scarves with bold graphic designs or traditional paisley patterns. Group several scarves together for an eclectic gallery wall effect. This approach celebrates fun crafts to make at home while being budget-conscious and sustainable.
12. Fabric Origami Shapes

Materials Needed:
- Stiffened fabric or starched cotton
- Fabric stiffener spray
- Shadow box frame
- Hot glue gun
Apply paper origami techniques to stiffened fabric for unique three-dimensional wall art. Traditional cranes, flowers, and geometric shapes translate beautifully to fabric medium. The soft material adds warmth that paper versions lack.
Stiffen your fabric with commercial spray or homemade starch solution before folding. Choose lightweight cotton or silk for easier manipulation. Mount finished shapes in shadow box frames for elegant, gallery-worthy displays.
13. Burlap Monogram Wreath
Materials Needed:
- Burlap ribbon
- Wire wreath form
- Wooden letter
- Hot glue gun
- Scissors
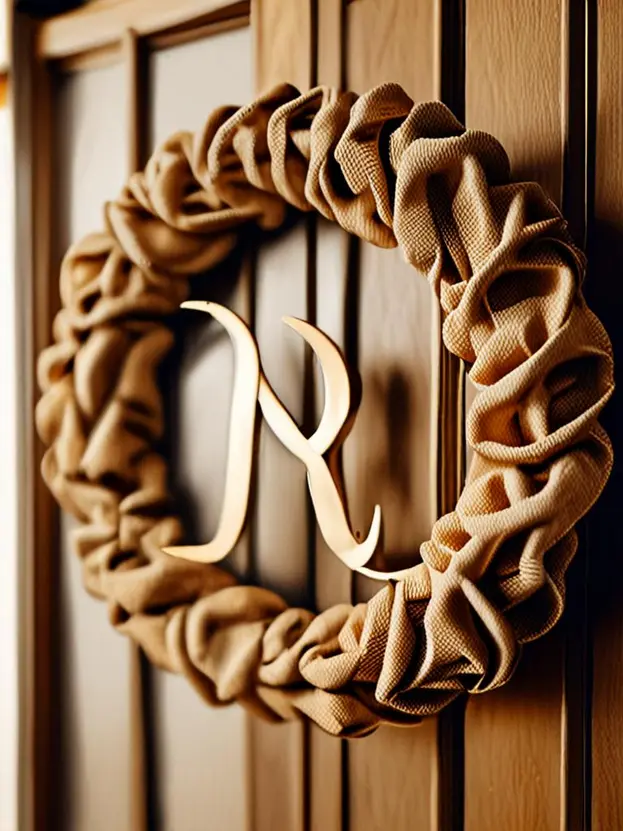
Create a rustic burlap wreath featuring your family initial for personalized wall decor. This project works beautifully in farmhouse-style interiors or as seasonal door decorations. The natural burlap texture adds organic warmth.
Loop burlap ribbon through your wire form using a simple bubble technique. Attach a painted wooden letter to the center with hot glue. Add seasonal embellishments like faux flowers, greenery, or holiday ornaments throughout the year.
14. Crochet Doily Art
Materials Needed:
- Vintage or new crochet doilies
- Canvas or embroidery hoops
- Fabric glue or sewing pins
- Background fabric
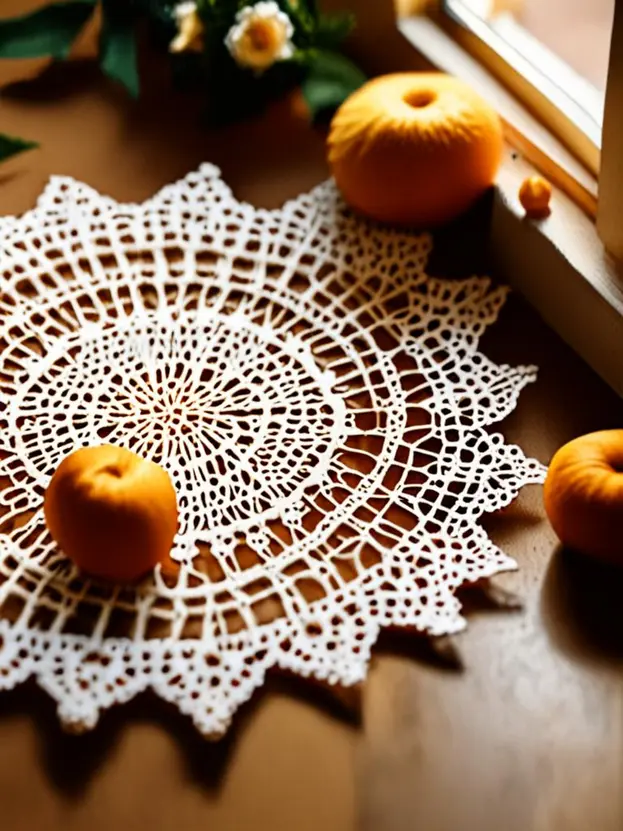
Showcase delicate crochet doilies as framed artwork celebrating traditional craftsmanship. Layer multiple doilies on contrasting fabric backgrounds for maximum visual impact. This project honors handmade heritage while creating contemporary decor.
Search thrift stores and family collections for vintage doilies with intricate patterns. Dye plain white doilies in tea, coffee, or fabric dye for customized colors. Arrange them in overlapping compositions before permanently attaching.
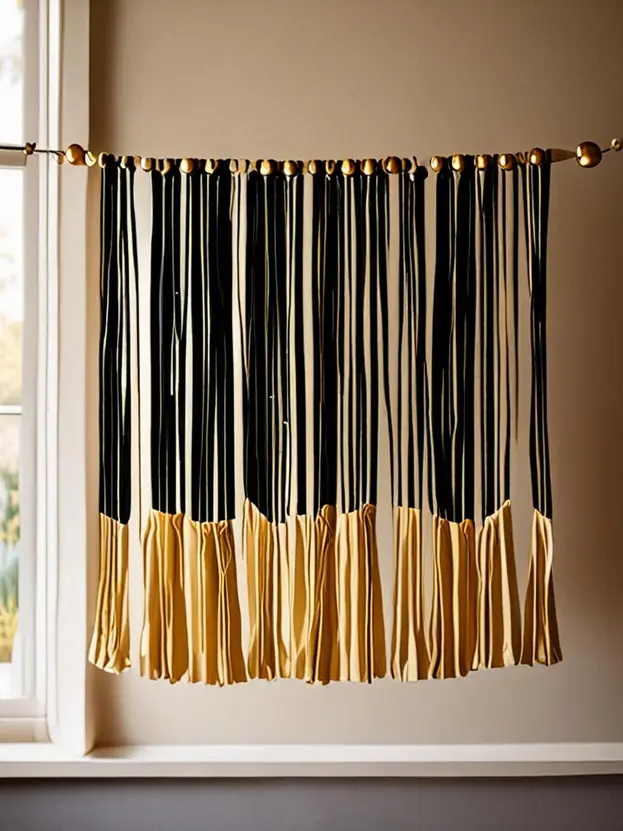
15. Tassel Wall Garland
Materials Needed:
- Cotton yarn or embroidery thread
- Wooden beads
- Rope or twine for hanging
- Scissors
String colorful handmade tassels into cheerful wall garlands perfect for bedrooms and living spaces. This simple project transforms basic yarn into eye-catching decor. Tassels bring movement and playful energy to any room.
Wrap yarn around cardboard templates, then tie and cut to create fluffy tassels. Alternate tassels with wooden beads on your hanging rope for added visual interest. These make wonderful home craft projects quick enough for weekend completion.
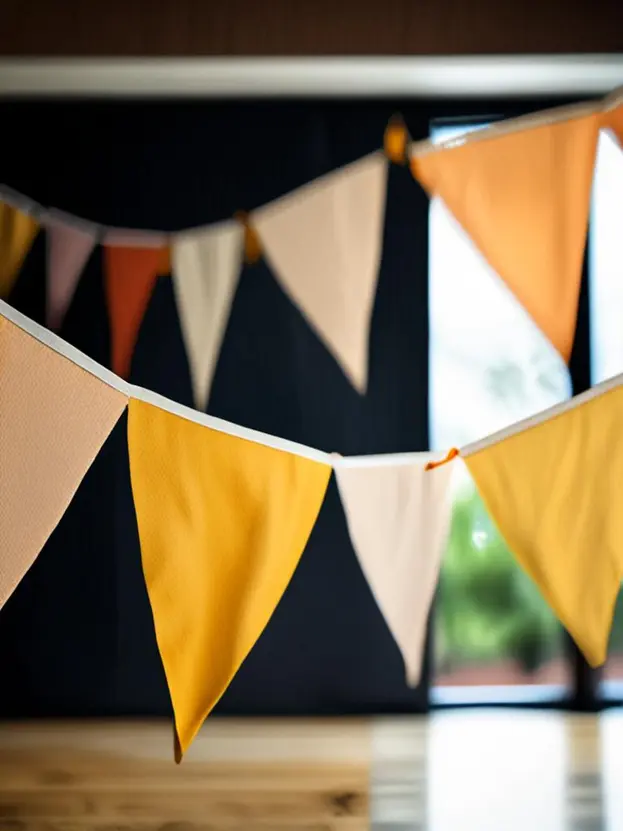
16. Fabric Banner Bunting
Materials Needed:
- Coordinating fabric scraps
- Bias tape or ribbon
- Sewing machine or fabric glue
- Scissors
Sew or glue fabric triangles onto ribbon for festive bunting that transforms any space. This classic decoration suits nurseries, party spaces, and everyday living areas equally well. Mix patterns and colors for personalized charm.
Cut triangles using a cardboard template for consistent sizing. Fold tops over your ribbon and secure with stitching or fabric glue. Create themed bunting for holidays and celebrations using seasonal fabric collections.
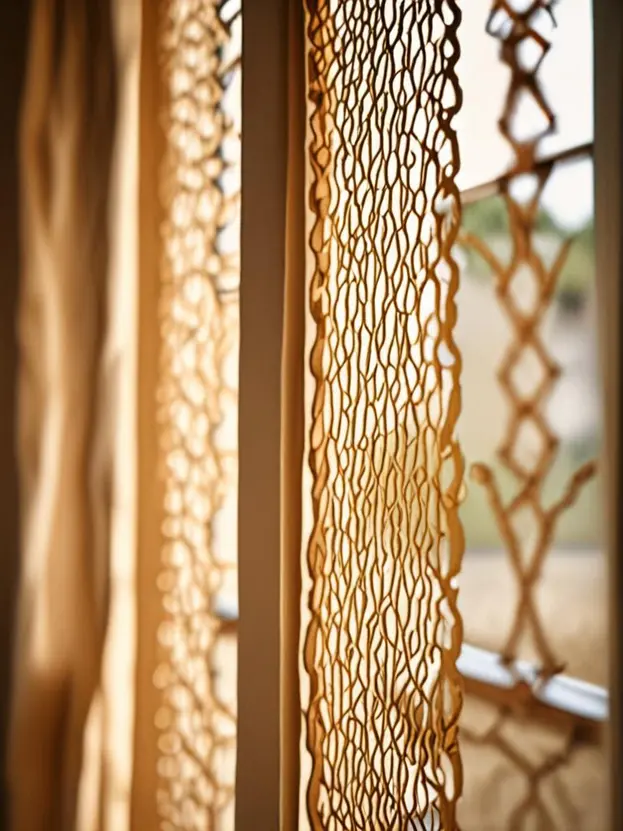
17. Stretched Lace Panel
Materials Needed:
- Vintage lace tablecloth or curtain panel
- Large wooden frame
- Staple gun
- Scissors
Transform vintage lace panels into stunning statement artwork by stretching them over large wooden frames. The intricate patterns cast beautiful shadows when backlit near windows. This project celebrates antique textiles in modern contexts.
Find lace pieces at estate sales, thrift stores, or grandmother’s linen closet. Stretch the lace taut over your frame, stapling carefully at the back. Position near windows where natural light illuminates the delicate lacework patterns.
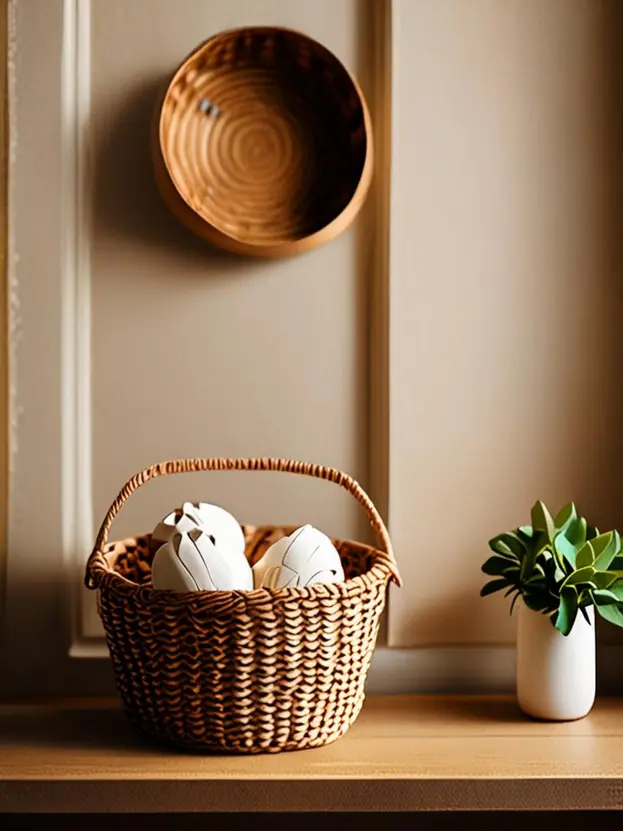
18. Woven Basket Wall Display
Materials Needed:
- Flat woven baskets (various sizes)
- Picture hanging strips or nails
- Level
- Pencil
Arrange flat woven baskets in artistic groupings for textural gallery walls with bohemian appeal. This trend adds instant warmth and global-inspired style to living rooms and bedrooms. Basket walls work beautifully in farmhouse and coastal interiors too.
Collect baskets from thrift stores, world markets, and online sources for varied patterns and textures. Lay out your arrangement on the floor before committing to nail holes. Use lightweight hanging strips for damage-free installation on rental walls.
Consider these basket displays when planning handmade gift craft ideas for friends who love boho decor.
These 18 DIY textile wall art ideas to add softness to any room offer endless creative possibilities for personalizing your home. From simple fabric-wrapped canvases to intricate woven tapestries, textile art brings irreplaceable warmth and texture to your walls. Grab your favorite fabrics, yarns, and craft supplies and start creating today! Share your favorite ideas in the comments below!
Rate this post