How to Hand-Stitch an Embroidery Hoop Boho Wall Art: A Complete Beginner’s Guide
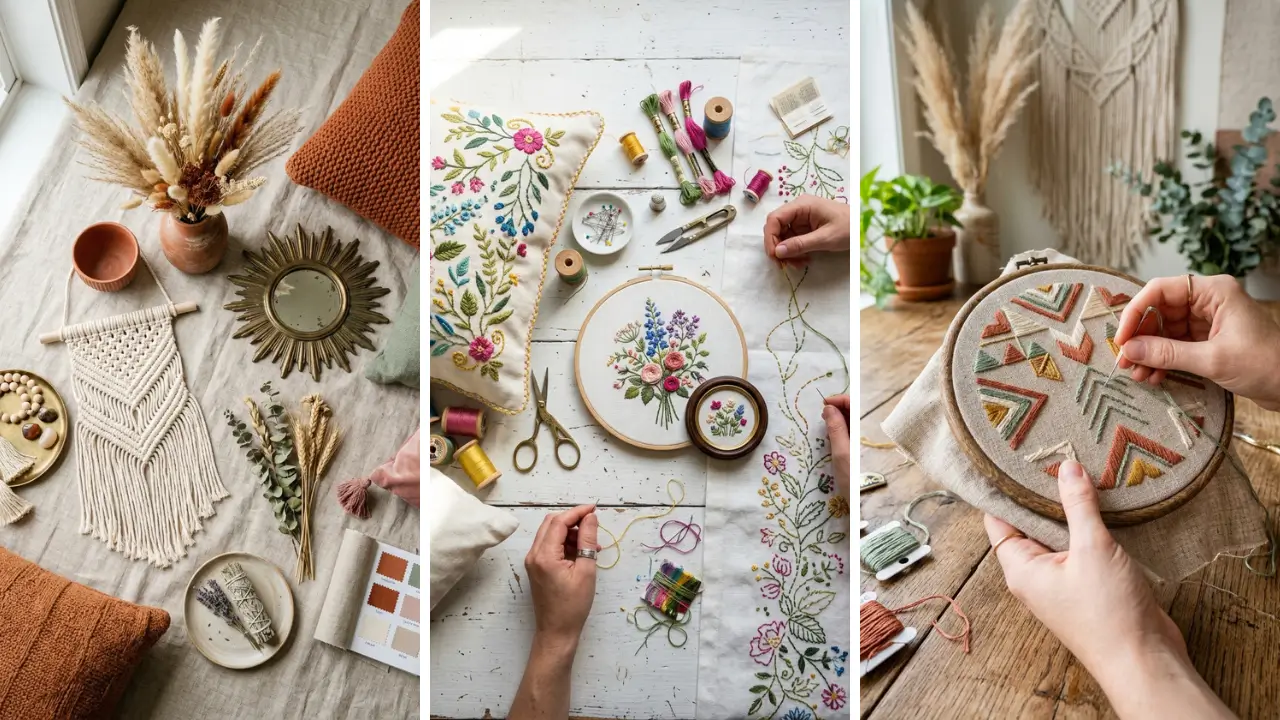
Have you ever walked into a bohemian-styled room and stopped to admire those beautiful, textured wall hangings — only to wish you could make one yourself? Good news: you absolutely can. Learning how to hand-stitch an embroidery hoop for boho wall art is one of the most rewarding beginner-friendly crafts out there.
It costs very little, requires no fancy equipment, and the results look like something you’d find in a high-end boutique. In this guide, you’ll discover everything from choosing the right materials to finishing your piece like a pro. Whether you’re decorating your own home or looking for unique DIY handmade gifts, this project is the perfect place to start.
What You Need Before You Start: Materials and Tools
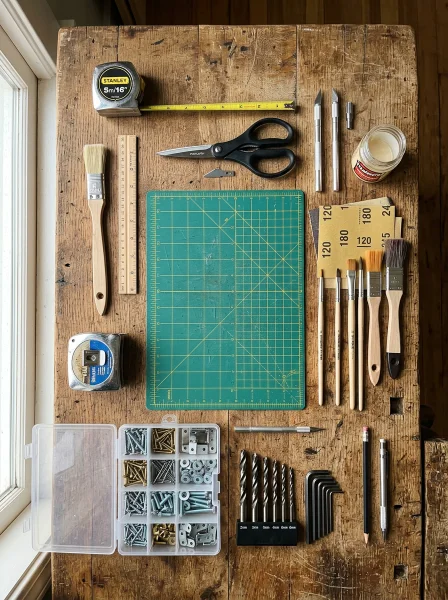
Before diving into your first stitch, gathering the right supplies makes a huge difference. The good news? Most of what you need is affordable and easy to find — even at your local dollar store. Here’s a basic supply list to get you going:
- Embroidery hoop — 6 to 10 inches works best for beginners
- Fabric — linen, muslin, or even cotton canvas all work beautifully
- Embroidery floss — pick earthy, muted tones for that classic boho feel (terracotta, sage green, cream, rust)
- Embroidery needle — a size 3 or 5 works for most thread weights
- Scissors — small, sharp embroidery scissors are ideal
- Water-soluble pen or chalk pencil — for tracing your design onto fabric
- Printed or hand-drawn pattern — florals, feathers, mandalas, or simple abstract shapes all suit boho style perfectly
If you’re on a budget, you’d be surprised how far you can stretch a few dollars. Many crafters build stunning projects using supplies from dollar stores — check out these dollar store crafts ideas that look far more expensive than they actually are.
How to Hand-Stitch an Embroidery Hoop for Boho Wall Art: Step-by-Step
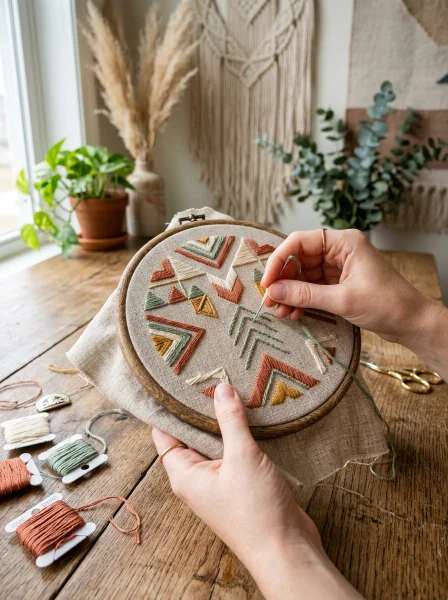
Now for the fun part. Follow these steps carefully, and by the end, you’ll have a finished piece you’re genuinely proud of.
Step 1: Prepare Your Fabric and Hoop
Start by cutting your fabric into a circle roughly 3–4 inches larger than your hoop diameter. This gives you enough extra fabric to pull taut without tearing. Loosen the outer ring of your embroidery hoop, place your fabric over the inner ring, then press the outer ring down over it.
Pull the fabric edges gently but firmly until there are no wrinkles and the surface feels like a drum. Tighten the screw at the top of the hoop to lock everything in place. Taut fabric = cleaner, neater stitches.
Step 2: Transfer Your Boho Design
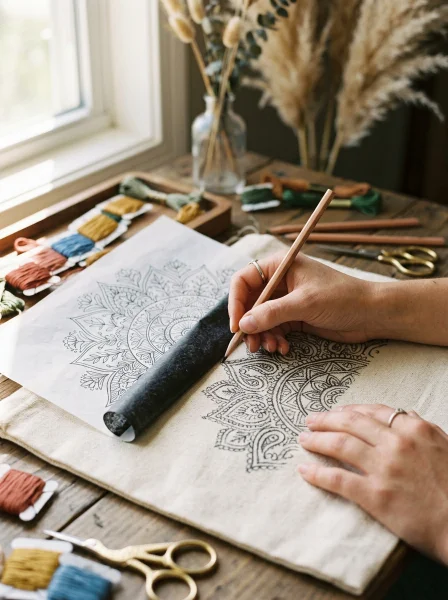
If you’re using a printed pattern, tape it to a sunny window and place your fabric over it. Trace the design lightly with a water-soluble pen. For freehand designs, sketch directly onto the fabric with a chalk pencil.
Popular boho motifs include wildflowers, luna moths, feathers, crescent moons, and abstract botanical shapes. Keep your design simple if you’re a first-timer — even a single floral sprig can look stunning.
Step 3: Learn the Essential Boho Embroidery Stitches
You don’t need to master dozens of stitches to create beautiful boho wall art. Just a few key ones will take you far:
- Backstitch — clean, solid outline stitch; great for borders and text
- Satin stitch — fills in leaves and petals with smooth, parallel threads
- French knots — add beautiful texture and dimension; perfect for flower centers
- Stem stitch — ideal for curved stems and vines
- Lazy daisy stitch — creates individual looped petals quickly and easily
Practice each stitch on a scrap piece of fabric before working on your main design. Just 15–20 minutes of practice will build your muscle memory fast.
Step 4: Start Stitching — Background to Foreground
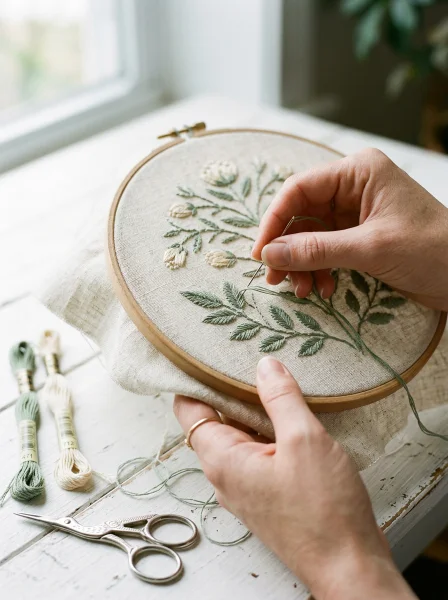
Always stitch from the background elements forward. If your design has leaves behind flowers, stitch the leaves first. This layering creates visual depth and makes your piece feel more dimensional.
Thread your needle with 2–3 strands of floss (out of the standard 6) for most stitches. Fewer strands give a delicate, fine look; more strands create bold, textured coverage. Boho style thrives on texture, so don’t be afraid to mix thread weights throughout your piece.
Step 5: Add Boho Finishing Touches
Once your stitching is complete, this is where the real boho magic happens. Remove the hoop from the fabric, flip it over, and trim the excess fabric to about 1 inch from the hoop edge. Use a running stitch around the fabric edge and pull tight to gather it neatly behind the hoop — this gives your piece a clean, professional finish.
Now for the decorative extras. Consider tying strips of macramé cord, dried lavender bundles, or leather fringe to the bottom of your hoop. A simple loop of jute twine at the top makes an effortless hanging mechanism.
These small additions are what separate a basic embroidery project from truly eye-catching boho wall art.
Boho Color Palettes and Design Inspiration
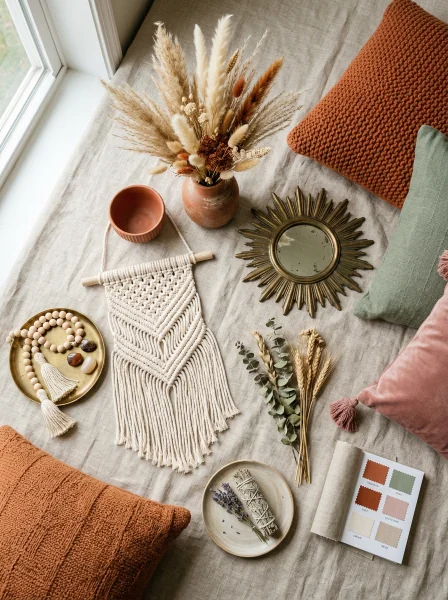
Choosing the right colors is half the battle when creating boho-inspired pieces. The aesthetic leans heavily on warm neutrals, muted earth tones, and dusty jewel shades rather than bright, saturated colors. Some winning boho color combinations to try:
- Terracotta + cream + sage green
- Dusty rose + warm taupe + rust orange
- Mustard yellow + olive + burnt sienna
- Ivory + caramel + muted teal
For design inspiration, look to nature — pressed botanical prints, vintage tapestries, and mid-century folk art all feed beautifully into the boho aesthetic. There are also endless fun crafts to make at home that draw on the same visual language, so you can build a cohesive collection of handmade décor over time.
Common Mistakes Beginners Make (And How to Avoid Them)
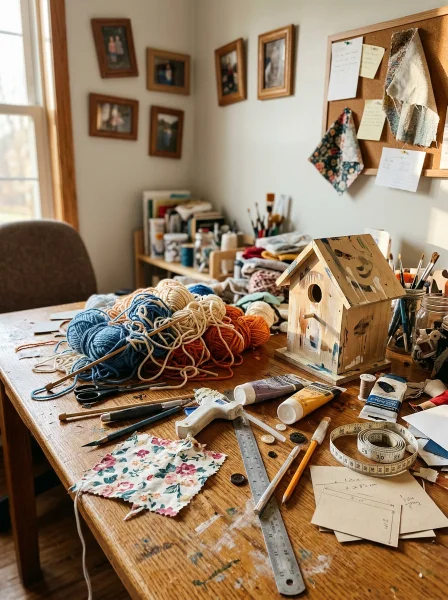
Even a simple hand-stitching project has a few pitfalls that can trip up beginners. Knowing what to watch for saves a lot of frustration. Fabric too loose in the hoop: This is the number one issue.
Loose fabric leads to uneven stitches and puckering. Always re-tighten your hoop as you work. Thread too long: Cut your floss to a maximum of 18 inches at a time.
Longer lengths tangle constantly and slow you down. Skipping the knot finish: Always secure your thread end with a small anchor stitch or weave it through existing stitches on the back. Loose ends will unravel over time.
Rushing the satin stitch: Satin stitch looks best when each strand lies parallel and close together. Take your time placing each stitch. Rushing leads to gaps and uneven coverage.
Turning Your Embroidery Skills Into More Creative Projects
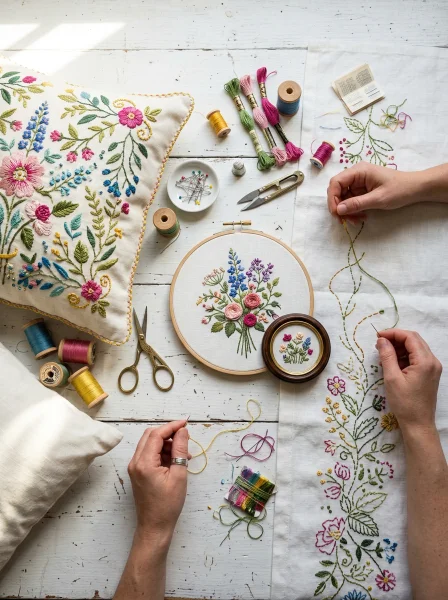
Once you’ve completed your first boho hoop, you’ll likely want to keep going. The skills you develop — precise stitching, color selection, pattern reading — transfer directly to a whole world of textile art and handmade crafts. Embroidery hoops make wonderful personalized gifts too.
Adding a name, initials, or a meaningful date transforms a decorative piece into something deeply personal. If you’re looking for handmade gift craft ideas, a custom embroidery hoop is genuinely one of the most thoughtful options you can give. Looking to branch out further?
There are plenty of home craft projects quick enough to complete in a single afternoon that complement your embroidery work beautifully — think macramé wall hangings, painted terracotta pots, or woven fiber art panels.
Conclusion: Your Boho Wall Art Journey Starts Now
Knowing how to hand-stitch an embroidery hoop for boho wall art opens up a genuinely exciting creative outlet. From gathering your first supplies to hanging your finished piece on the wall, the entire process is satisfying, meditative, and surprisingly quick to learn. You don’t need artistic experience or expensive tools — just a little patience and the willingness to try.
Start with a simple floral or botanical design, use earthy tones that speak to the boho palette, and don’t stress about perfection. Handmade art carries a warmth and character that machine-made décor simply can’t replicate. Whether you’re making it for yourself or as a gift, your finished hoop will be something genuinely one-of-a-kind.
So thread your needle, pull your fabric taut, and make your first stitch. The rest will follow naturally. Ready to start your project?
Share a photo of your finished embroidery hoop in the comments below — we’d love to see your boho creations! And if you found this guide helpful, pass it along to a friend who loves crafting.
Frequently Asked Questions
Q: How long does it take to hand-stitch an embroidery hoop for boho wall art as a beginner? A: For a simple design on a 6–8 inch hoop, most beginners can complete the project in 3–6 hours spread across a weekend. More complex patterns with heavy fill stitching might take 8–10 hours total.
The more you practice, the faster and more confident your stitching becomes. Q: What is the best fabric for beginner embroidery hoop wall art? A: Tightly woven, medium-weight fabrics like linen or cotton muslin are ideal for beginners.
They hold their shape well in the hoop, show stitches cleanly, and don’t fray excessively. Avoid stretchy fabrics like jersey knit, as they distort easily and make stitching much harder. Q: Can I hand-stitch an embroidery hoop for boho wall art without any prior sewing experience?
A: Absolutely. Embroidery requires no sewing machine and very little technical knowledge. The basic stitches — backstitch, satin stitch, and French knots — can be learned in under an hour with a bit of practice on scrap fabric.
Most people are ready to start their actual project the same day they pick up the needle. Q: How do I keep my embroidery hoop from warping over time when displayed as wall art? A: Use a wooden hoop rather than a plastic one, as wood holds its shape better long-term.
Avoid hanging your piece in direct sunlight or high-humidity areas like bathrooms. Tighten the screw securely before display, and consider applying a small drop of wood glue to the screw to lock it permanently in place. Q: What thread colors work best for a boho aesthetic in embroidery wall art?
A: Stick to a palette of earthy, muted tones — terracotta, cream, sage green, dusty rose, warm rust, and mustard yellow are classic boho choices. Avoid highly saturated or neon colors, which clash with the natural, organic feel of the boho style. Using 3–4 complementary shades in a single piece creates harmony without looking flat.