12 Scrapbooking Layout Ideas for Beginners to Try Right Now
Are your precious photos still trapped in your phone or scattered in random folders? Scrapbooking transforms those forgotten memories into stunning keepsakes you will treasure forever. The good news is you do not need advanced skills to create beautiful pages.
These 12 scrapbooking layout ideas for beginners to try right now will help you start your creative journey with confidence. Each design is simple yet impressive. Let’s dive in…
1. Classic Grid Pattern

- 12×12 cardstock paper
- 4-6 photos (same size)
- Ruler and pencil
- Adhesive tape runner
- Alphabet stickers
The classic grid pattern offers the perfect starting point for beginners. This layout divides your page into equal sections where photos sit in neat rows. The structured design eliminates guesswork about photo placement.
Use a ruler to mark guidelines before attaching anything. This ensures perfect alignment every time. Leave consistent margins between each photo for a polished look.
Your title can span across the top or bottom. Simple alphabet stickers work beautifully for beginners who are not yet comfortable with hand lettering.
2. Single Photo Focal Point

- One standout photograph
- Patterned background paper
- Cardstock for matting
- Journaling pen
- Decorative embellishments
Sometimes one photo tells the entire story. The single photo focal point layout showcases your best shot as the star. This approach works perfectly for milestone moments like graduations or birthdays.
Mat your photo with contrasting cardstock to create depth. The mat acts like a frame, drawing eyes directly to your image. Choose colors that complement tones within your photograph.
Fill remaining space with meaningful journaling and embellishments. Write the date, location, and feelings you want to remember. If you enjoy DIY handmade gifts, this layout style creates perfect personalized presents.
3. Diagonal Strip Design

- 3-4 coordinating papers
- Paper trimmer
- Photos in varying sizes
- Washi tape
- Corner rounder punch
Add dynamic energy to your pages with diagonal strip design. Cut papers into angled strips that flow from corner to corner. This creates visual movement that guides viewers through your layout.
Layer strips from widest at the bottom to narrowest at top. Overlap edges slightly for a seamless layered effect. Photos can break across strip boundaries for an artistic touch.
Washi tape accents add extra personality without overwhelming beginners. Choose patterns that coordinate with your paper strips. This layout looks complex but assembles quickly once strips are cut.
4. Pocket Page Simplicity

- Pocket page protectors
- 3×4 and 4×6 photo prints
- Journaling cards
- Project Life kit or similar
- Fine-tip markers
Pocket page protectors revolutionized scrapbooking for busy beginners. Simply slide photos and cards into pre-made pockets. No cutting, measuring, or adhesive required for basic layouts.
Mix photographs with decorative journaling cards. These pre-designed cards feature prompts, patterns, and spaces for handwritten notes. They instantly elevate simple photo collections.
This system works perfectly when you want to explore fun crafts to make at home without investing in extensive supplies. Rearrange pocket contents until the composition feels balanced.
5. Border Frame Layout

- Patterned border strips
- Solid cardstock base
- Central photo cluster
- Die-cut shapes
- Glue dots
Create a picture frame effect using decorative border strips. Arrange strips along all four edges of your page. This frames your photos and adds visual interest without complex techniques.
Choose borders that coordinate but do not match exactly. Mixing stripes with florals or dots creates designer appeal. Keep your central photo area clean and uncluttered.
Die-cut shapes bridge the gap between borders and photos. Flowers, hearts, or stars soften hard edges beautifully. This layout adapts easily to any theme or color scheme.
6. Circular Photo Clusters

- Circle punches (various sizes)
- Multiple photos
- Complementary cardstock
- Foam adhesive squares
- Title chipboard letters
Circle punches transform ordinary photos into eye-catching design elements. Punch photos in varying sizes from 1 to 3 inches. Arrange circles in organic clusters that flow naturally.
Layer circles using foam adhesive squares for dimensional interest. Overlap edges slightly to connect your cluster visually. Add solid cardstock circles between photos for breathing room.
This technique works wonderfully for group photos or event documentation. Your circular cluster becomes a conversation piece that draws viewers closer.
7. Vertical Column Style

- Paper strips (2-3 inches wide)
- Vertical photo prints
- Ribbon or twine
- Mini brads
- Date stamp set
The vertical column style creates tall elegant layouts perfect for portrait photos. Divide your page into three or four vertical sections. Each column tells part of your visual story.
Alternate between photo columns and patterned paper columns. This rhythm creates visual balance automatically. Vertical layouts work especially well for fashion or full-body shots.
Add ribbon accents between columns for subtle separation. Secure ribbon ends with mini brads at top and bottom. This layout feels modern and magazine-worthy.
8. Layered Paper Technique
- 4-5 coordinating papers
- Scissors or paper trimmer
- Adhesive runner
- Photos with white borders
- Rub-on transfers
Master the layered paper technique to add professional depth instantly. Stack papers from largest at back to smallest at front. Each layer should reveal edges of papers beneath it.
Choose papers that share at least one common color. This creates cohesion despite pattern variety. Neutral patterns like wood grain or linen texture work as excellent base layers.
Your photos sit atop the layered foundation. Rub-on transfers add titles and details without bulky stickers. This technique forms the foundation for many advanced layouts later.
Those who enjoy home craft projects quick will appreciate how fast this comes together.
9. Timeline Storytelling

- Horizontal strip of cardstock
- Small sequential photos
- Number stickers
- Arrow embellishments
- Fine-tip journaling pen
Document events chronologically with timeline storytelling layouts. Create a horizontal line across your page center. Attach photos above and below this line in sequence.
Mark time intervals with number stickers or stamps. Add brief captions explaining each moment. Arrow embellishments guide eyes through your visual narrative.
This layout excels for trips, parties, or project progressions. Before and after transformations look stunning in timeline format. Viewers naturally follow the story from beginning to end.
10. Color Block Modern

- Solid cardstock in 3-4 colors
- Geometric shape templates
- Black and white photos
- Minimalist letter stickers
- Glue stick
Embrace contemporary design with color block modern layouts. Cut solid cardstock into rectangles and squares. Arrange blocks in asymmetrical compositions across your page.
Choose colors from the same family for sophisticated results. Black and white photos pop dramatically against bold color backgrounds. This creates gallery-worthy pages with minimal effort.
Leave some white space intentionally. Negative space gives eyes places to rest and emphasizes your design choices. Modern layouts prove less truly can be more.
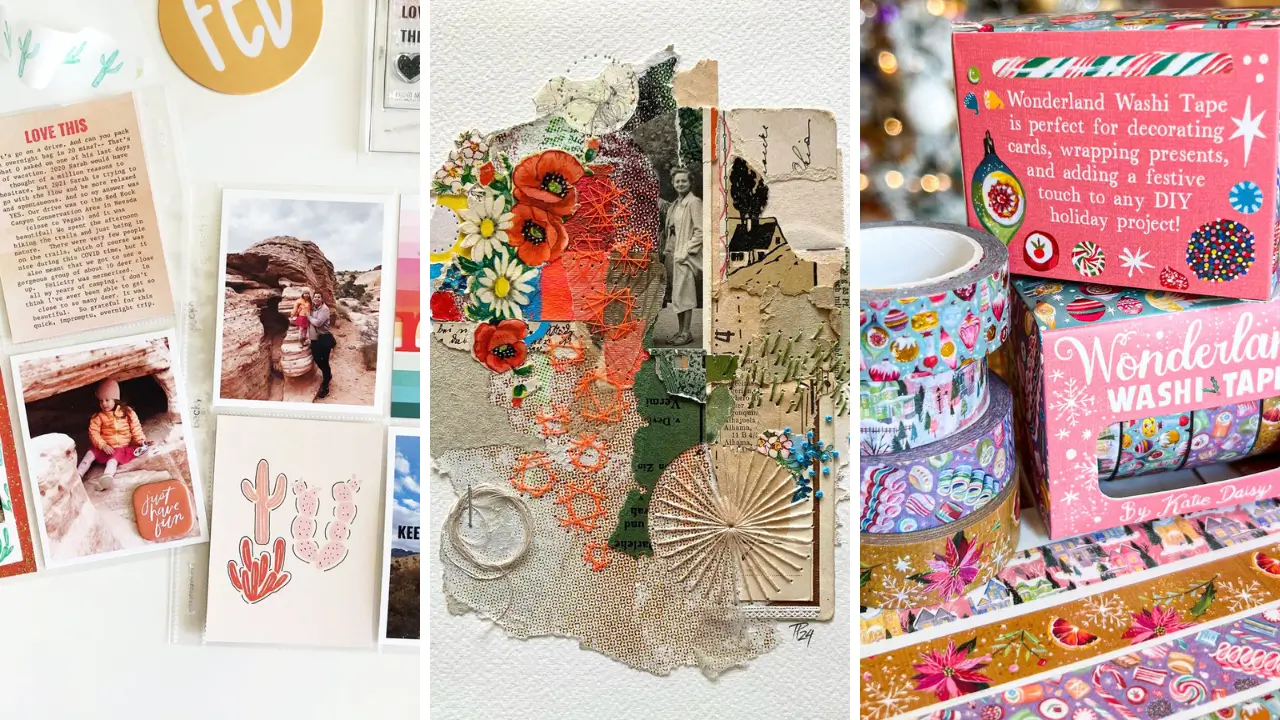
11. Washi Tape Wonderland

- Assorted washi tape rolls
- Plain white cardstock
- Photos with simple backgrounds
- Scissors
- Pencil for guidelines
Washi tape turns basic pages into whimsical masterpieces. Create borders, frames, and decorative elements entirely from tape. The repositionable nature forgives beginner mistakes.
Layer tape strips to build patterns and textures. Chevron, herringbone, and plaid designs emerge from simple overlapping. Tear tape edges for organic shapes or cut precisely for geometric looks.
Frame photos entirely with washi tape borders. Create faux frames with multiple tape layers. This affordable technique delivers impressive results.
Creative individuals seeking handmade gift craft ideas often discover scrapbooking through washi tape projects.
12. Mixed Media Collage

- Ticket stubs and ephemera
- Fabric scraps
- Photos of various sizes
- Mod Podge or decoupage medium
- Acrylic paint
Combine multiple materials in mixed media collage layouts. Incorporate ticket stubs, receipts, maps, and fabric alongside photos. These dimensional pages capture complete experiences.
Use Mod Podge to seal flat ephemera securely. Layer items organically as memories connect naturally. Do not worry about perfection.
Authentic collages celebrate beautiful imperfection. Add acrylic paint touches for artistic flair. Simple brushstrokes or splatter effects bring pages alive.
Mixed media layouts become treasured time capsules of your adventures. This technique also inspires DIY wall art ideas for living room displays.
These 12 scrapbooking layout ideas for beginners to try right now prove that creating beautiful memory pages requires no advanced skills. Start with simpler designs and progress toward mixed media as confidence grows. Grab your photos, papers, and adhesives, then start creating today.
Share your favorite layout ideas in the comments below. Rate this post to help fellow crafters discover these beginner-friendly designs!