Handmade Soap for Beginners: 12 Melt and Pour Ideas
Quick summary
- Melt and pour skips lye entirely, which is why it is the only sensible route for a first batch.
- Fragrance goes in at the right temperature or it burns off, and that window is narrow.
- Bars sweat in a humid room unless they are wrapped, which is the complaint nobody warns about.
Quick answer: Buy a melt and pour base, chop it, melt it gently, stir in colour and fragrance once it has cooled slightly, and pour into silicone moulds. It sets in an hour or two and involves no lye at all. Cold process soap is a different craft that requires handling a caustic chemical, and it is not where to start.
Have you ever looked at a shelf of handmade soap at a market, worked out the material cost, and wondered why you were not making it? You are not alone. The thing that stops most people is a half-remembered warning about lye, and that warning applies to only one of the two methods.
These twelve bars all use melt and pour, which needs no lye, no safety gear beyond common sense, and about an hour. Each lists the materials and the detail that decides whether the bar sets clean or sets cloudy.
Melt and Pour, or Cold Process?
This is the decision that determines how safe and how slow the whole thing is, and it is worth being plain about.
Cold process means making soap from scratch by mixing oils with sodium hydroxide, which is lye. Lye is strongly caustic: it burns skin and eyes, and mixing it with water releases heat and fumes. Done properly with goggles, gloves and ventilation it is perfectly manageable, and plenty of people do it. It is still a chemistry task rather than a craft task, and the bars then need four to six weeks of curing before they are usable.
Melt and pour starts from a base that has already been through that reaction. The saponification is finished, the lye is gone, and what is left is a solid soap you melt like chocolate. There is nothing caustic to handle at any point, the only real hazard is hot soap, and the bars are usable the same day.
For a first batch, and for anything made with children anywhere nearby, melt and pour is the answer. Everything below assumes it.
What to buy
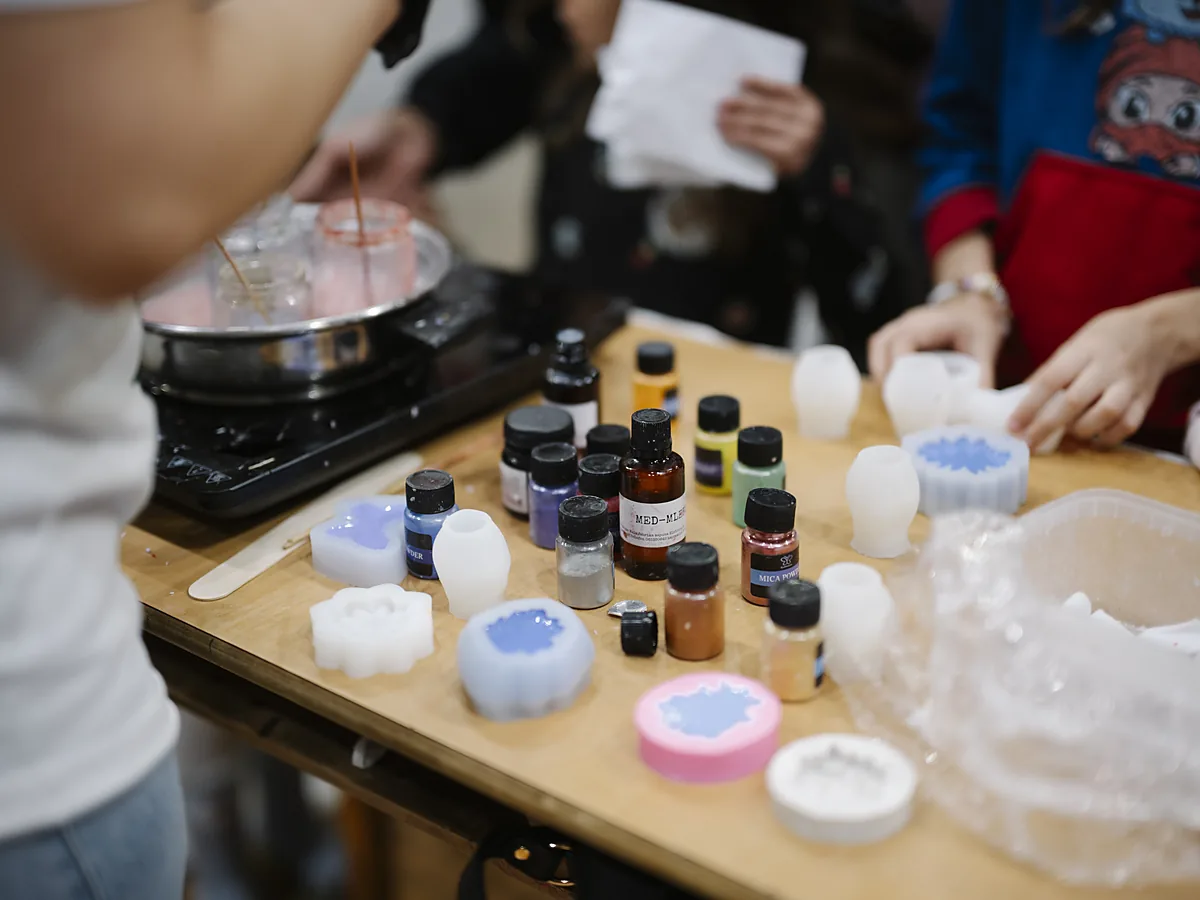
- A melt and pour base. Clear glycerin, white shea or goat milk are the usual three. A kilo makes roughly ten bars.
- Silicone moulds. Soap releases from silicone without any lining. Rigid plastic needs lining and fights back.
- Skin-safe fragrance or essential oil. Candle fragrance oils are not all skin safe, so check the label rather than assuming.
- Soap colourant. Mica or liquid soap dye. Food colouring bleeds and fades.
- Isopropyl alcohol in a spray bottle. The one non-obvious item, and the one that fixes bubbles and bonds layers.
A kilo of base, one fragrance and a silicone mould comes to roughly the price of two bought bars and makes ten, which puts it in the same bracket as handmade home decor gifts for cost per present.
12 Handmade Soap Ideas
1. Oatmeal and Honey Bar
Needs: white base, fine oats, a teaspoon of honey. Time: 30 minutes.
Stir ground oats and a little honey into a white base just before pouring. Mild, gently exfoliating, and the most reliably popular bar to give away.
Watch out for: oats sinking. Let the soap cool and thicken slightly before stirring them in, or they all settle at the bottom of the mould.
2. Lavender Botanical Bar
Needs: white base, lavender essential oil, dried buds. Time: 30 minutes.
Scent with lavender oil and press a few dried buds onto the surface rather than mixing them through. Buds suspended in soap go brown; buds on the surface stay purple.
Watch out for: too many botanicals. They scratch in use. A scattering on top is decoration, a handful stirred through is sandpaper.
3. Charcoal Bar
Needs: clear or white base, activated charcoal powder. Time: 30 minutes.
A quarter teaspoon of charcoal per bar gives a deep matt black. It is the most striking colour available without any dye at all.
Watch out for: the powder clumping. Mix it to a paste with a little rubbing alcohol first, then stir that into the melted base.
4. Layered Two-Tone Bar
Needs: base in two colours. Time: 1 hour with waiting.
Pour one colour, let it skin over, spritz with alcohol, then pour the second. The alcohol is what bonds the layers; without it they separate cleanly in the shower.
Watch out for: pouring the second layer too hot. It melts a channel through the first. Let it cool until it is just pourable.
5. Embedded Flower Bar
Needs: clear base, pressed flowers. Time: 45 minutes.
Pour a thin clear layer, lay pressed flowers face down, then pour the rest over them. The flowers end up suspended and visible through the front of the bar.
Watch out for: fresh flowers. They rot inside the soap within weeks. Only fully dried or pressed material works, as covered in the guide to the best dried flowers.
6. Citrus and Poppy Seed Bar
Needs: clear base, citrus oil, poppy seeds. Time: 30 minutes.
Poppy seeds give a fine, even scrub without the harshness of salt or sugar, and citrus oil keeps it bright. A good kitchen-sink bar.
Watch out for: citrus fading. Most citrus oils lose scent over a few months, so make these to use rather than to store.
7. Coffee Grounds Bar
Needs: white base, used coffee grounds, dried. Time: 30 minutes.
Dried used grounds make a coarse scrub that genuinely removes kitchen smells from hands. It is also the cheapest additive on this list, because it is waste.
Watch out for: damp grounds. They must be dried completely first, or the bar develops soft, dark patches.
8. Clear Glycerin With Inclusions
Needs: clear base, a small object or botanical. Time: 45 minutes.
Suspend something in the middle of a clear bar: a dried flower, a small toy for a child, a loop of ribbon. Pour in two stages so the object sits centred rather than floating.
Watch out for: cloudiness. Overheating the clear base turns it hazy permanently, so melt it slowly and stop as soon as it is liquid.
9. Shaped Novelty Moulds
Needs: any base, a shaped silicone mould. Time: 30 minutes.
Silicone baking moulds work perfectly well and cost a fraction of moulds sold for soap. Shapes with fine detail take the colour best in a white base.
Watch out for: deep narrow shapes. They are hard to unmould without tearing. Freeze the mould for ten minutes first and it releases cleanly.
10. Marbled Swirl Bar
Needs: base in two colours. Time: 30 minutes.
Pour both colours into the mould at once from opposite sides, then drag a skewer through once or twice. One pass makes a swirl; several make mud.
Watch out for: over-stirring. The two colours will blend into a single flat shade, and there is no way back from that.
11. Rose Clay Bar
Needs: white base, rose or kaolin clay. Time: 30 minutes.
Clay gives a soft dusty pink and a silkier feel in the hand than dye alone. A teaspoon per bar is plenty.
Watch out for: dry clay straight into the melt. Disperse it in a little water or oil first, exactly as with charcoal.
12. Pine and Sea Salt Bar
Needs: white base, pine or fir oil, fine sea salt. Time: 30 minutes.
A firm, mineral-feeling bar that suits winter and smells like the material in half the other projects on this site. Use fine salt, stirred in late.
Watch out for: coarse salt. It sinks and makes a gritty, crumbly base layer. Fine salt stays suspended.
Wrapping Soap as a Gift
Soap has one storage quirk that catches everyone out: melt and pour attracts moisture from the air, so bars left unwrapped in a humid room develop beads of glycerin on the surface, which looks like sweat. It is harmless and it washes off, but it looks wrong on a present.
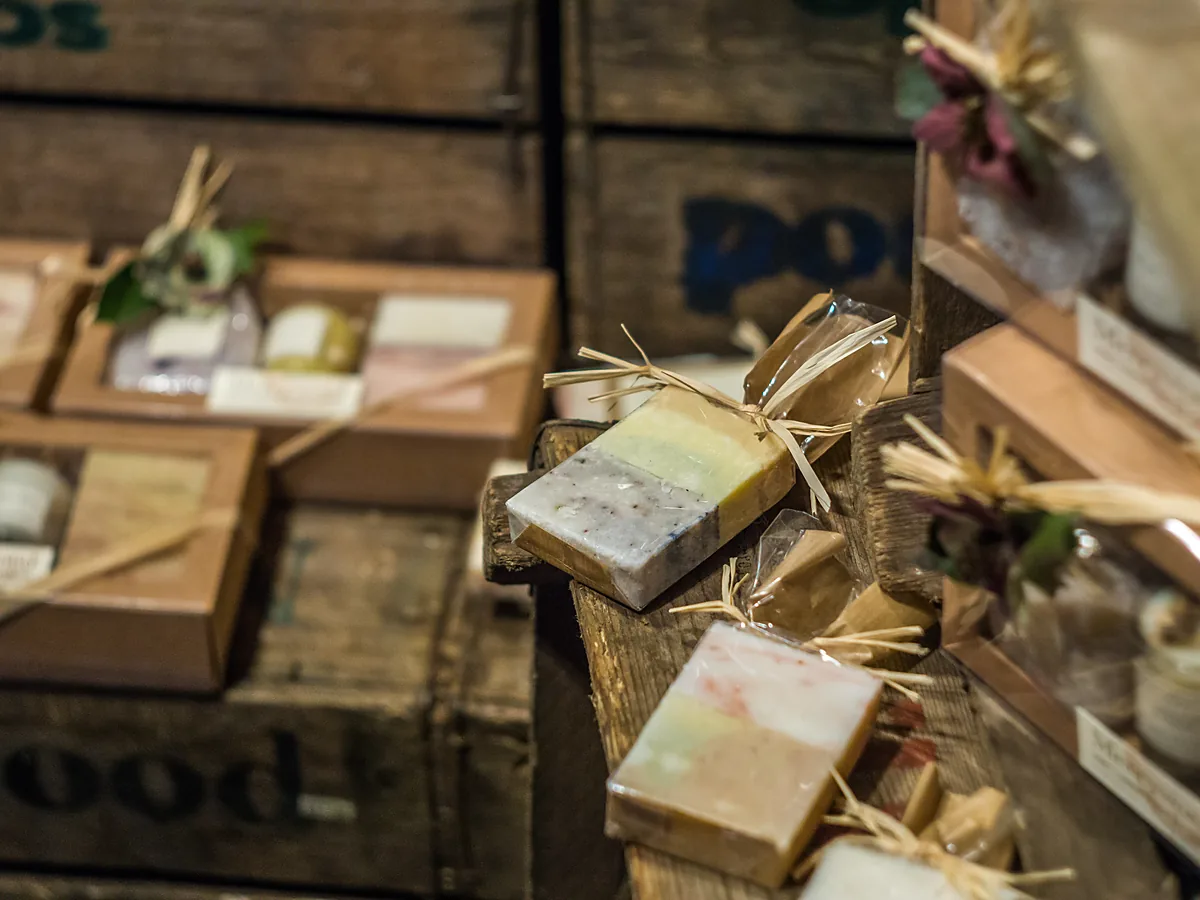
Wrap each bar closely in cling film or a cellophane bag as soon as it has fully hardened, then add the decorative layer over the top. Kraft paper, a band of plain card, or a cellophane bag tied with raffia all work, and the approach is the same as DIY gift wrapping ideas sets out for everything else.
Label what is in it. Anyone with a fragrance sensitivity needs to know, and a handwritten list of ingredients also makes the bar look considered rather than anonymous.
Mistakes That Ruin a Batch
- Overheating the base. It turns clear soap cloudy and makes any base smell faintly burnt. Melt in short bursts and stop at liquid.
- Adding fragrance too hot. Most of it evaporates. Let the melt cool until it is thickening slightly, then stir it in.
- Skipping the alcohol spritz. Surface bubbles set permanently, and layers refuse to bond.
- Stirring hard. It whips air through the soap and the bar sets full of bubbles. Stir slowly and low in the jug.
- Unmoulding early. A warm bar distorts. Give it a full hour, or longer for a thick mould.
- Using candle fragrance. Not all of it is skin safe. Check the label specifically, because the bottles look identical.
Conclusion
Start with a plain white base, one fragrance and no colour at all. It sets in an hour, it is almost impossible to get wrong, and it tells you whether the fragrance is worth repeating before a whole batch depends on it.
Add one variable at a time after that. Colour, then botanicals, then layers. The faults above all come from changing three things at once, which is a habit rather than a skill problem, as beginner crafter mistakes and how to avoid them sets out. For the sibling craft that uses the same fragrance shelf, see aesthetic candle making ideas and the guide to fragrance oils, and for gifting at this scale, DIY handmade gifts.
Frequently Asked Questions
Can you make soap without lye?
Not from scratch, because soap is the product of a reaction between oils and lye. You can however use a melt and pour base, where that reaction has already happened and no lye remains. For a beginner that is the practical answer, and it carries none of the handling risk.
Is melt and pour soap real soap?
Yes. The base is genuine soap that has already been saponified; melting and remoulding it does not change what it is. The difference is that someone else handled the caustic stage, and that the finished bars contain added glycerin, which makes them gentler and slightly softer.
How long does melt and pour soap take to set?
One to two hours at room temperature, depending on the thickness of the mould. It needs no curing period, unlike cold process soap, which takes four to six weeks. A day in the wrapper does firm the bar up slightly, so it is worth making a few days ahead of giving it away.
Why is my handmade soap sweating?
Melt and pour draws moisture out of the air, so beads form on the surface in a humid room. It is harmless and rinses off, and the fix is to wrap each bar closely as soon as it has hardened rather than leaving it out on a shelf.
What fragrance can you use in soap?
Essential oils or fragrance oils specifically labelled skin safe. Candle fragrance oils are not all suitable for skin, and the bottles look very similar, so check the label rather than the shelf it came from. Add it once the melt has cooled, or most of it evaporates.
Featured image: Tony Webster / Wikimedia Commons, CC BY 2.0, title text added by OKI HERE.