12 Pinecone Craft Ideas for Autumn and Winter
Quick summary
- Foraged cones arrive with insects and sap, so a spell in a low oven comes before anything else.
- Cones open in dry air and close again when damp, which is a feature rather than a fault.
- Natural brown reads as expensive, and heavy glitter is what makes the same cone look like a craft-shop offcut.
Quick answer: Bake foraged cones at 95C for about thirty minutes on a lined tray to drive out insects and resin, then let them cool and open fully. After that they glue, wire, paint and scent like any other material. Keep the finish restrained, because untouched brown cones look considerably better than glittered ones.
Have you ever picked up a bag of pinecones on a walk, put them in a bowl, and found a trail of small beetles across the table a week later? You are not alone. Cones come out of the woods carrying passengers and sticky resin, and almost nobody mentions the one step that deals with both.
These twelve projects are free at the material end, which is most of their appeal. Each one lists what it takes, roughly how long it needs, and the detail that decides whether it looks gathered or just looks cheap.
Collecting and Preparing Pinecones
This section matters more than any individual project, and skipping it is what ruins the rest.
- Collect dry, not wet. Cones picked after rain are shut tight and will not open until they dry. Pick on a dry day, or spread them out for a few days first.
- Bake them at 95C for thirty minutes. On a baking tray lined with foil or parchment, in a single layer. This drives out insects, larvae and mites, and melts surface resin into a faint gloss.
- Watch them while they bake. Resin can smoke at higher temperatures, so keep the oven low and the kitchen ventilated. Thirty minutes at 95C is enough; hotter and faster is not better.
- Let them cool on the tray. They open as they dry, and they open wider than they were when picked. Any sticky residue comes off a cooled cone far more easily than a warm one.
Do not skip this because the cones look clean. Insects inside a cone are not visible from the outside, and a bowl of unbaked cones in a warm room is how they find their way out.
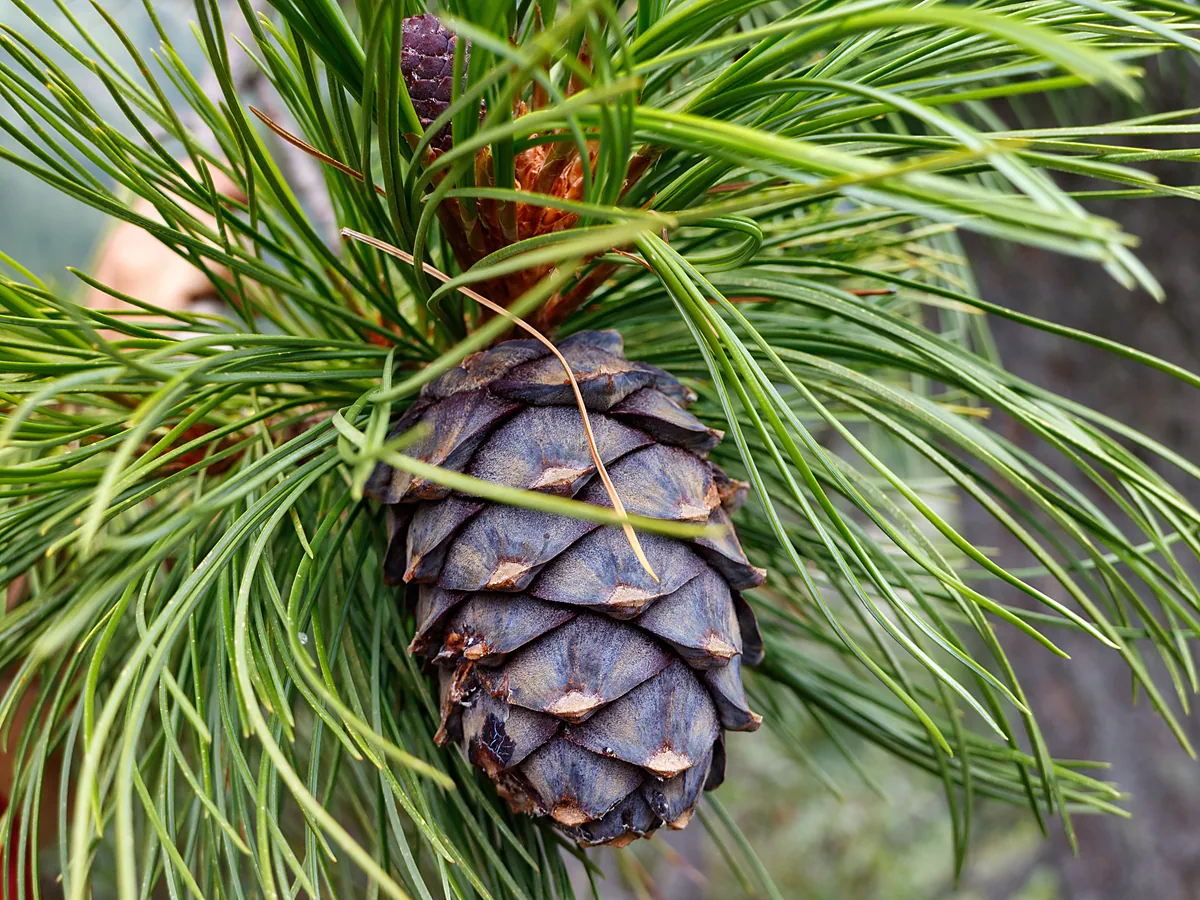
12 Pinecone Craft Ideas for Autumn and Winter
1. Scented Cone Bowl
Needs: baked cones, a bowl, essential oil. Time: 10 minutes, plus a week.
Drop a few drops of cinnamon or orange oil onto the cones, seal them in a bag for a week, then tip them into a bowl. The scent holds for a month or more and refreshes with another few drops.
Watch out for: oiling them in the bowl. The oil marks wood and stone surfaces. Scent them in the bag, then move them.
2. Frosted Cone Garland
Needs: cones, twine, white paint. Time: 45 minutes plus drying.
Dry-brush white paint across the scale tips only, leaving the inner cone brown, then wire each cone to a length of twine. The contrast is what makes it read as frost rather than as paint.
Watch out for: loading the brush. Wipe almost all the paint off first; a wet brush fills the gaps between scales and the cone turns into a white lump.
3. Cone and Candle Centrepiece
Needs: cones, pillar candles, a tray. Time: 15 minutes.
Group three candles of different heights on a tray and pack cones loosely around their bases. It takes minutes, costs nothing beyond the candles, and suits a table that still has to be eaten from.
Watch out for: cones touching the flame path. Keep them clear of the wick line, and never leave a lit arrangement unattended. Candle options are covered in aesthetic candle making ideas for the home.
4. Hanging Cone Ornaments
Needs: cones, eye screws or wire, ribbon. Time: 10 minutes each.
Twist a small eye screw into the base of the cone, or wrap wire around the top scales, and hang from ribbon. The natural shape needs no decoration at all to read as an ornament.
Watch out for: hot glue on the ribbon. It fails under the weight within a season. A wire loop or a screw holds indefinitely. More in DIY Christmas ornaments to make at home.
5. Cone Wreath Base
Needs: cones, a wire ring, florist wire. Time: 2 hours.
Wire cones around a ring, overlapping them so each one laps the last. It is slow and it is the single most striking thing on this list, because nothing else fills a ring with that much texture.
Watch out for: mixing sizes randomly. Grade them so the largest sit at the bottom of the ring; even spacing reads as manufactured. The base options are set out in 12 seasonal wreaths to make through the year.
6. Fire Starters
Needs: cones, candle wax, wicks, paper cups. Time: 30 minutes.
Stand a cone in a paper cup, drop in a wick, and pour melted wax around the base. Useful rather than decorative, and the best possible use for cones too small or broken for anything else.
Watch out for: overfilling. The wax only needs to reach a third of the way up. Any more and the cone struggles to catch.
7. Place Card Holders
Needs: cones with flat bases, card. Time: 5 minutes each.
Pick cones that stand square and slot a name card between two upper scales. No glue, nothing permanent, and they go straight back in the box afterwards.
Watch out for: wobbly bases. Trim the bottom scales flat with secateurs rather than propping the cone up with putty.
8. Painted Tip Cones
Needs: cones, acrylic paint. Time: 20 minutes plus drying.
Dip or brush the outer tips in a single muted colour, leaving most of the cone bare. One colour across a whole bowl of cones unifies a mixed collection better than any sorting.
Watch out for: painting the whole cone. It flattens all the texture that made the cone worth using in the first place.
9. Miniature Cone Trees
Needs: tall narrow cones, small pots, moss. Time: 15 minutes each.
Stand a slim cone upright in a small pot, wedge it with moss or a little plaster, and line several along a shelf. The silhouette does the work, so no decoration is needed.
Watch out for: squat cones. Only the long narrow species read as trees; a round cone in a pot just looks like a cone in a pot.
10. Bird Feeder Cones
Needs: cones, lard or suet, seed, string. Time: 15 minutes.
Press fat into the gaps between scales, roll the cone in birdseed, and hang it outside. It is the one project here that the garden uses rather than just looks at.
Watch out for: using these indoors afterwards. Once a cone has held fat it is an outdoor object permanently. Keep a separate batch for decorative work, and see DIY outdoor fall decor for the rest of the garden.
11. Cone-Filled Lantern
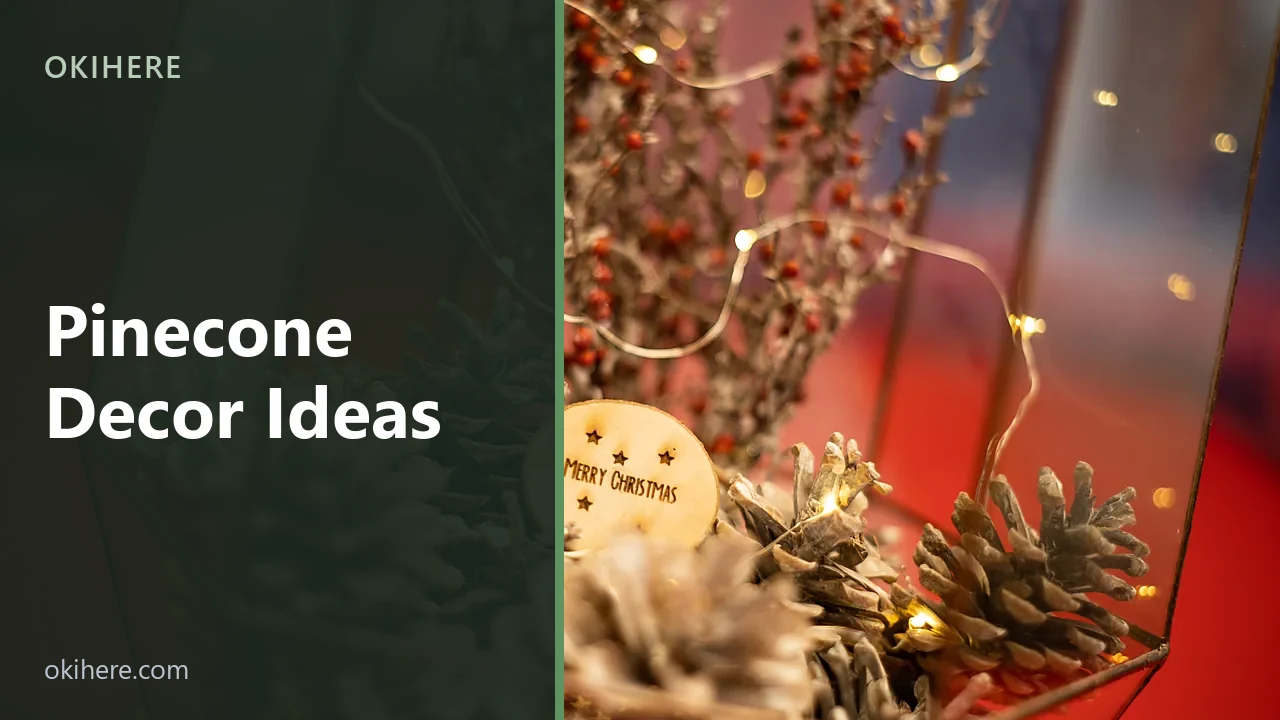
Needs: a glass lantern or jar, cones, fairy lights. Time: 10 minutes.
Half fill a glass lantern with cones and thread a battery-powered light string through them. The glass contains the mess, which makes it the tidiest way to use a lot of cones at once.
Watch out for: mains-powered lights. Use a battery string, and keep the arrangement well away from any real flame.
12. Cone Napkin Rings
Needs: small cones, wire, ribbon. Time: 10 minutes each.
Wire a small cone onto a loop of ribbon or a plain wooden ring. Small cones that are useless for anything else work perfectly here, and the set stores flat.
Watch out for: sharp wire ends. Tuck every cut end back under a scale, or the ring snags the napkin every time.
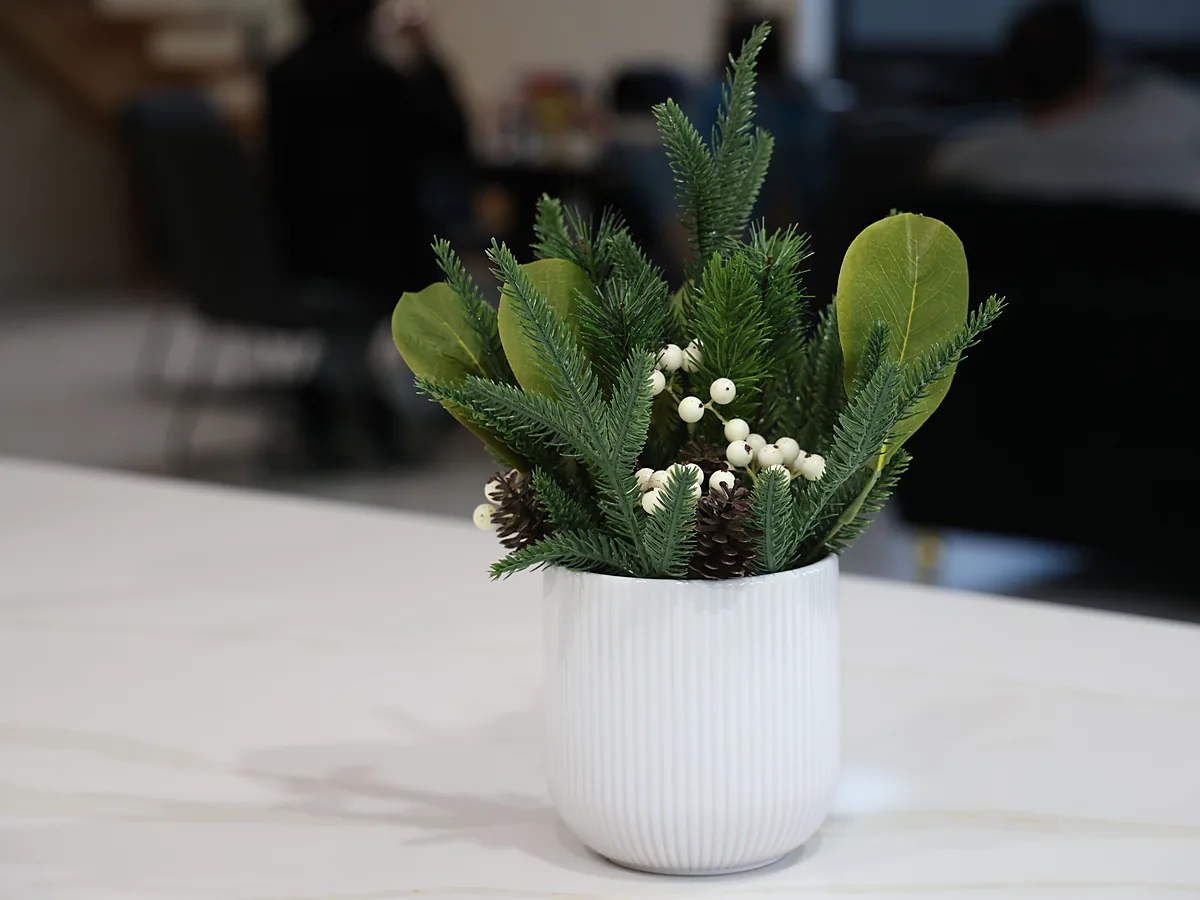
Why Cones Open and Close
A pinecone is a humidity gauge, and understanding that explains most of what happens to these projects after they are finished.
The scales move with moisture: they close in damp air to protect the seeds and open again as they dry. A cone brought indoors in autumn will open wider over the following week, and one left in a porch or a bathroom will slowly shut. Nothing is wrong when this happens, and it reverses on its own.
It does matter for anything glued or wired. A cone wired shut while damp will strain against the wire as it dries, and a wreath assembled from wet cones loosens as every cone in it opens. Bake and cool the cones first, let them settle for a day, and build from cones that have already finished moving.
Bleaching is the one treatment that changes them permanently. Soaking in a solution of water and household bleach lightens cones to a pale bone colour over a day or two, and they need a thorough rinse and a slow dry afterwards. It is worth knowing that bleached cones stay open for good, since the scales lose their spring.
Mistakes That Make Pinecone Decor Look Cheap
- Glitter. It sheds for months and reads as craft-shop stock rather than as something gathered.
- Skipping the oven. Insects, resin on the furniture, and a faint musty smell in a warm room.
- Painting the whole cone. The texture is the entire point; covering it throws away the material.
- Hot glue on visible joins. Dried glue catches the light between scales. Wire hides inside the cone, glue does not.
- Using every cone collected. Grade them and keep the broken and lopsided ones for fire starters.
- Mixing wildly different sizes. A graded set looks arranged; a random pile looks swept up.
Conclusion
Start with the scented bowl or the lantern. Both take ten minutes, neither needs glue or wire, and both teach the one habit that matters here, which is baking the cones before they come anywhere near the house.
Collect more than seems necessary while they are on the ground, then grade them and use only the best two thirds. Cones cost nothing to gather and everything else here depends on starting with good ones. For more material from the same walk, autumn botanical decor covers leaves and seed heads, natural home decor for beginners sets out the broader approach, cozy fall home crafts covers the same season indoors, and how to store holiday decor deals with packing it all away afterwards.

Frequently Asked Questions
Do you have to bake pinecones before using them?
Yes, and it is the step most often skipped. Thirty minutes at 95C on a lined tray drives out insects, larvae and mites, and melts surface resin. Cones look perfectly clean from the outside while still carrying passengers inside, so appearance is no guide.
What temperature should pinecones be baked at?
Around 95C for about thirty minutes, in a single layer on foil or parchment. Hotter is not faster in any useful sense: resin begins to smoke at higher temperatures, and the cones can scorch. Keep the kitchen ventilated and stay nearby.
Why did my pinecones close up again?
Humidity. Scales close in damp air to protect the seeds and reopen as they dry, so a cone in a porch, a bathroom or an unheated room will shut over time. Nothing is wrong, and moving it somewhere dry reverses it within a few days.
How do you bleach pinecones white?
Soak them in a solution of water and household bleach for a day or two, then rinse thoroughly and dry slowly, which takes several days. The result is a pale bone colour rather than bright white, and bleached cones stay permanently open because the scales lose their spring.
How long do pinecone decorations last?
Indefinitely, provided they were baked first and are kept dry. Stored in a box away from damp they will come out the same year after year. Anything scented needs refreshing with a few drops of oil, and anything that has held fat for birds stays outdoors for good.
Featured image: The Urban Botanist Images / Wikimedia Commons, CC BY 2.0, title text added by OKI HERE.