8 Common DIY Home Decor Mistakes and How to Fix Them
Have you ever finished a DIY project only to feel disappointed with the results? You are not alone. Many enthusiastic decorators make simple mistakes that can easily be avoided with the right knowledge.
The good news is that every common DIY home decor mistake has a straightforward solution. Understanding these pitfalls will save you time, money, and frustration on your next project. This guide covers 8 common DIY home decor mistakes and how to fix them so your space looks professionally designed.
Let’s dive in…
1. Choosing Wrong Paint Colors

- Paint sample pots
- Large poster board
- Painter’s tape
- Natural and artificial lighting
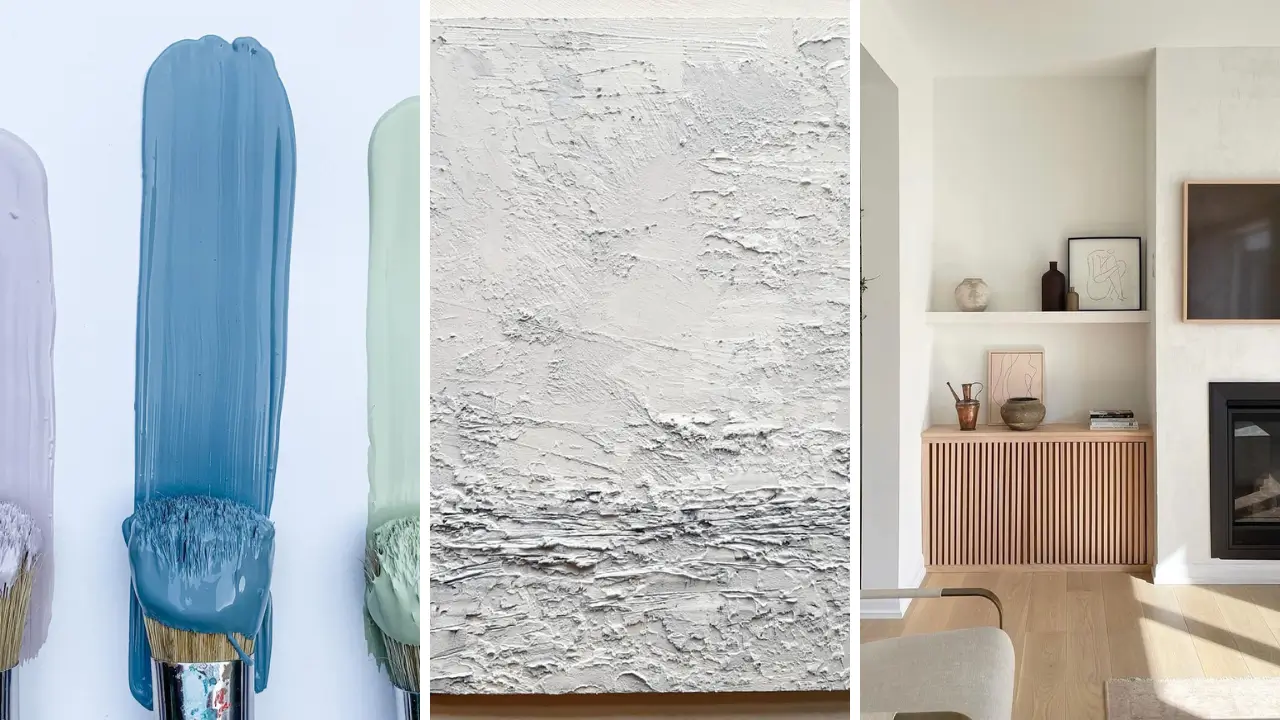
Selecting paint colors from a tiny swatch is one of the biggest decorating blunders. The color on your wall will look dramatically different than that small chip at the store. Lighting conditions in your home affect how colors appear throughout the day.
The fix is simple. Purchase sample pots and paint large swatches on poster board. Move these samples around your room and observe them in morning, afternoon, and evening light.
Test your colors on at least two walls, preferably ones with different light exposure. This testing method prevents expensive repainting disasters. If you enjoy fun crafts to make at home, accurate color selection makes your projects shine.
2. Ignoring Room Proportions

- Measuring tape
- Painter’s tape for floor mapping
- Graph paper
- Room planning app
Buying furniture or decor without measuring is a recipe for disappointment. Oversized pieces overwhelm small rooms while tiny items get lost in large spaces. This proportion mistake makes rooms feel awkward and uncomfortable.
Fix this by measuring your room and creating a floor plan before shopping. Use painter’s tape to mark furniture dimensions on your floor. This visual trick shows exactly how pieces will fit.
Consider the visual weight of items, not just physical dimensions. A bulky dark sofa feels heavier than a sleek light-colored one of the same size.
3. Hanging Art Too High

- Measuring tape
- Level
- Pencil
- Picture hanging hardware
- Blue painter’s tape
Most people hang artwork at standing eye level, which creates disconnected floating pieces. The proper height centers artwork at 57 inches from the floor. This represents average seated and standing eye level combined.
When hanging above furniture, maintain 6-8 inches between the piece and the furniture below. Your artwork should relate to surrounding elements rather than drifting toward the ceiling.
Use blue painter’s tape to create artwork outlines on your wall before drilling. Step back and evaluate the placement from different angles. This preview technique prevents unnecessary nail holes.
4. Overcrowding Shelves

- Decorative objects of varying heights
- Books
- Small plants
- Storage baskets
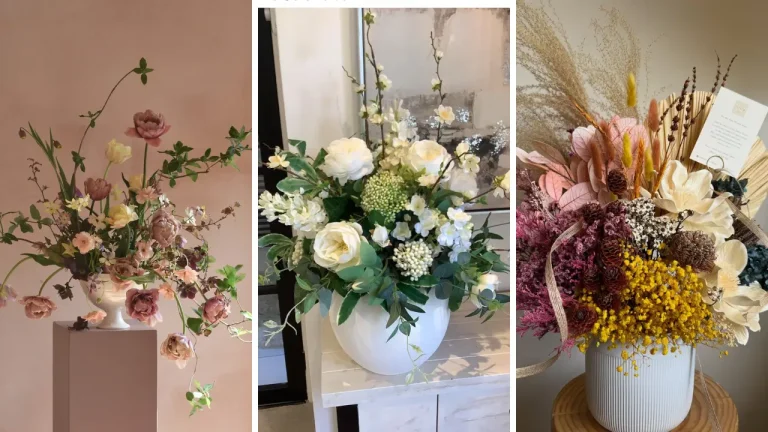
Filling every inch of shelf space creates visual chaos and cluttered appearance. Negative space is essential for professional-looking displays. Your eye needs resting points between decorative objects.
The fix involves the rule of thirds and odd number groupings. Arrange items in clusters of three or five objects with varying heights. Leave empty spaces between groupings for visual breathing room.
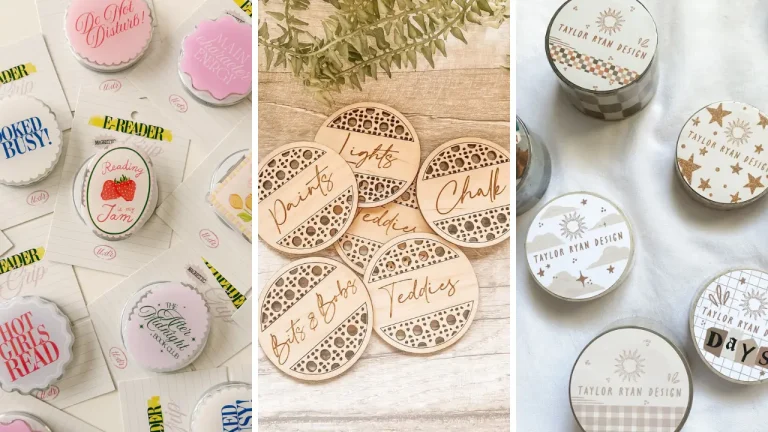
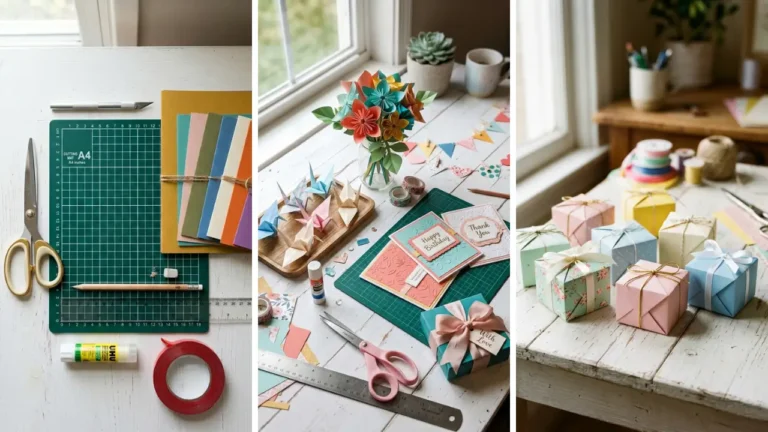
Mix textures and materials within each grouping for interest. Combine books with decorative objects and natural elements like plants. When creating DIY handmade gifts, proper display techniques showcase your craftsmanship beautifully.
5. Skipping Proper Prep Work

- Sandpaper (various grits)
- Primer
- Cleaning supplies
- Painter’s tape
- Drop cloths
Rushing through preparation is the fastest path to disappointing results. Surface preparation determines how paint, stain, or adhesive performs. Skipping this step leads to peeling, bubbling, and uneven finishes.
Always clean surfaces thoroughly before starting any project. Sand glossy surfaces to create mechanical adhesion for new finishes. Apply appropriate primer for your specific project type.
Tape edges carefully and protect surrounding areas with drop cloths. This preparation time investment pays off with professional-quality results every time.
6. Using One Light Source

- Table lamps
- Floor lamps
- Wall sconces
- Dimmer switches
- LED strip lights
Relying solely on overhead lighting creates harsh shadows and uninviting atmosphere. Layered lighting combines ambient, task, and accent sources for warmth and functionality. Each layer serves a specific purpose in your room.
Fix this by adding lamps at varying heights throughout your space. Include task lighting for reading or work areas. Add accent lights to highlight artwork or architectural features.
Dimmer switches provide flexibility for different activities and moods. Creating home craft projects quick becomes easier with proper task lighting at your workspace.
7. Matching Everything Perfectly

- Color wheel reference
- Fabric swatches
- Texture samples
- Metal finish options
Buying matching furniture sets creates showroom-like sterility rather than personal style. Coordinating elements work better than perfectly matched pieces. Your home should tell your story, not look like a catalog page.
The fix involves mixing similar but not identical pieces. Pair complementary wood tones rather than exact matches. Combine different metal finishes within the same color family.
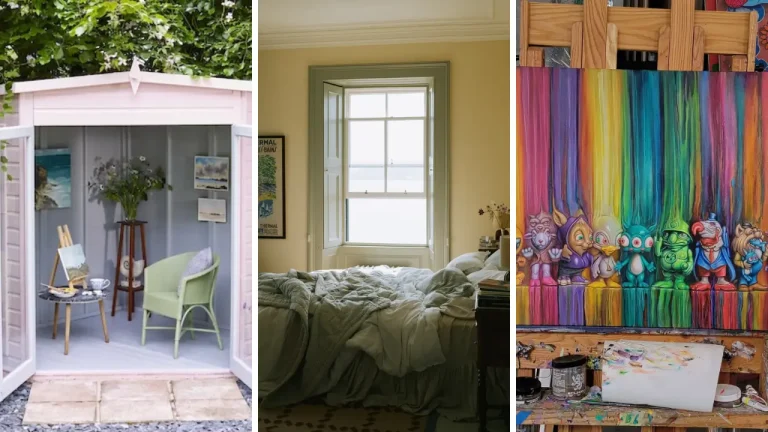
Layer textures like linen, velvet, leather, and natural fibers together. This collected look appears sophisticated and intentional rather than sterile and impersonal. Explore dollar store crafts ideas to add unique accent pieces affordably.
8. Forgetting About Function

- Notebook for lifestyle audit
- Storage solutions
- Durable fabrics
- Practical furniture pieces
Prioritizing aesthetics over function creates beautiful but unlivable spaces. Practical considerations must balance with visual appeal. Your home should work for your actual lifestyle, not an imaginary one.
Conduct an honest lifestyle audit before decorating. Consider how you really use each room daily. Choose durable materials for high-traffic areas and families with children or pets.
Include adequate storage to maintain your design vision long-term. Hidden storage keeps clutter controlled while preserving beautiful aesthetics. Creating handmade gift craft ideas requires functional craft space organization too.
Now you understand 8 common DIY home decor mistakes and how to fix them for stunning results. Each solution transforms potential disasters into professional-looking spaces you will love. Grab your measuring tape and start creating your dream home today!
Share your favorite tips in the comments below and rate this post!